Medeek Wall Plugin
-
Version 1.7.9b - 01.05.2021
- Added the following Simpson Strong-Tie holdowns to the shearwall module: HTT4, HTT5, HDQ8.
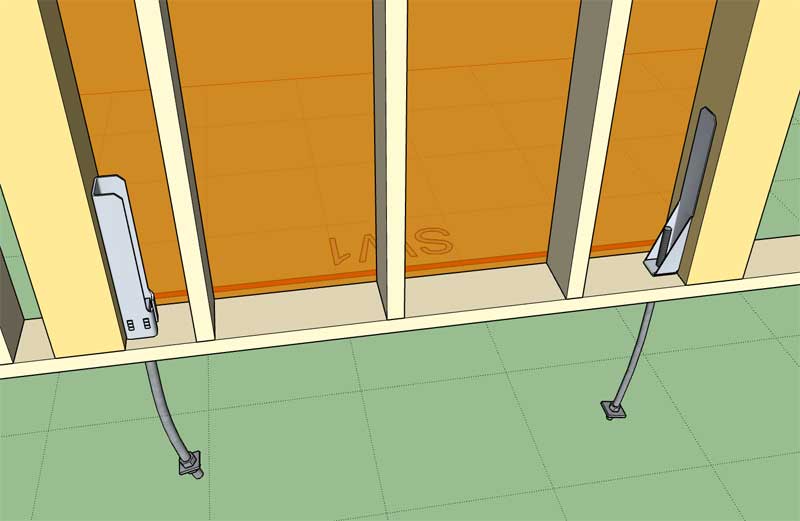
Added per customer request.
-
Version 1.7.9c - 01.09.2021
- Added the following Simpson Strong-Tie holdowns to the shearwall module: HHDQ11, HHDQ14.
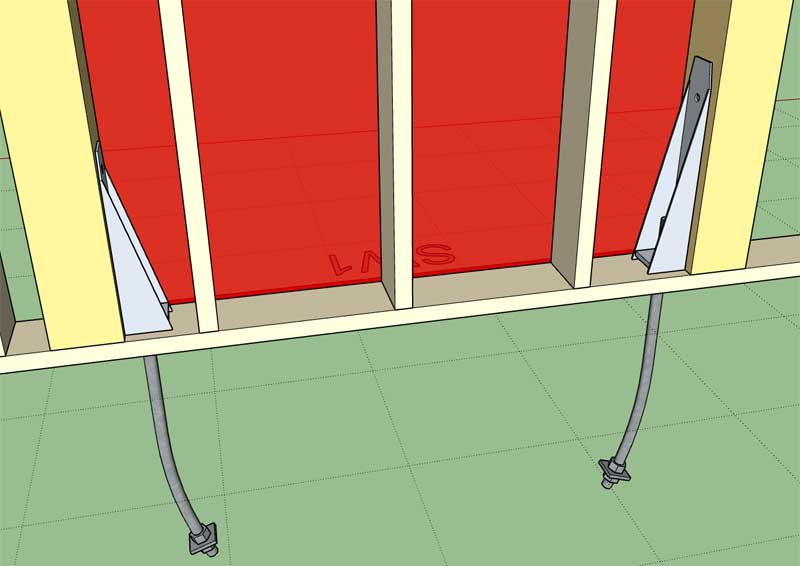
Another customer request.
-
Version 1.8.0 - 01.16.2021
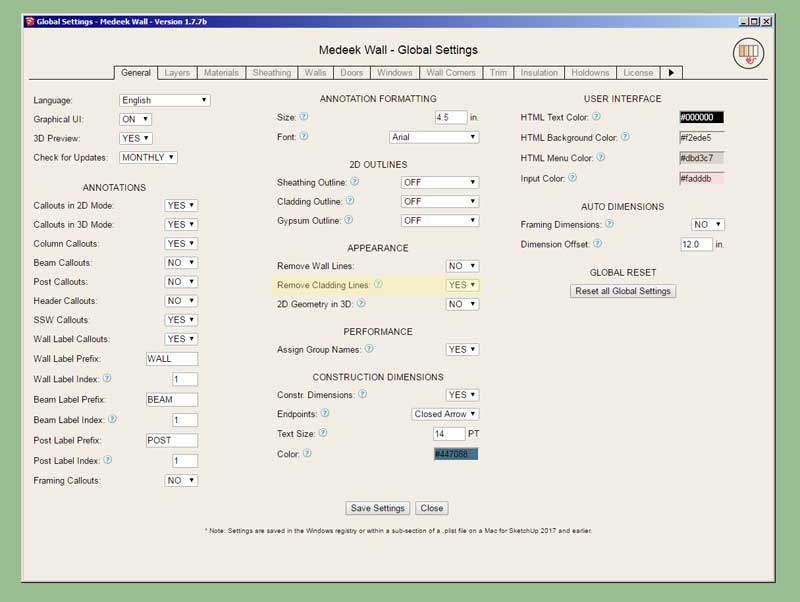
- Added a "Remove Cladding Lines" option within the global settings.
-
I've been meaning to add the sliding glass door type for a while but it always seems to get pushed back due to some other priority. So tonight I hammered out the final details and I will work on adding it as an additional door type.
I am using Andersen's 100 series (no flange) sliding glass door as the template. This should provide a fairly universal option for a sliding glass door. More exotic options can always be inserted by the user.
Initially I will disable sidelites and transoms for this door type however I will probably add those options in at a later date as they are requested.
My quick and dirty diagram outlining the dimensions for this door type:

-
First look at a sliding glass door:

Note that sliding glass doors are quite a bit different from regular swing doors, obviously they slide when opened (not rotate). However, there are also other parameters in the draw and edit menu that are not applicable.
The SLD can be specified as a left or right hand door.
I have not yet enabled sidelites or transoms for this door type. Additionally, only rectangular door geometry is allowed for this door type.
-
Version 1.8.1 - 01.18.2021
- Added sliding glass doors to the door module.
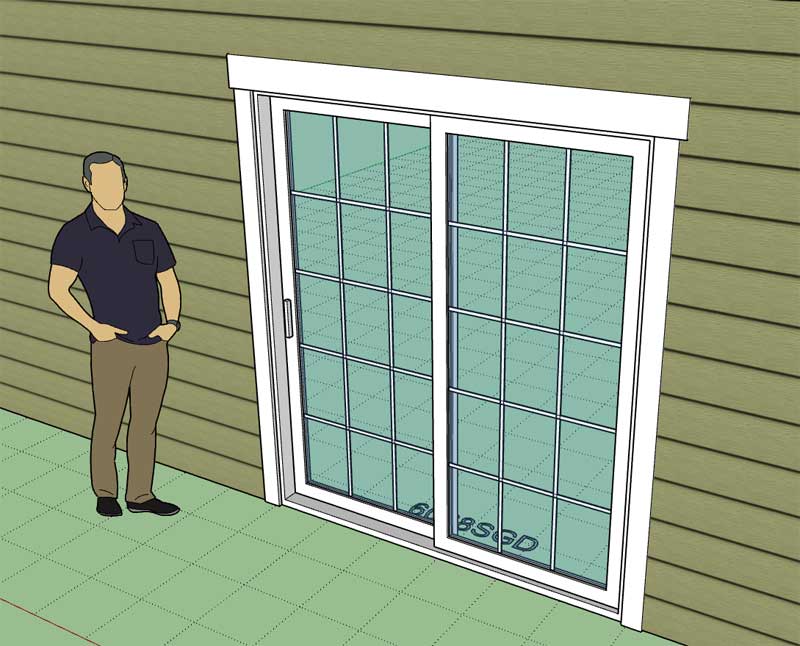
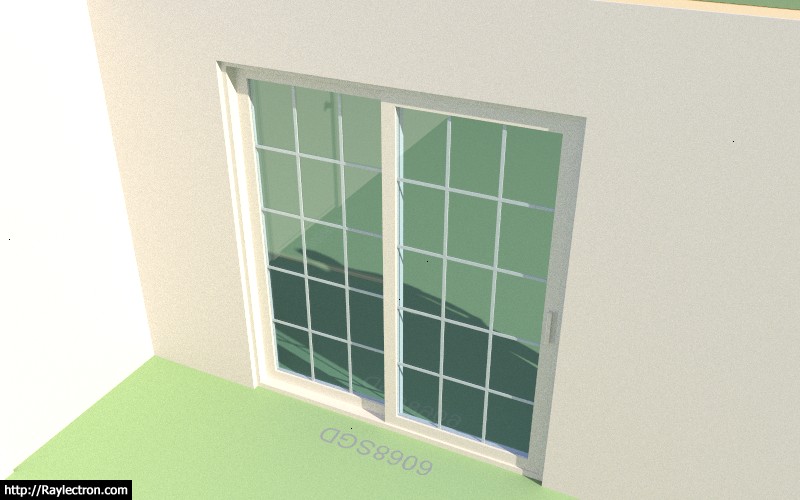
This item has been on the todo list for far too long. I'm excited to finally get it out the door, no pun intended.
View model here:
3D Warehouse
3D Warehouse is a website of searchable, pre-made 3D models that works seamlessly with SketchUp.
(3dwarehouse.sketchup.com)
-
Version 1.8.1b - 01.19.2021
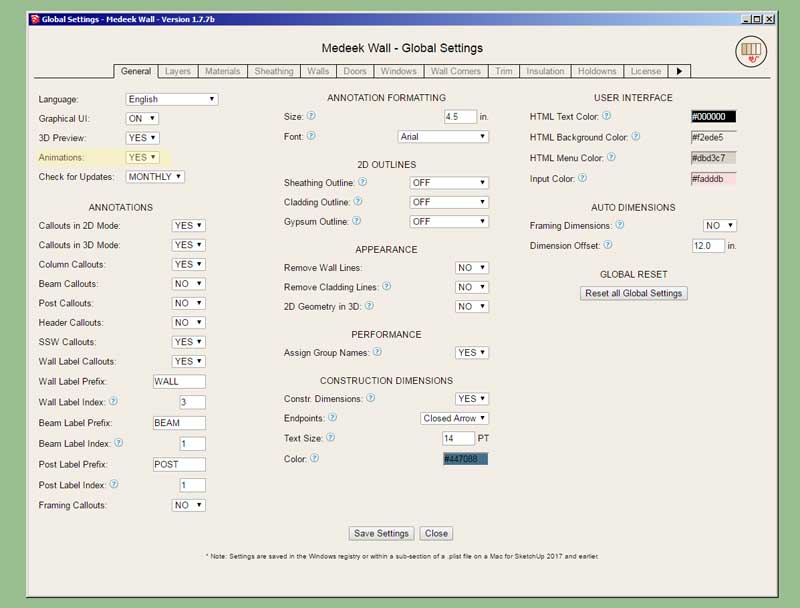
- Added an "Animation" parameter to the General tab of the Global Settings.
- Enabled "animated" opening and closing of sliding glass doors.

-
Version 1.8.1c - 01.20.2021
- Enabled "animated" opening and closing of single and double man doors.
- Enabled "animated" opening and closing of garage doors.


-
Tutorial 18 - Gable Walls (18:05 min.)
-
I will work on adding in a second sheathing layer and organizing the draw and edit menus a bit better:


-
First look at an exterior wall with the second layer of sheathing material installed. In this case I have chosen foam insulation as the material:

-
Either layer can be any of the typical sheathing materials as well as custom materials from the Material Library.
You can use Zip Sheathing on Layer 2 and insulation on Layer 1 as shown:

*Cladding layer turned off for visibility.
** Each sheathing layer is set to "LAP" at the corners. -
A couple more possible permutations:


If you turn off layer 1 of the sheathing the 2nd layer will be installed as if the first layer existed which allows one to introduce an air gap (equal to the thickness of layer 1) between the sheathing and framing.
The second example shows an air gap between the framing and sheathing and an air gap between the sheathing and cladding (via the cladding air gap parameter).
Now I just need to do a whole ton of error checking to make sure all of the other routines for placing doors, windows, trim, quoins, and annotations all work seamlessly when this second layer of sheathing is invoked. It will be another 2-3 days of tedious checking and testing, at a minimum.
-
Version 1.8.2 - 01.26.2021
- Enabled a second layer of sheathing for exterior rectangular walls.
- Added four additional parameters to the Sheathing tab of the Global Settings.
!!! CAUTION !!!
Upgrading from all previous versions of the wall plugin to this version (1.8.2) will require that all rectangular wall presets be deleted and recreated. Please do not upgrade to this latest version until you understand the implications of this upgrade. Also note that the 2nd layer of sheathing has not been implemented for gable, shed or hip wall types, only for rectangular walls. -
As I was wrapping things up today with the new release (Version 1.8.2) I got yet another email requesting steel studs be incorporated into the plugin.
With a bit of clever manipulations of some basic materials applied to certain faces you can create a fairly realistic looking steel stud (also one face is hidden):

View model here:
3D Warehouse
3D Warehouse is a website of searchable, pre-made 3D models that works seamlessly with SketchUp.
(3dwarehouse.sketchup.com)
The problem I see with this is that the stud lengths are really not the correct lengths that the steel studs would be. The other major issue is that the around openings the configuration of steel studs with steel headers is a bit more complex than a standard wood framed wall.
So barring major changes to the code the best I can probably do right now is a "cosmetic" steel framed wall. To do this properly would require entirely new algorithms for bottom and top channels, steel headers and the proper configuration of the king stud to header connections.
-
Version 1.8.2b - 01.27.2021
- Enabled a second layer of sheathing for exterior gable walls.
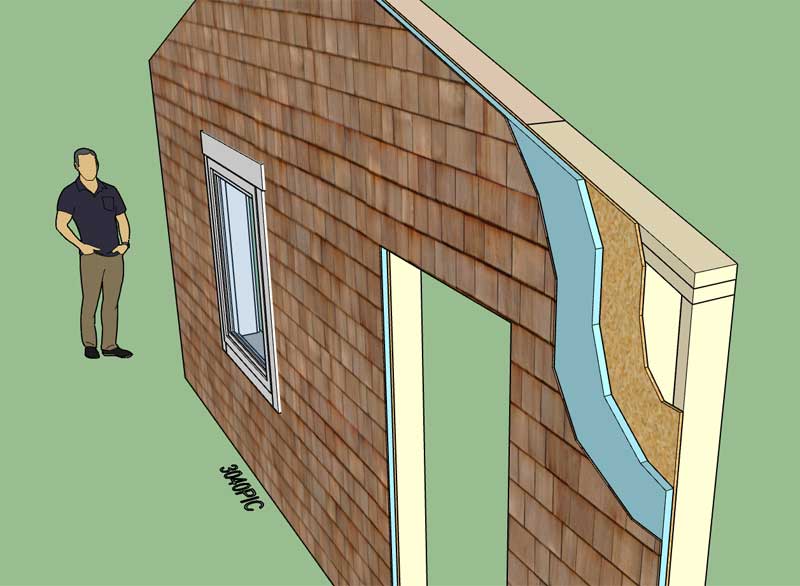
I only have the hip and shed walls left to update.
!!! CAUTION !!!
Installing this update will require that you delete and recreate any GABLE wall presets that you have previously configured. This update will not affect any rectangular, shed or hip wall presets. -
Version 1.8.2c - 01.28.2021
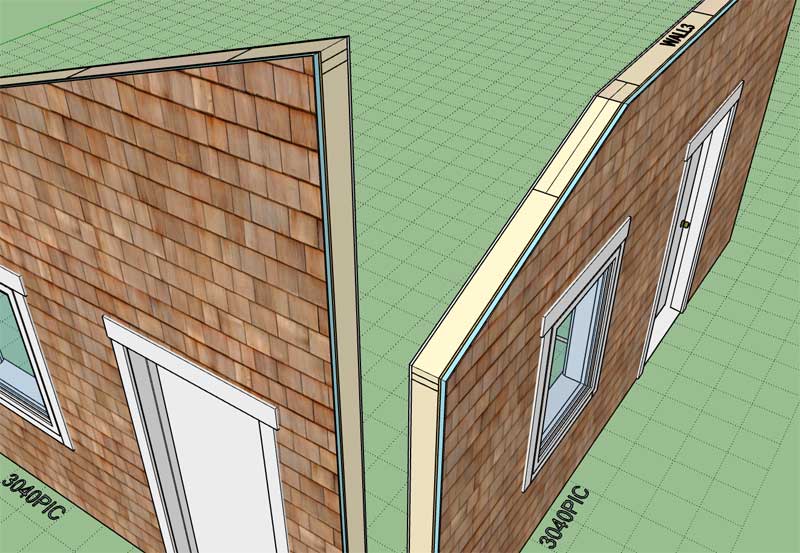
- Enabled a second layer of sheathing for exterior shed and hip walls.
!!! CAUTION !!!
Installing this update will require that you delete and recreate any HIP or SHED wall presets that you have previously configured. This update will not affect any rectangular or gable wall presets. -
This completes all of the upgrades necessary to enable the 2nd sheathing layer for all wall types. A tedious but necessary process, over 30 files where updated in the code but only four actual parameters added to the wall types.
Some minor cosmetic updates to the draw and edit menus of all the wall types. Hopefully the advanced options section is a bit easier on the eyes now and a bit more organized. All of these parameters can get a bit overwhelming at times even for myself, however each one is necessary so we can’t just wash our hands of them.
I may take a bit of a break today from the code but at the same time I’m chomping at the bit to at least get some sort of “Wall Dropper” tool up and running since I don’t think it would be that hard to implement and I do think it would be very useful.
-
Version 1.8.3 - 01.31.2021
- Added pocket doors to the door module.
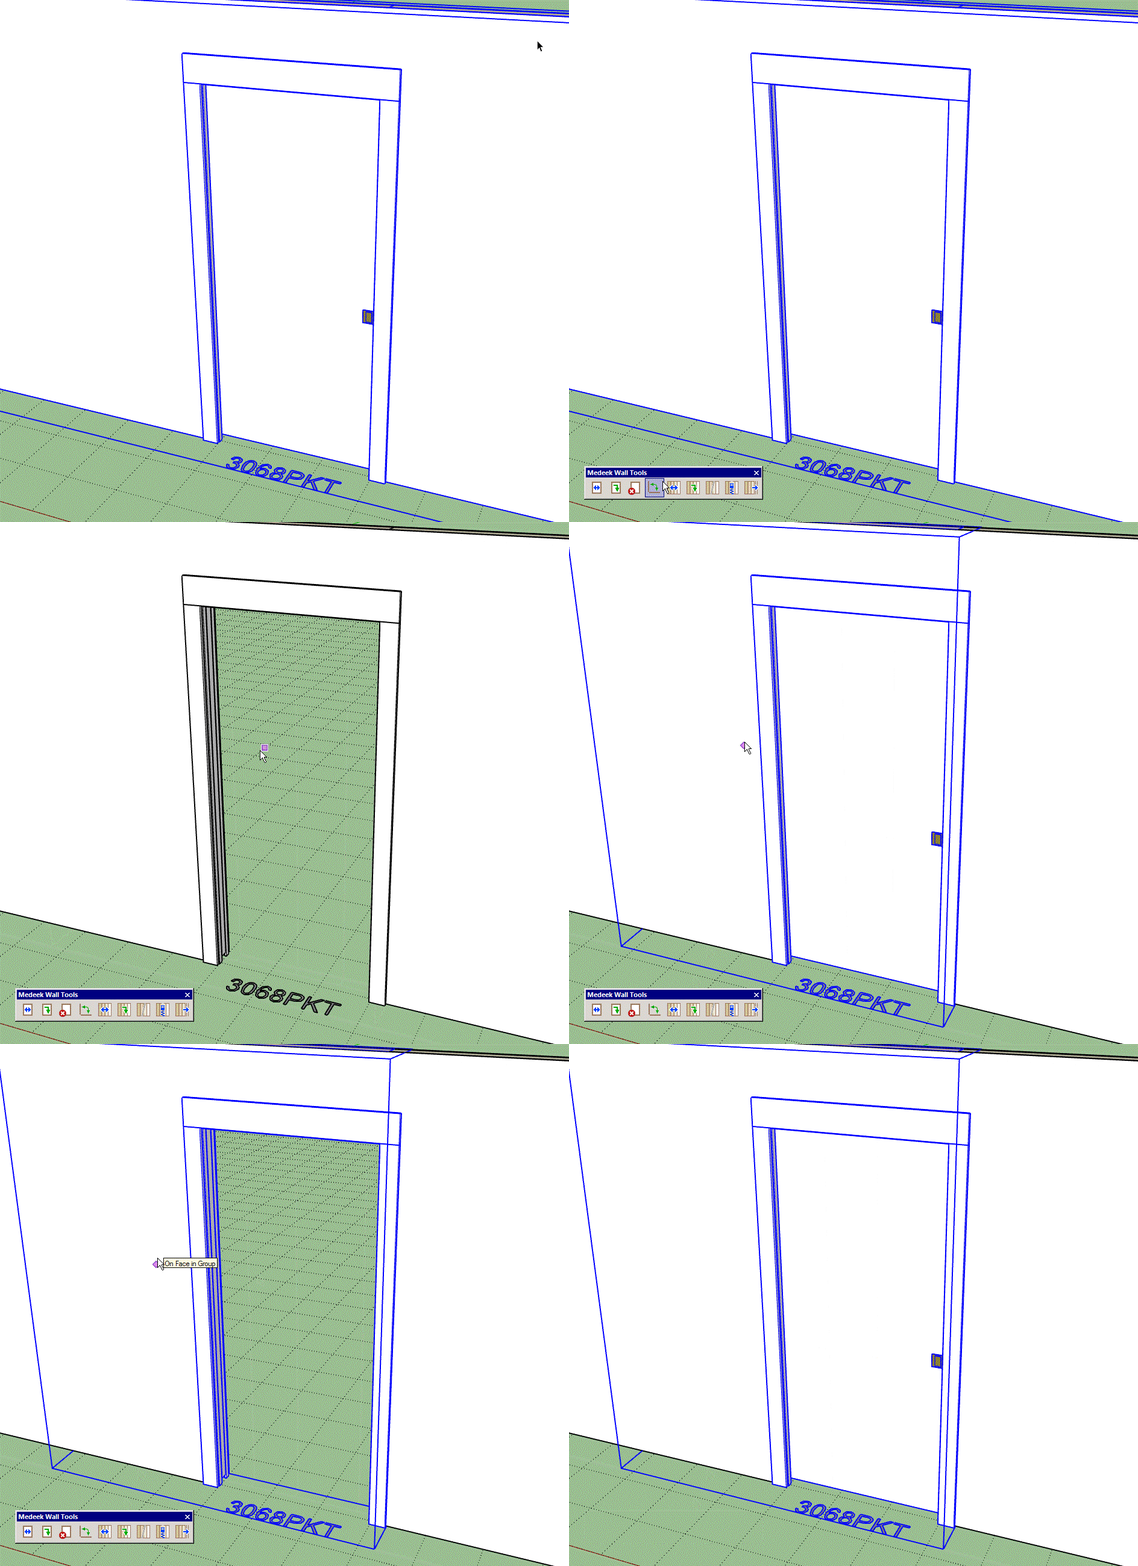
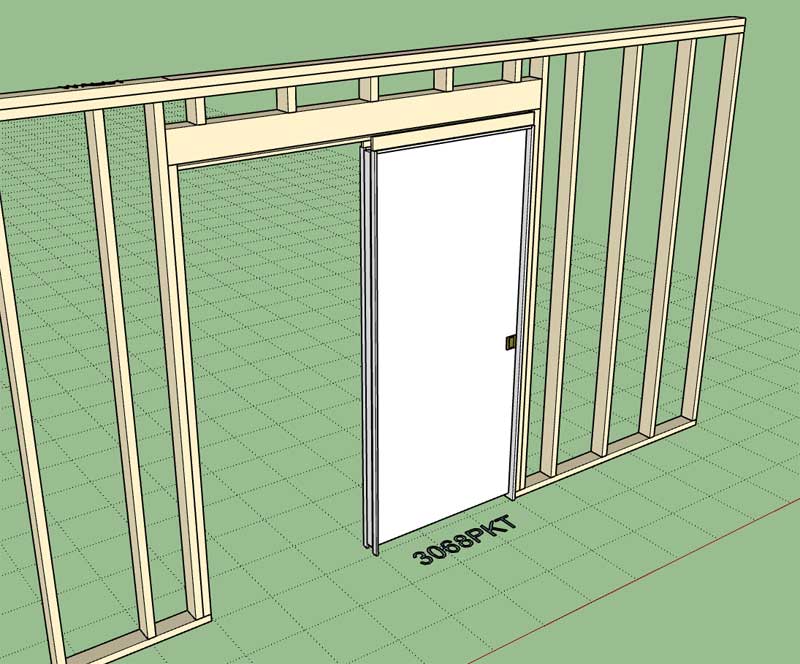
The pocket door algorithm is based on the 1500 series Johnson Hardware Pocket Door Frames:

Pocket Door Hardware | Johnsonhardware.com | Sliding | Folding | Pocket Door Hardware
Johnson Hardware Pocket Door Hardware
(johnsonhardware.com)
I am not modeling all of the details of the door assembly such as the steel studs or the track and jamb brackets, however I am modeling the prefabricated (wood) frame header assembly.
View model here:
3D Warehouse
3D Warehouse is a website of searchable, pre-made 3D models that works seamlessly with SketchUp.
(3dwarehouse.sketchup.com)
-
First look at a 4 Panel Bifold (closet) Door:

View model here:
3D Warehouse
3D Warehouse is a website of searchable, pre-made 3D models that works seamlessly with SketchUp.
(3dwarehouse.sketchup.com)
I still need to come up with the 2D symbol at the base of the door and even a more interesting problem is the opening algorithm for this door type.
The two outer panels are simple, they are merely a rotation just like a standard swing door. The inner panels on the other hand not only rotate but they also translate in relation to the outer panels since a hinge constrains them at that point. I like these kinds of "hard" problems.
Advertisement


