Medeek Wall Plugin
-
This weekend was one of those deals where life kind of got in the way. Busing kids to prom and taking my two youngest to breakfast at McD's, not exactly a breakfast for champions but a good time none the less.
I did manage to put out a few small fires and take care of some items that were a bit lower on the list.
I'll hit it hard again tomorrow, really excited to get the first iteration of the gable wall out.
-
Version 0.9.8e - 10.21.2018
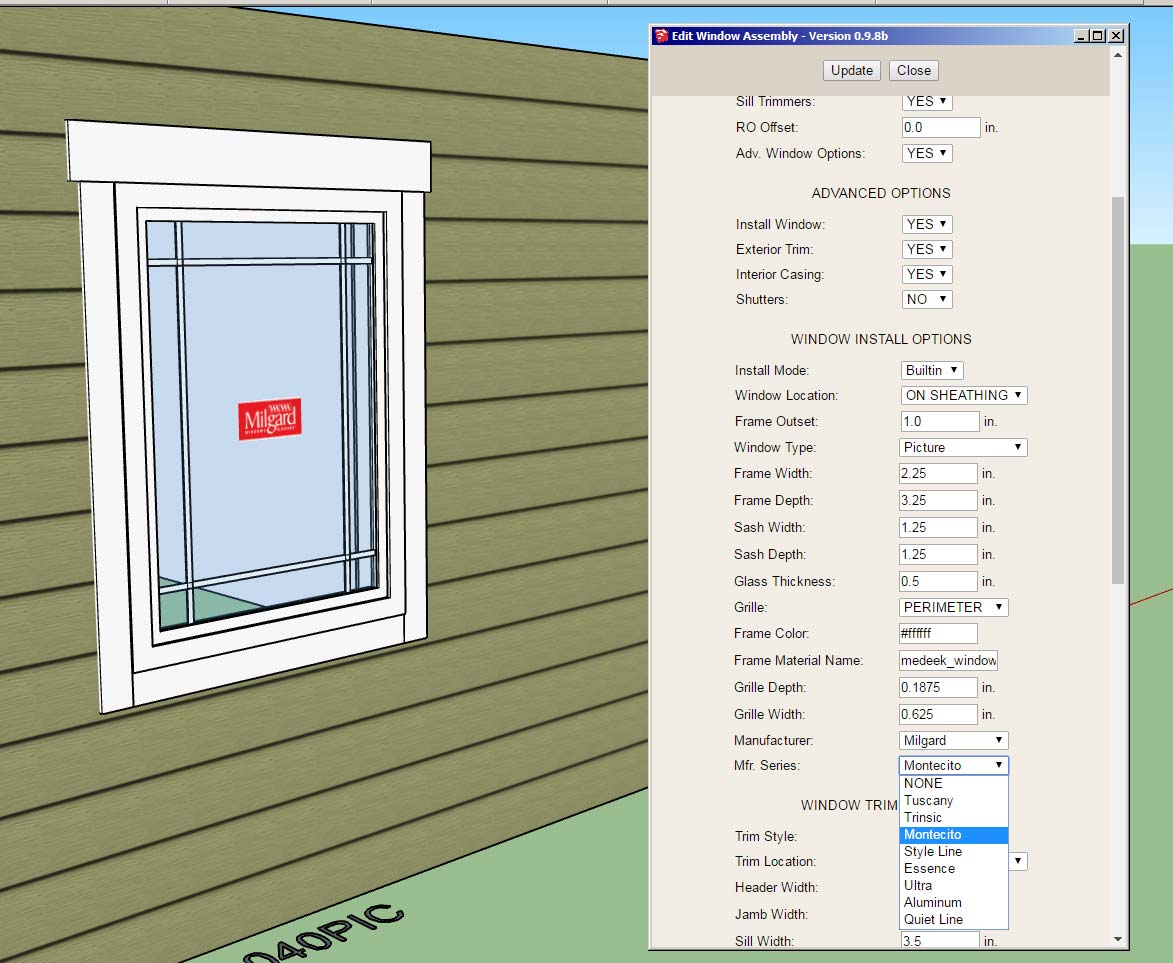
- Added a manufacturer's label and fields (mfr. and series) for windows.
- Added the following window manufacturers and labels: Alside, Andersen, Atrium, Harvey, Integrity, Jeld-Wen, Marvin, MI, Milgard, Pella, PGT, PlyGem, Simonton, YKK-AP
- Shutters Option added to the Windows tab of the global settings.
- "Window Trim Inset" parameter added to the Windows tab of the global settings.
The Window Trim Inset parameter allows the trim to be brought right up against the window. Previously the trim around the window was flush with the framed opening however since the window is typically 1/2" less in overall size than the framed opening this left a 1/4" gap all the way around the window.
The default value for the inset parameter is 1/4" so that the trim butts right up to the window frame. This parameter can be set to a positive or negative value. If the parameter is set to zero then the trim will be flush with the framed opening.
The shutter option parameter allows one to set the default behavior of this advanced option for the window draw tool.
The manufacturer series parameter has been added however I have not yet added all the series for each manufacturer. I will be contacting each manufacturer and inquiring which of their window series should be added to the plugin.
-
Putting a few fires out this morning and a couple things jumped out at me:
1.) In your wall preset names keep it simple. Best practice is to stick with simple alpha numeric names. Using double quotes appears to cause some issues with the javascript of the HTML menu and will cause the presets not to load. Spaces and periods are okay.
2.) Just a reminder that loading and using a preset is a three step process (this needs to be streamlined into a two step process). Select the preset from the drop down menu, load the preset (click the load button) and then activate the newly loaded values with the update button (click the update button). Then begin to draw.
3.) Inserting the wall groups within other groups essentially hides them from the plugin. The auto-corner config module is looking for wall panel groups in the root of the model. It does not check inside of other groups and look for nested wall panel groups. If you place wall panel groups within other groups it will essentially ignore these walls, it doesn't know they exist.
-
In the global settings I am calling the (three) layers that I use for labels and annotations "Dimension" layers.
Technically this isn't quite correct since I am not placing dimensions on this layer rather annotations, text and labels as well as some symbols (windows, doors, holdowns, straps etc...)
What would be a better name to give these layers?
-
Version 0.9.8f - 10.23.2018
- Critical fixes in the following modules: Auto-Corner Config, Shutters, Sheathing and Cladding.
- Loading wall presets changed to a two step process. Clicking the update button is no longer required to activate a loaded preset.
- Wall edit menu updated to allow for sequential selection of wall panels for quick editing.
There are even more minor fixes that are too numerous to list.
The wall edit menu update should be a welcome fix. If you are right clicking on each wall to edit them then each time you right click and "Edit Assembly" the wall settings will appear in the edit menu for that wall. Previously a separate window would open up for each wall panel but only the last edit window actually worked. This resolves that issue and makes it more intuitive and robust.
If you are using the edit icon to edit walls this is even a quicker method of selecting and editing walls. After you select a wall the tool remains active and you can continue to select and update walls by clicking on your target wall panels. To terminate the tool, close the edit menu and hit the space bar.
Both methods of editing are now faster and much more intuitive and robust.
-
Version 0.9.8g - 10.24.2018
- Corrected a bug in the Walls tab of the global settings involving the wall presets selection field.
- Added a blocking thickness parameter in the Walls tab of the global settings.
This particular bug in the Walls tab only became an issue when a previously selected default preset was deleted and then the user navigated to the Walls tab after the deletion.
Now the javascript checks first for the existence of the default preset before trying to assign it in the drop down menu.
Not a really big issue but in a certain state it will lock up the form and not allow the user to save their settings.
The blocking thickness parameter was a quick item to add per a user request. Note that this is a global default and cannot currently be adjusted per wall panel. If we need more granularity I can do that but it means an additional parameter in the attribute library of the wall panel which means it will break backward compatibility with previous versions of the plugin.
-
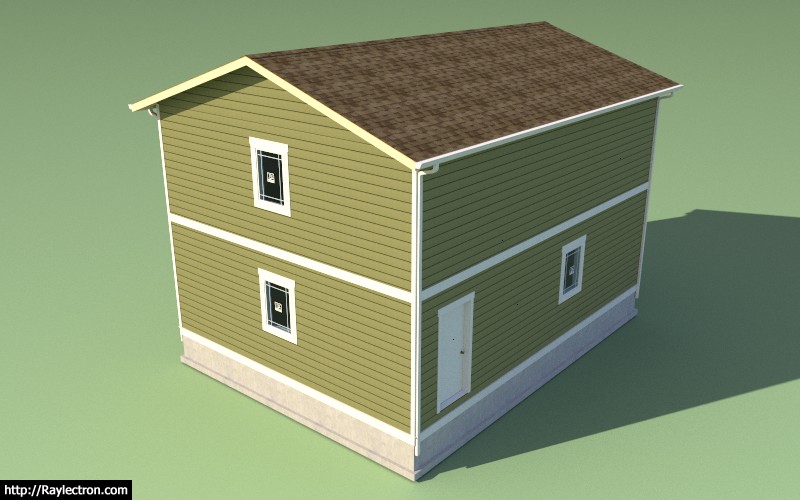
Medeek Wall Plugin Tutorial 5: Multi-Story Construction
View model here:

3D Warehouse
3D Warehouse is a website of searchable, pre-made 3D models that works seamlessly with SketchUp.
(3dwarehouse.sketchup.com)
-
Version 0.9.8h - 10.25.2018
- Fixed a bug with the blocking parameter for metric templates.
If your using metric templates you will want to upgrade to this version otherwise your blocking will appear too large as it will not be converted from millimetres to inches in the final drawing step.
A critical fix for clients using metric.
-
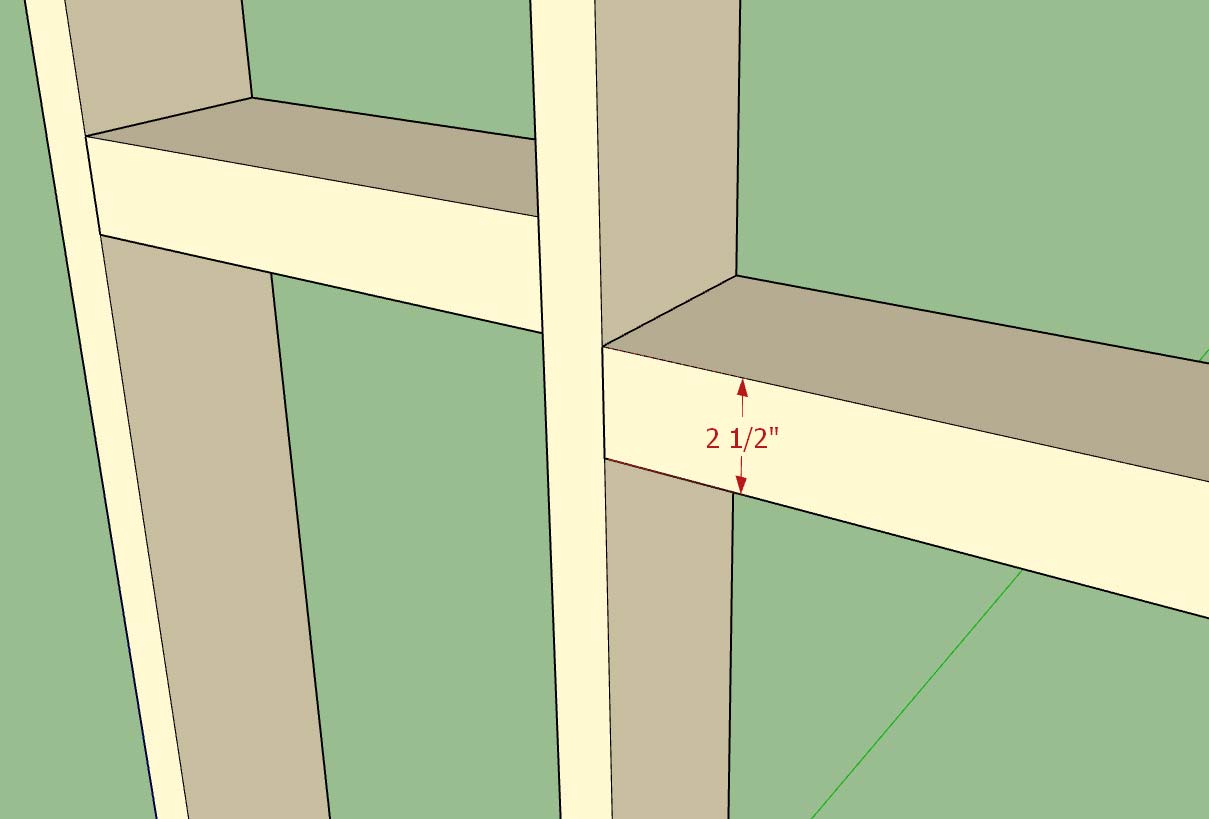
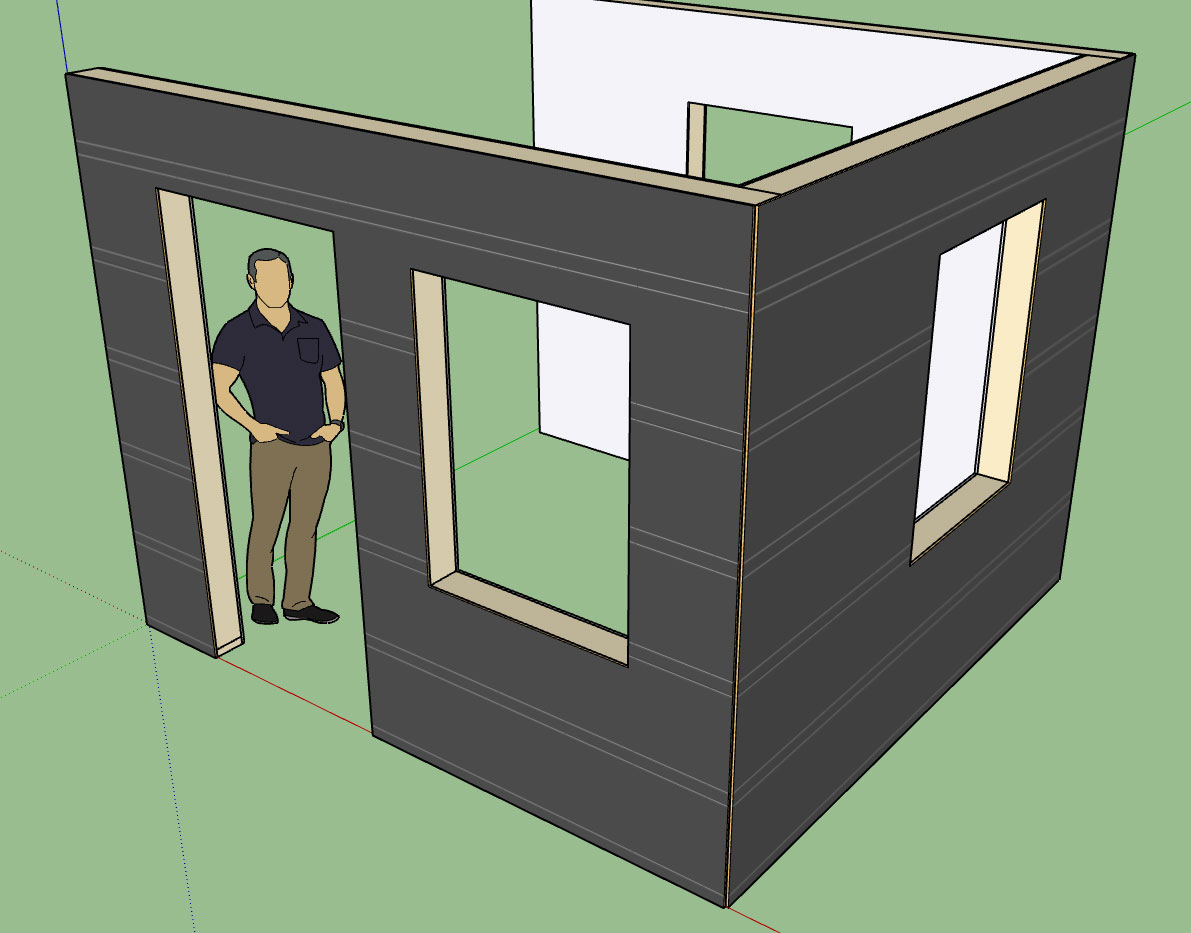
As a follow up discussion to the multi-story tutorial I was asked a question by a designer regarding installation of a band board between the two stories as shown below:
To be honest I hadn't tried this before but the band board is provided by the 1st level walls and then its height is actually set such that it is actually above the sheathing, cladding and wall height. It seems this is possible.
On the same token one could use the 2nd story walls to specify the band board and input a negative number to set the band board below the actual wall itself.
In this particular design case, there is more than one way to solve the problem.
The frieze and skirt boards are a little more static, in that they will always be positioned at the top and bottom of cladding respectively.
On a slightly different note you will notice that we are already at revision "h" of version 0.9.8:
Medeek Design Inc. - Medeek Wall Plugin Changelog
Medeek Design Inc. - Medeek Wall Plugin Changelog
(design.medeek.com)
Quite a few updates to this version. The reason I haven't rolled to 0.9.9 is because I am saving that version for the stair module roll out and then version 1.0.0 will be when I roll out the gable wall module.
At that point I will be taking the plugin out of BETA which in all reality means that I am then paying attention to backward compatibility issues and actively trying to maintain it so that new upgrades do not cause problems.
Version 1.0.0 also means that I will be further reviewing my pricing structure and my licensing system. There has been some pressure from various quarters to move to a subscription based licensing system even though I have resisted this move.
If I do move to a subscription system the good news is that all currently licensed users will be grandfathered in so that they will not be required to renew a yearly subscription, their licenses will always remain permanent.
As an incentive to encourage more early adopters I will be running a "Thanksgiving Promotion" on all of the plugins until Nov. 23 (Black Friday). For all plugins purchased between Oct. 15 thru Nov. 23 your typical two year license will be doubled to four years and your one year foundation plugin will be doubled to two years.
For those who have recently purchased any of the plugins please send me an email and I will honor this promotion by extending your license exp. date.
-
***** UPGRADE WARNING *****
One thing that has come to my attention is that when upgrading to the latest version of the plugin (0.9.8h) and you are upgrading from a previous version that did not have the new dimension layers (dim2 and dim3) added, you may encounter this error:
Error; #<TypeError; no implicit conversion from nil to integer>
c;/users/dscott/appdata/roaming/sketchup/sketchup 2018/sketchup/plugins/medeek_wall_ext/medeek_wall_globals.rbs;1445;in `[]'
The quick fix for this error is to reinitialize the layers by clicking on the global settings and then navigating to the Layers tab. This alone will reinitialize any missing or newly added layers.
In the next version I will add some additional code that checks for this type of situation, so that it is no longer an potential issue in future releases.
-
The next release of the plugin will have an arrow as shown to the right of the tabs in the global settings which will take the user to the next set of tabs:
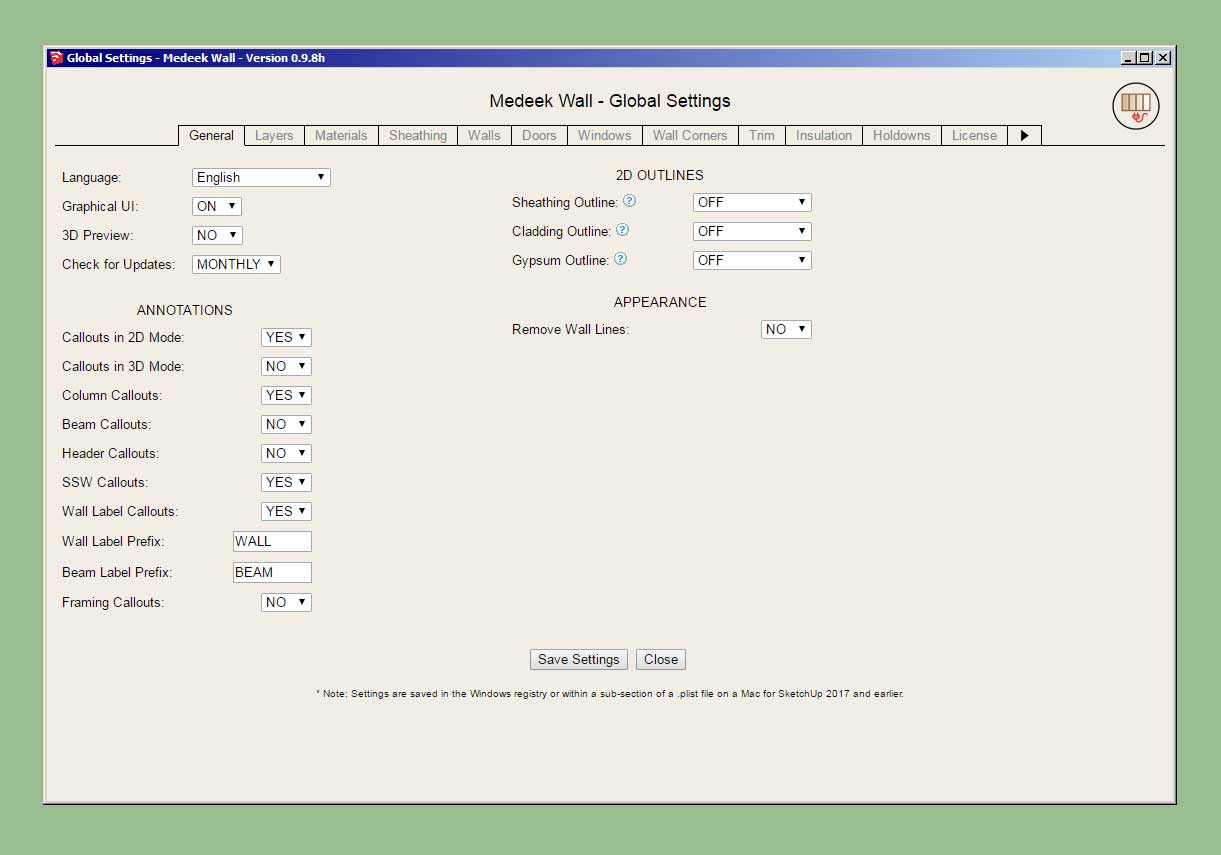
Currently there are nine new tabs planned, most of which will have an under construction sign until I fully flesh them out:
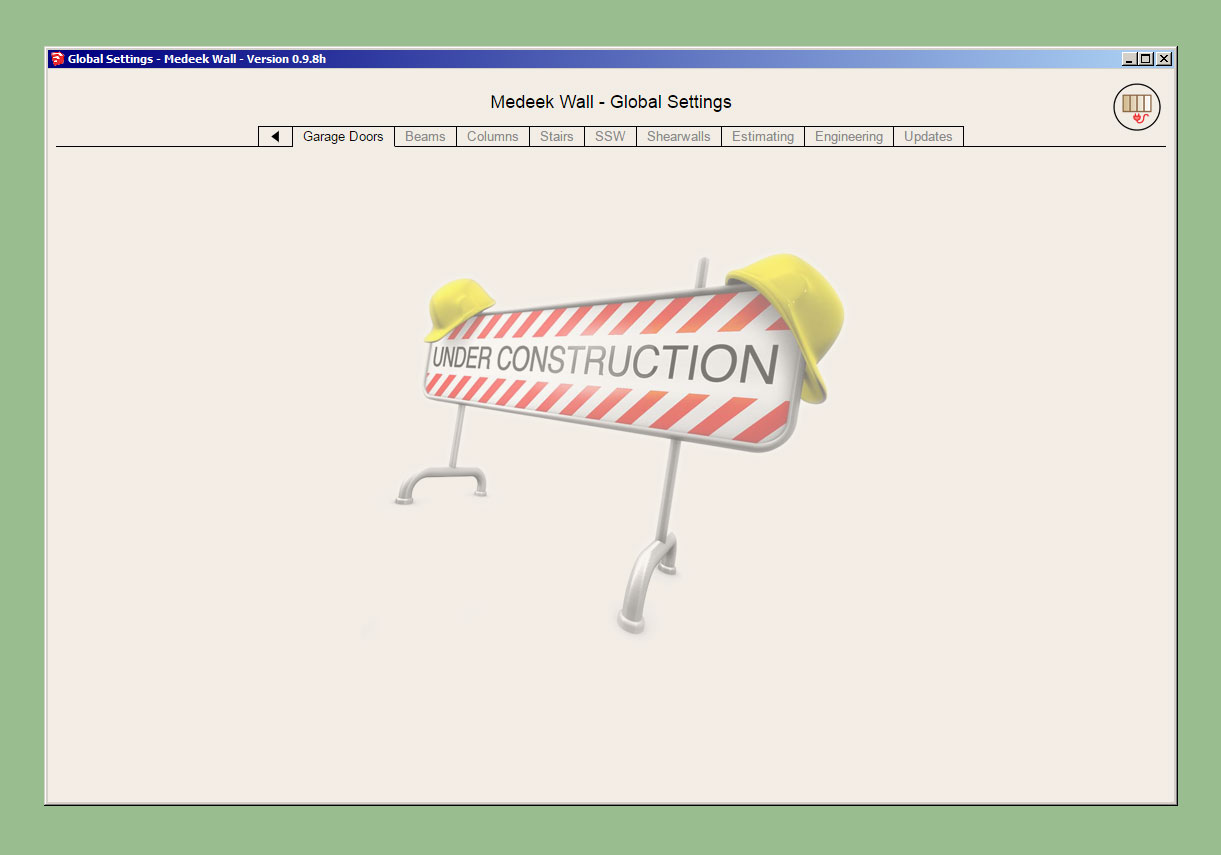
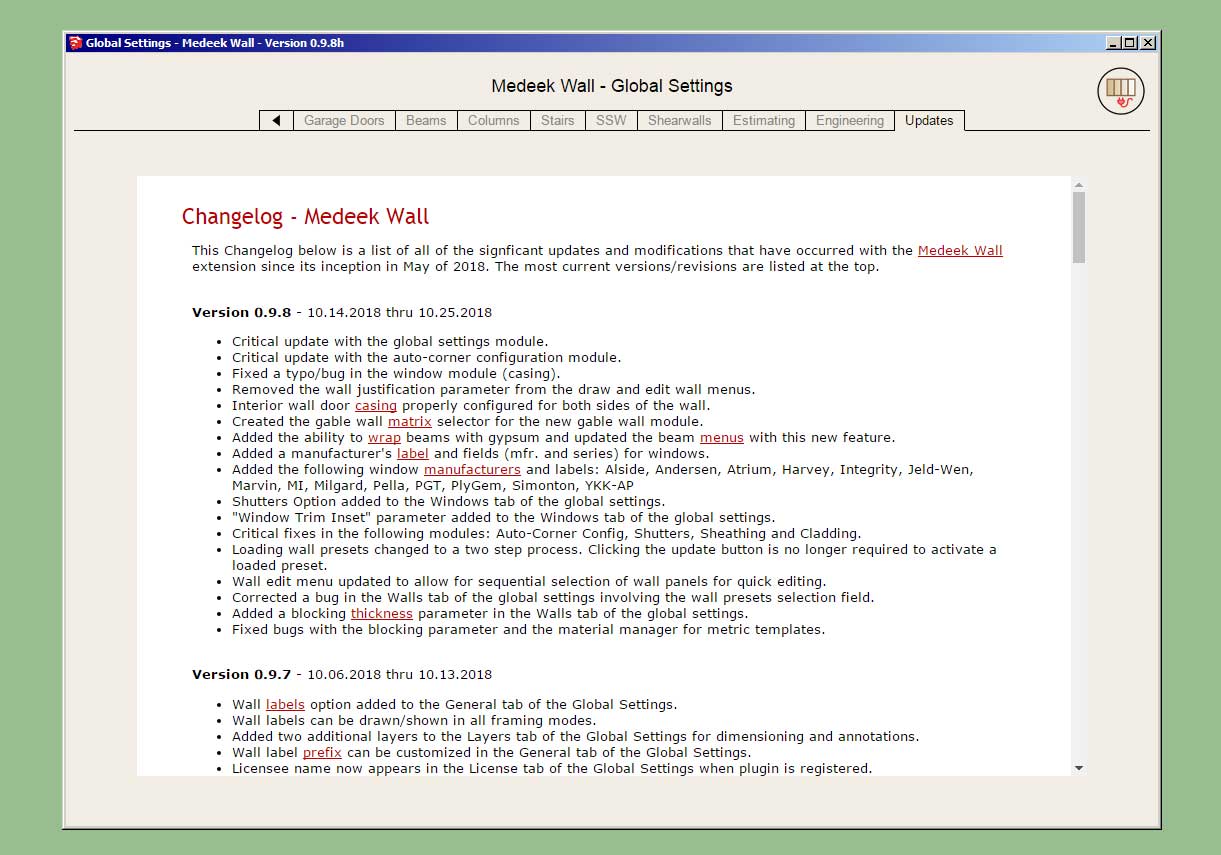
The Updates tab will display the current changlog which is paralleled on the website as well.
Clicking the left arrow will return the user back to the first set of tabs.
If required an additional right arrow can be added to the second set of tabs taking the user to the third set of tabs.
In total there are 12 tabs in the first set and 9 tabs in the second set, for a total of 21 tabs in the global settings.
-
Version 0.9.8i - 10.28.2018
- The following tabs added to the global settings: Garage Doors, Beams, Columns, Stairs, SSW, Shearwalls, Estimating, Engineering and Updates.
- Enabled custom materials for gypsum in the HTML wall draw and edit menus.
- Felt + OSB material added to the pre-installed plugin materials.
Felt + OSB is similar to Tyvek + OSB where the outer face of the OSB has the felt material applied.
The felt material application depicts a typical 36" roll with 2" of overlap.
The change to the way I'm handling the gypsum material is a significant upgrade and allows for usage of custom materials from the material library within the global settings.
-
OSB stands for oriented strand board.
The most common uses are as sheathing in walls, flooring, and roof decking
OSB is a material with favorable mechanical properties that make it particularly suitable for load-bearing applications in construction. It is now more popular than plywood, commanding 66% of the structural panel market. The most common uses are as sheathing in walls, flooring, and roof decking
Oriented strand board (OSB), also known as flakeboard, sterling board and aspenite in British English, is a type of engineered wood similar to particle board, formed by adding adhesives and then compressing layers of wood strands (flakes) in specific orientations.
-
In a high moisture climate (like on the beach here in Western Washington) I would recommend staying with plywood, but most new construction for walls is 7/16 OSB anymore.
-
The current Wall Plugin ToDo list as of 10/29/2018:
1.) Gable Walls (Standard and Shed) [in progress]
2.) Stair Module (straight run then landings and complex shapes) [in progress]
3.) Estimating [in progress]
4.) Adv. Gypsum (multi-layer gypsum both sides of int. walls)
5.) Custom width of king and trimmer studs for doors, windows and garage doors.
6.) Transom windows above doors (rectangle and arch)
7.) Additional door types (bifold, sliding glass, pocket doors)
8.) Join/Split Wall Tools
9.) Wall Stretch Tool
10.) Wall Grouping
11.) Wall Dropper
12.) Engineering
13.) Levels/Stories Manager
14.) Interior painting of gypsum
15.) Wall justification in draw wall tool.
16.) Gypsum backer studs at tee intersections
17.) Interior Trim (crown molding, baseboard, chair rails, wainscoting)
18.) Global Settings (8 new tabs) [in progress]
19.) Shear Wall ModuleSome of these are extremely high priority and some of these are much lower on the list.
-
Version 0.9.8j - 10.30.2018
- Advanced layers (headers, kings and trimmers) enabled for door, window and garage door framing.
Somehow along the way I setup advanced layers for the framing however they did not get fully implemented until now.
-
With balloon framed gable walls one often sees a lot of trapezoidal picture windows used in these walls:

I need a little more guidance on the most typical way these openings are framed out. If a header is installed it would have to be inclined and would follow the pitch of the roof.
Any framing details or suggestions would be greatly appreciated.
-
Version 0.9.9 - 10.30.2018
- Enabled custom window header and trimmer widths within draw and edit menus.
- Added king and trimmer width parameters to Windows tab of global settings.
- Fixed a bug with insulation positioned above windows where trimmer quantity is greater than one.
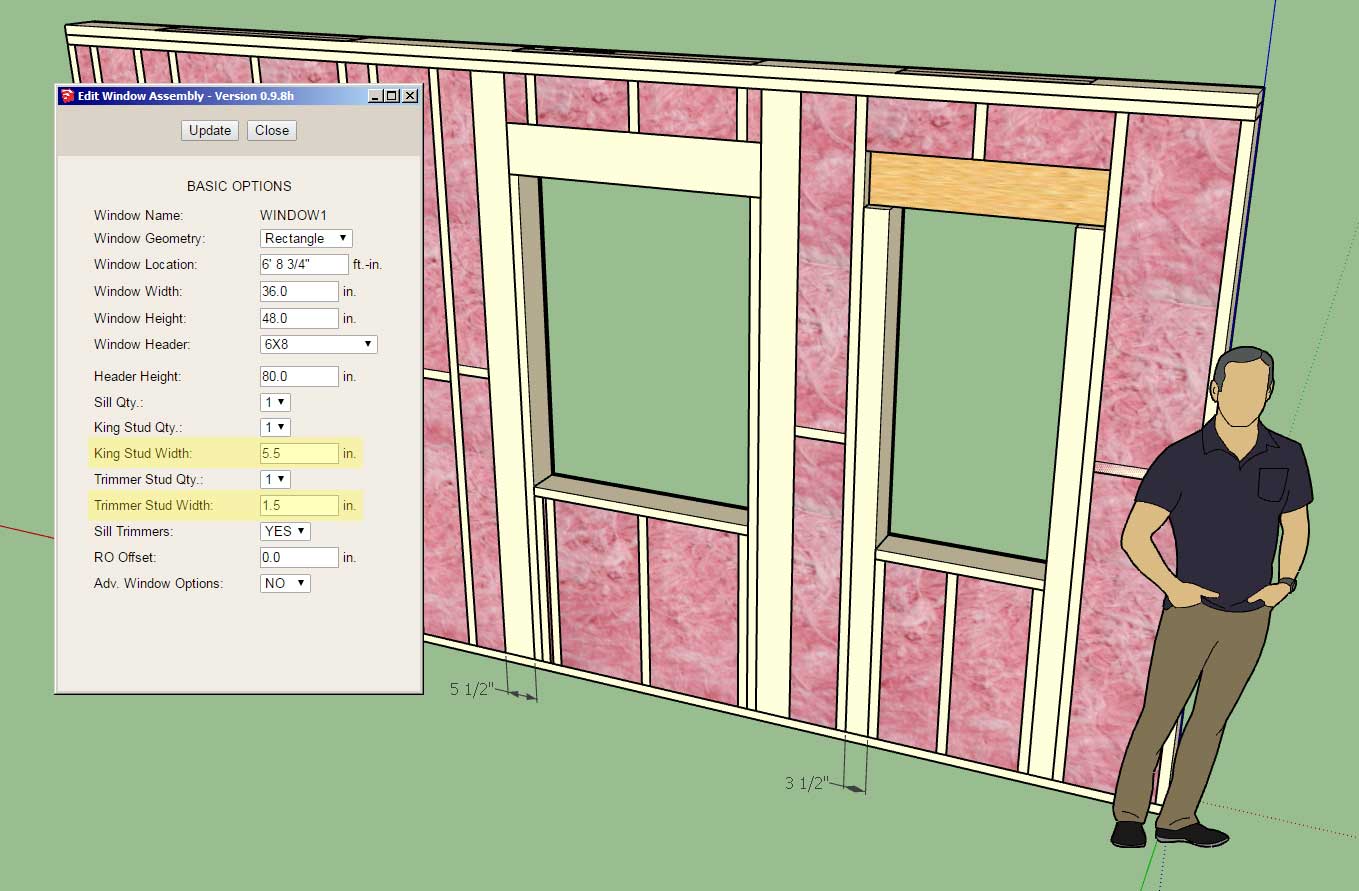
This addition was per customer request. I will probably add the same two additional parameters for doors and garage doors in the very near future.
-
On a somewhat related note to the last post I'm looking at various photos of typical residential framing and I've noticed that many framers will include a plate below or above the header or both:
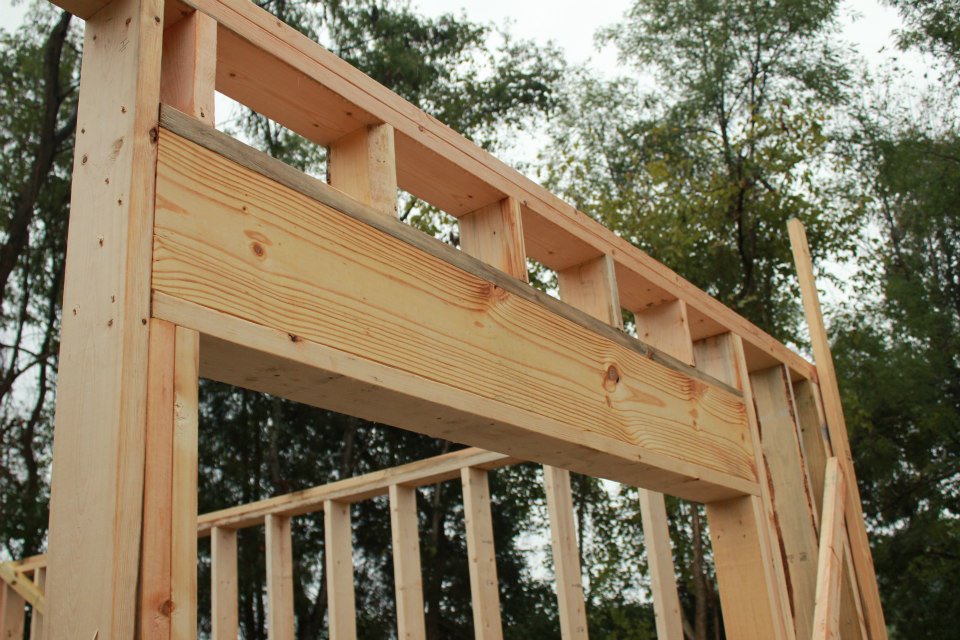
Any thoughts on this?
Do I need to add this in as another option?
-
Sounds like I need to provide the option for a header top plate and header bottom plate, (not sure what the exact terminology for these plates should be).
Hello! It looks like you're interested in this conversation, but you don't have an account yet.
Getting fed up of having to scroll through the same posts each visit? When you register for an account, you'll always come back to exactly where you were before, and choose to be notified of new replies (either via email, or push notification). You'll also be able to save bookmarks and upvote posts to show your appreciation to other community members.
With your input, this post could be even better 💗
Register Login


Advertisement