Small swing arm desk lamp
-
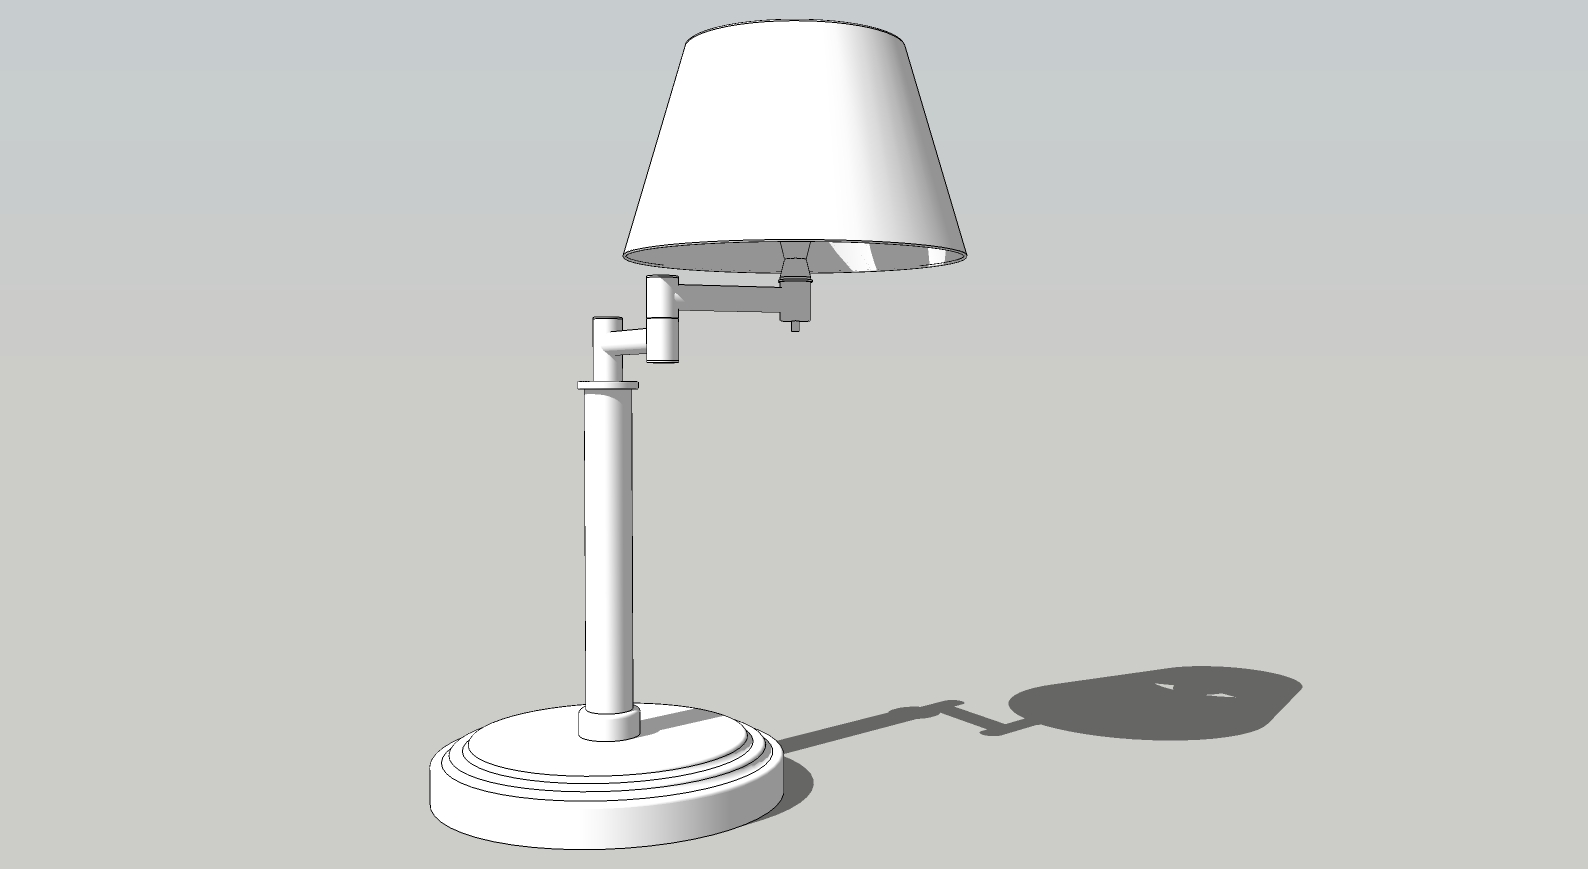
Small swing arm desk lamp.
Push Pull is giving me some serious grief. It either won't move the face or it moves too far and I have to use scale to size it to where I want.
Anyway, WIP just to get back into the flow of things.
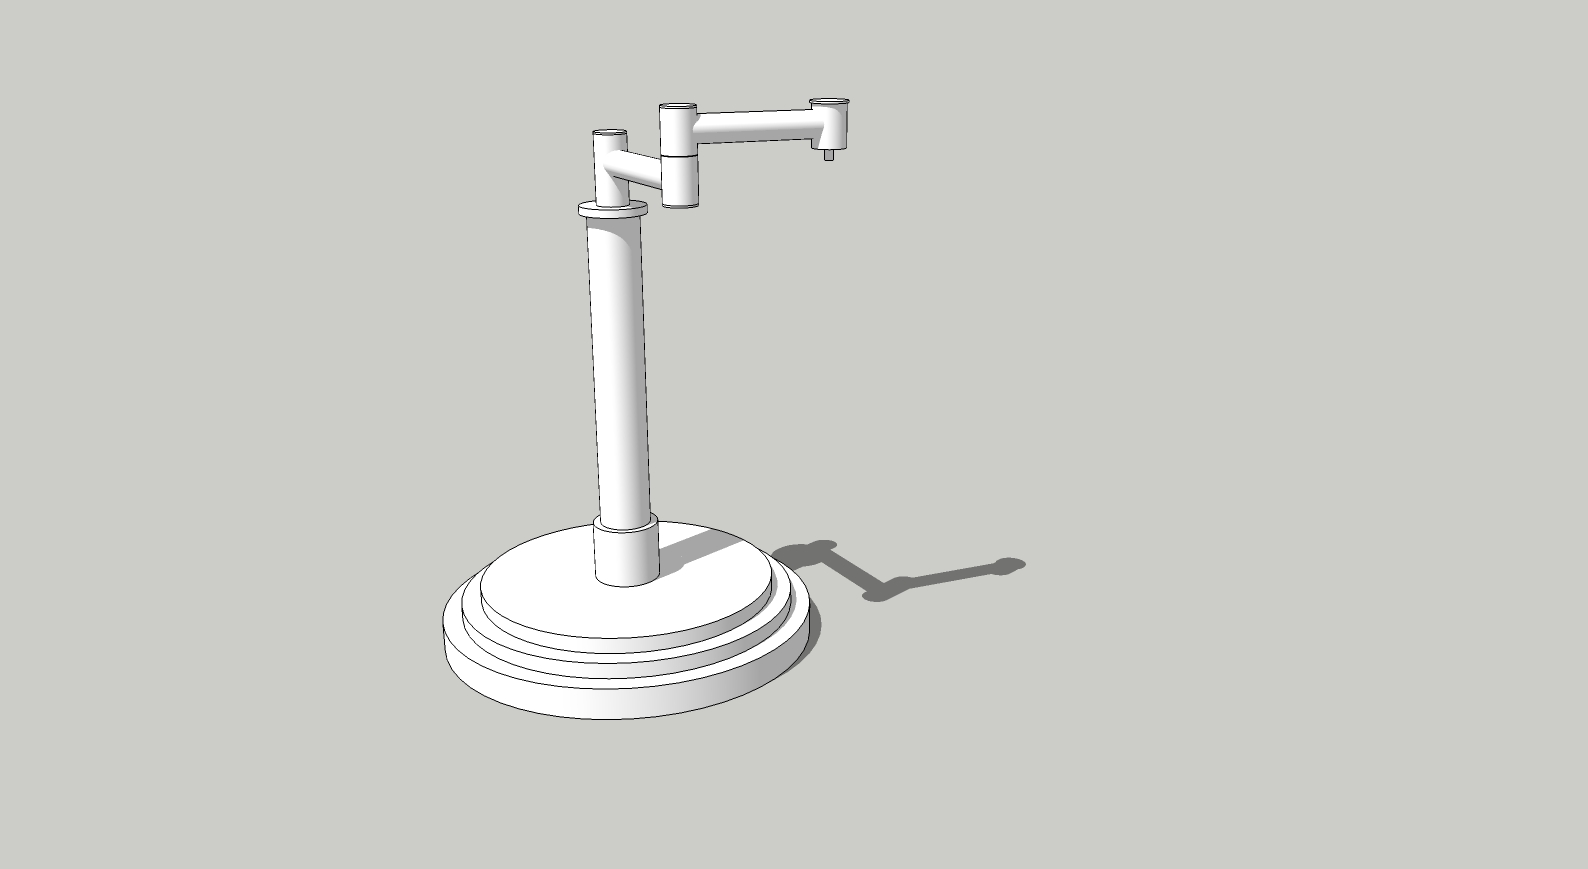
-
Ah, Figured it out. The Joint Push Pull suite has superseded the stock Push Pull. Works perfect in Joint Push Pull Normal.
-
Still having problems with other tools not moving smoothly.
-
Just had to fiddle with the settings. Working better now.
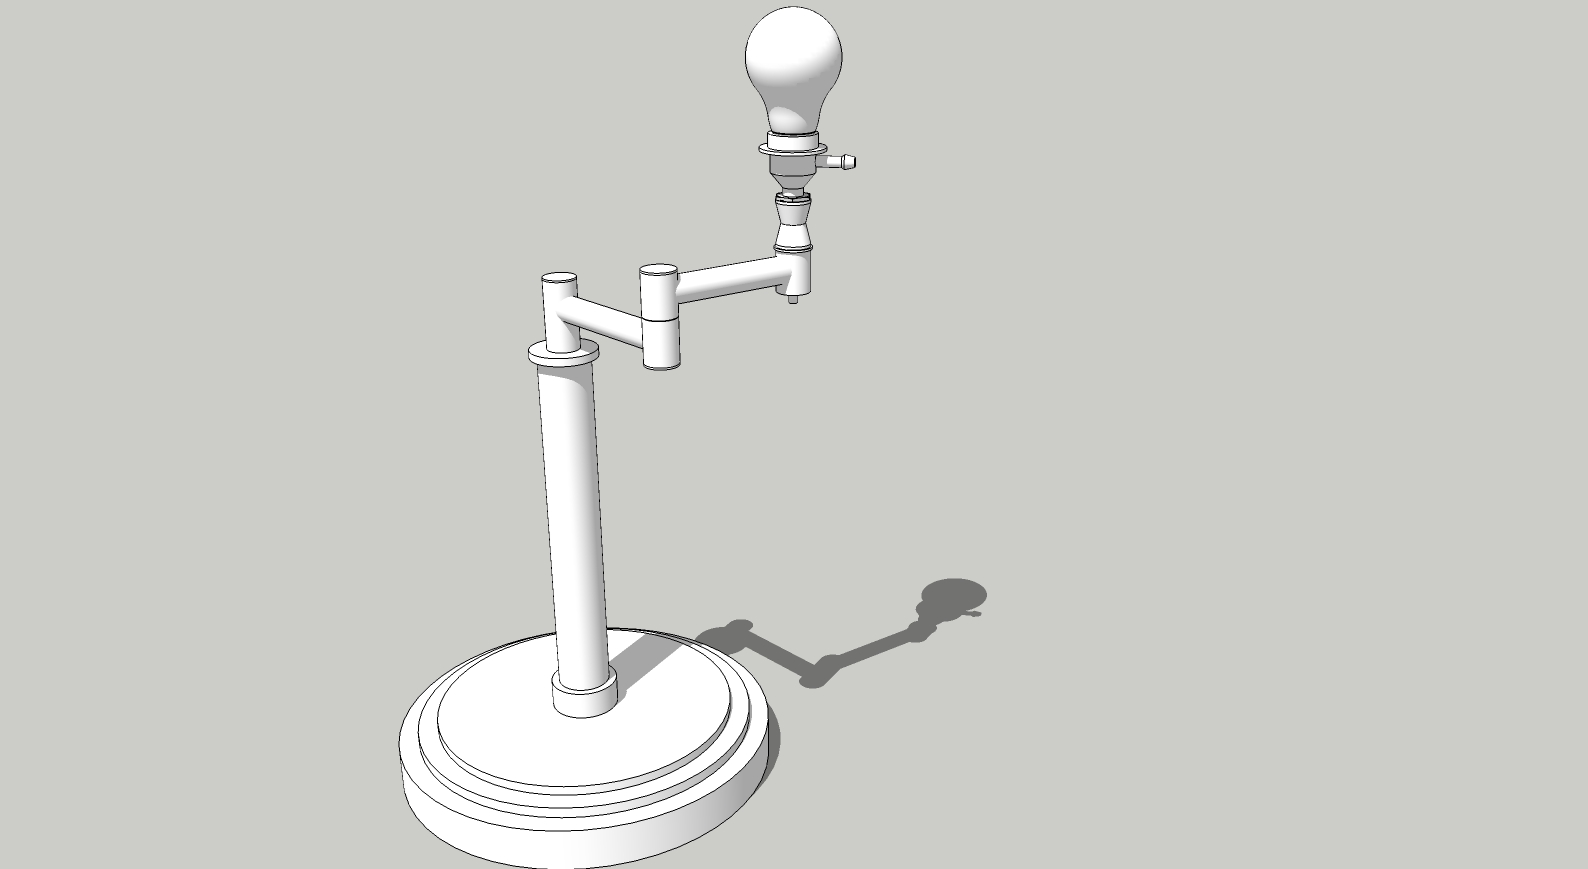
-
More refinements. Lampshade coming.
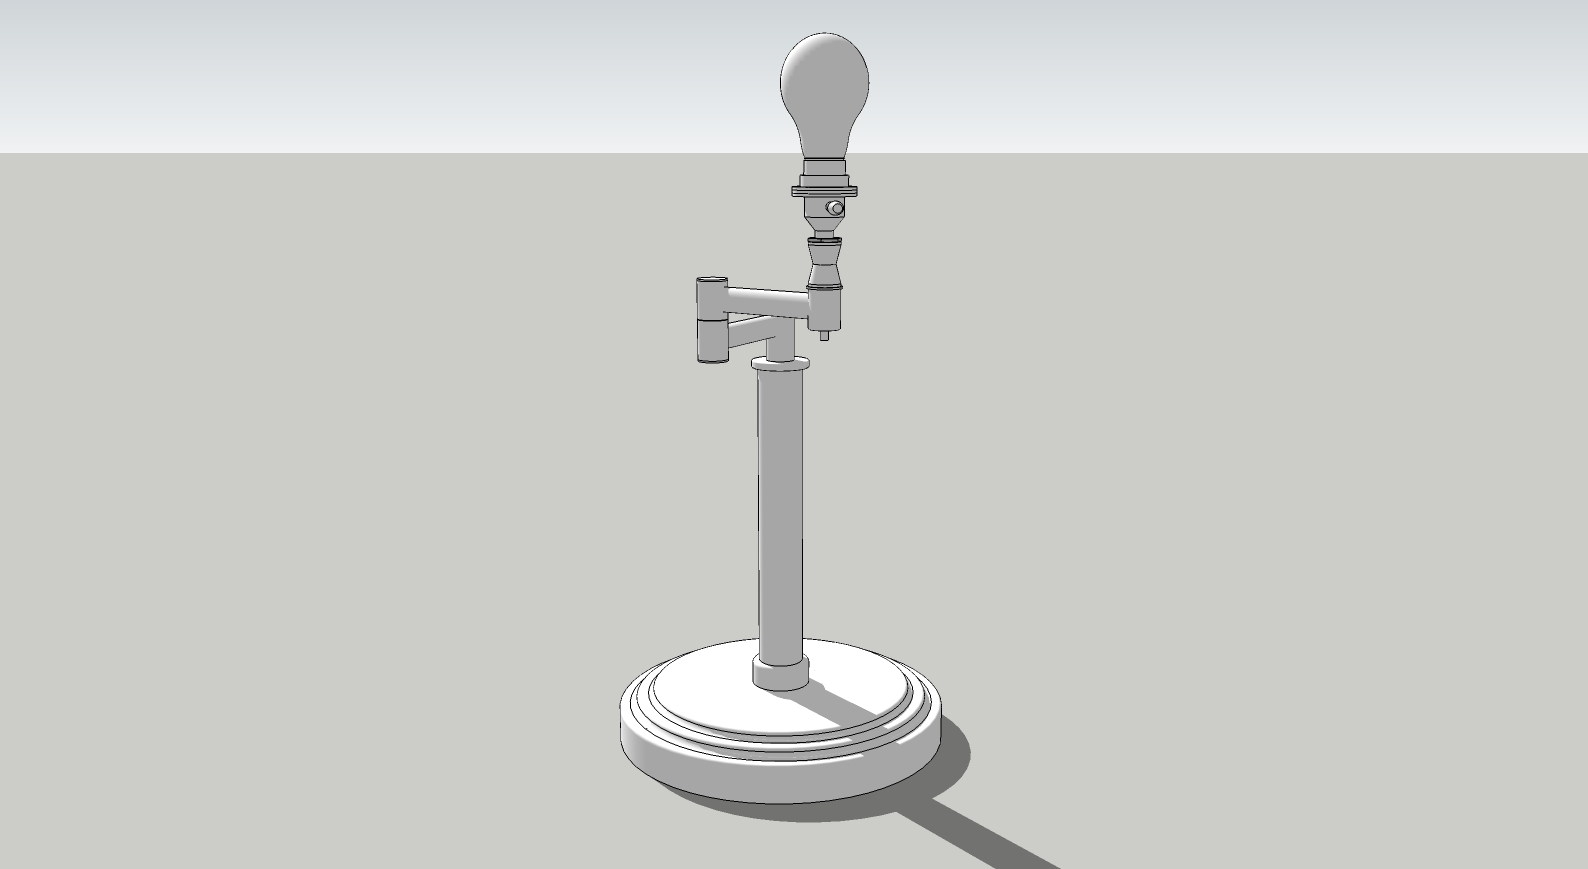
-
I like these "step by step" posts very much - thanks for sharing this one and please continue

-
Nice one.
-
@hornoxx said:
I like these "step by step" posts very much - thanks for sharing this one and please continue

Thanks. I skipped a lot of steps but as most of it is simple cylinders, I didn't think each individual step was necessary.
-
@mike amos said:
Nice one.
Thanks. This is mostly a project to get 2015 set up and running. This is the first time I've used 2015 to make a model, so I needed to tweek and configure the preferences and learn where some of the setting controls moved to.
You would not believe how long I struggled with the new arc tools.

-
@hornoxx said:
I like these "step by step" posts very much - thanks for sharing this one and please continue

+1
-
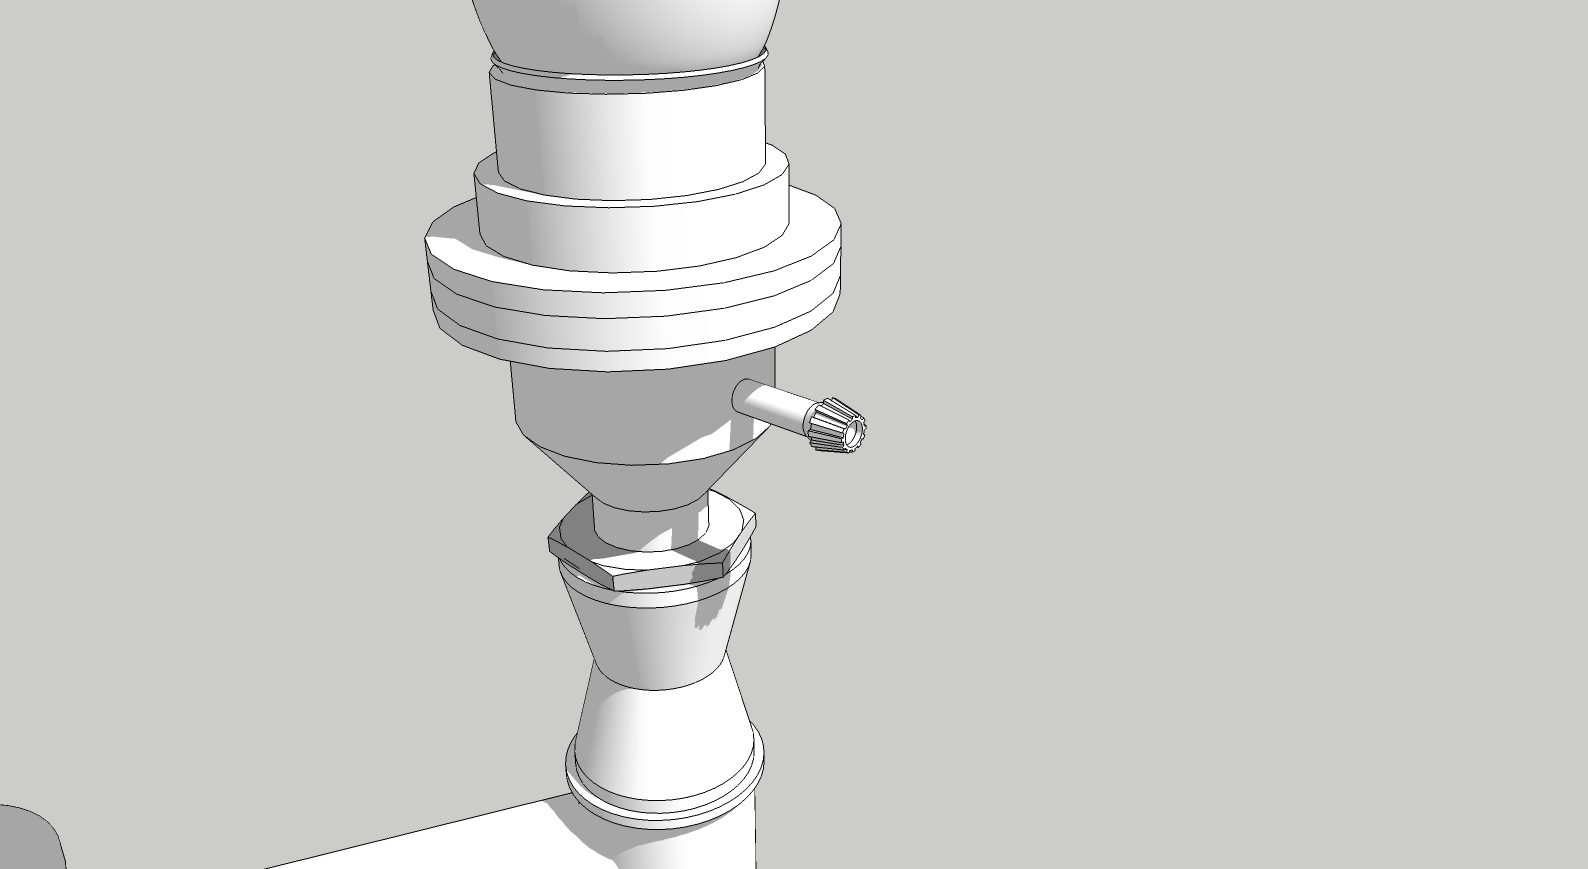
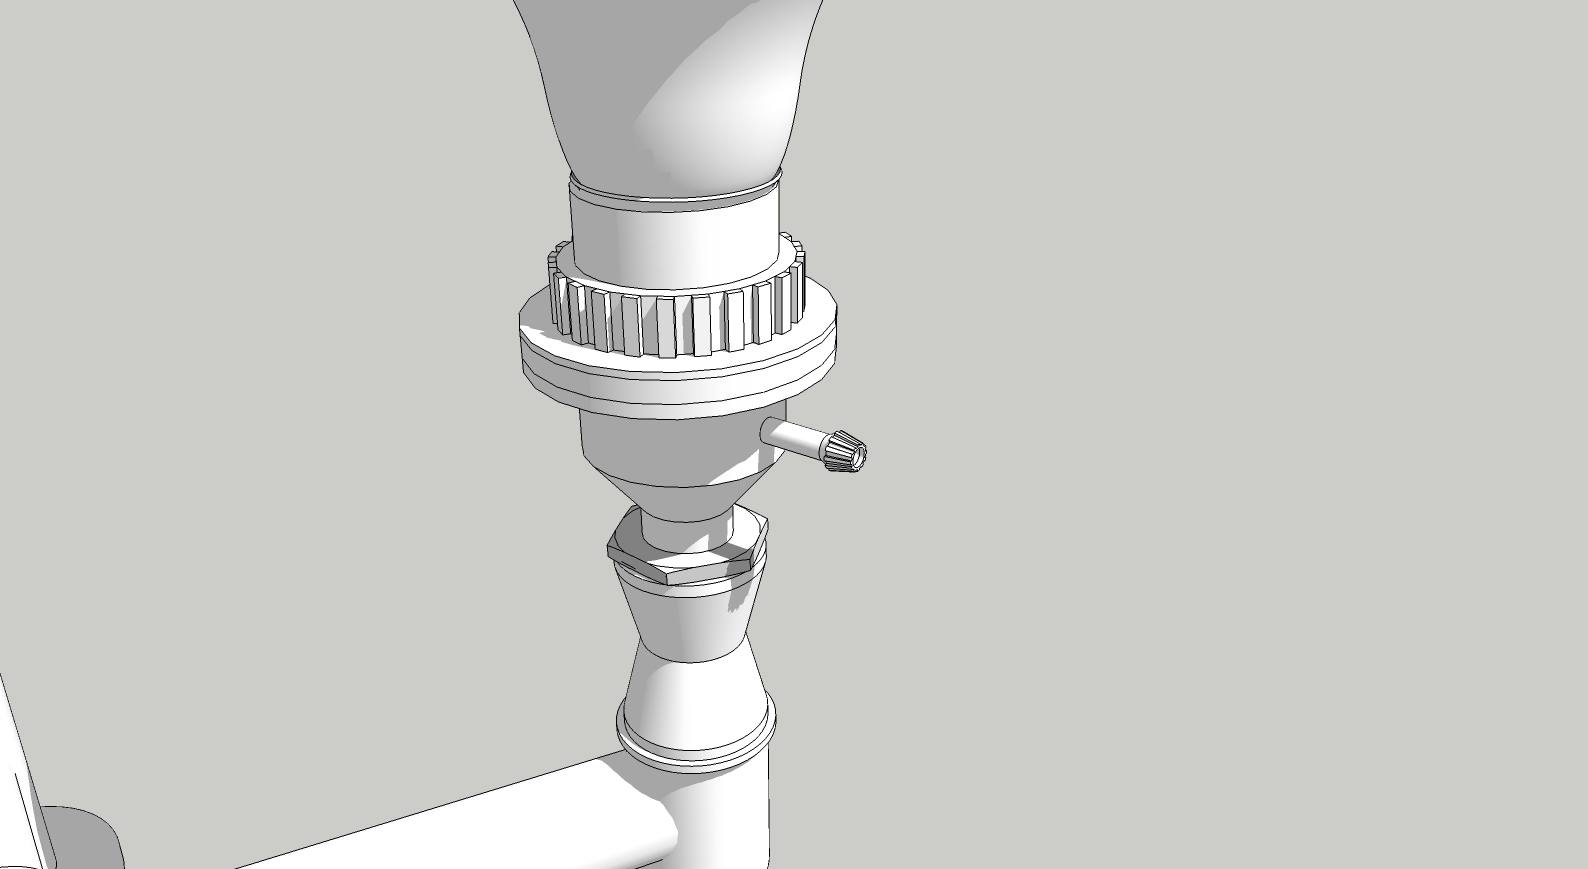
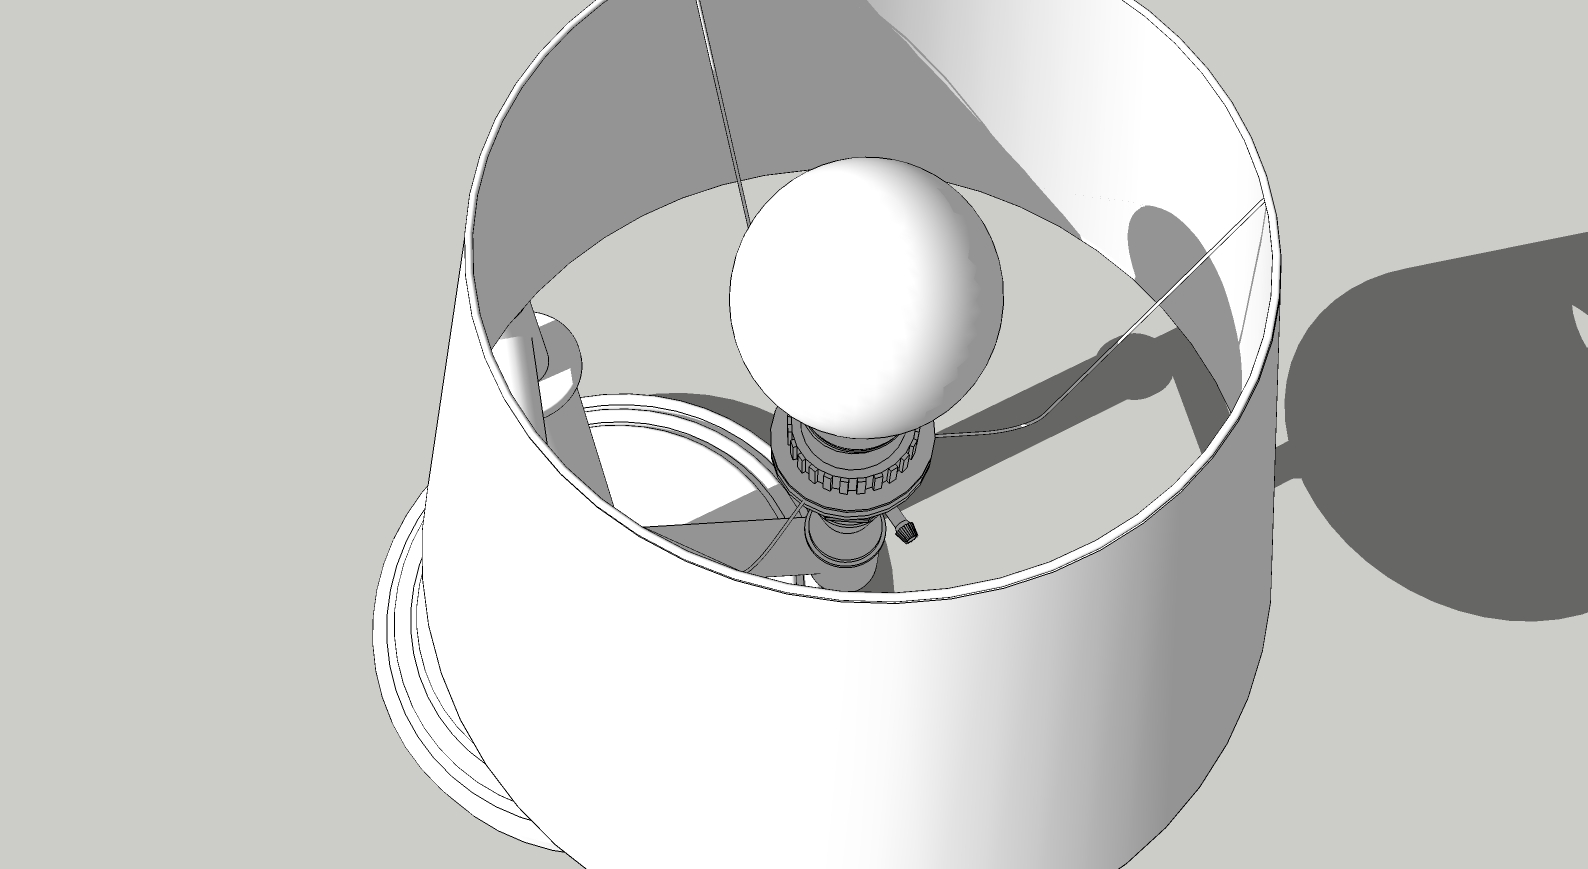
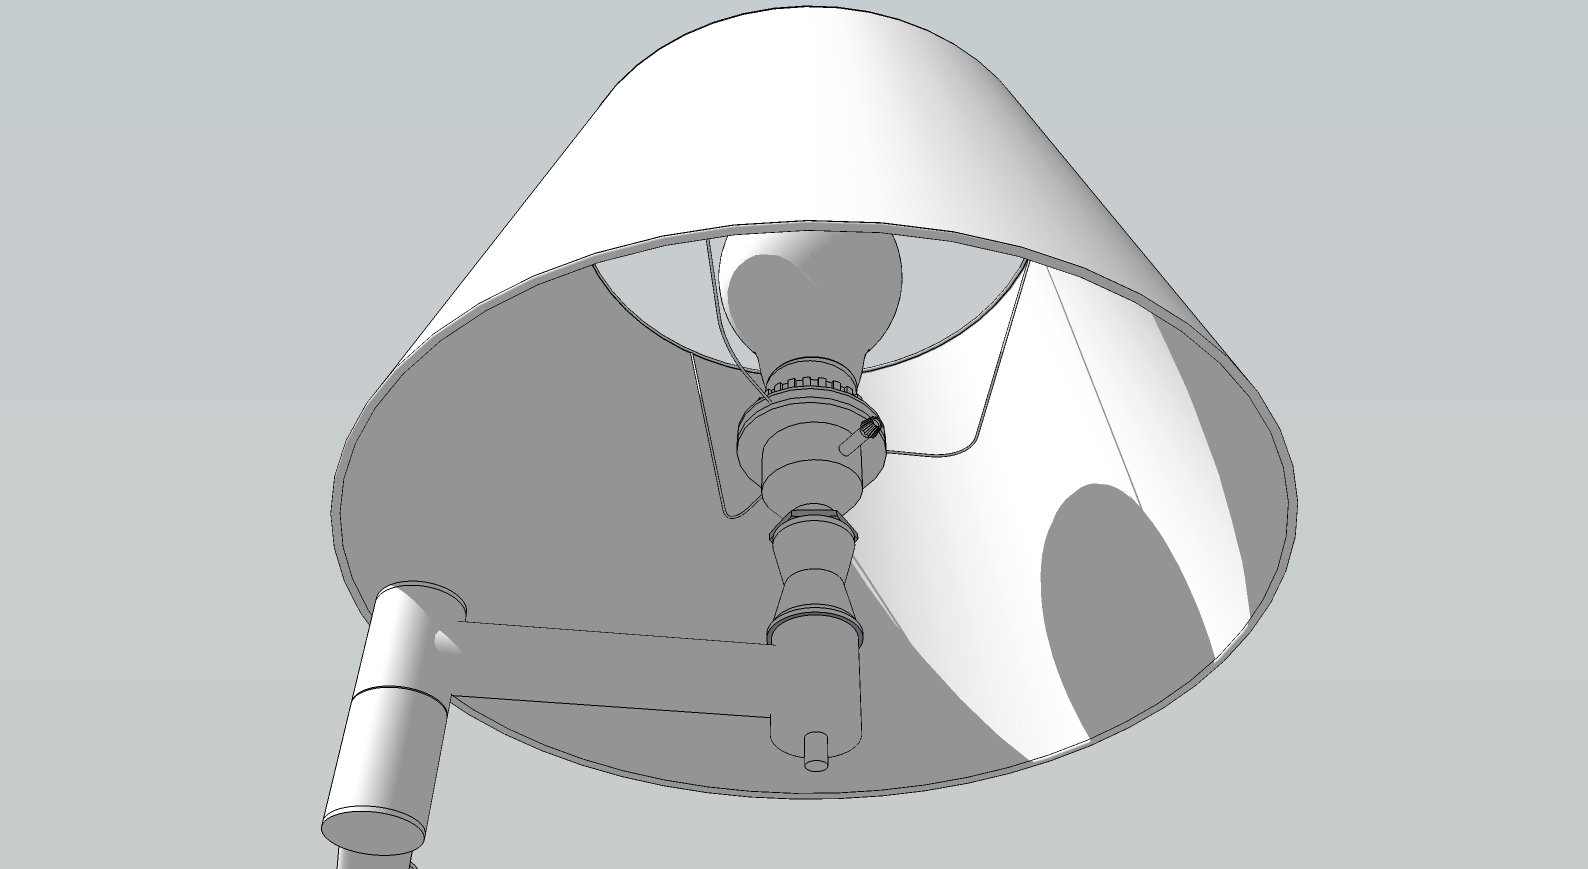
Switch and electrical socket stack detail.
-
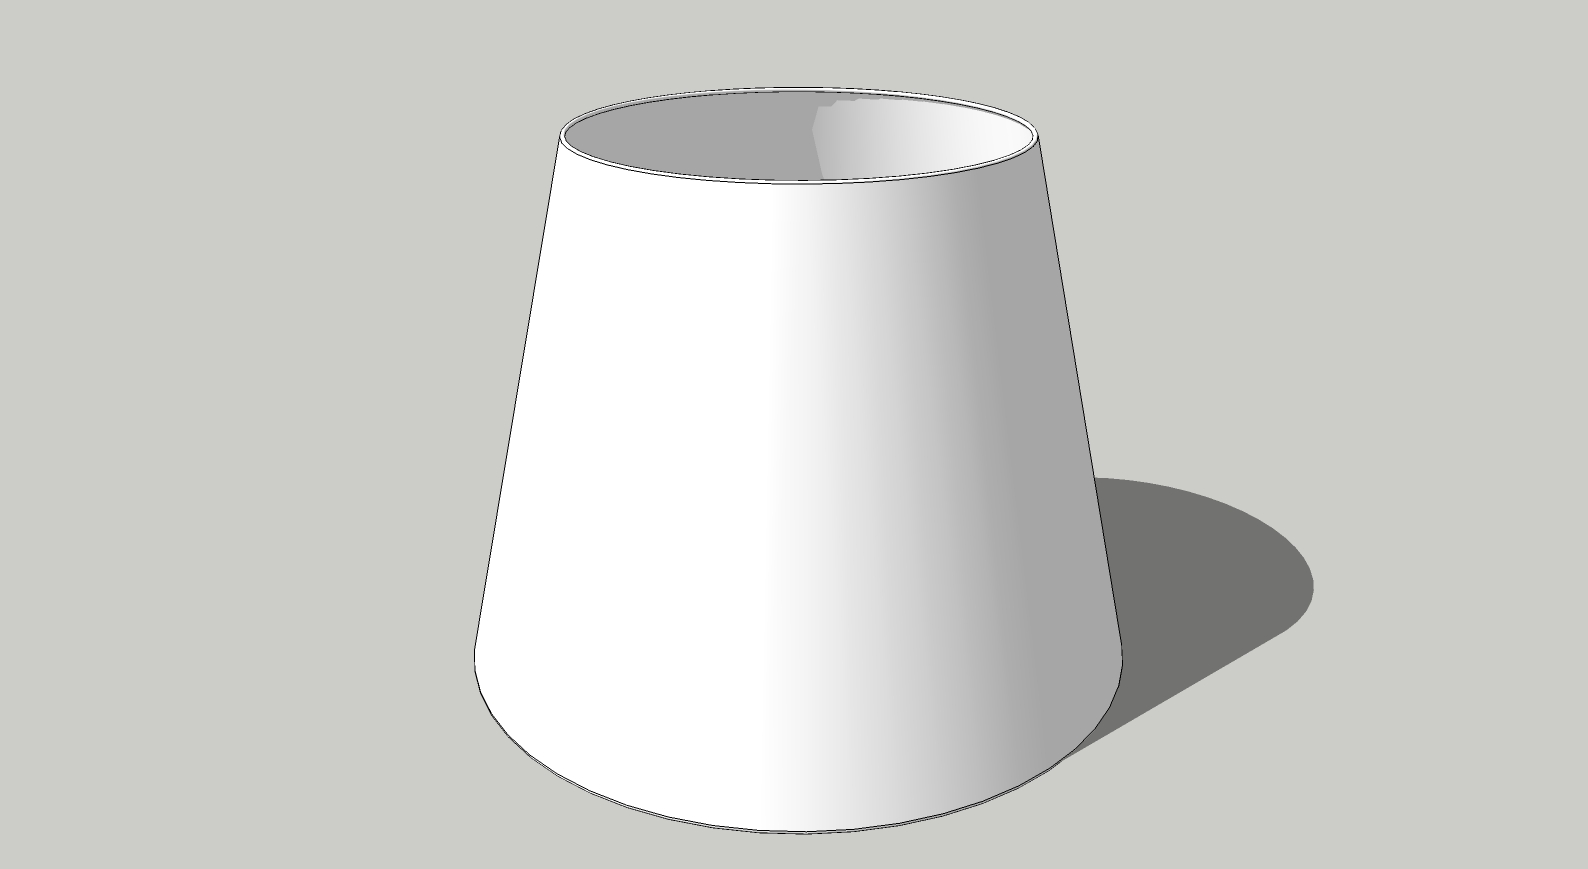
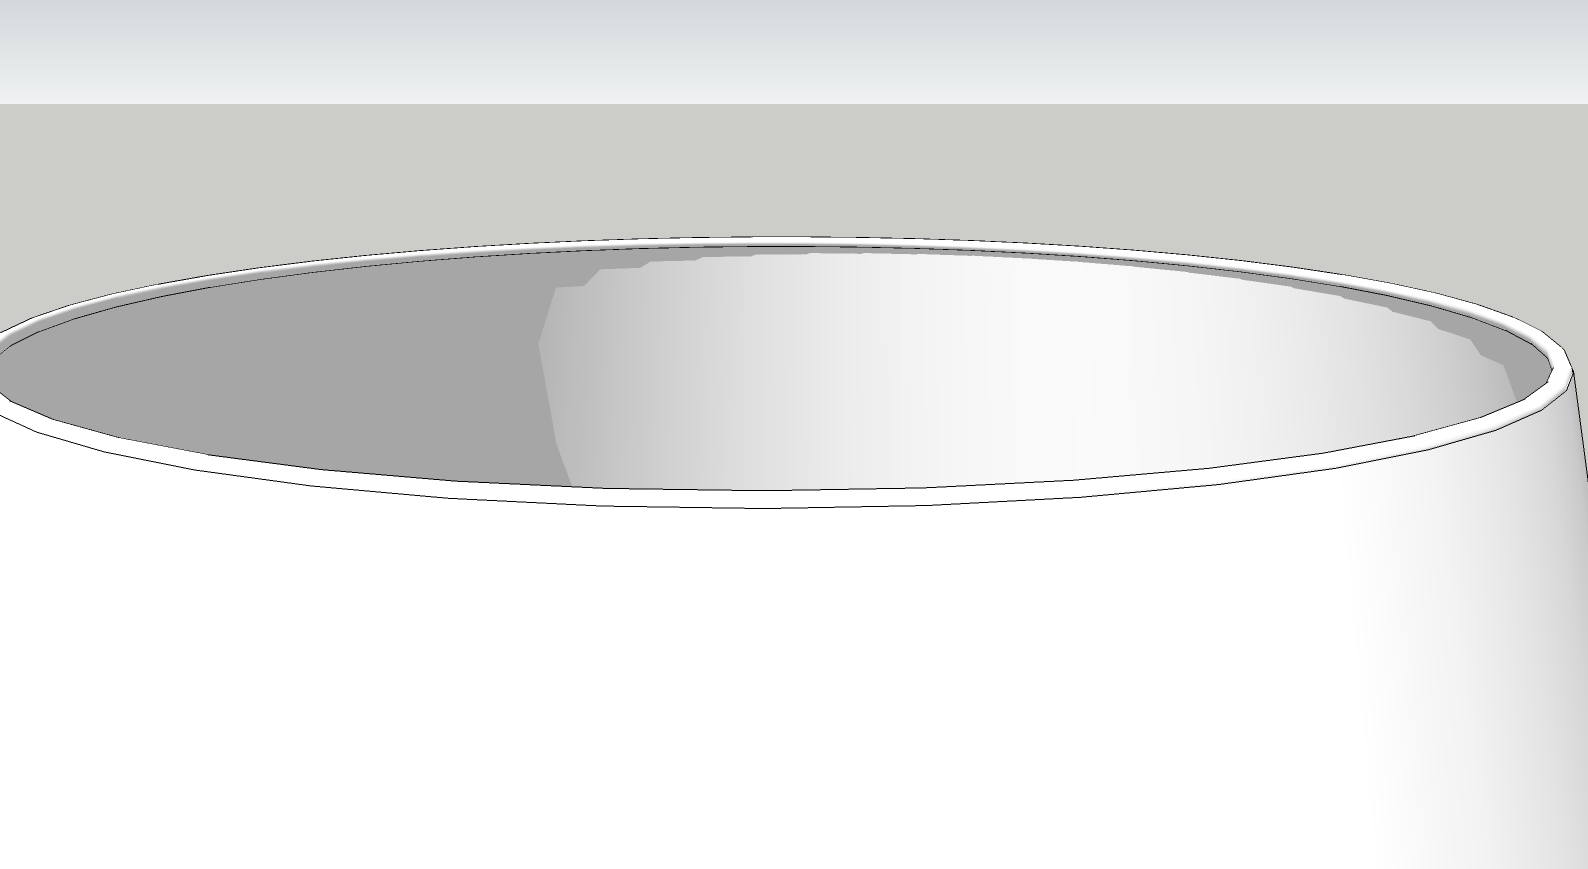
Not much to look at, but here is the lamp shade.
-
Final detail.
-
The little thin support rods for the shade were a pain. Who knew?
Next will be color and then final renders.
-
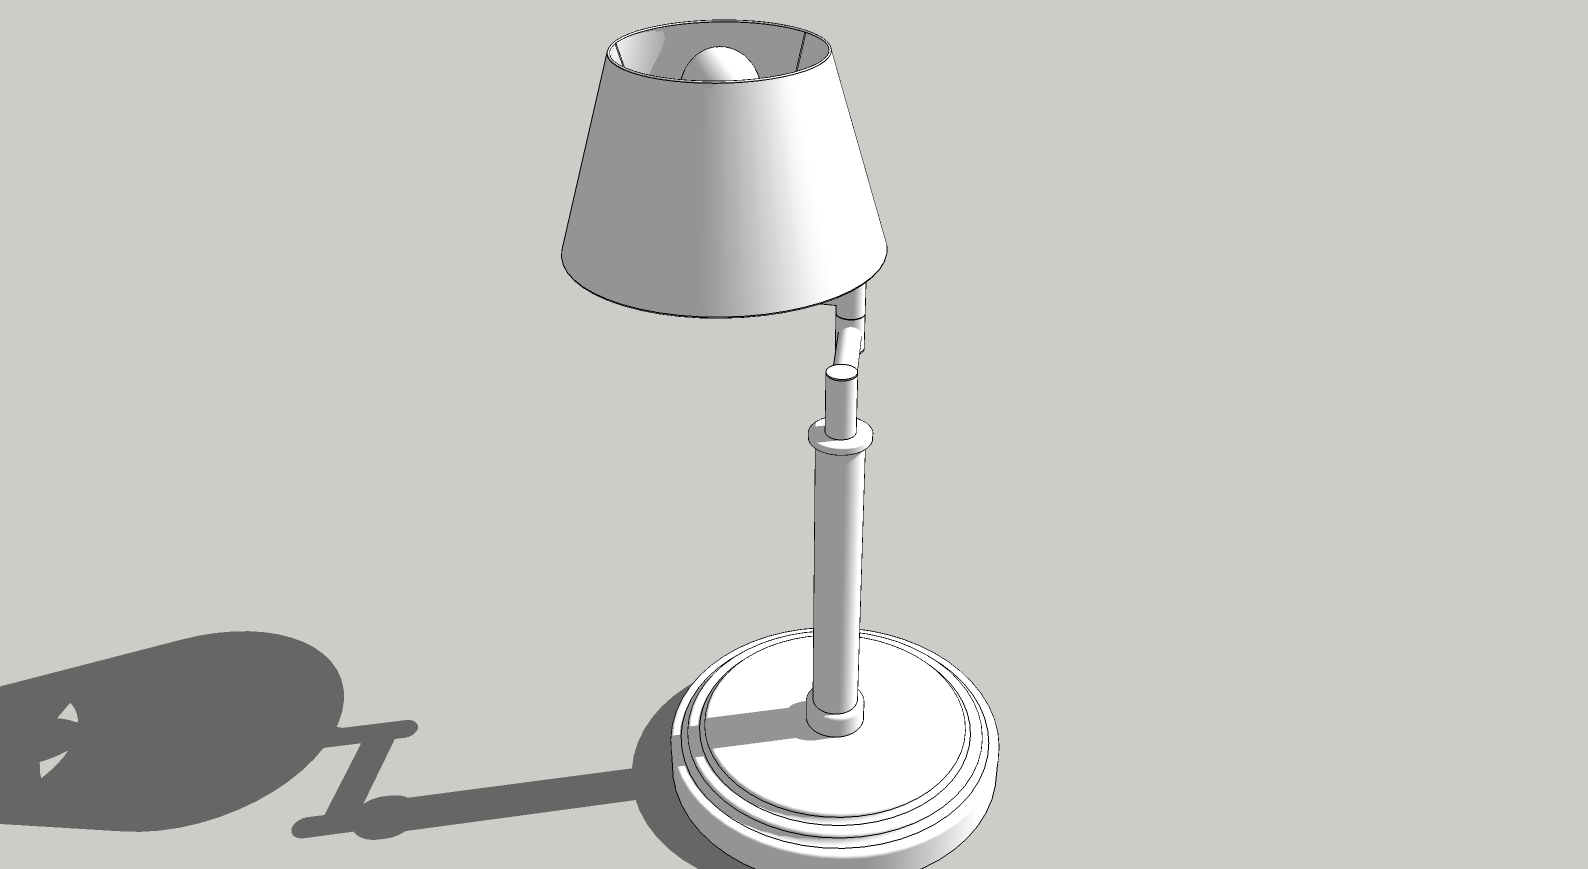
Reverse view
-
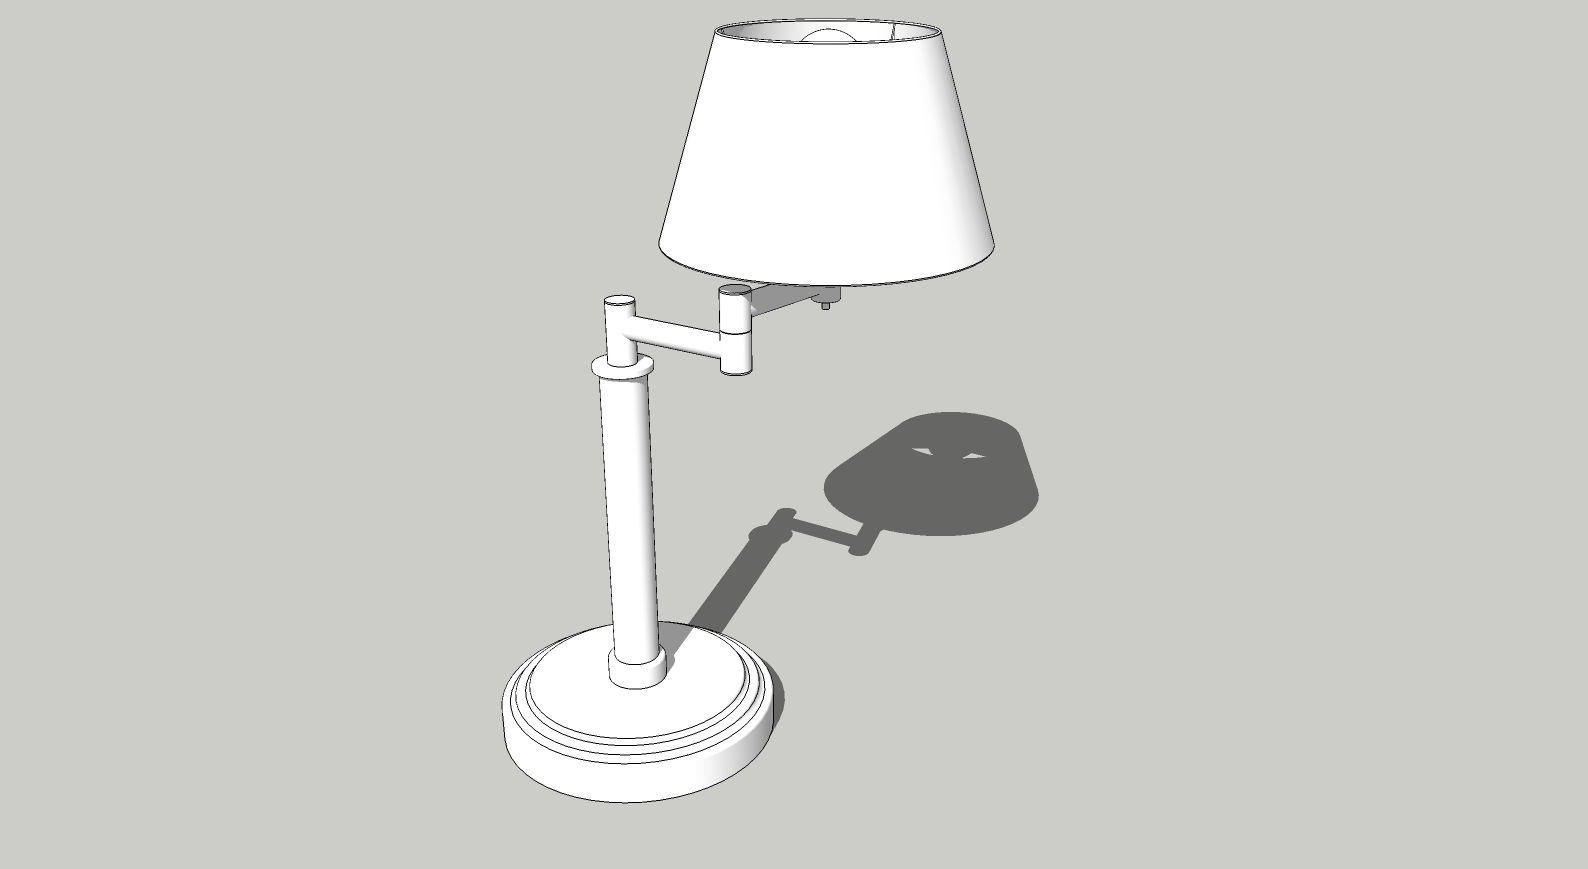
Oops. Had the base scaled too big.
-
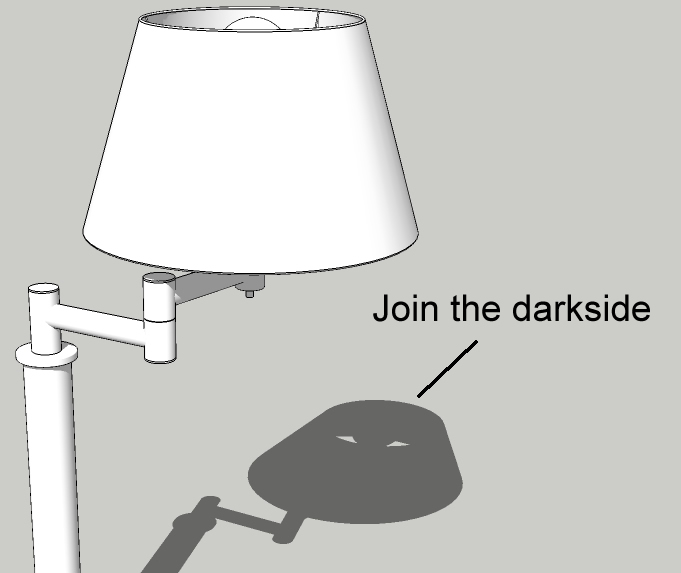
Just noticed this.

-
How can I join the dark side with a lamp ?!

-
Use the shadows!

-
Reminds me of https://astro.uni-bonn.de/~dfischer/dark_sucker_2.html

Advertisement


