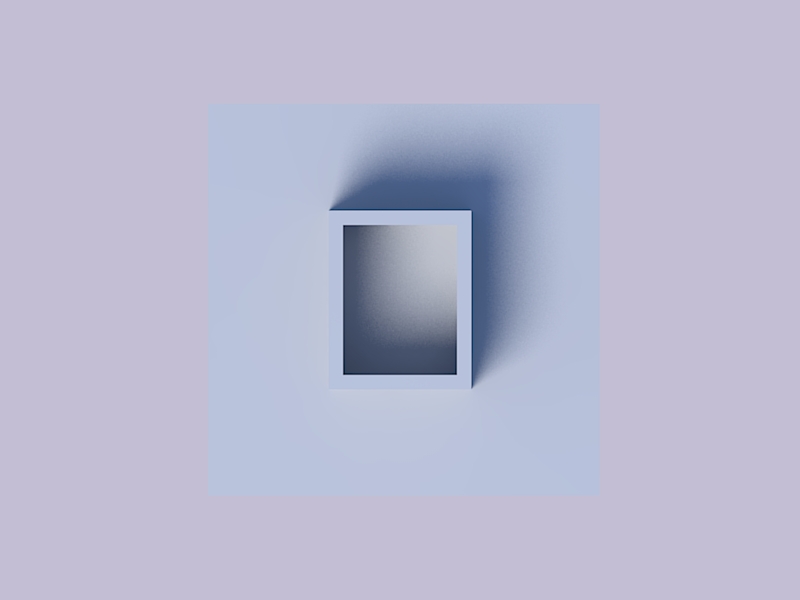
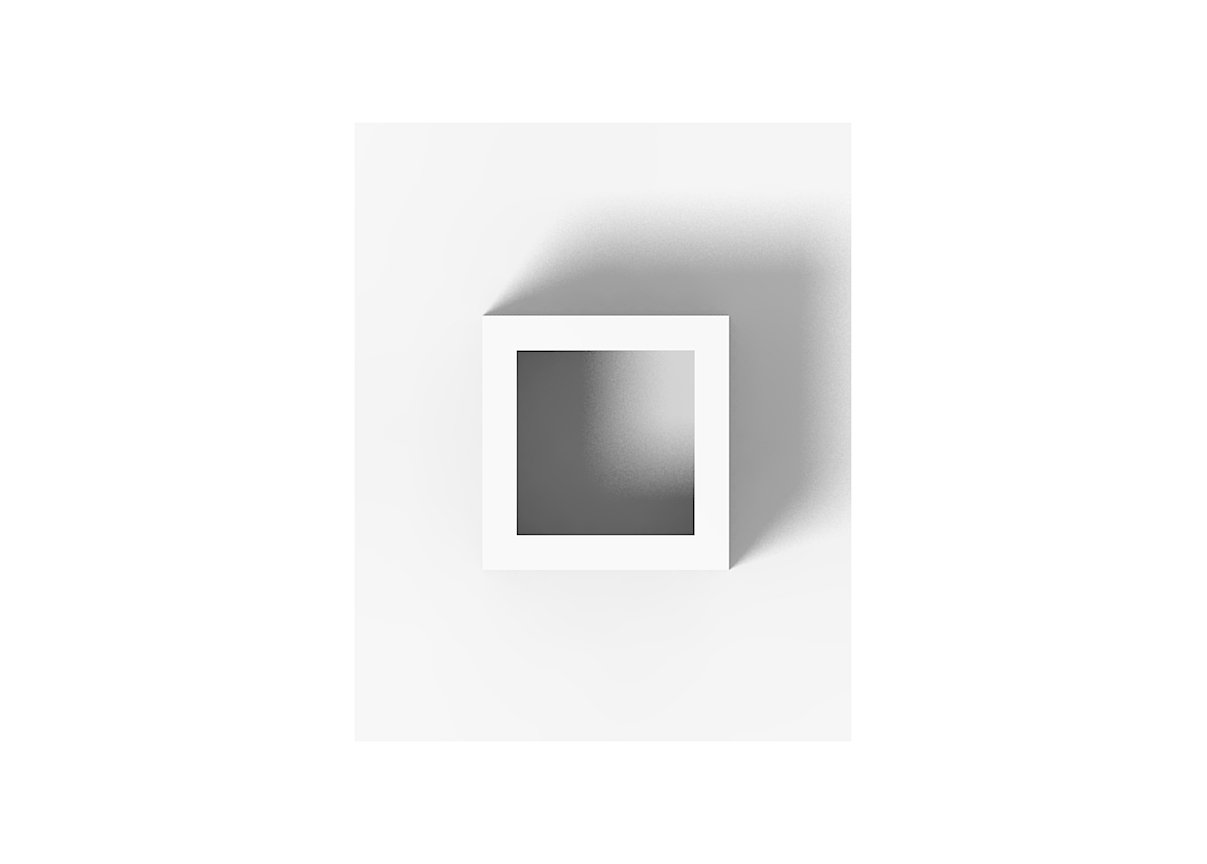
How did the great Alex Hogrefe do it ?
-
http://www.alexhogrefe.com/blog/2013/7/21/theater-update-2.html
In this tutorial.
This is the 1st floor plan which he extruded in Sketchup using the extrusion plugin, he exported a dwg file and extruded the walls on Sketchup.

The, he exported it to kerkythea to render the 1st floor. but HOW was he capable to rendering it in perfect top view with no prospective, even though Kerkythea does not deal with scenes that are not in perspective (I just tried to export the scene as 2d but it was not readable)

I am DYING to know. I'd appreciate any help.
Thanks tons.
-
What's the problem you have in rendering perfect zenithal views in KT?


-
Yes, I am a lowkey idiot. KT had the parallel right in front of me, but I still had to export in 3d obviously.
But still.............
His render looks clear white,
mine ended up looking like this :

-
Your render is not perfectly zenithal. See the picture below for correct settings.
For clear white it's not a problem. You can do it in post pro or directly in KT.
1- Go to settings-->sun and sky
2- If you already have a sun, put a white color for it. Click on "skip"
3- Choose "sky color" in the "sky type" menu-->click on the box below and choose a white color for the sky.
4- You can also adjust the sun radius (here I've used "15") and check "soft shadows". This is a raw KT's output.

Of course you can also use a proper HDRI if you want different effects. -
Thanks tons, mate. Very appreciated.
However, I'd like to point out that I have done every step you mentioned except manipulating the sun's radius. In the render above, I have indeed chosen the color white, etc.
I have noticed that the sun's location changed the color scheme a big deal, and also if my observation is on point -- the attenuation has a big effect on the intensity of shadows ?
Anw, I think I'm improving already

-
Oh god, nvm. Yours still looks better and more professional.
-
@unknownuser said:
However, I'd like to point out that I have done every step you mentioned except manipulating the sun's radius. In the render above, I have indeed chosen the color white, etc.
You've also set a white color for the sun and for the materials? Otherwise I don't understand where that yellow comes from.
@unknownuser said:
have noticed that the sun's location changed the color scheme a big deal
Forgot to say that for the image above I've used a clay preset. Anyway if you use a white color for both sun and sky the color scheme should not change I guess.
@unknownuser said:
the attenuation has a big effect on the intensity of shadows ?
Quite correct. It depends a lot on the size of the scene, the models I mean. Just play with sun's radius until you're satisfied with the result.
@unknownuser said:
Yours still looks better and more professional.
Really? I spent more or less 2 min for the set-up and the render.

-
Since I think that the additional "clay" render presets are missed in the KT forum, I post them here. Unzip the folder and put the files in the "render settings" folder.
-
Hmm wait, set a white color to the sun or to the sky ? there's something other than this ?

What's a Clay preset ? Sorry, but I literally got introduced to this surprisingly powerful little sneaky took today.
Still yellow-ish huh ?

-
@unknownuser said:
Hmm wait, set a white color to the sun or to the sky ?
Both.
@unknownuser said:
there's something other than this ?
That's the sky color. To change the sun's color right click on the sun and follow the pictures below.
@unknownuser said:
What's a Clay preset ?
That will automatically assign a white/grey material to all your models.
Click on the "start render button" and choose a clay preset.
-
Yeah, I checked the sun's color before I saw your post and it was white by default.
It is definitely the preset then. Thanks tons, I think it's working now. Is this decent ?

& I have one little issue now. I do not like how unrealistic the shadows look, no matter how much I move the model around the sun. Do you change the location/time like 3dsMax Mental Ray, or do you just keep testing different radius values ?
-
@unknownuser said:
I think it's working now. Is this decent ?

@unknownuser said:
I do not like how unrealistic the shadows look, no matter how much I move the model around the sun
If with "unrealistic" you mean "hard" then yes, tick "soft shadow" in the scene settings panel and play with sun's radius and multiplier.
-
If you want to change the sun's position then..
-
Ugh, thanks. That last tip was needed.
Btw, the 4 Clay presets differ in quality and render time, right ?
have you changed the gamma correction for your render sample ?
-
@unknownuser said:
Btw, the 4 Clay presets differ in quality and render time, right ?
Right.
@unknownuser said:
have you changed the gamma correction for your render sample ?
No. I didn't change anything.
-
Hmm, best so far.

-
Well if you want to try to match the look of the pic you posted in your first post you have to use softer shadows I guess.
-
Oh oh, did my post get deleted lol
-
No post was deleted. You sent a PM to me.

Here is what I replied: have you tried what I suggested? Tick "soft shadow" and increase the sun's radius? -
Lmao, that was confusing.My bad.
I actually did that right off the bat. But saw no difference. The radius changes the position of the sun, and it takes me a couple of minutes to get it back where i want it to be.
Hello! It looks like you're interested in this conversation, but you don't have an account yet.
Getting fed up of having to scroll through the same posts each visit? When you register for an account, you'll always come back to exactly where you were before, and choose to be notified of new replies (either via email, or push notification). You'll also be able to save bookmarks and upvote posts to show your appreciation to other community members.
With your input, this post could be even better 💗
Register LoginAdvertisement


