Projection issue
-
New guy here - how come I can't get this image to project onto the model correctly? Each facing wants to have it's own texture that doesn't line up right.
-Jason
-
Like this?
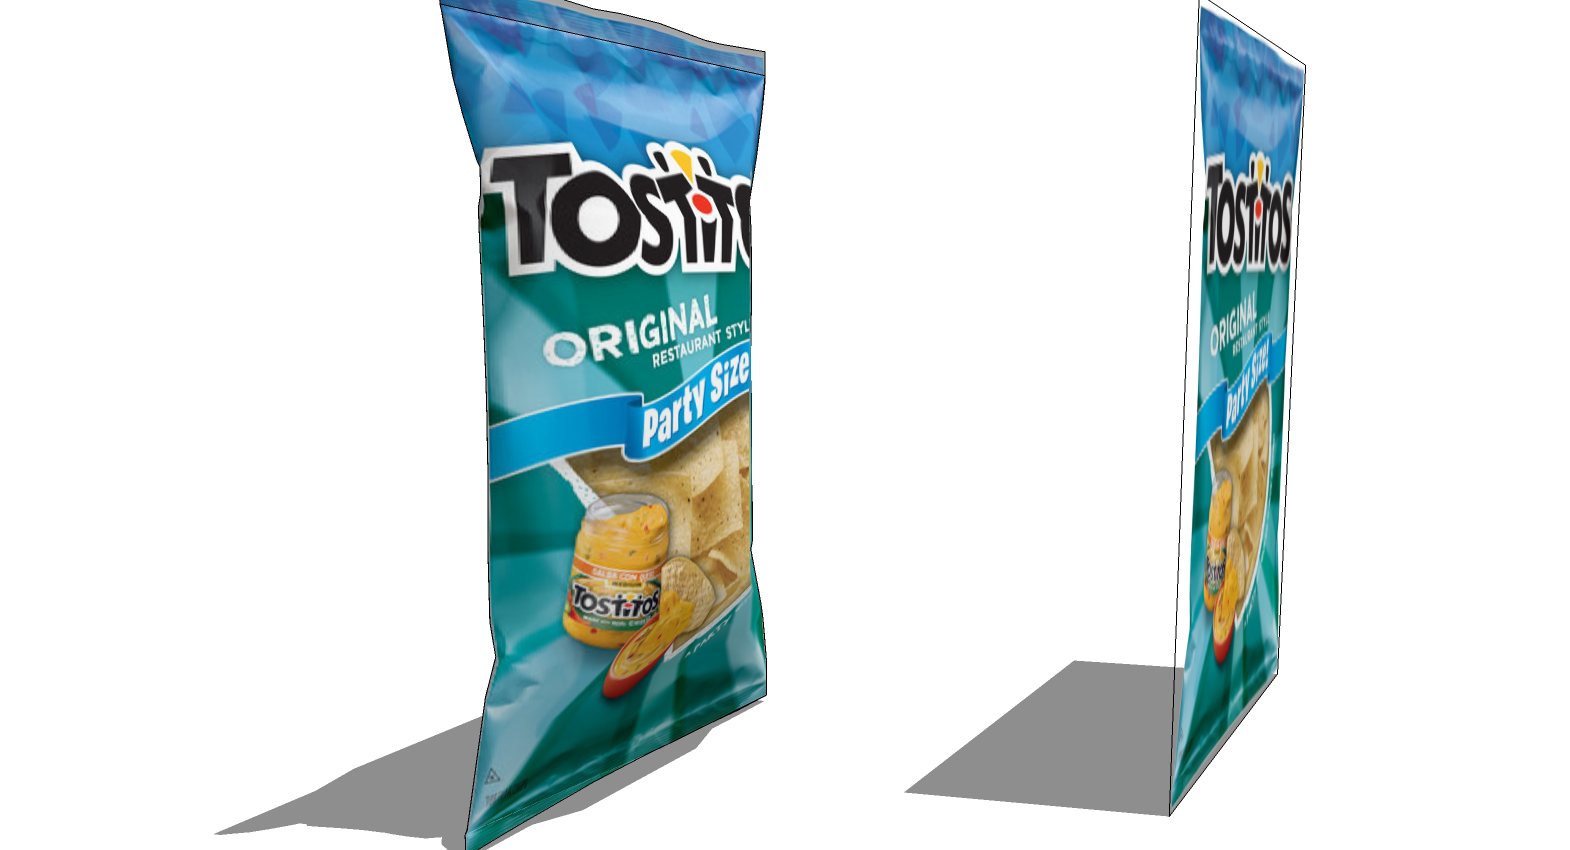
Try correcting the face orientation so you have all white faces out and soften the edges between the faces.
-
I must be missing something else. I did what you said (didn't realize I could reverse the face of each polygon!), then I softened the edges - no luck. It only works for me when I make a flat shape, project the image onto the shape, and then extrude the shape into the 3d effect. Attached the two that I'm talking about.
Thanks for your help, by the way!
-jason
-
-
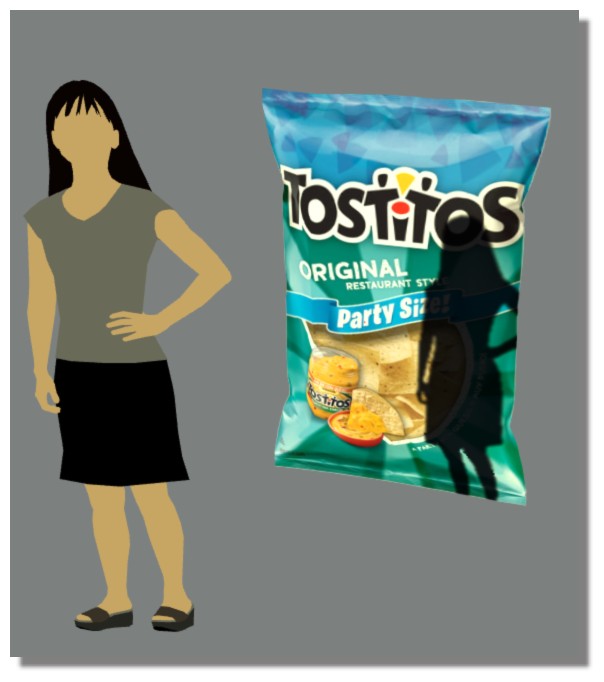
Maybe like this ?
Enter inside your false Component (Edit)
Click your faces object : Show Hidden Geometry
Select one face
Right Click / Texture Projected
Use the color pipette on this face
Select all faces
PaintMaybe the image will be inversed or multiple
Just exit of the Edit component!
It must be in the good way!
-
Pilou mentioned something that I wonder if you are forgetting. Are you opening the component for editing before trying to apply the material? If not, you should be. After softening the edges, there should be no need to show Hidden Geometry, though. Just sample the material on the flat surface with the eye dropper/pipette tool and click on the surface of the bag. Even though you can't see the material on the flat face while the component is open for editing, you can still sample it.
-
Thanks, Pilou! I was importing the image, and exploding it, but I was not right-clicking one of the faces and setting it as projected.
Thanks, all, for your input.
-
FWIW, I didn't have to do any of that. All I did is what I described. The image you imported was already set as 'Projected' so sampling it and applying it to the surfaces inside the component did the trick. Not nearly so many steps as Pilou used.
Hello! It looks like you're interested in this conversation, but you don't have an account yet.
Getting fed up of having to scroll through the same posts each visit? When you register for an account, you'll always come back to exactly where you were before, and choose to be notified of new replies (either via email, or push notification). You'll also be able to save bookmarks and upvote posts to show your appreciation to other community members.
With your input, this post could be even better 💗
Register Login


Advertisement