Creating a hat brim
-
Ok.
Without seeing hidden geometry it is hard to make suggestion.
Not impossible though
-
Use Artisans knife tool to slice off the remaining brim and delete with as few slices as possible and as far out away from the head or top portion of the hat as the case may be. --Try to preserve the front view arc of the brim still attached to the hat-- Extrude out a new brim using Joint Push Pull. Use the knife tool again to add vertices or to trim and delete to get the proper shape. Use Vertex Tools to shape in detail as needed.
Might want to hide most of the figure at some point when slicing with the knife.
-
Hope that made sense, I was typing on my phone and trying to give you the short version...
This can be done but you have to rebuild the brim, and the easiest way to do this would be to get rid of the broken geometry and simplify the area of where the brim used to be into a small set of surfaces and hopefully still see where the brim used to be --hence using the knife tool.
Once you have something that you can extrude out as a new brim, from there it's just a matter of pushing and pulling vertices around to get the shape back to a realistic looking brim.
-
Can you share only the broken part (not only the hole
 ) to play with?
 -
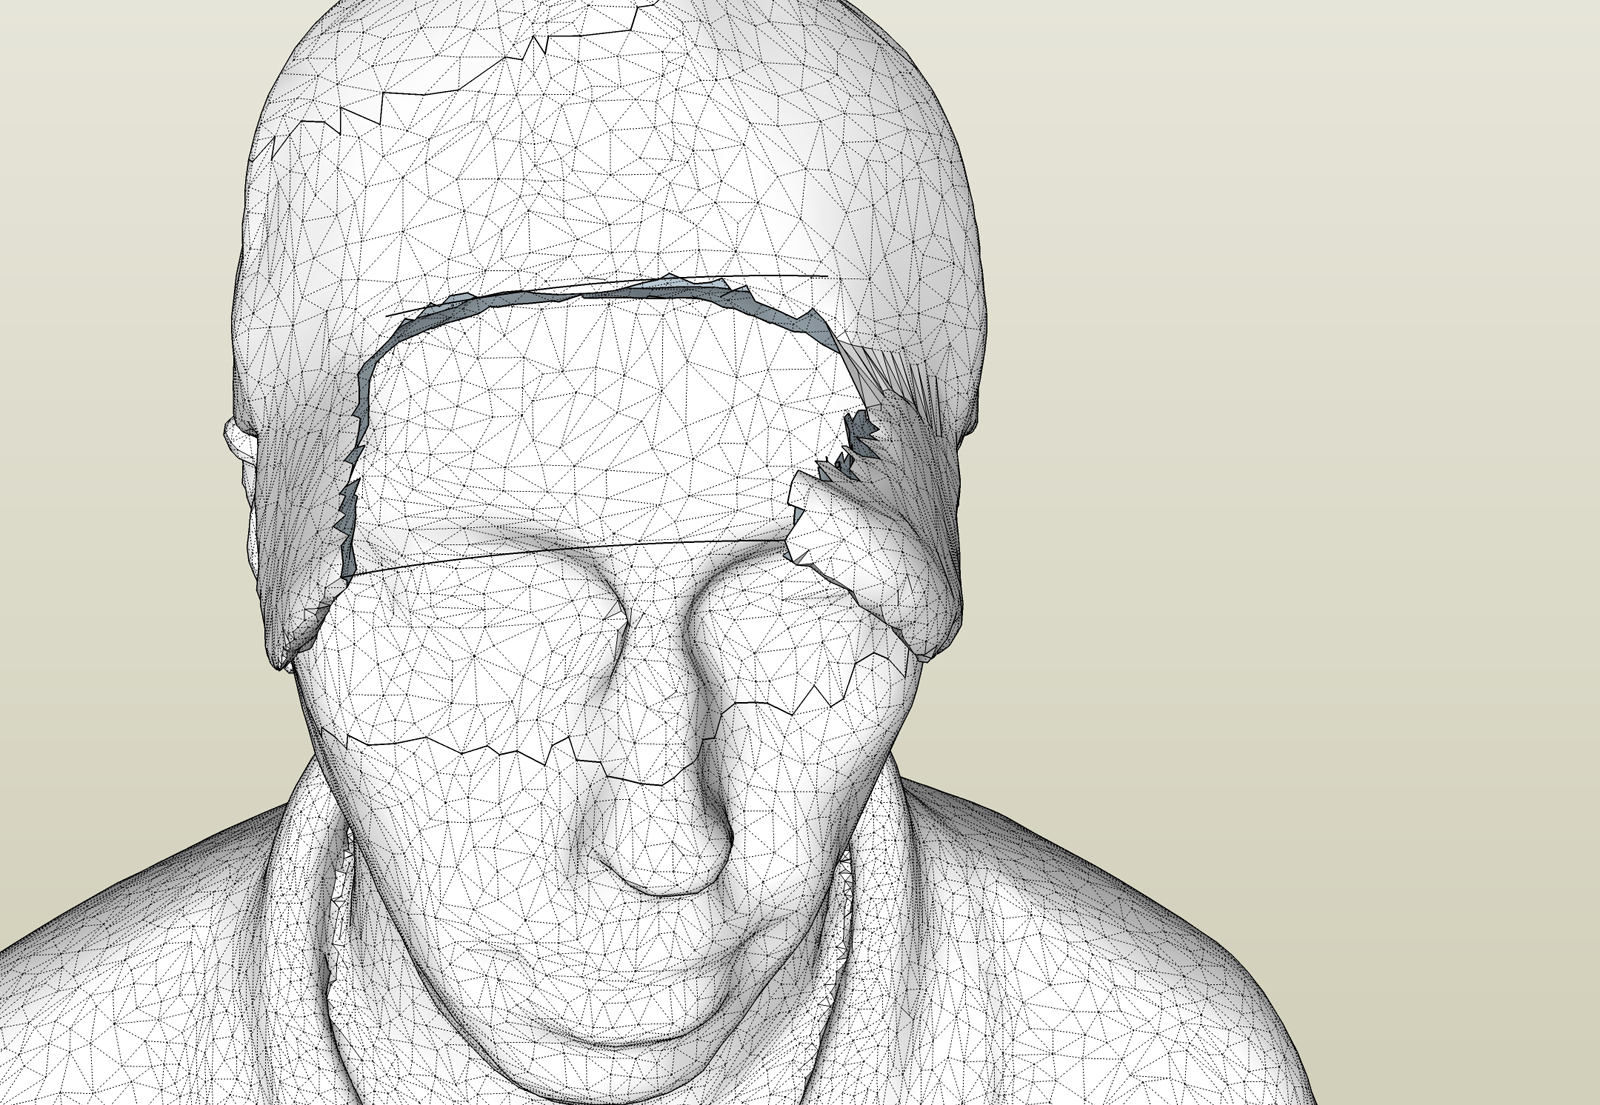
I'll give it a try with the knife tool. If anyone wants to take a crack at it, here's the model:
https://www.dropbox.com/s/g66rfmkzrlprlc0/Justin%20Reduced.skp
-
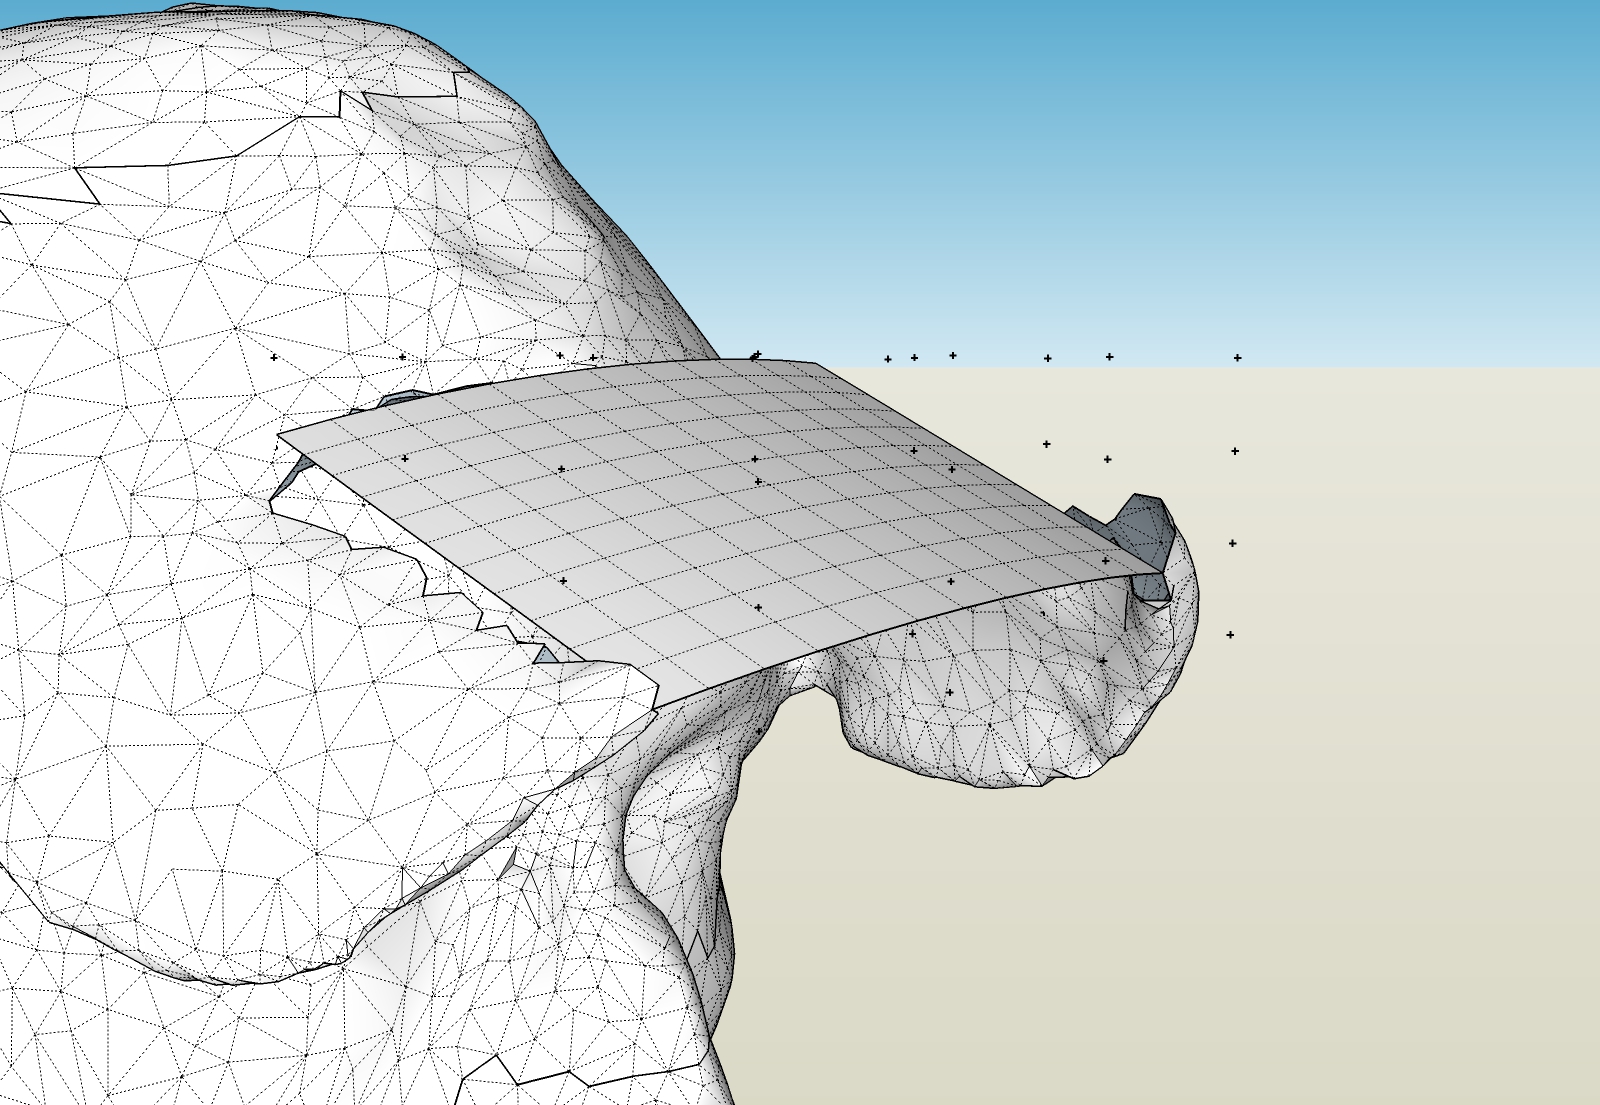
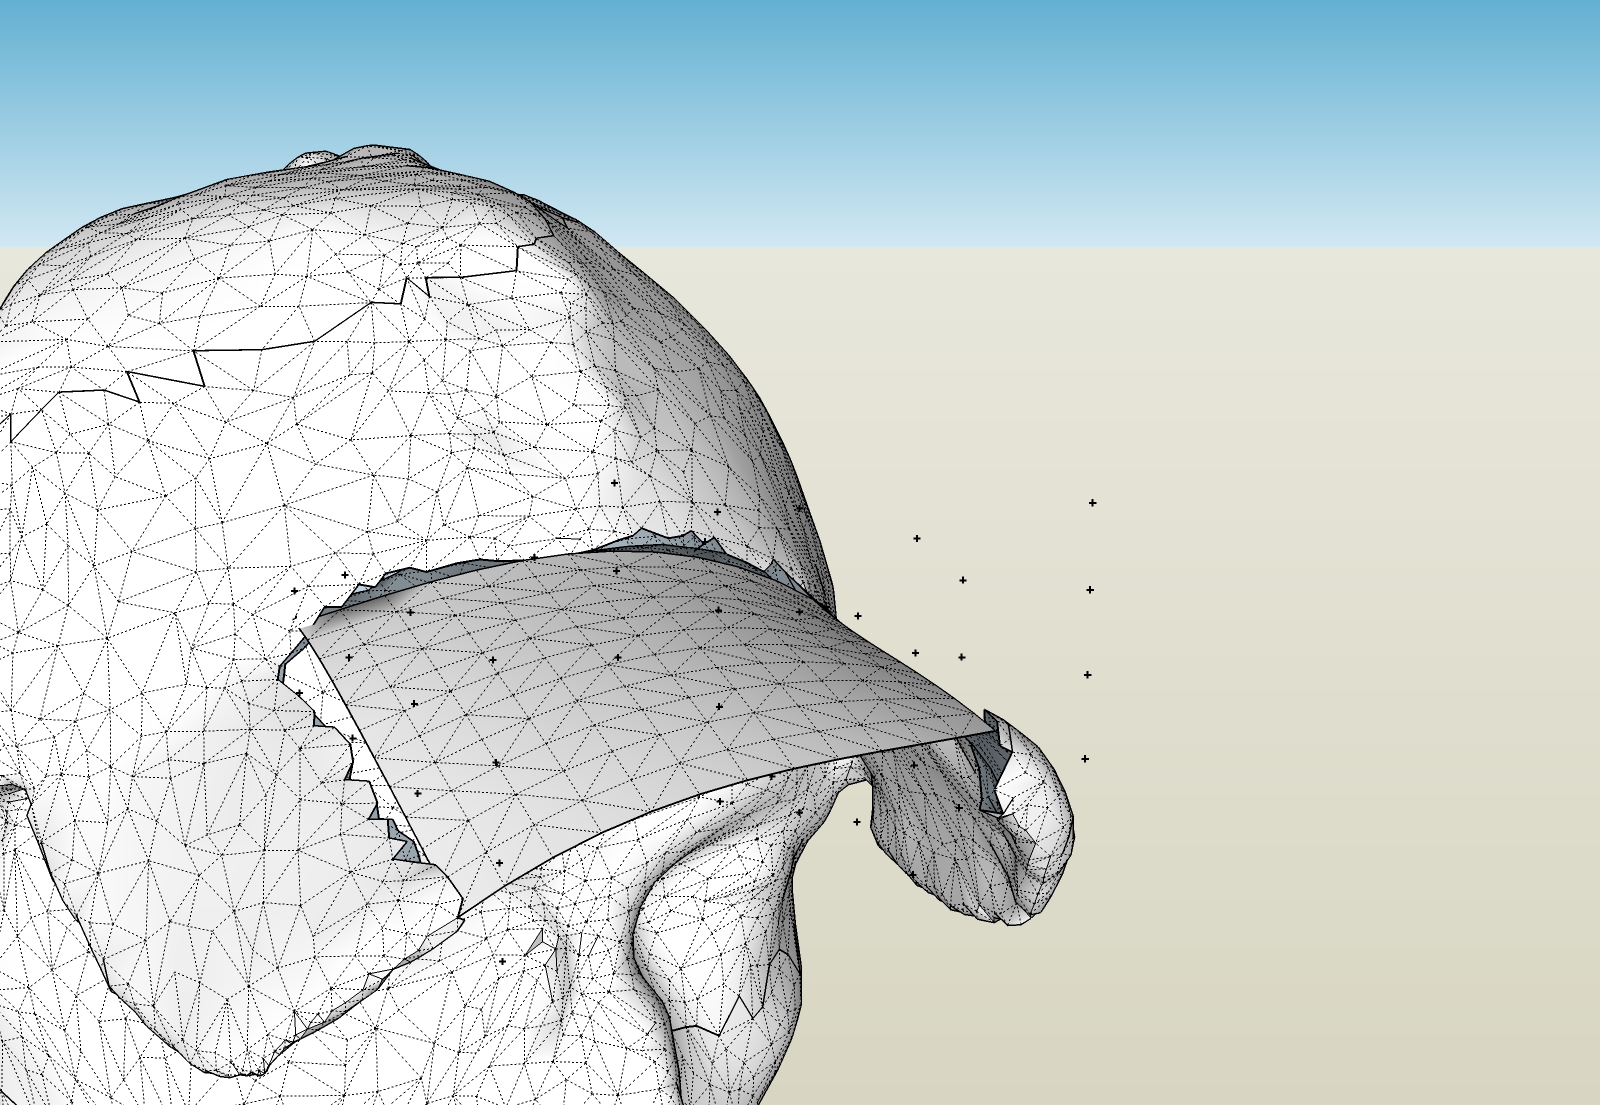
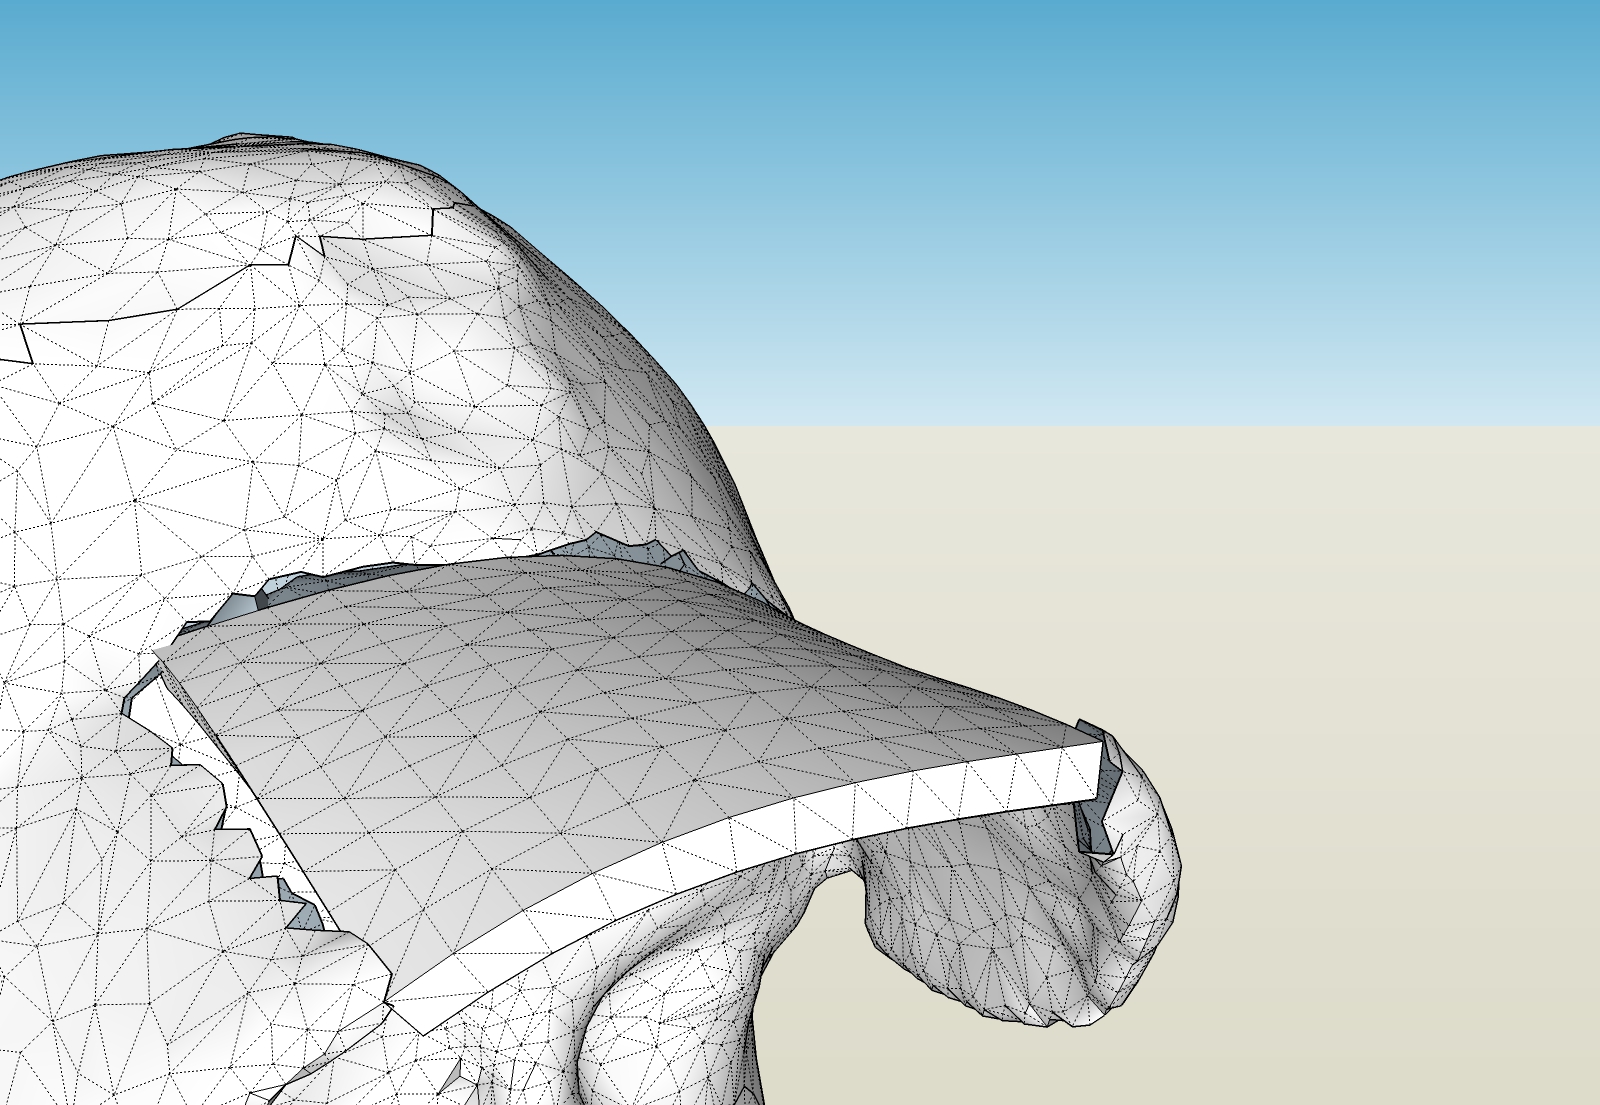
Really simple stuff.. Basically you will create the missing geometry then fit it together, then smooth the connection to make a nice transition.
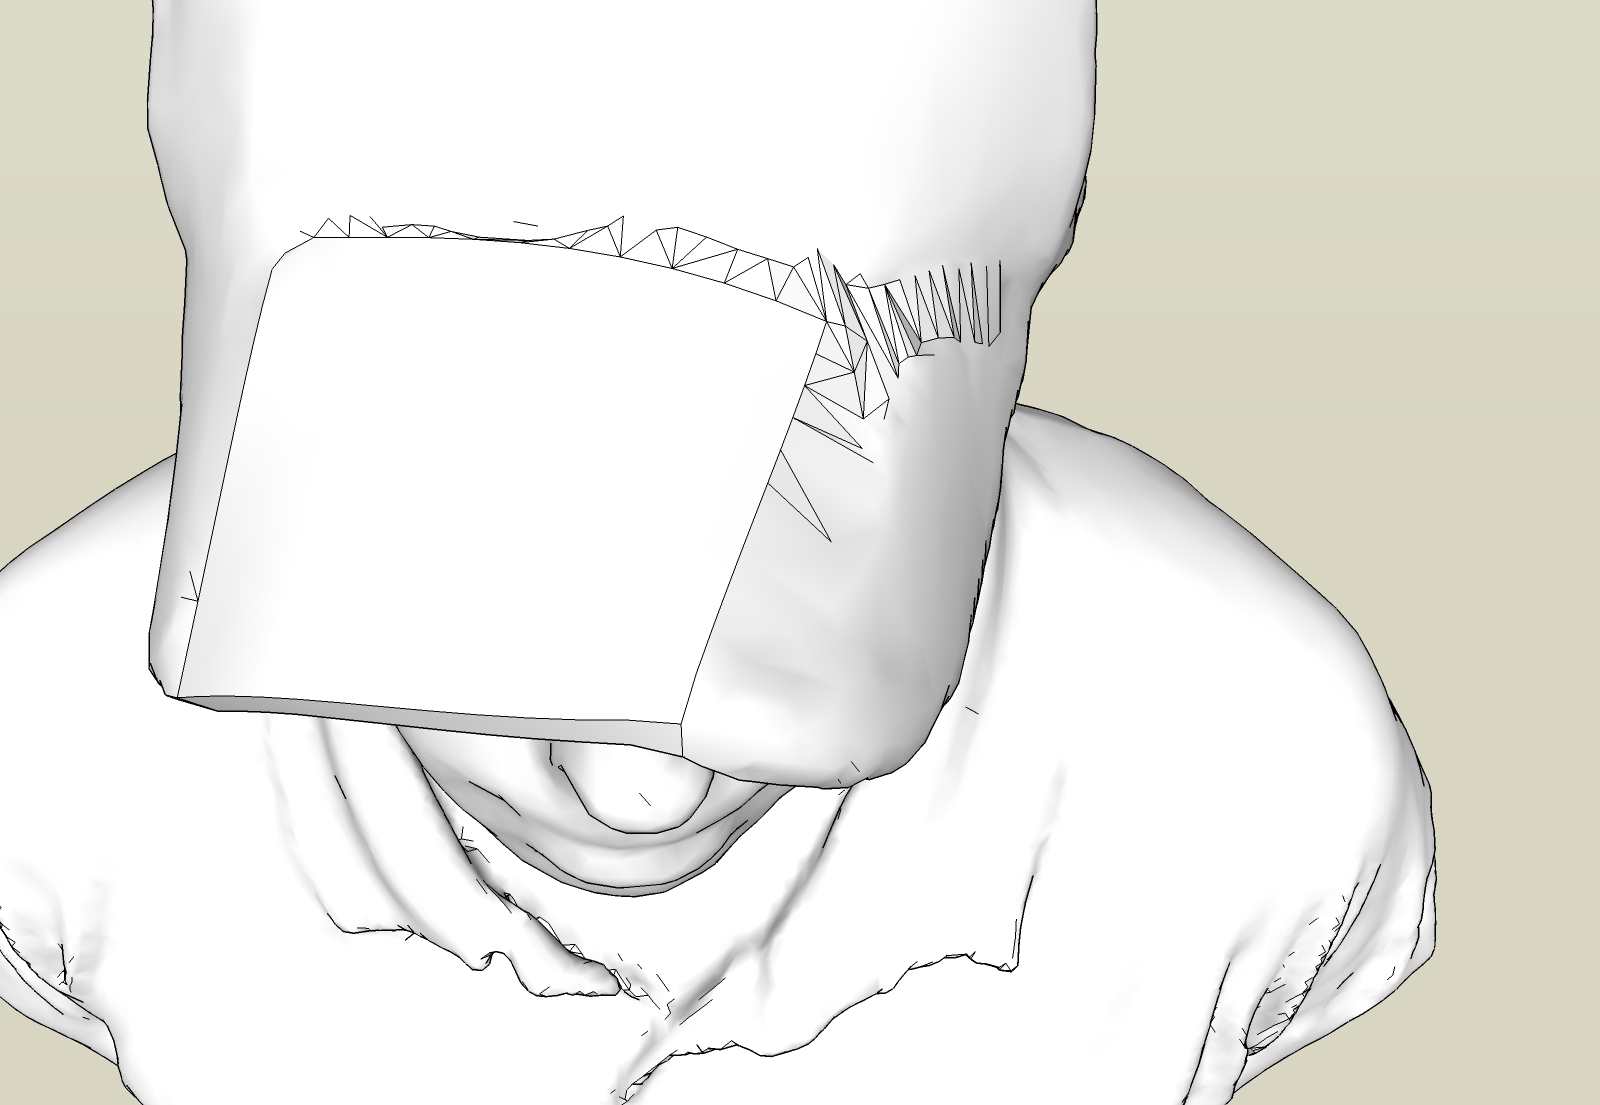
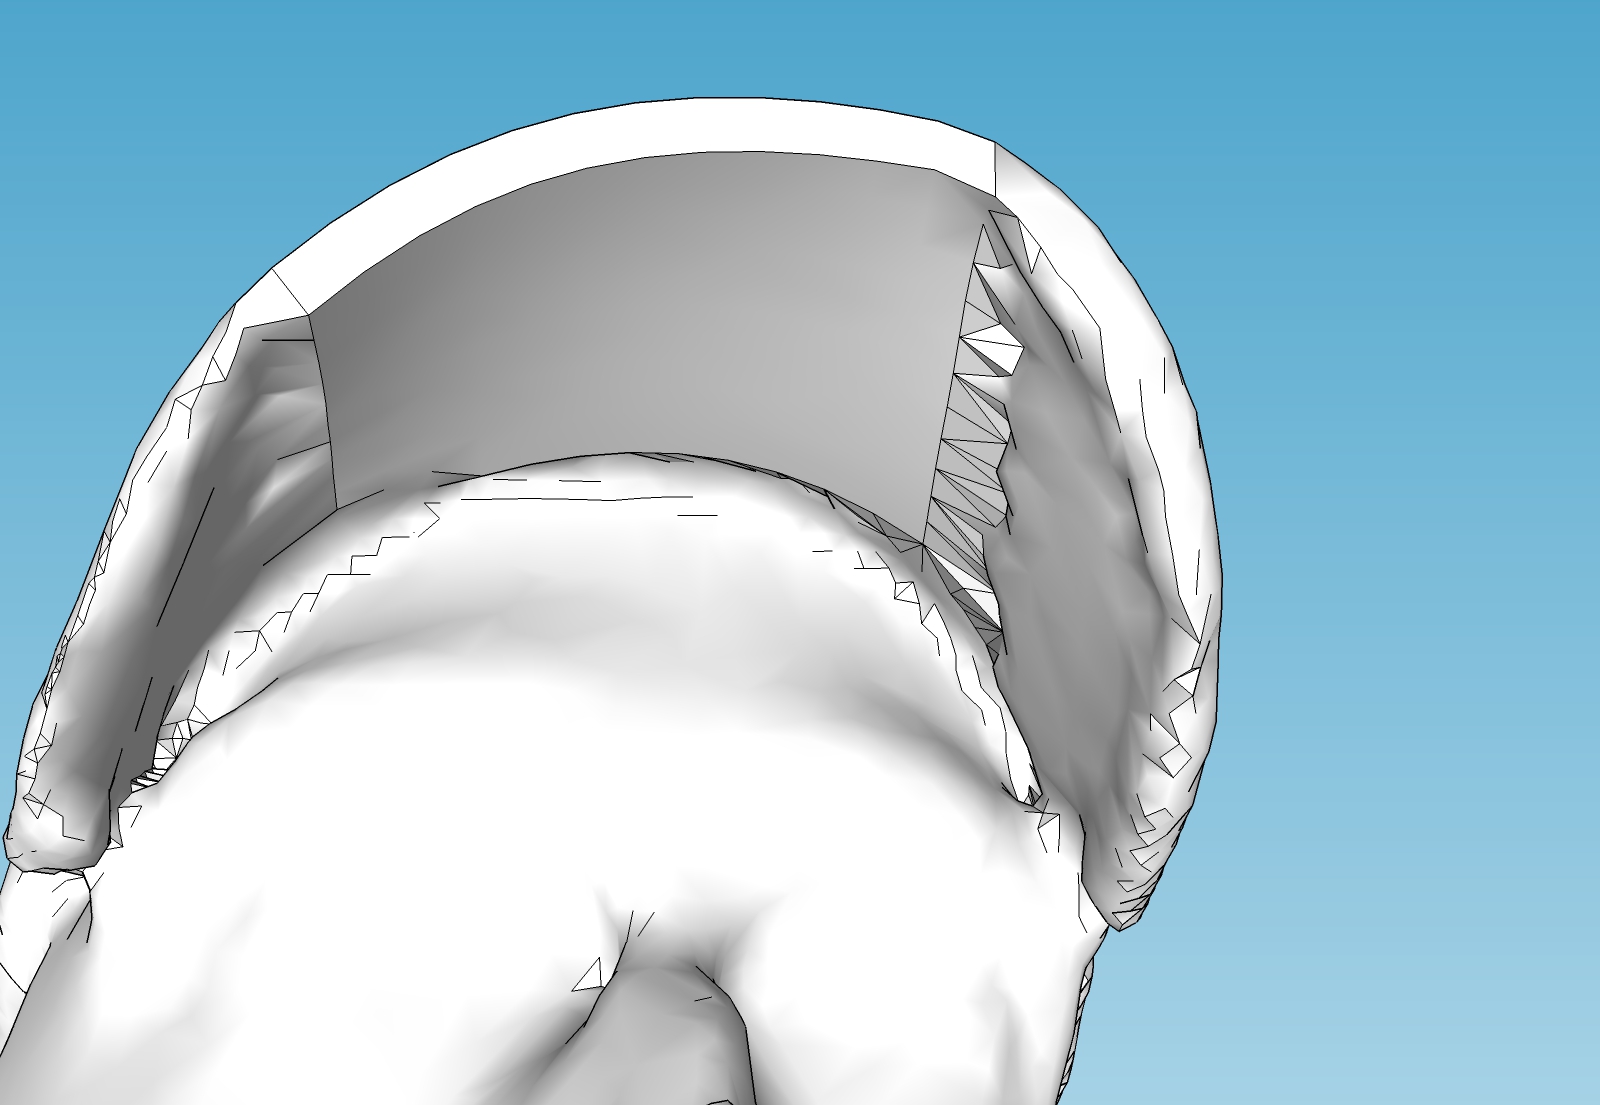
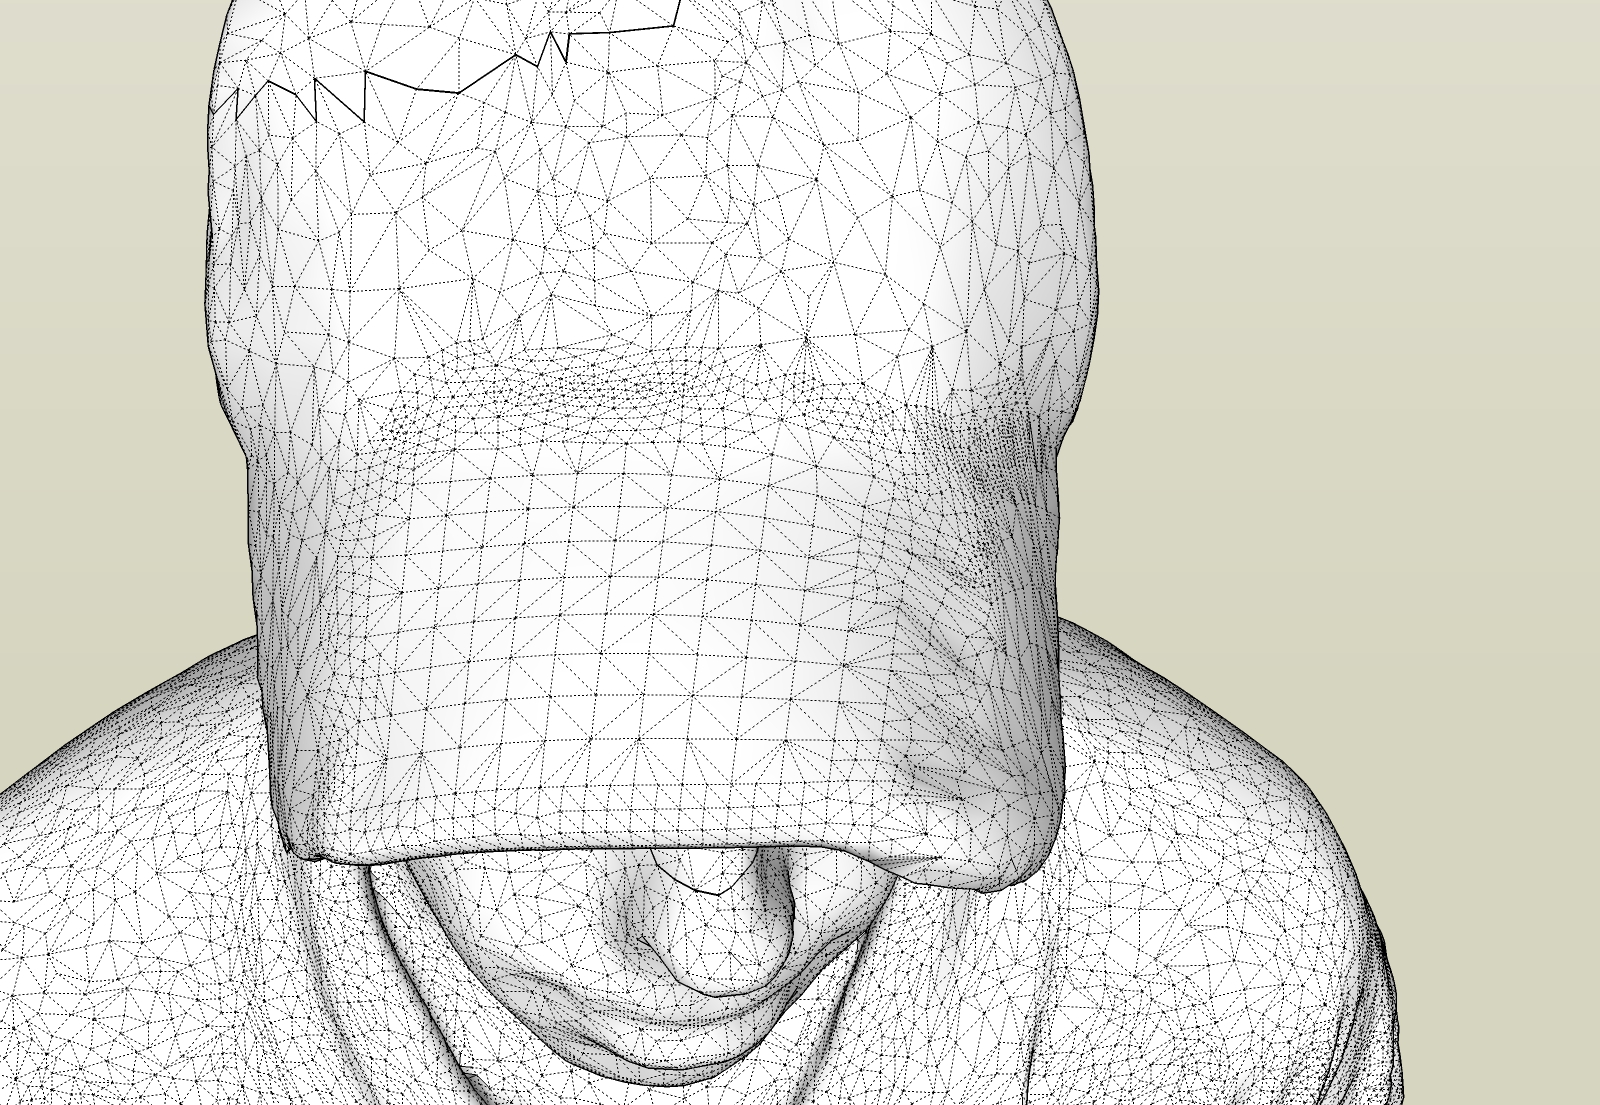
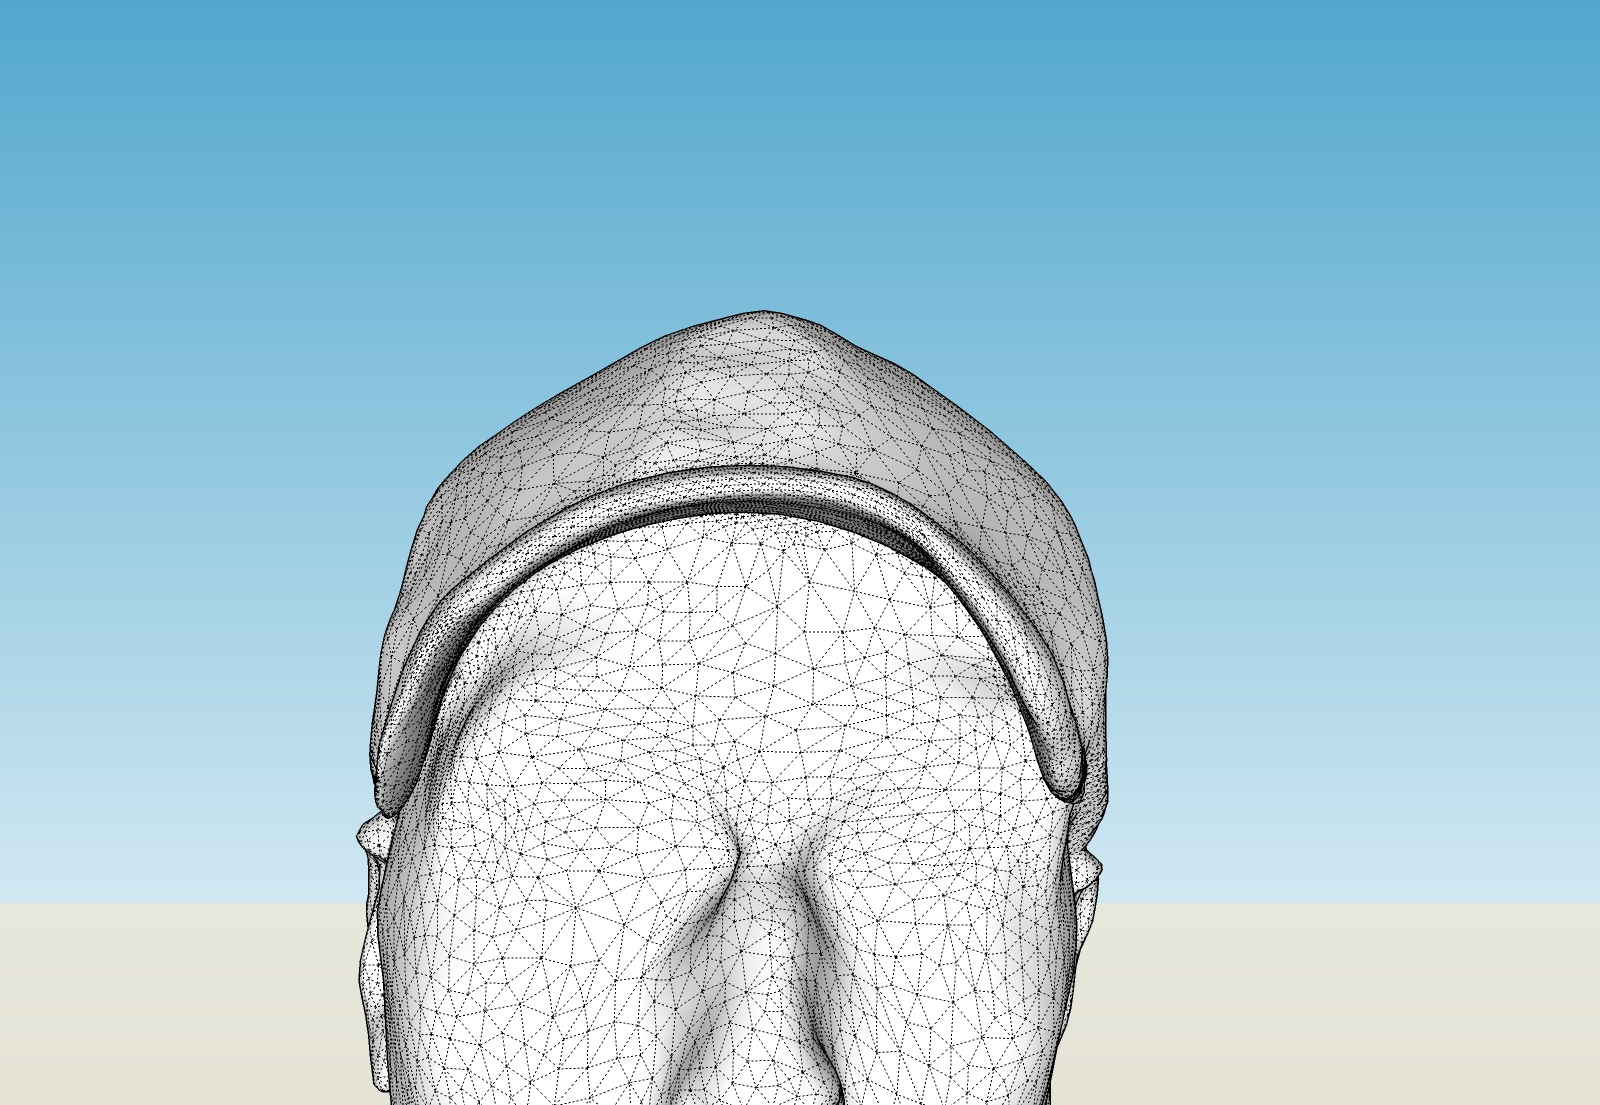
-
Incredible! How did you do that? With Artisan tools, or did you just break that arc I made up into triangle somehow?
-
looks like some FFD involved too (free form deformation).
Great work elisei.
-
Hey there and thanks !
Well, I just drew an arc and then I copied it to the other side, then connected the two arcs with Curviloft. After that I used FFD to bring the new surface closer to the old one. Then I connected the parts using the pencil tool. Then I used the Smooth brush(from Artisan) and also I subdivided the connection in order to have better control over it with the Smooth brush . And that should be it.
-
That is quite impressive! Thanks again, I've learned something new!
Advertisement


