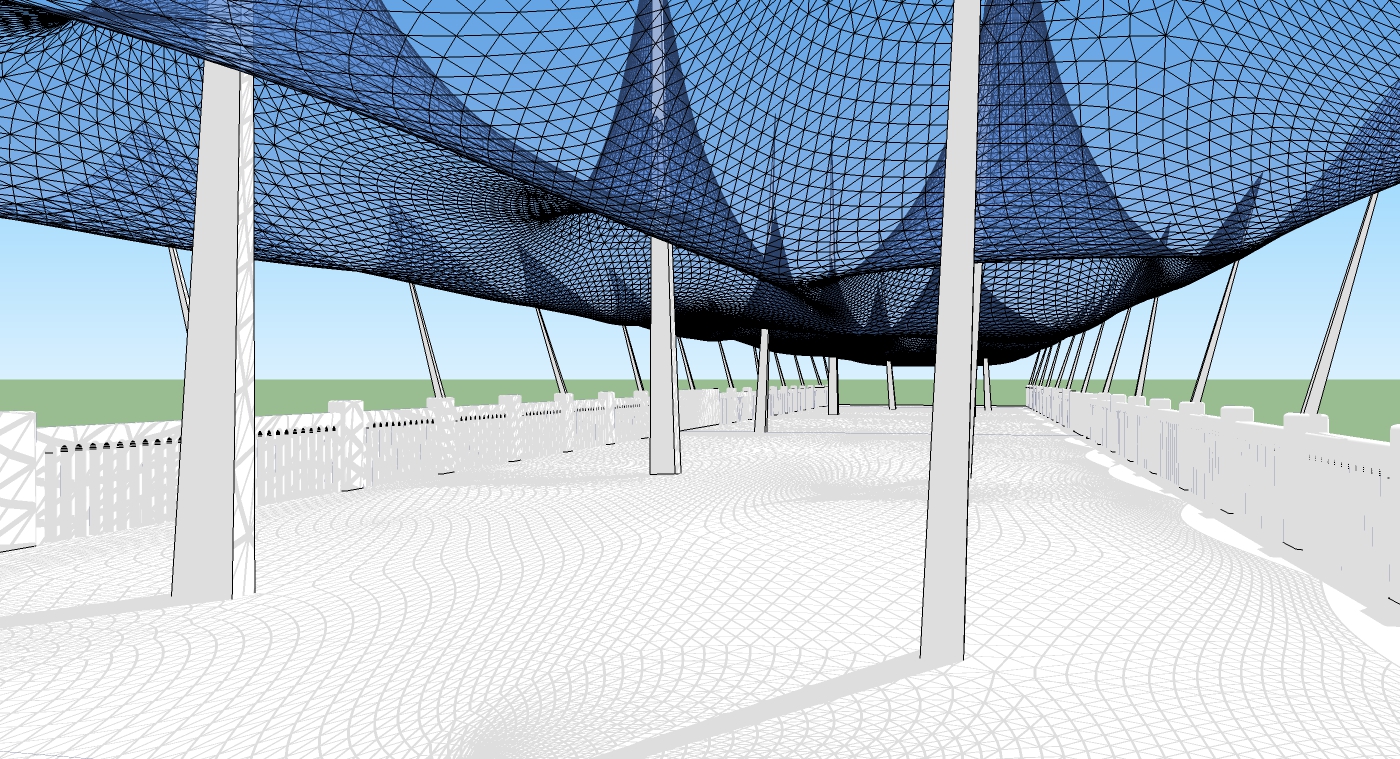
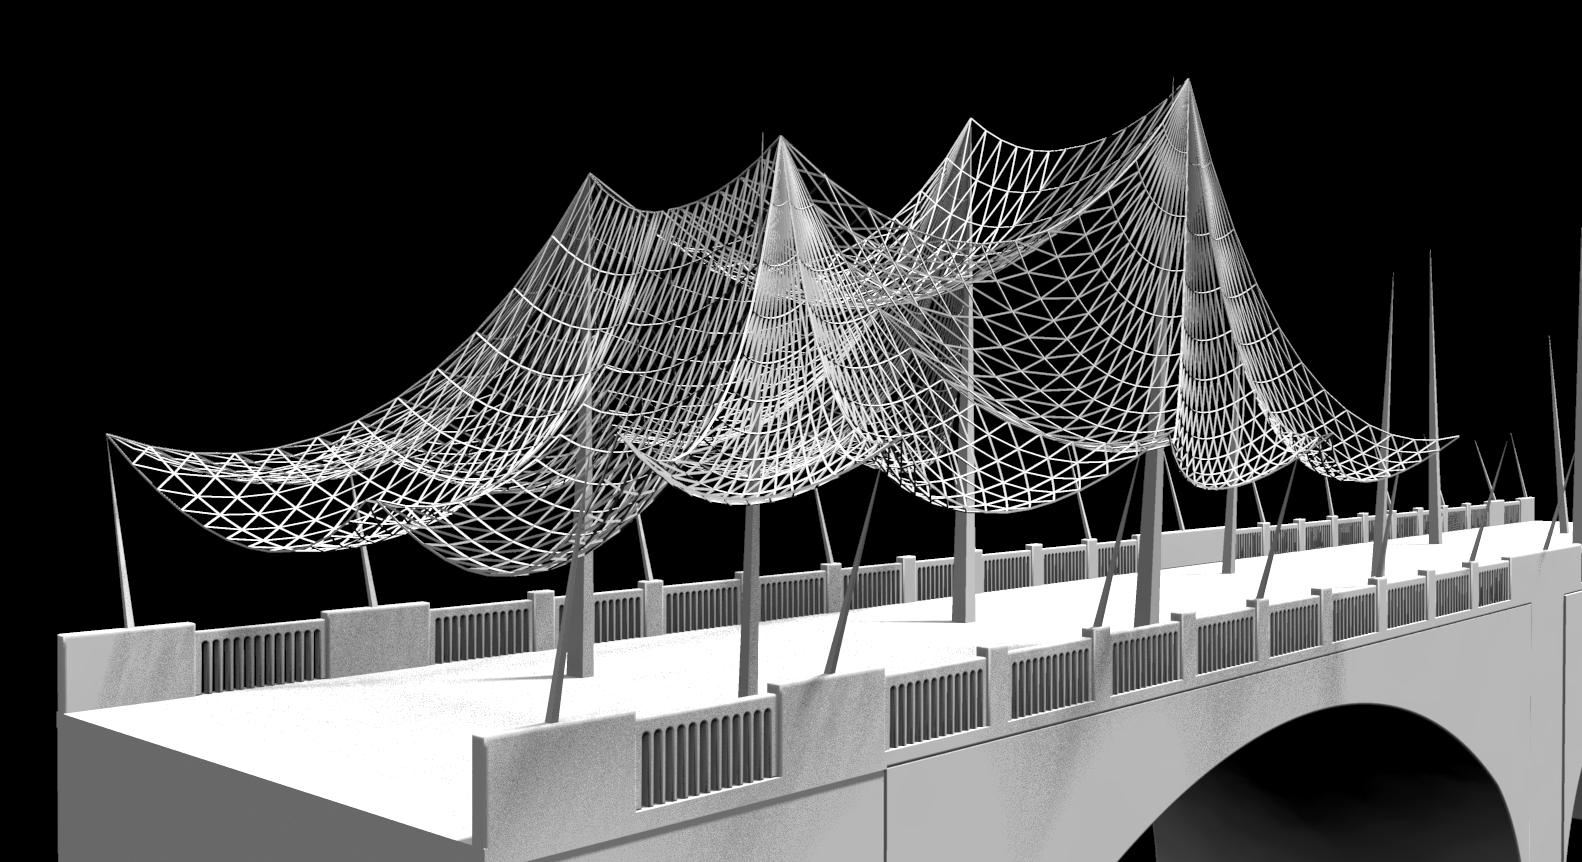
Fishing net modeling
-
thx you very much ! I will explore your method today. My sketchup still running its 36h of working progress now lol, it makes no sens as you pointed earlier on.
-
William, if you turn edges on in that model you'll find the lines I used to make the mesh, off to the side.
Using EEbyR, click one side, then the top then the bottom and finish on the other side, then say no to everything that pops up and you will have the mesh.
I used selection toys to select and remove the faces. Then converted to tubes, with 3sides and unsoftened them.If you can't follow that I can make a video if you want.
-
I'd love to ! if you have time
 What is selection toys ? thx again !
 -
I did have succes o use EEbyR
 but how to chose the number of edges ( having more or less faces created ?)
 -
@unknownuser said:
The problem is I can't use tig's extrusion tools
lequel exactement ?

Le truc à savoir pour tous les outils Extrude de TIG
Clic 1 = Profil
Clic 2 = Rail 1
Clic 3 = Rail 2
Clic 4 = Profil de finQuand il n'y a pas 2 rails ou 2 profils on clique quand même sur le même rail ou le même profil pour avoir les 4 clics dans l'ordre!

Avantage des Extrudes de TIG!
-
There are quite a few ways, but do you have Bezier tools, it give you the option to right click on a line and select polyline segmentor. Here you can type in the number of segments you want.
Selection toys is a plugin by thomthom.
-
Short vid for net.
[screenr:4ch62smu]4e1N[/screenr:4ch62smu] -
Les courbes opposées doivent le même nombre de segments sinon c'est des calculs en plus!

-
very cool thx a lot guys !
-
It crashed after 40h of working


-
I kind of like the shape of it. I applied a transparent texture and cast shadows from the edges. Is it possible to this with kerkythea or artlantis for the rendering.
My file is about 42 megs I can share a wetransfer link if someone wants to play with it


-
How big is the model without the net, if it's less than 4mg you could upload it here.
I wouldn't mind having a look at the structure and seeing if there is a simple way to make the net. -
It's 26meg but I guess if you delete the bridge it's less than a meg.
Here's the link : http://we.tl/3Zg9yeDhRw
If you could make a video that could be perfect
 I have 2 scenario to do. One with the net that is lower and one upper. If you notice, there is a line at the extreme end of the bridge, it's about 2.5meter high. The net must not drop above this line. It's why I liked playing with artisan I was able to set a limit
-
-
oh wow !
 I feel ashamed ehehe
-
Is the model any quicker now it's been purged?
If you absolutely must use the model you already have, you could always overlay the sketchup lines and shadows onto your render. The shadows can be blurred in photoshop for realism. You can do a hidden line export and then overlay these onto your render in photoshop. Change the blending mode to "multiply" and all the white disappears, leaving only the lines. This is kinda cheating though! I'd rather have a model that renders from all scenes, without having to overlay lines.
Here is a VERY old tutorial, from David Huang (Zem) where I learnt the overlay or "lineover" technique. You can have a line export and a shadow export in separate images giving more flexibility in photoshop when you are overlaying everything. So basically; render at the bottom, then shadows, then lines.
It would still be better in the long run if you find a solution that does not involve line exports etc....
http://supodiumforum.websitetoolbox.com/file?id=724830
Love this thread; food for thought and some great contribution!

-
@ Oli : I'm considering this option but the shadow produced from edges by sketchup is not that precise I think...
 Here is a nice tutorial of one architect I like a lot that explain very well what you just bring
  : Alex hogrefe : http://alexhogrefe.squarespace.com/ambient-occlusion-tutorial/
 -
Is this anything like what you want?

-
Wow it's very nice
 It's close to what I have in mind. I'd love the net more dense. Could you show me how you did that and I will try myself !? How did you did the rendering ? very cool !
 -
I think I will have to go with something similar you did ( I mean more space between each squares of the mesh )
Hello! It looks like you're interested in this conversation, but you don't have an account yet.
Getting fed up of having to scroll through the same posts each visit? When you register for an account, you'll always come back to exactly where you were before, and choose to be notified of new replies (either via email, or push notification). You'll also be able to save bookmarks and upvote posts to show your appreciation to other community members.
With your input, this post could be even better 💗
Register LoginAdvertisement


