Model for Rendering Samples - Green Dragon
-
Studio and product rendering is a very simple task but can be a pain in the ass if you do not have the right tools.
In the past as illustrated above I used a studio setup model on which I could pose my model and that worked fine at the time however the problem with such a setup is there is no balanced lighting from behind so one could only light from sides and front or use an HDR image which again would not project from behind as there is a model of a studio blocking it.
The whole point of Prodviz is to show the item in best lighting and minimal or soft shadows it is not to set up an elaborate scene as the emphasis is on the product.
I have a 2 minute setup solution using Thea render.
What you need:
A good HDRI (here is a jpg of what I will use for this example)
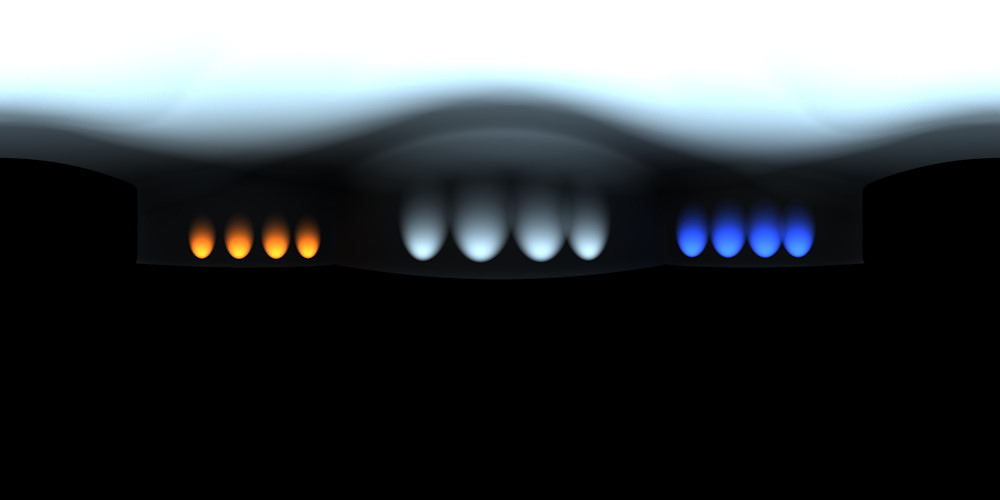
Then you need another map, this time a pure white image:

The method here is you put the HDRI in the IBL slot (Image based lighting) and you put the pure white image in the background slot.
Now you create a ground plane and remove all materials and create a shadow catcher in Thea materials.
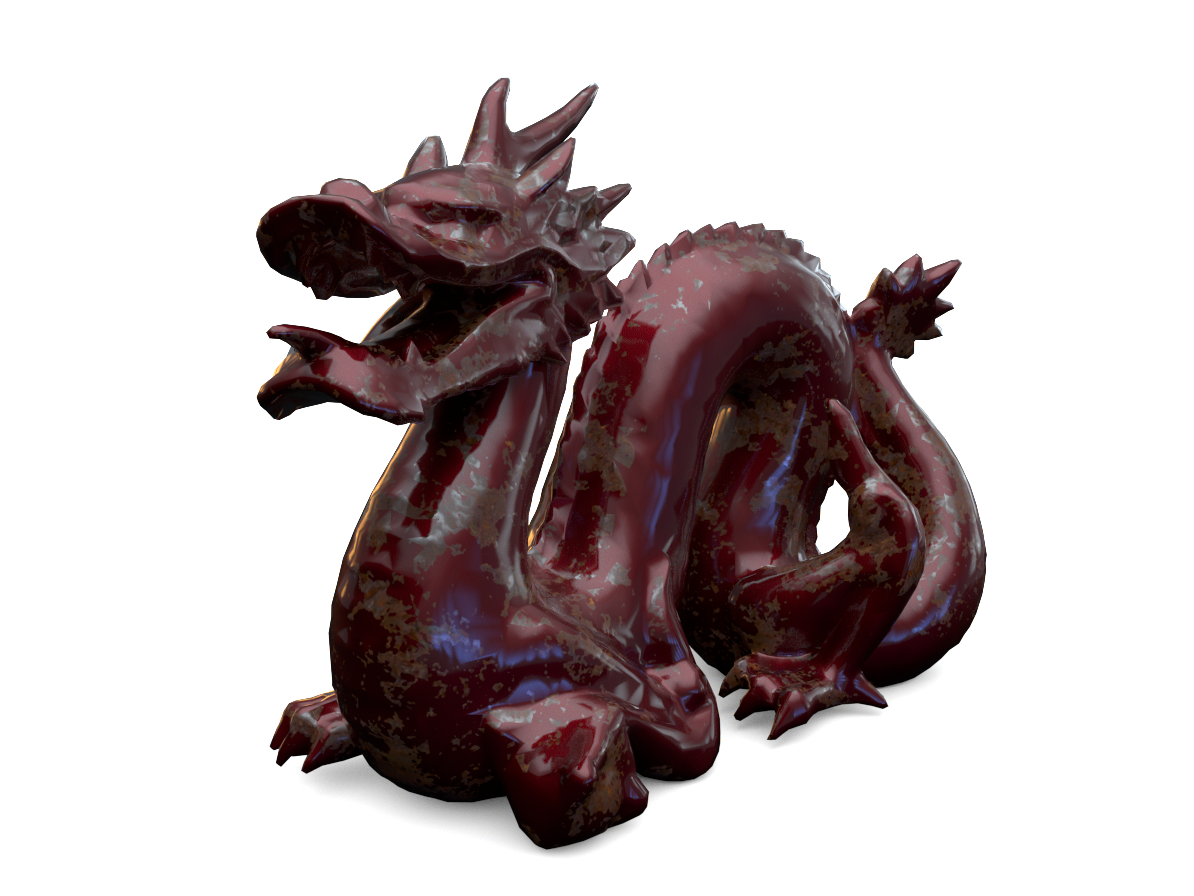
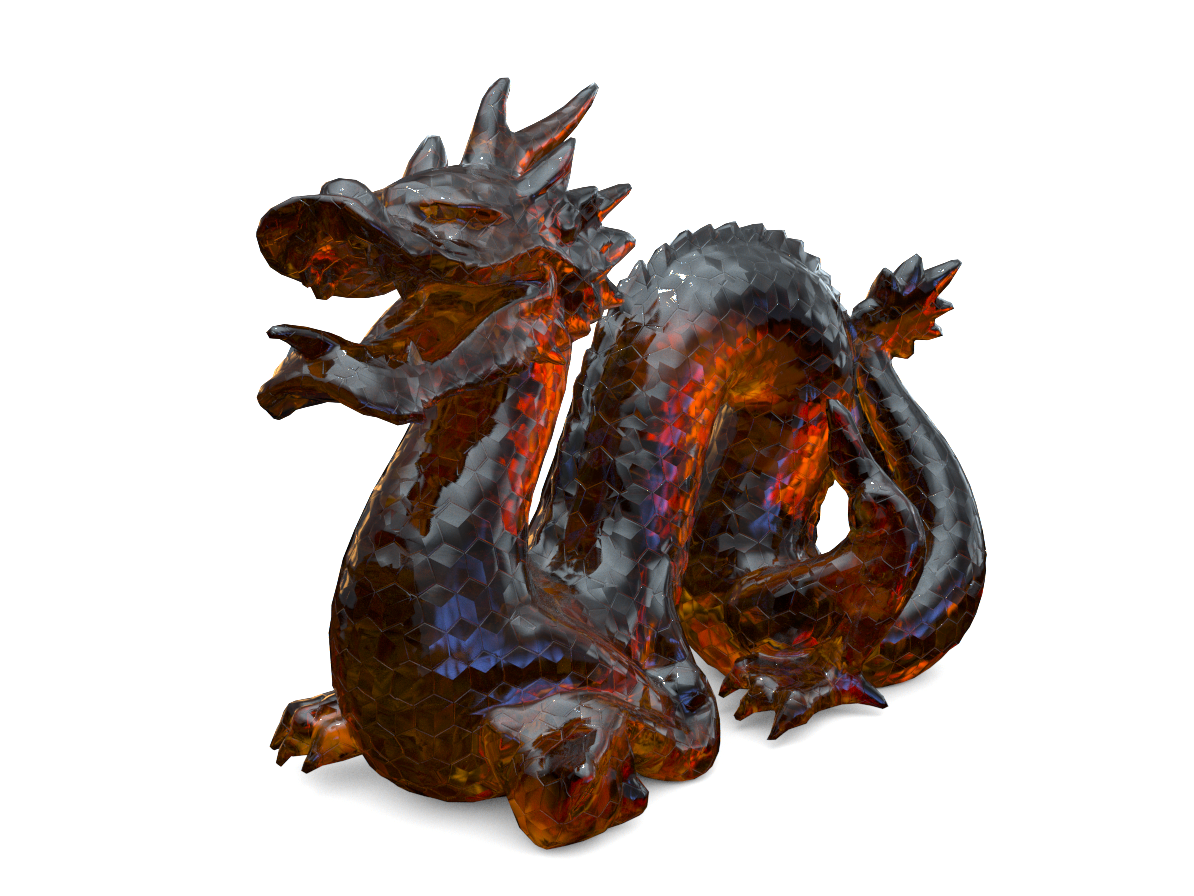
Done, now UV map and add material to model and render with Presto MC less than 2 minutes each.
Raw renders.

-
what's a render?
-
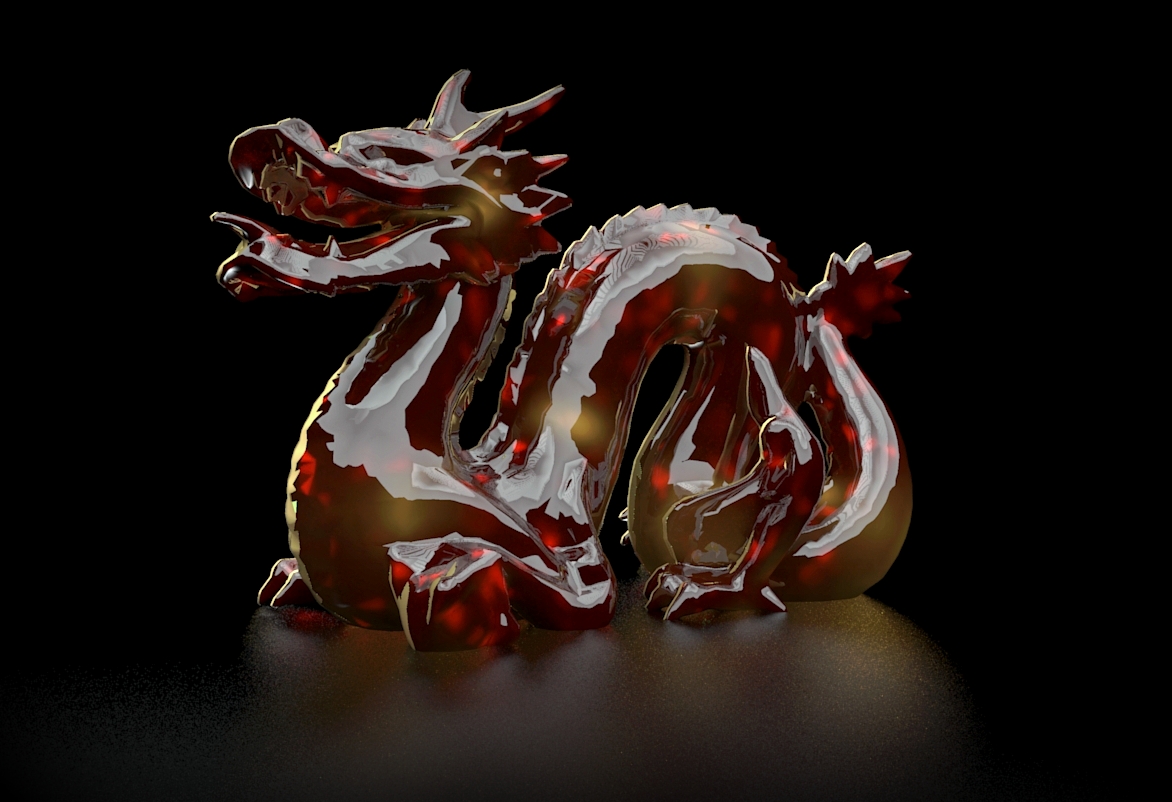
I'm not a fan of Green....Edit; sorry I only just noticed that you wanted everyone to use the same colour.
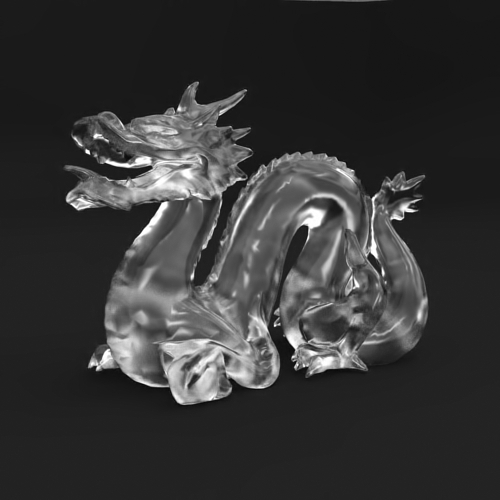
Twilight Render, medium preset.
Default Realistic Glass material
HDRI from the Sketucation Store Studio pack.
-
Some variations (without green)...
(Indigo Renderer)
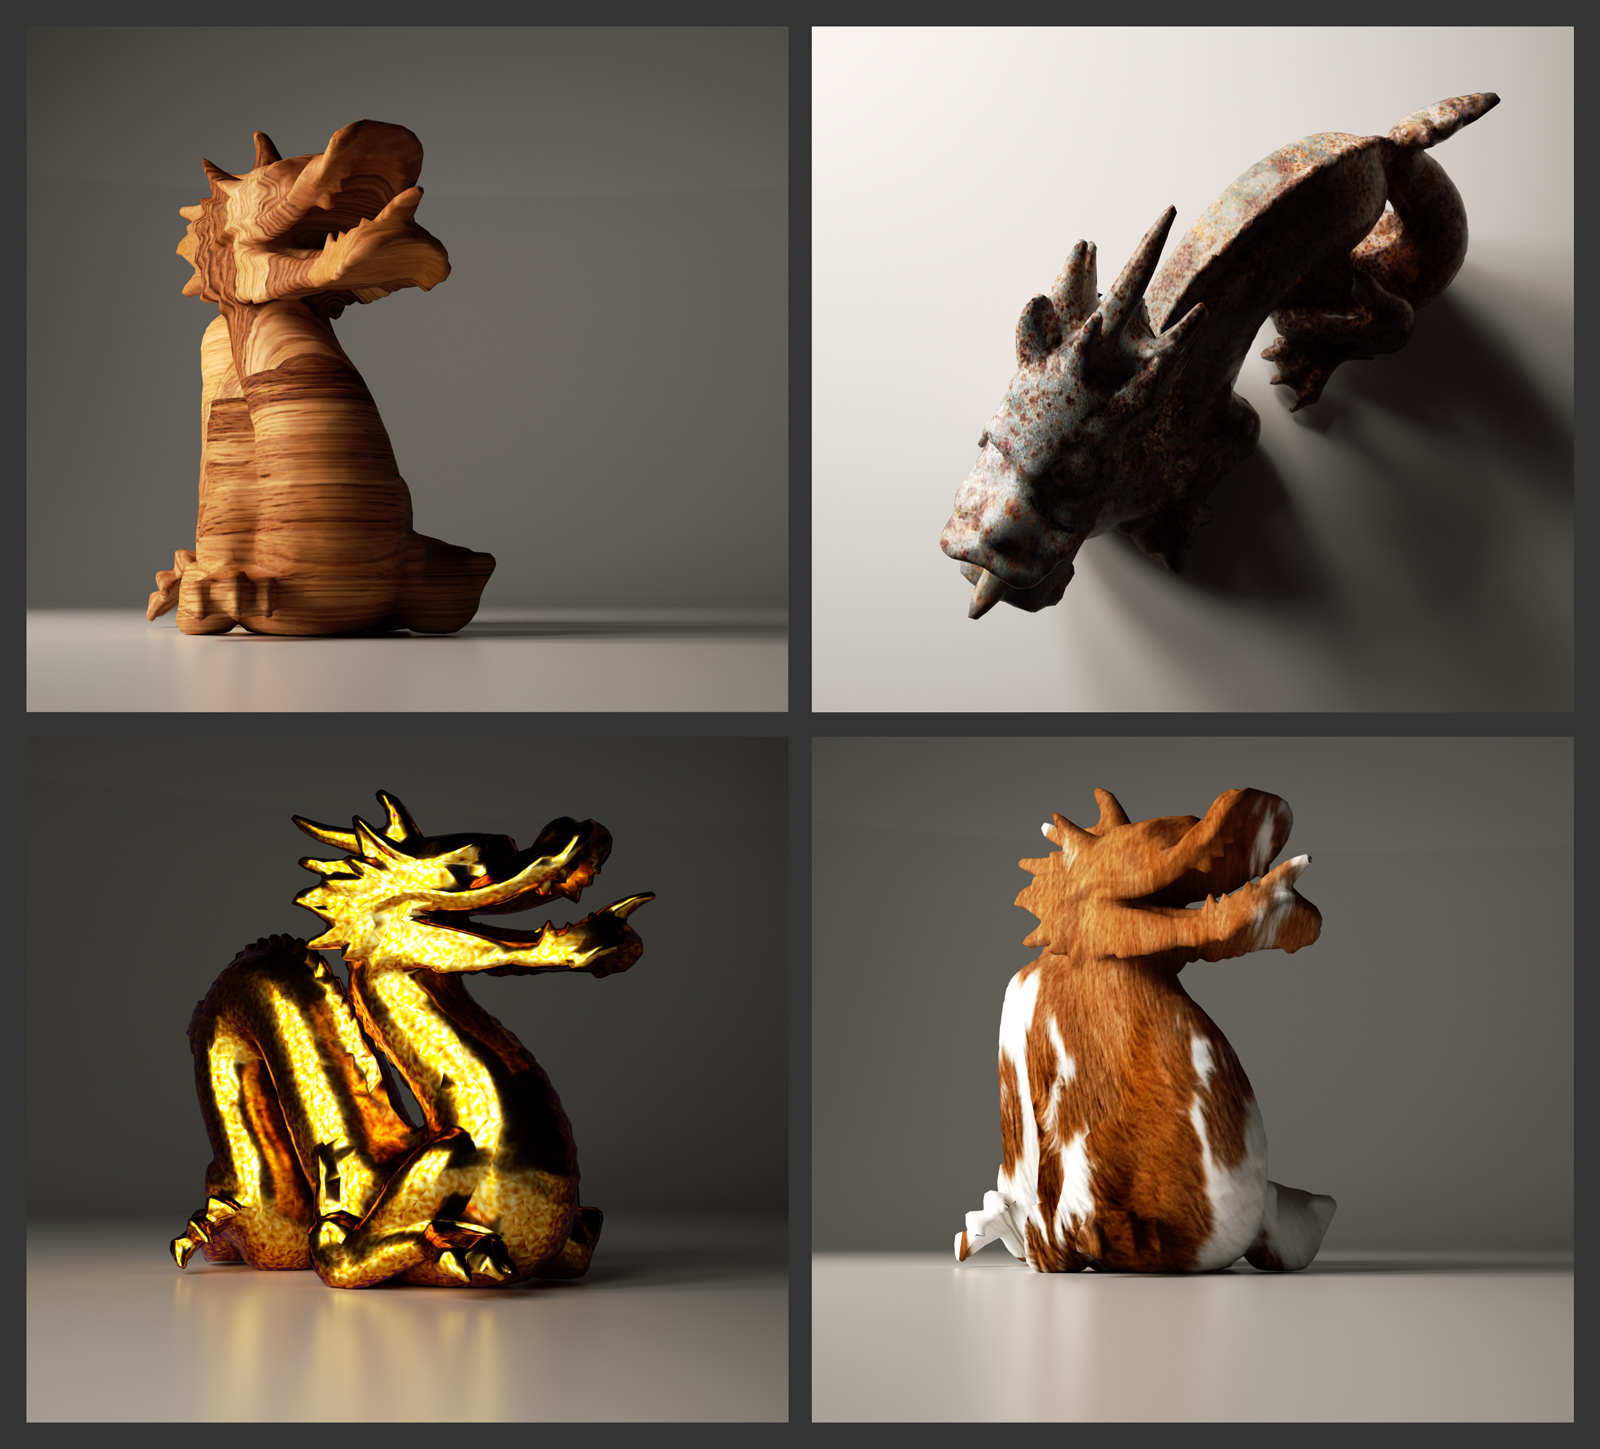
-
TwilightRender. 10 min with Easy 09.
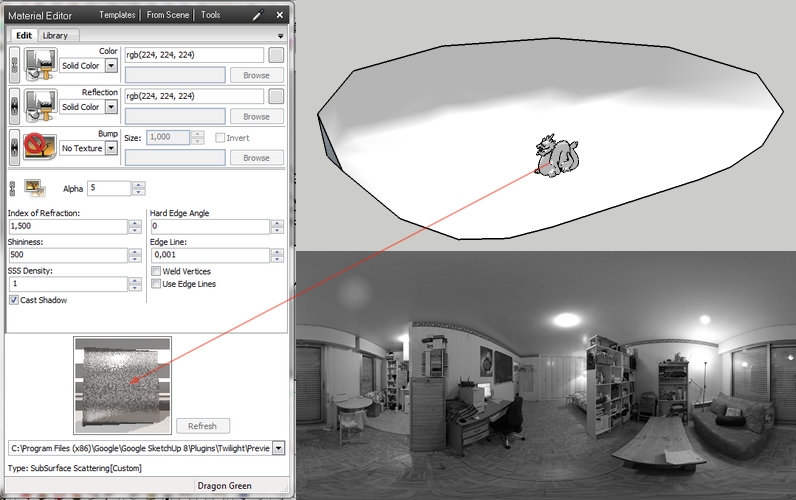
-
@alvis said:
TwilightRender. 10 min with Easy 09.
Alvis,
It the image which looks like an office in the lower right of the screen shot pertinent, or only the position of the Dragon on the geometry?
-
@al hart said:
It the image which looks like an office in the lower right of the screen shot pertinent, or only the position of the Dragon on the geometry?
The image looking like an office is - I assume - the IBL/HDRI used for this scene...

-
@hellnbak said:
what's a render?
All the images in this thread with light highlights and other reflections on the dragon are created with rendering add-ons to SketchUp which create photorealistic, rendered, images from the SketchUp model.
-
.
Chia
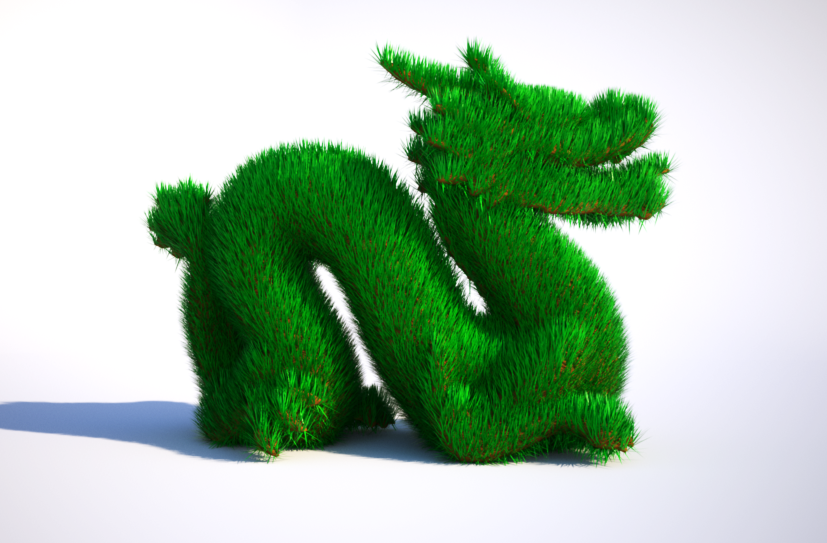
Indigo, MakeFur
sun -
-
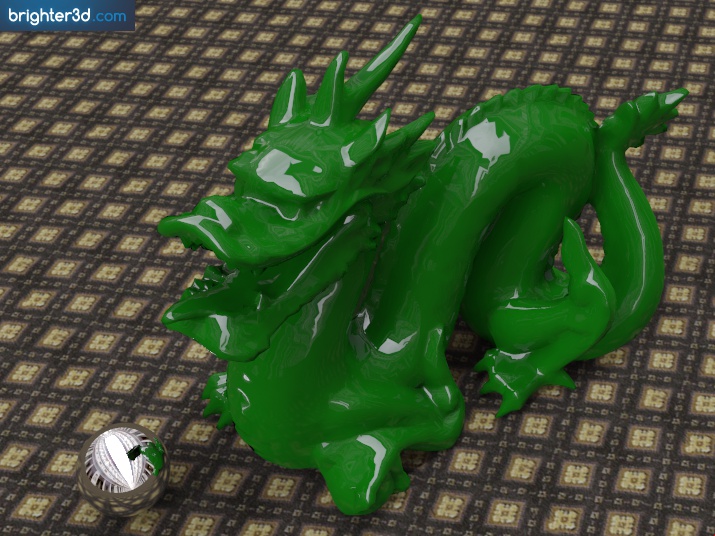
I gave it a try with Brighter3D.
The lighting is provided by a HDR image of uffizzi museum and you can see it reflected on the mirror ball.
-
@frederik said:
Thea Render TR1
Render time: 4 minutes
Raw render...that metal looks awesome.
i challenge you to try one with weathered(?) copper
[you know.. for the green theme..
 ]
] -
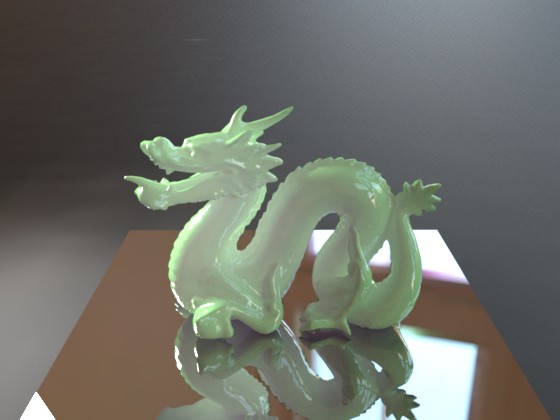
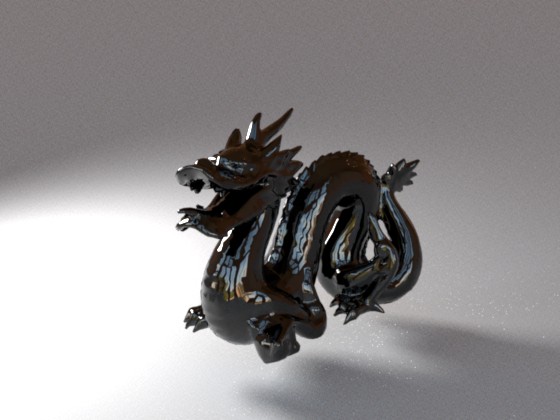
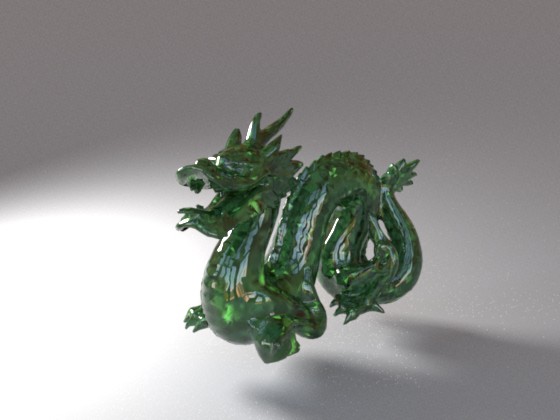
Mitsuba Renders.
Fist one: 47 minutes.
Second one: 4.5 minutes.
Third one: 10 minutes.
-
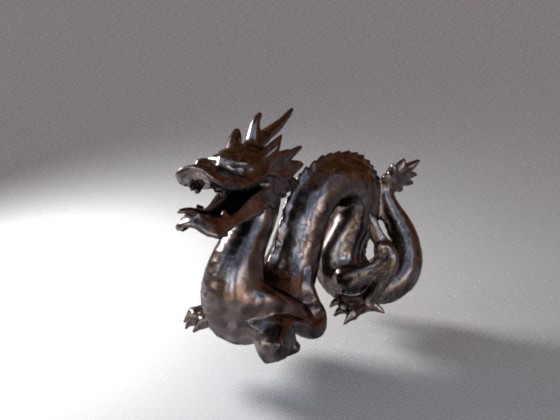
Using Cu2O on this one.
-
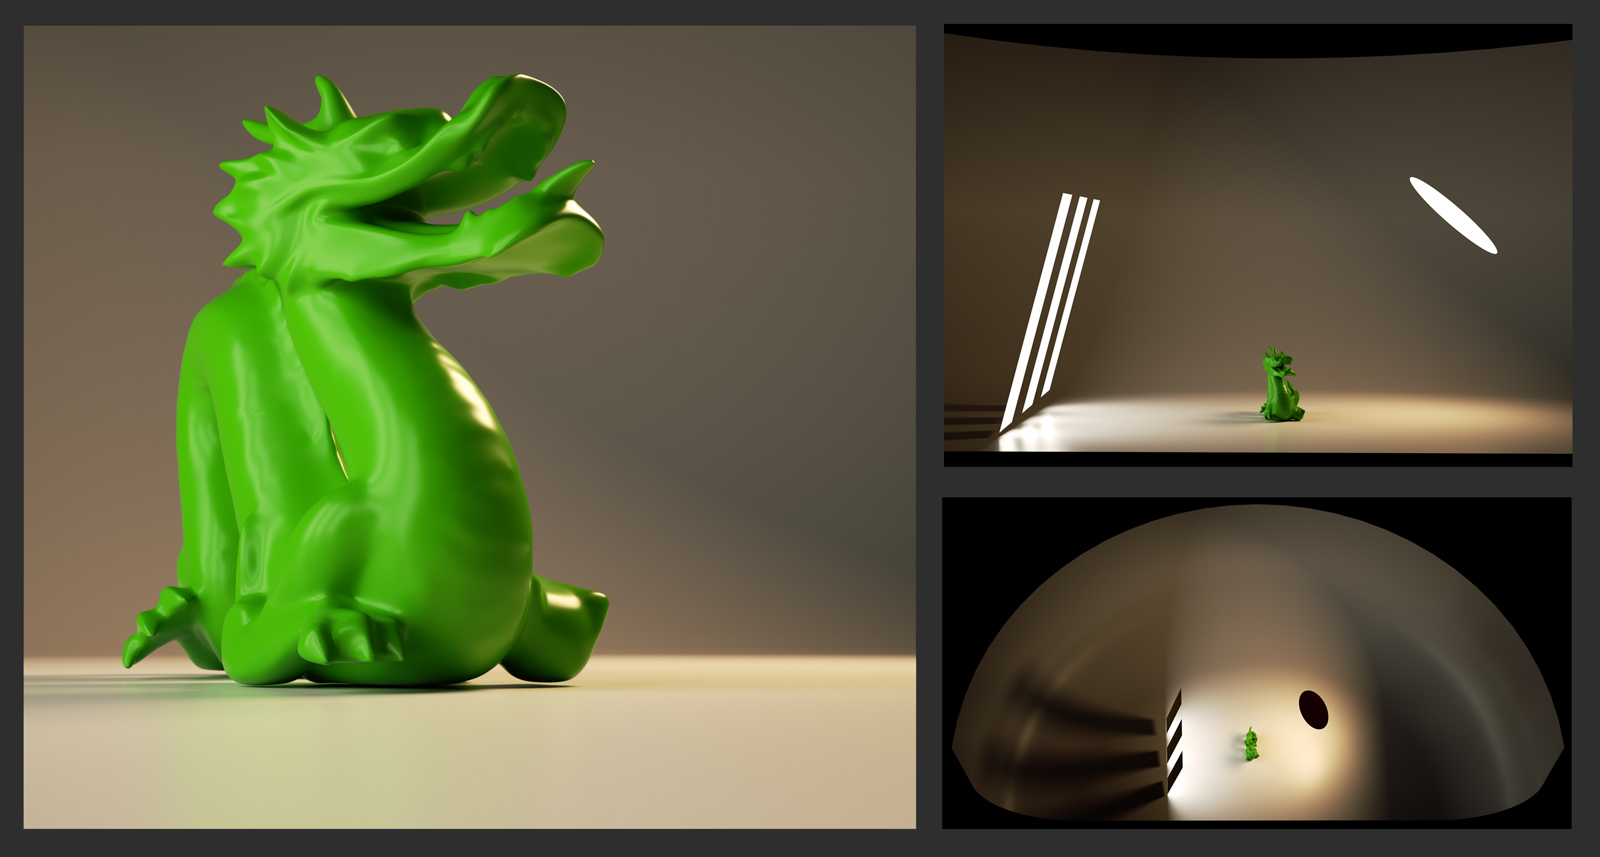
A last green one from me, this time with the used simple light scene...
(Indigo Renderer)
-
-
@frederik said:
@jeff hammond said:
that metal looks awesome.
You can get it here...

i almost switched to thea a while back.. i tried it for a few days and i liked it.
it's just when i had to make some renders for a project, i ended up using indigo for it since it's more familiar and i like that one too.idk, i guess if rendering was a more important aspect of my work -- or, if i were more passionate about rendering from a hobby pov, i'd be more inclined to switch over or experiment with thea more..
but for my requirements, i'm pretty happy with indigo so i'll probably just keep using it
(not to mention, i have a lifetime indigo license so.... )
)@unknownuser said:
That dragon is not UV-mapped... It would definitely be a challenge just to do that...

oh.. right-- that would present a challenge

i was thinking of the tin can rendering you did a few months ago which had some old looking metal on it and thought something similar would look nice on the dragon.. but yeah, the tin can was round and way easier to map.
-
-
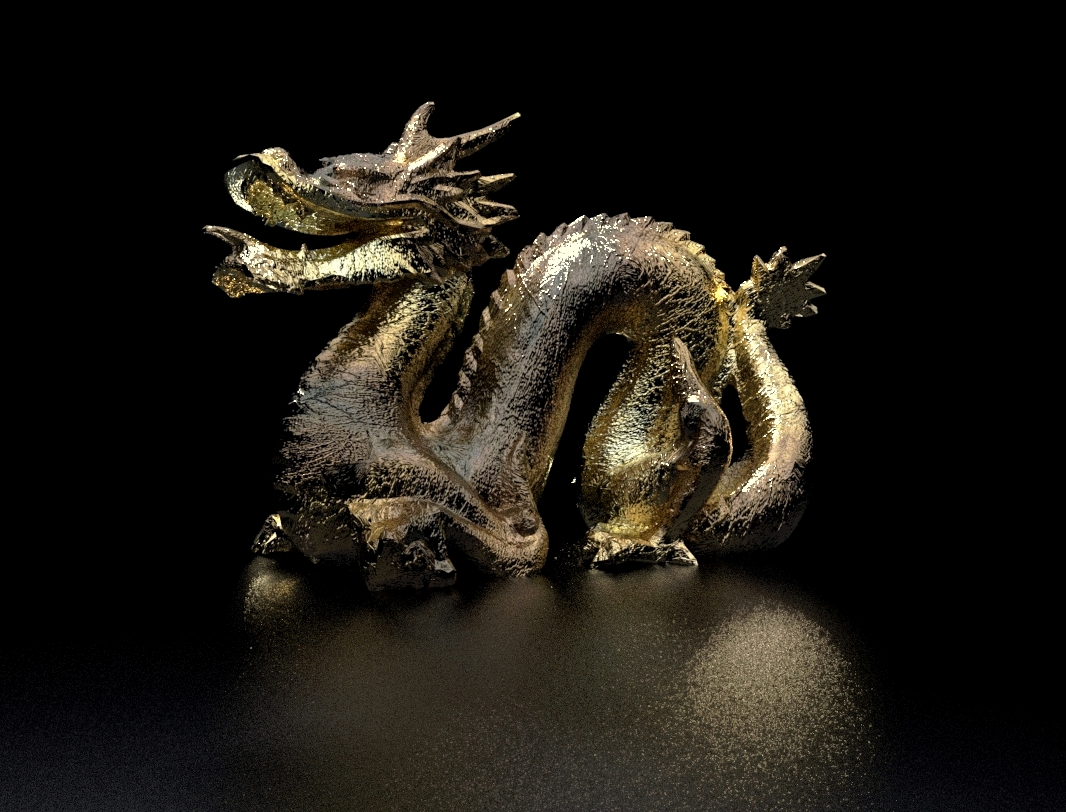
How about old gold.
-
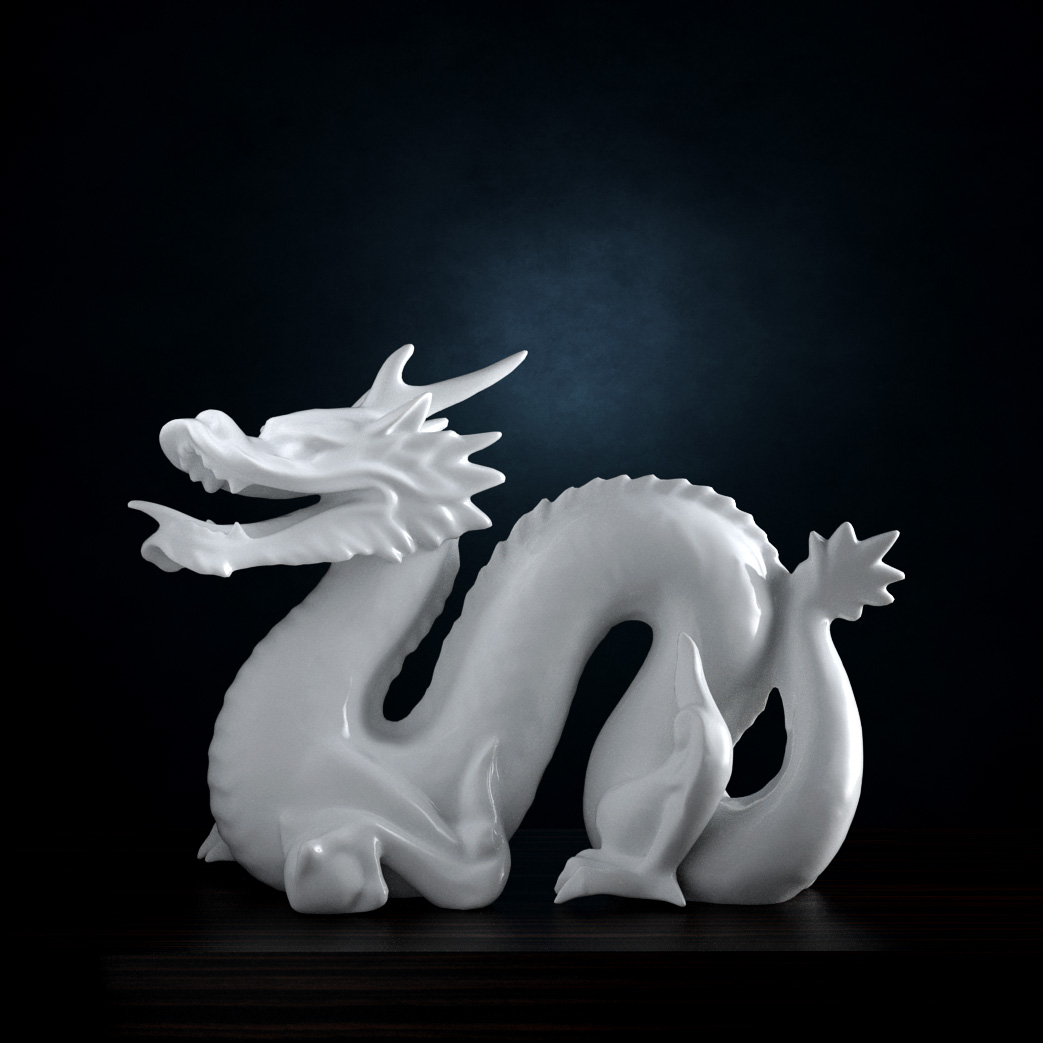
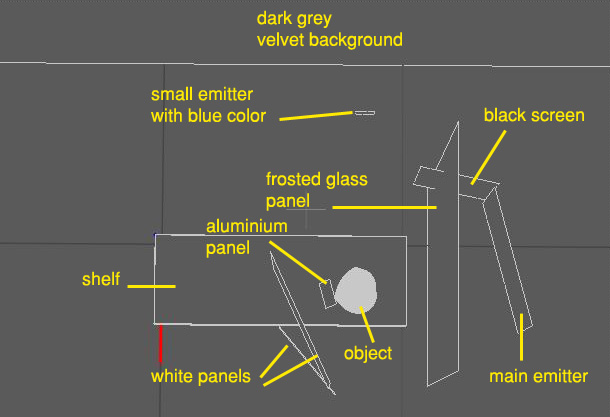
I'm experimenting in recreating still life set-ups taken from real life. Here is one, I've also attached a schematic setting of the scene for those who are interested.
Rendered in Thea.
Hello! It looks like you're interested in this conversation, but you don't have an account yet.
Getting fed up of having to scroll through the same posts each visit? When you register for an account, you'll always come back to exactly where you were before, and choose to be notified of new replies (either via email, or push notification). You'll also be able to save bookmarks and upvote posts to show your appreciation to other community members.
With your input, this post could be even better 💗
Register LoginAdvertisement


