Dazed And Confused
-
Cheers for your comments. Now with AO on and omni light added. Also knocked back the pure white...improvement but still getting there
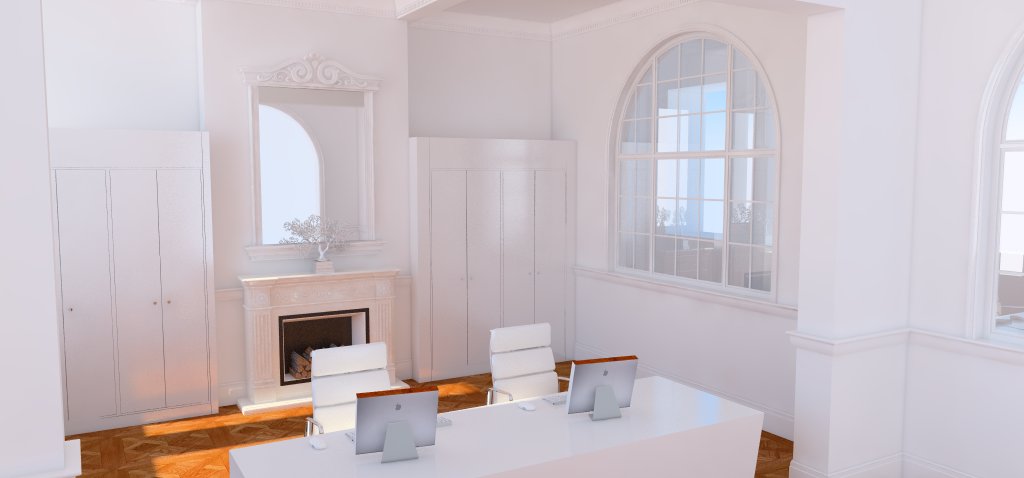
-
Agentorange
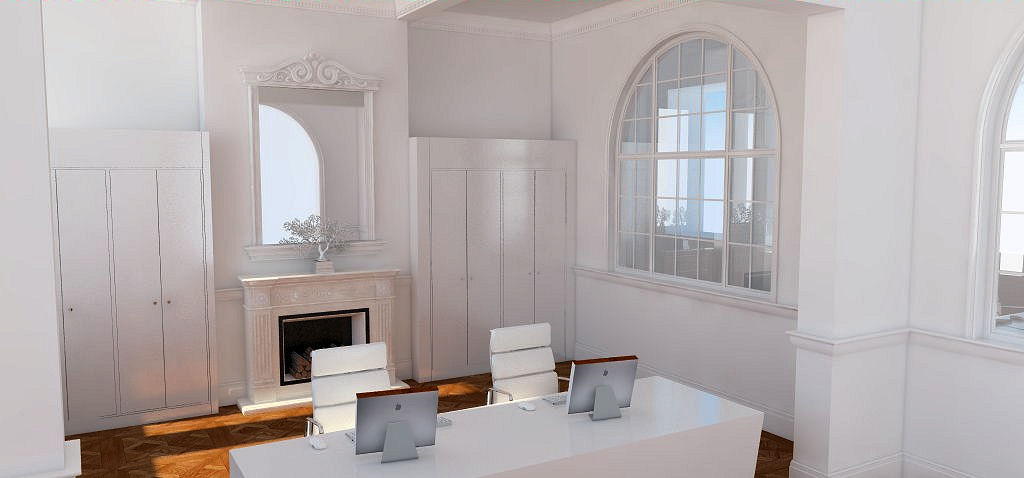
Looking a bit better.
With an all white interior, and plenty of sunlight coming through the window, I wouldn't use any internal lighting (personal preference). However I would adjust the camera setting to darken the image so it does not look bleached out. (or adjust it with an image editor)David
-
I still think the lighting setup is flat. Maybe consider using a dome light for your environment then add some plane lights behind the camera. Think about a high end photoshoot for an architectural interiors magazine. They come in with all kinds of lighting equipment.
We should setup renders the same way a photog would shoot the space.
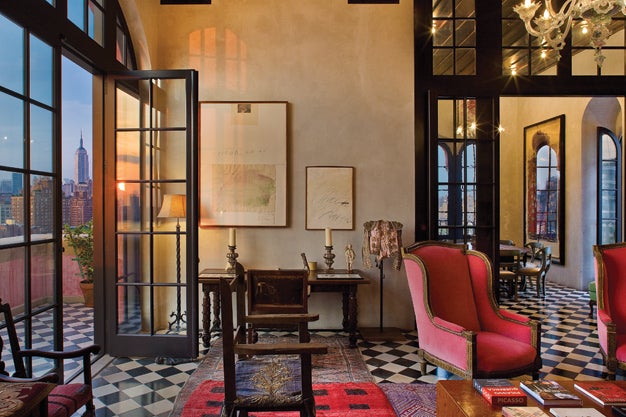
How To: Mix Light Sources to Warm Up an Interior Photo
Juxtapose warm-toned and cool-toned lighting to capture a room's sunny feel

Popular Photography (www.popphoto.com)
-
Nice article, I'm just about to try a dome light... As it's lunch time at work.....to see how this effects my settings and results, cheers for the input.
-
don't forget to use RT when adjusting your lighting. It can help you get a better understanding of how your scene is lit, much faster than waiting for a complete normal render to finish.
-
Well tried some new options of the lighting techniques, the one with GI HDRI I like the tonal values but I also wanted the sun light to shine into the room - but this adds a lot of pink/orange to the scene.
This is where I get confused as there's so many different options to choose from... it's a never ending journey of learning (which is a good thing)
I also think that maybe I'm trying to achieve the finished scene within Vray with out taking into account the amount of post work to be done in photoshop which inevitably improves the final quality.
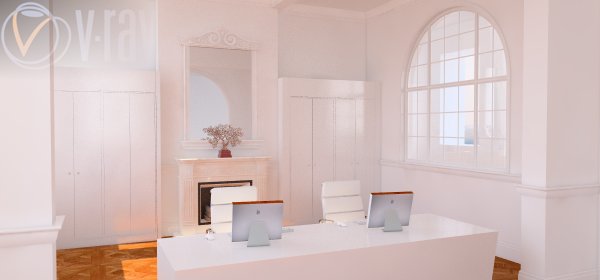
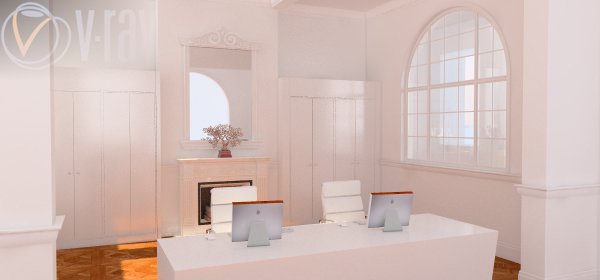
-
I really like the first one. Now, if you want a shadow casting into the space from the sun, get an HDRI with a strong sun shadow. I recommend buying a pro set if you plan on using dome light a lot. I really like VizPeople's HDRI set 2. It's a good starter set with a nice range of skies.
-
For me, the lighting is way too even, and I don't think domelights or hdri will make any difference. If you look at examples of archviz images the best ones have drama and interest, but I guess it depends what you are trying to achieve, realism or an interesting image.
I would definitely use the light from the window - it adds interest. You could also add glazing bars in the window to create a more interesting play of light. I would also experiment with adjusting the height and angle of the external light source (the sun) to see what play of light gives the most interesting effect.
There is obviously other light coming into the space - it may help to block some of these light sources to increase the play of light and shade.(interesting different approach by me and valerostudio!!)
Good luck!
David
-
Cheers for your replies...two different approaches so gives me a busy weekend - It's a steep learning curve, frustrating at times but also gets the old grey matter working.
Do either of you know of any Vray For Sketchup courses available within the London area that you could recommend? Its just the little 'tweaks' that need to be learnt/shown that would help me understand the full render process.
-
Both Lynda.com and Evermotion have some nice VR4SU rendering courses.
-
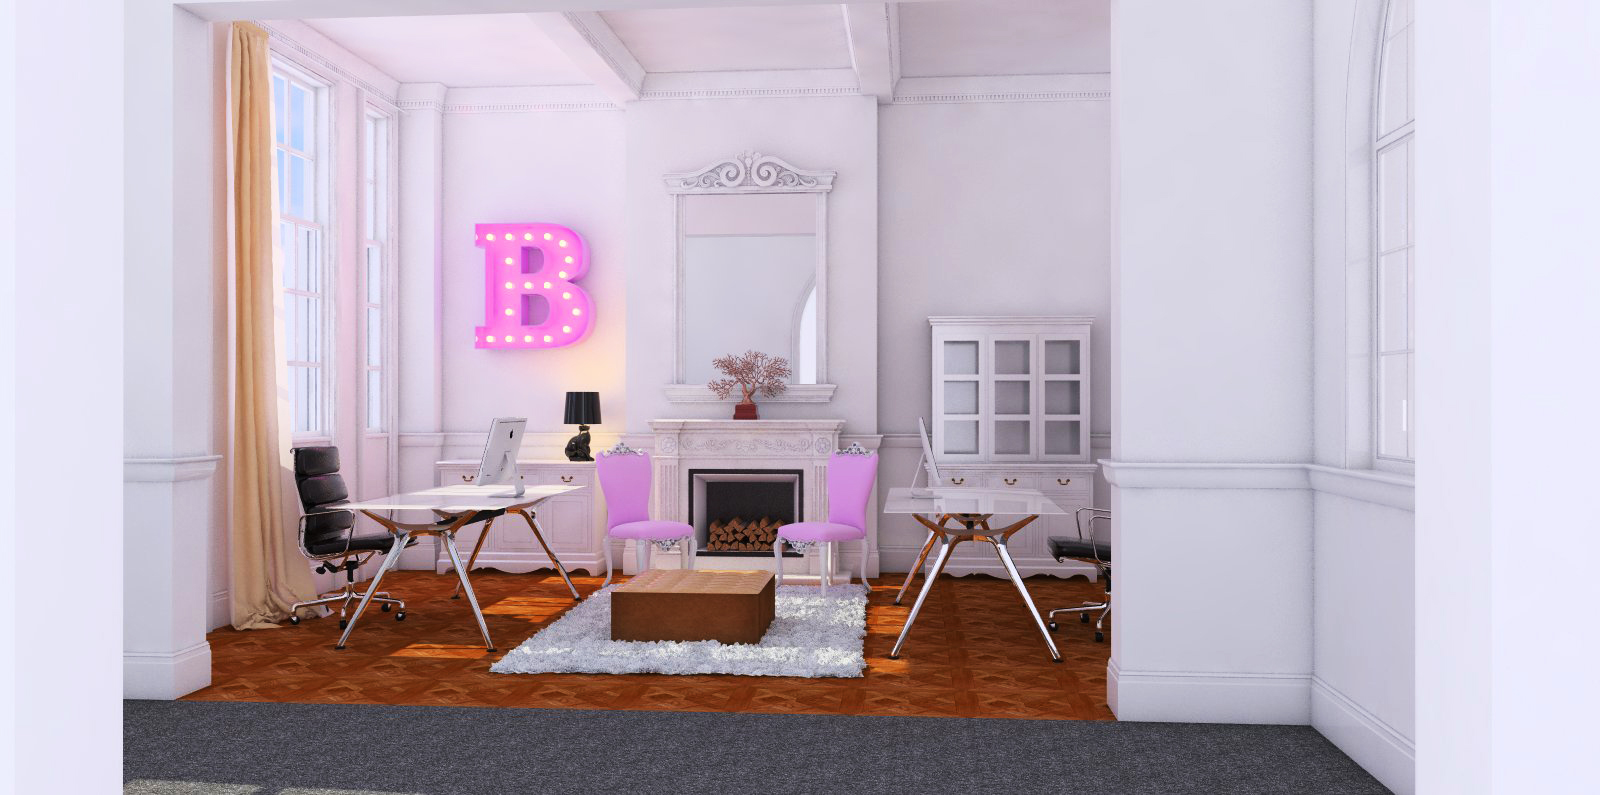
..... now its time to work on the materials.
Many thanks for all your comments and suggestions....getting there - I think
-
Looking great!
-
Valerostudio,
Thank you, almost getting that 'Eureka' moment
-
Yes, looking much much better.
You might want to increase the hsph and samples (in LC) to get a cleaner render - but render times will increase so take it easy.David
-
How do folks feel about the "Universal Method"? I like using it on interiors. I find that I get extremely clean renders with this method.
-
What is the 'Universal Method'? is this something else I need to learn?
-
OK, I'll take the bait! What is the 'universal method'?
All I can see in the Vray presets is - 'test quality, low, medium, high and very high quality'
David
-
I have posted a series of 'internal' renders on the Chaos site, to compare the 'internal' render presets offered in Vray. The differences in quality are maybe not as great as you might expect, but the render times sure are.
here is the link
http://forums.chaosgroup.com/showthread.php?74814-test-of-interior-pre-setsDavid
-
Are saw those David, very interesting...especially the times taken...handy to know when you've got a client banging on your door
-
Found the Universal Method settings - gonna have to try it now......
The "universal" settings comprise a set of settings that we have found to work very well for still images in many situations. Please note that these settings are not optimal, in the sense that with enough tweaking, you can probably get similar quality with faster render times. The beauty of these settings though, is that they require almost no tweaking and you are guaranteed to get a good result in the end.
The advantages of these settings are:
very little parameters for controlling render quality vs speed (essentially, only the Noise threshold);
they work for a very large number of scenes;
they typically produce high-quality results.Of course, there is a disadvantage: the scene may render quite slow. With tweaking, you may get faster results.
These settings work, because the high AA subdivs essentially cause all the sampling to be performed by the image sampler. It will take as many samples per pixel as required to achieve the specified noise threshold. In many ways, this is similar to PPT (progressive path tracing), but is done on a per-bucket basis and the number of samples is adaptive for each pixel.
Setting the V-Ray renderer-
Set V-Ray as the current rendering engine (with the default V-Ray settings).
-
In the Image sampler rollout, switch the image sampler Type to Adaptive DMC. Set the Max. subdivs to 100 (one hundred). Leave the Min. subdivs to 1.
-
In the Indirect illumination rollout, Turn GI on, set the Primary GI engine to Brute force. Do not change the Subdivs. Set the Secondary GI engine to Light cache.
-
In the Light cache rollout, set the light cache Interpolation samples to 5.
-
In the Color mapping rollout, make sure that the Clamp output and Sub-pixel mapping options are off.
-
In the DMC sampler rollout, set the Adaptive amount parameter to 1.0. Typically you will also need to adjust the Noise threshold as the default may produce too much noise. A good value is, for example, 0.005.
-
You can also controll the noise directly from the Image sampler rollout, if you uncheck the Use DMC sample thresh. parameter, and adjust the Clr. thresh instead (e.g. to 0.005).
-
Hello! It looks like you're interested in this conversation, but you don't have an account yet.
Getting fed up of having to scroll through the same posts each visit? When you register for an account, you'll always come back to exactly where you were before, and choose to be notified of new replies (either via email, or push notification). You'll also be able to save bookmarks and upvote posts to show your appreciation to other community members.
With your input, this post could be even better 💗
Register LoginAdvertisement


