How to use shape as template to cut holes?
-
Looking at it from the very start. Do you know how to use the move tool to make a copy.
Draw a rectangle, a simple face no thickness, draw a circle on the face and use the scale tool to squash it into an oval, select the oval so it is blue highlighted and now get the move tool, arrows pointing four ways. Hold CRTL and click and release (on the bottom left corner of your rectangle) and move the cursor along the bottom edge of the rectangle, a second oval should move with it, click when it is in the position you want. Now use the push pull tool to give your plywood some thickness and delete the faces in the holes.
That's the very basic version, there are many other ways.
-
As Box says, many ways to do it. If you delete the faces inside the ovals before you use Push/Pull, you'll have something like this.
If you already have the 3D "piece of plywood" you can layout the ovals as Box described and use Push/Pull to eliminate the waste.
-
Could he simply make the oval a component that cuts a hole, like a window component?
And then just use the copy/move to relocate the same component, cutting the hole?
I guess I should have tried it myself before asking, but I seem to remember components being able to do that.
-
A component can cut one surface but not both.
Well there's a plugin that could make that work but I think just cutting the holes properly in the first place makes more sense.
-
@jaxcoffee said:
Could he simply make the oval a component that cuts a hole, like a window component?
And then just use the copy/move to relocate the same component, cutting the hole?
I guess I should have tried it myself before asking, but I seem to remember components being able to do that.
That would be part of the "There are many other ways" that I mentioned. As Dave points out it involves plugins, and that is another story.
-
 Thank you very much. I'm wondering without starting from the beginning if I can do this.
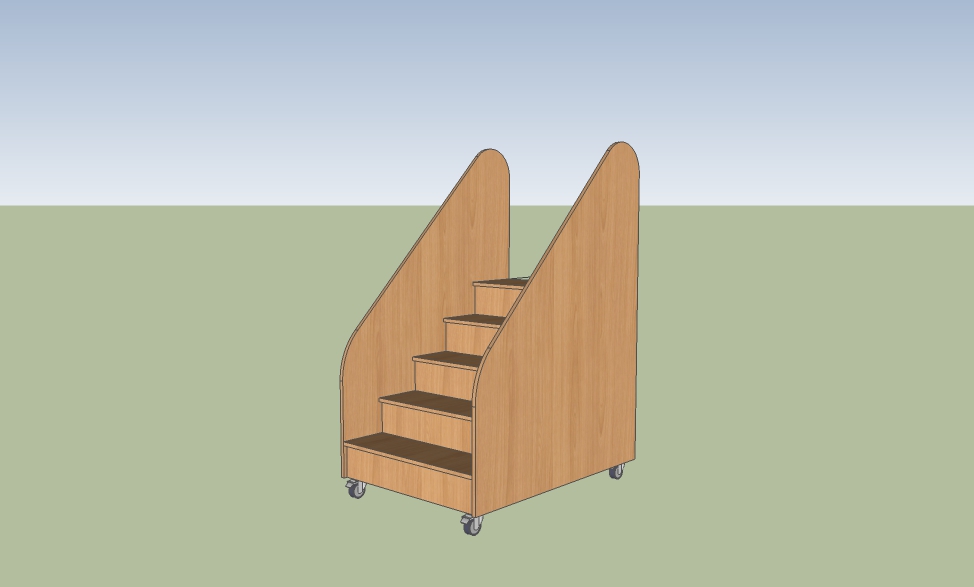
The oval cut outs will be hand grabs near the top of the side panels (stair stringers), 5 on one side and 5 on the other.
Could I cut the 5 ovals on one side and the 5 on the other so they will
 be an exact match.
 -
The answer is yes. How easily depends upon how you drew the model. If I were drawing it the side pieces would be instances of the same component and the right one would be flipped (mirrored) compared to the left. Then cutting the openings in one would result in identical openings being cut in the other.
If you used groups or didn't do anything but draw the geometry, things get more complicated but it can still be done.
-
Excellent! Thank you, I got the job to make it.
-
Good work.
-
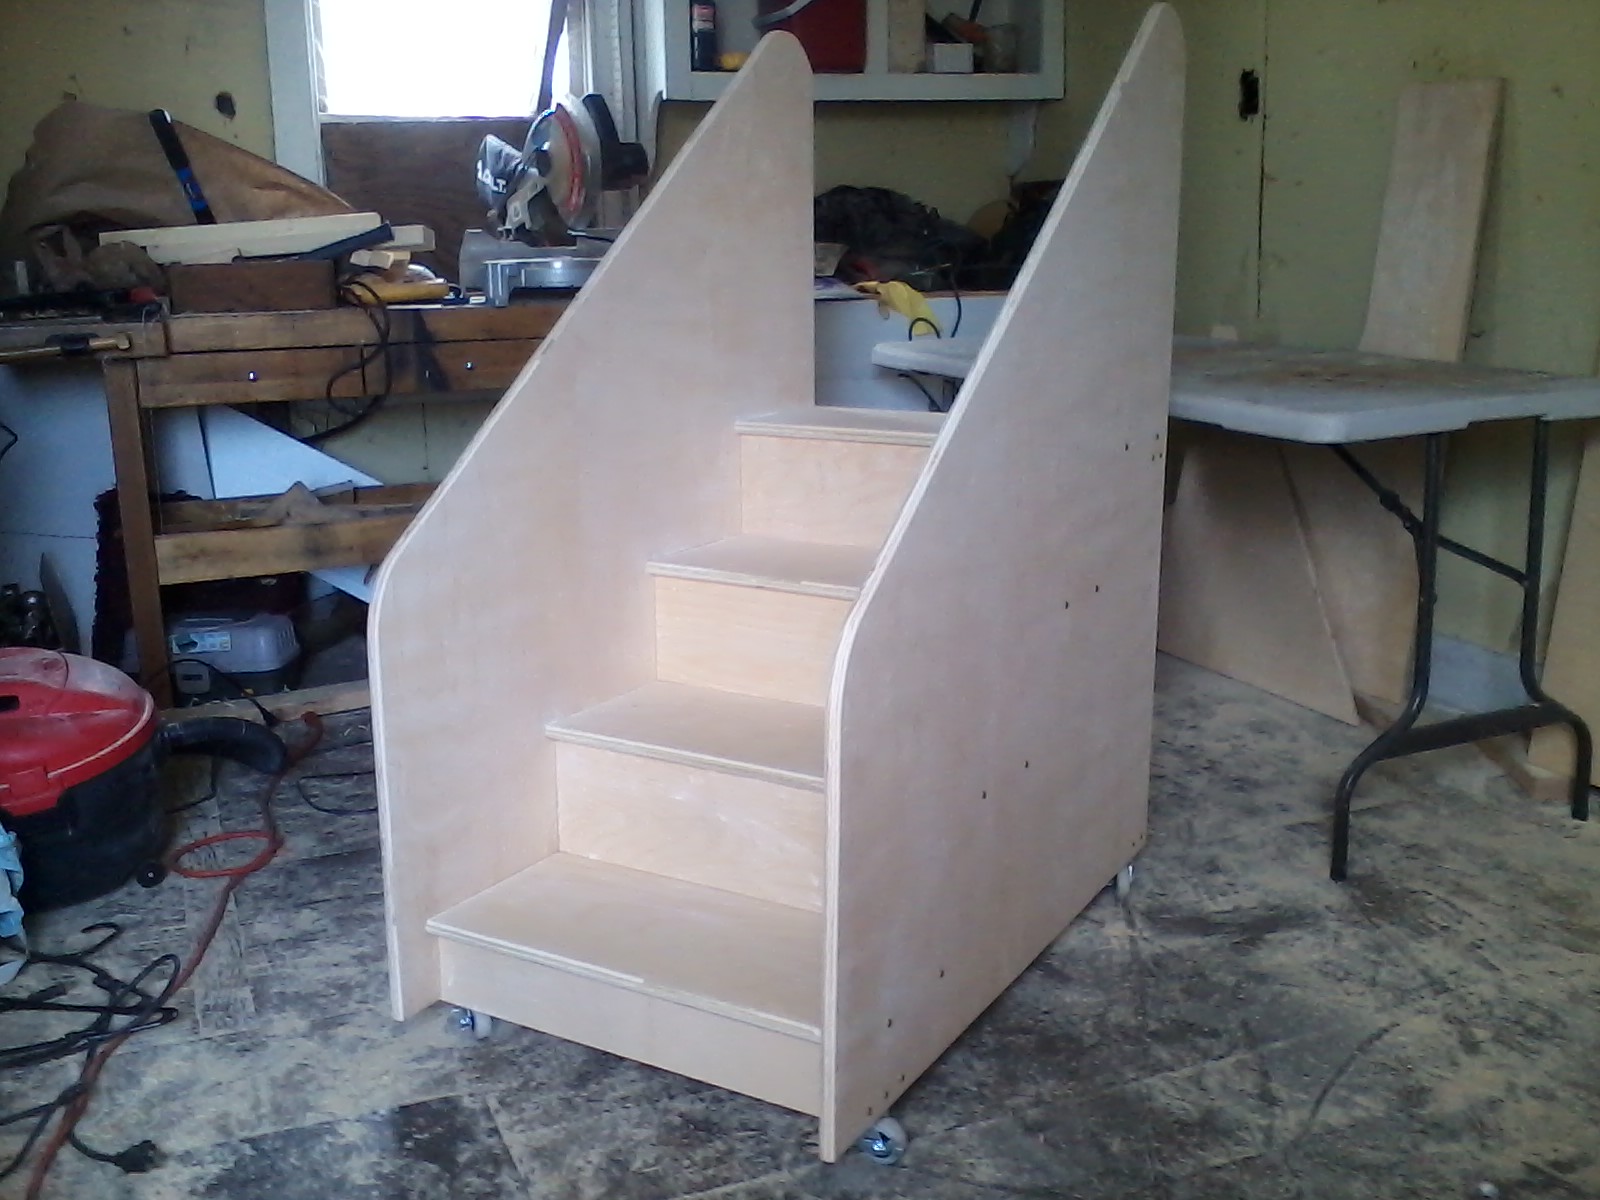
From Sketchup to the real-deal.

Due to costs and time restraints the holes didn't make it to the actual job, but it turned out nice
-
Good work.
-
-
Another way: (multi) hole on solid, see this screencast.
-
@cotty said:
Another way: (multi) hole on solid, see this screencast.
That is fast and easy, installing now. Thank you.
-
@mikedd said:
That is fast and easy, installing now. Thank you.
If you want to use the multi hole tool, the hole components must have the "cut hole option" active (and this is difficult to find in the documentation)
-
Due to costs and time restraints the holes didn't make it to the actual job, but it turned out nice
I was just gonna ask about the holes! -
@mrossk said:
Due to costs and time restraints the holes didn't make it to the actual job, but it turned out nice
I was just gonna ask about the holes!Yeah, it would have meant making a jig for the router then cut the holes out, round off the holes and then sanded them. Plywood is a pain in the butt to sand, I wish I had a router bit that could sand and cut at the same time- that would be a great time saver.
Advertisement


