The roof and the window frame
-
that's my first post to the forum, so i decided to post it here, though the topic perhaps does also fit the main forum:
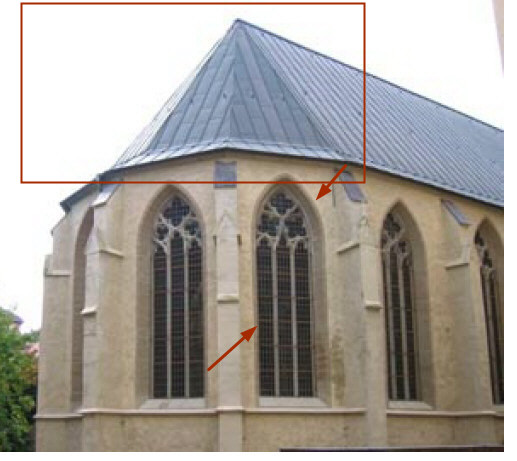
I'd like to do some openspace design visualisation around an old church, so I have to create the building in a way it can be recognized
by the viewer. That means at least to create the specific roof and the outline of the specific church windows.
I reviewed the tools offered by Sketchup and the some scripts but cannot find suitable ones (more likely I overlooked them).
Regarding the roof is is clear how to create the simple main part but how I can deal with the rounded end part ?
And how to draw the window outline as a more or less smooth line - especially the inflected part ?
The standard workaround seems to draw the arc an many smaler lines but how to get them symetrical ?Any hint is appreciated
Attached you see a foto what clarifies the situation (hopefully)
-
The roof is relatively simple... draw a 2d outline [with faces] including the ridge and hips and change in plane. Select the horizontal ridge line and Move it up in the Z [blue] axis with Alt key pressed to auto-fold. The roof will form as desired.
The windows do need to be made out of arcs/circles. You will of course be working inside a component so geometry only sticks to itself within that context. Use guide-lines to help center the parts. Its symmetry is and advantage because you only need to make a half and mirror it - make the half as a [temporary] component copy/mirror and snap to a vertical center guide-line [mirror using a context-menu 'flip', or Scale and -1].
The 'parts' can be temporary subgroups that you can move/rotate/copy as needed.
Get the basic 2d out-line of the window done before worrying about 3d moldings and glass etc.
When you have the required 2d out-line use Offset to make modular of the facade - move Faces with Alt in or out to make the detailing needed. Using PushPull and FollowMe are unlikely to do what you desire... -
The end part of the roof doesn't appear to be rounded (few architectural features truly are); it's 5-sided...so can be treated as a series of planes.
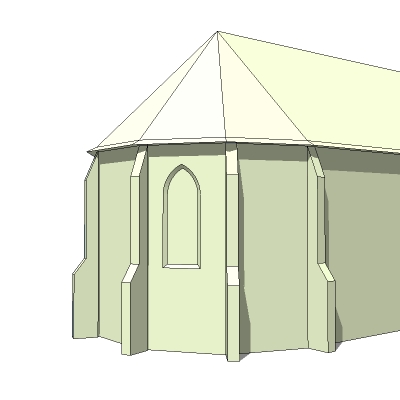
The windows can be done by drawing one on the on-axis side of the church, then making it into a component glueable to any surface and simply copying it onto the angled ends. If you want to draw a window directly onto an angled end wall (as shown), you'll need to adjust the model axes, then change them back when you've finished. You draw half the window, then r-click on any of the axes and choose Place from the context menu. Place the axes so that the blue is still pointing up, but the red or green now runs along the bottom of the half window.Now you've got your window on-axis, selct and copy it sideways then flip the copy along whichever axis you ran along the bottom, before joining it onto the original drawn half.
I have drawn the body of the church inside a group. You'll see if you go inside this group that the axes change from being lined up with the nave to being lined up with the angled window.I've made this model very quickly (less time than to write all this) so the buttresses don't fit exactly onto all the corners.
-
Simply want to say 'thank you' to both of you for that fast reply.
Will try to understand and repeat the steps. -
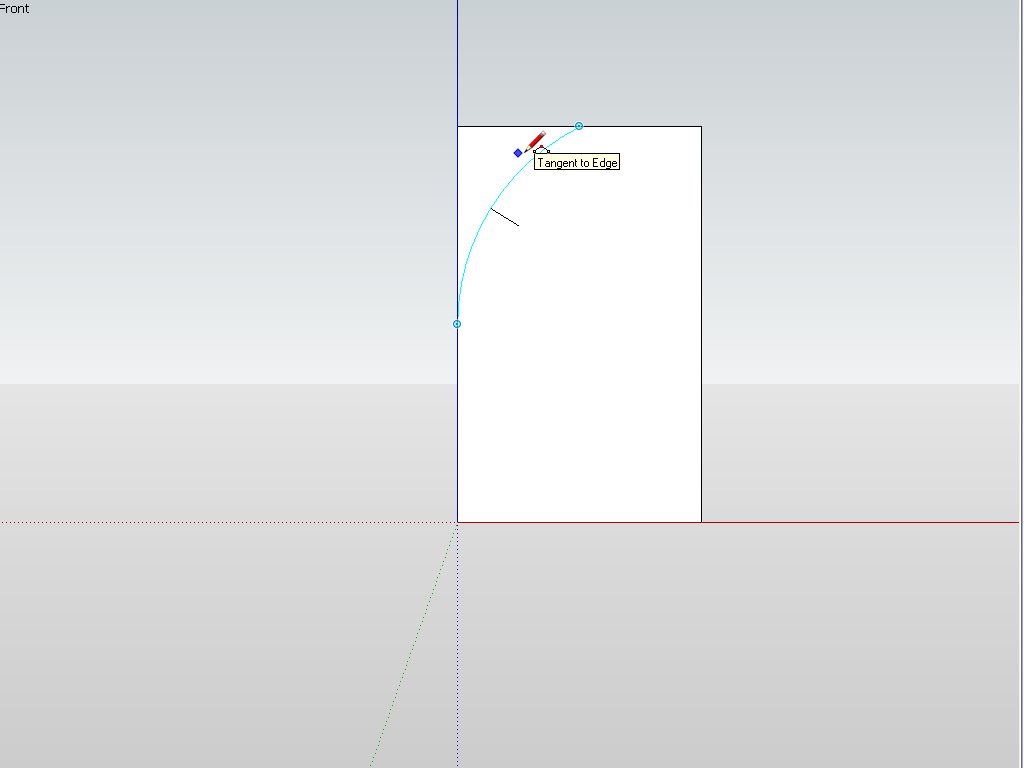
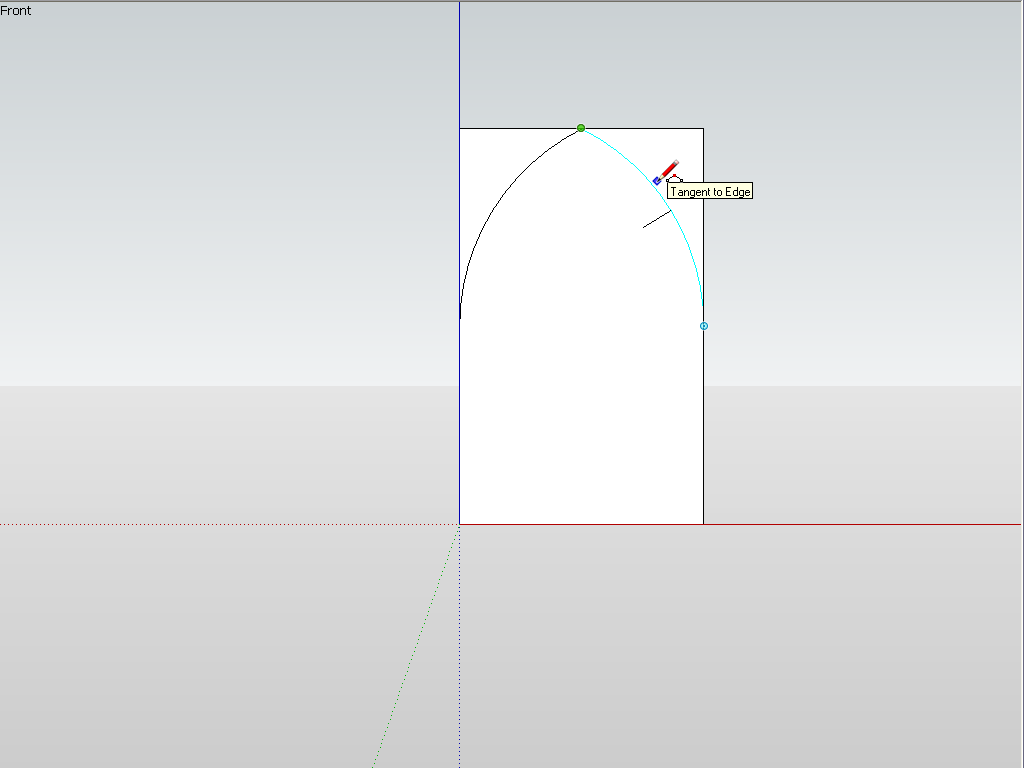
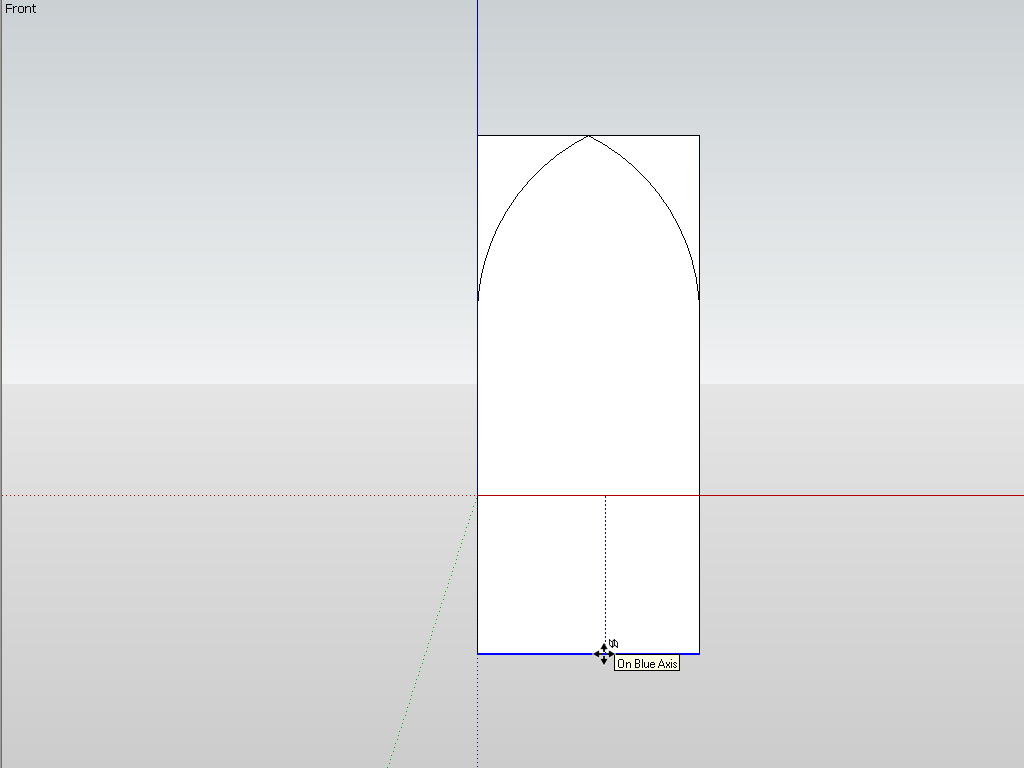
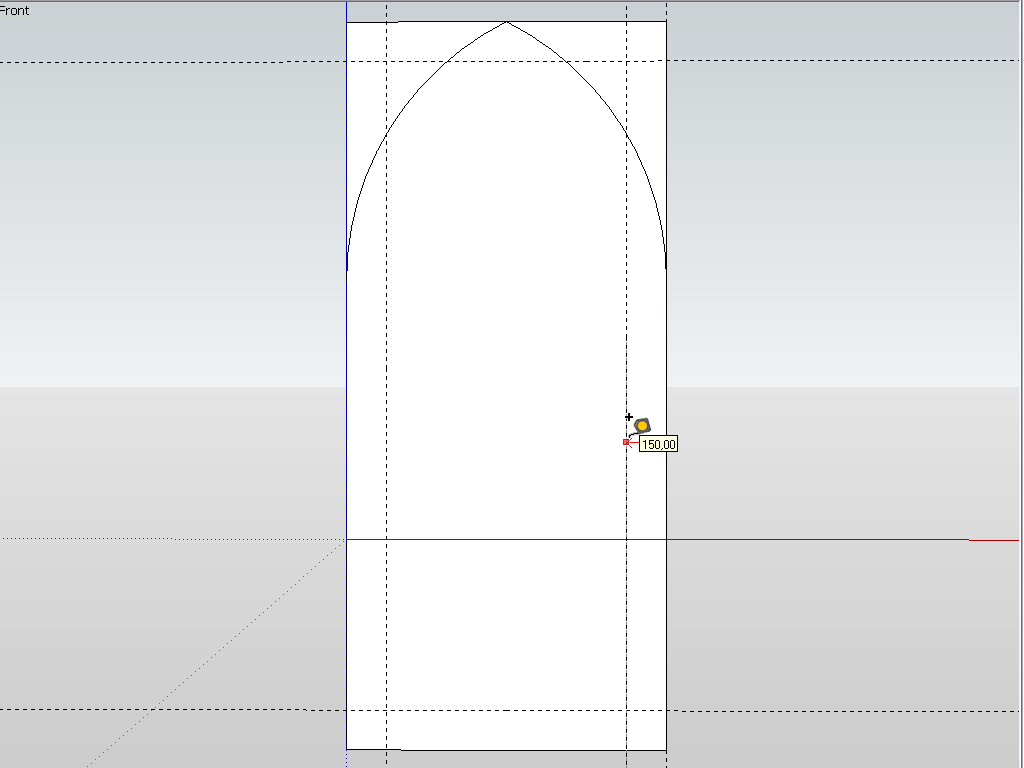
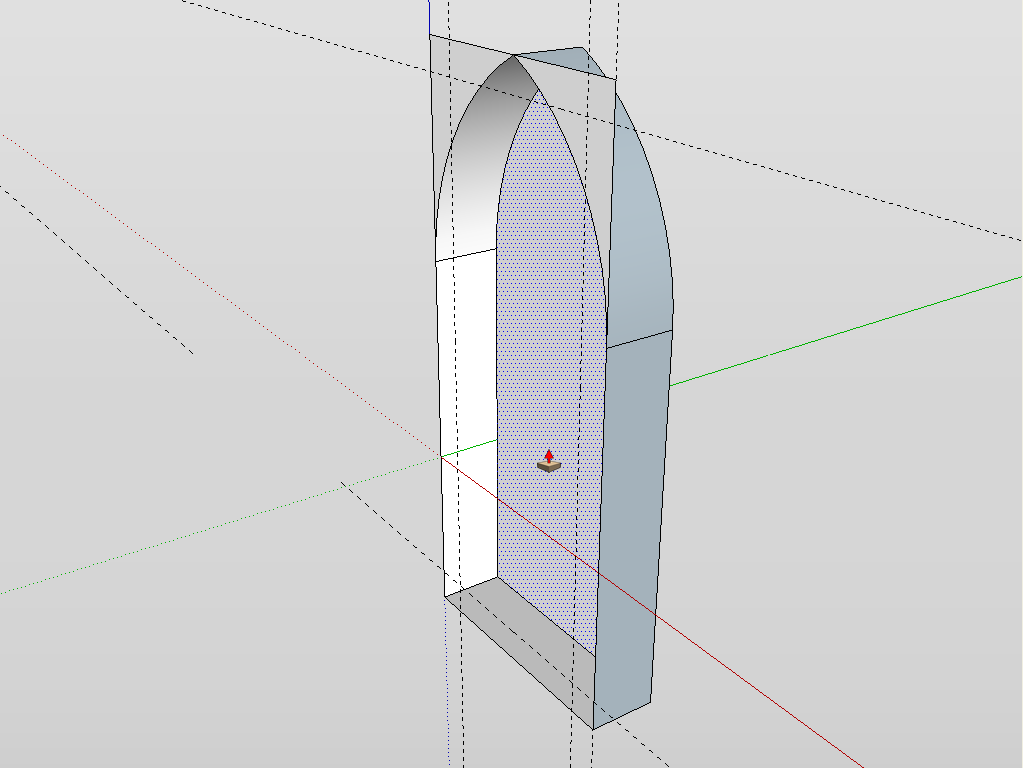
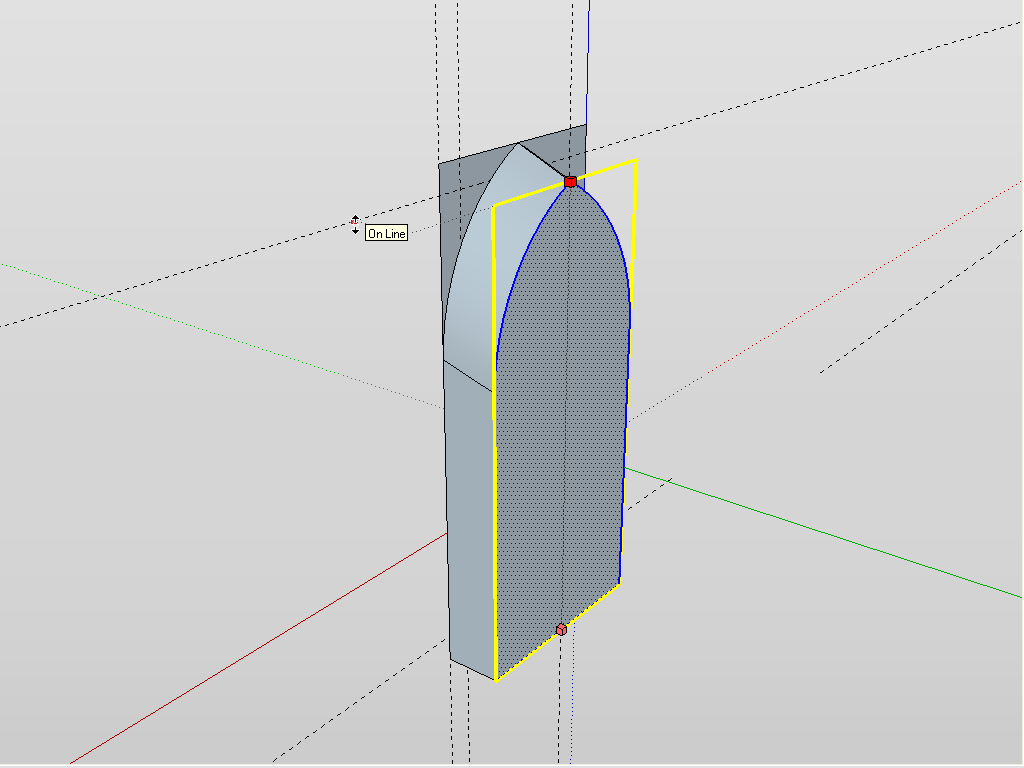
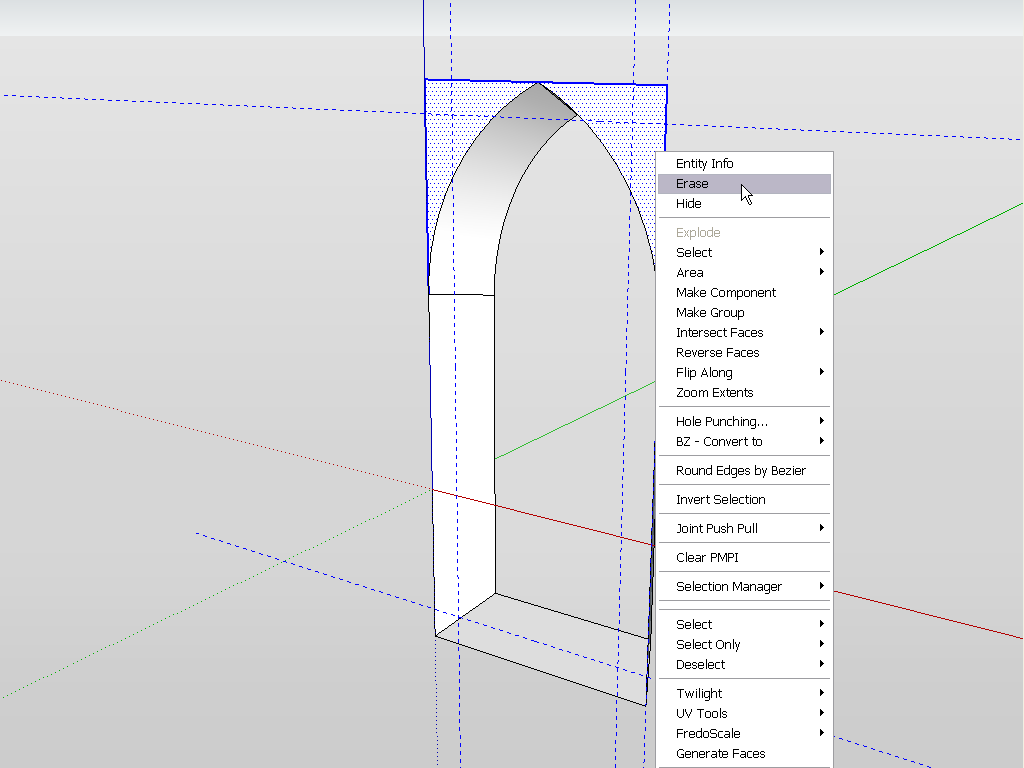
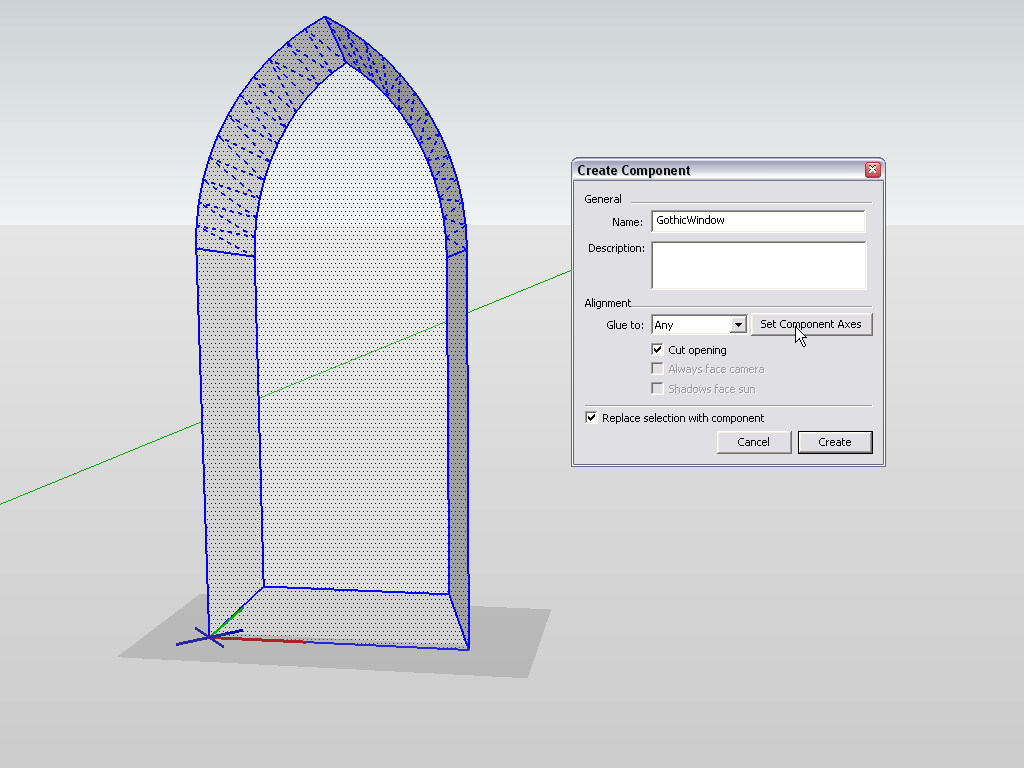
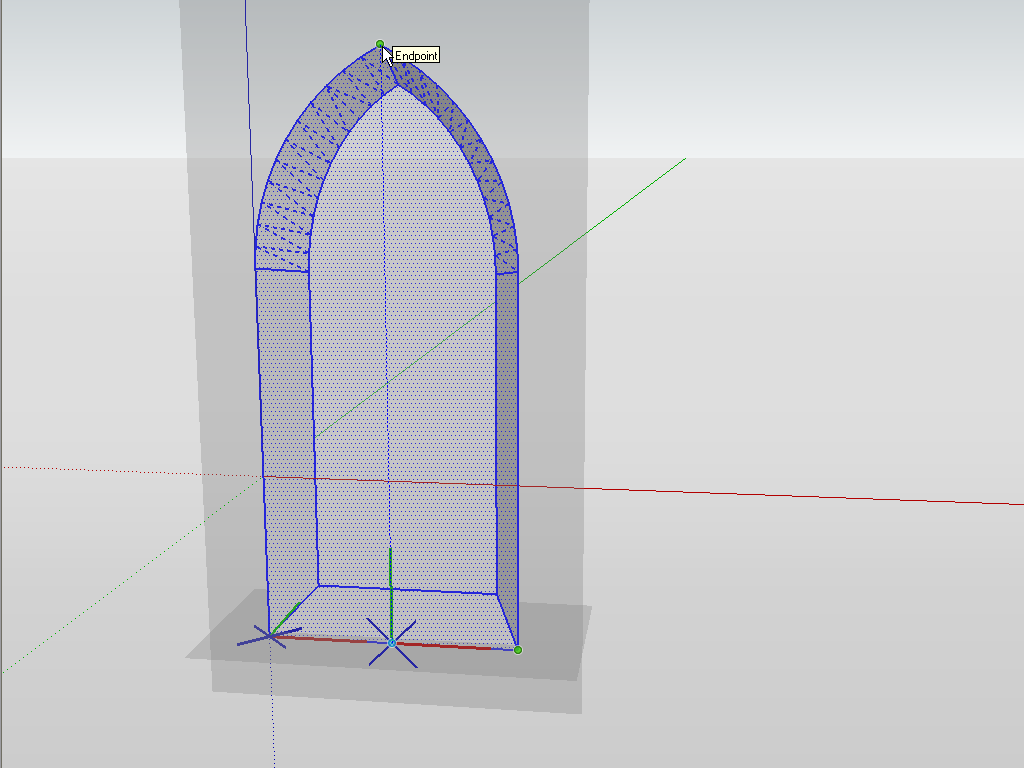
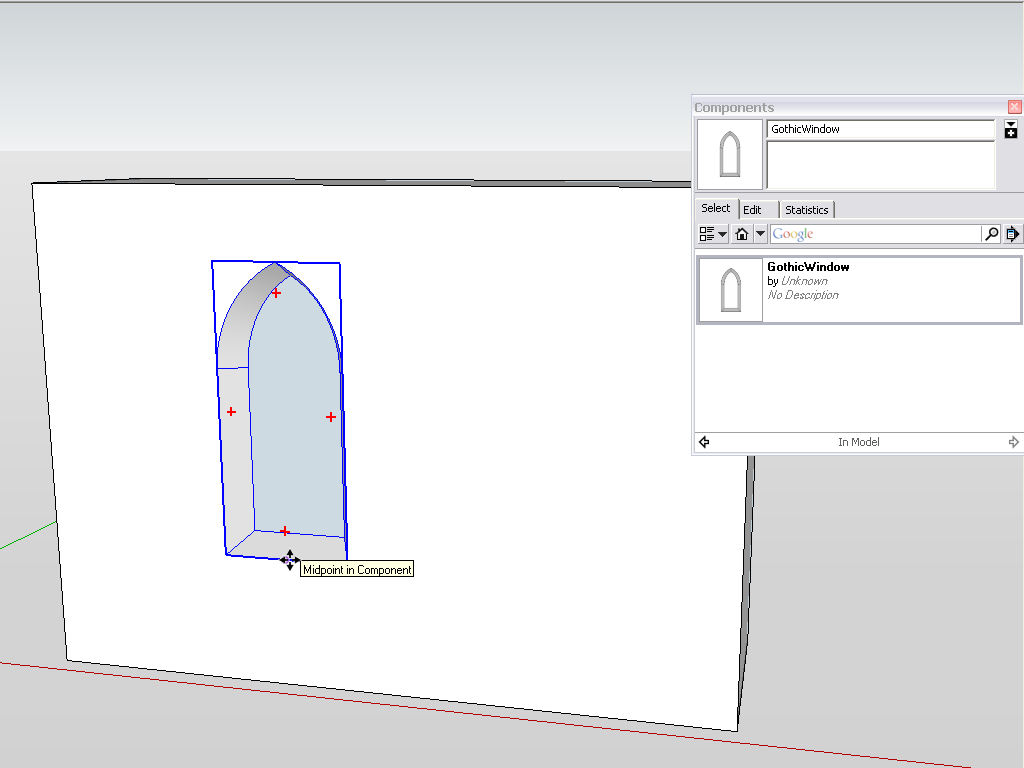
As for the windows, here are some steps I generally put a Gothic window quickly together. Without any further explanation - so if you have questions, refer to the image numbers... Just one note; at the end of the "tutorial", we end up with a window (see also attached) whose outer part is there but if you want to get it to cut both faces of a thick wall, some further steps are needed.
Edit: some of the png files are so small (in file size) that this stupid forum software does not even create thumbnails. Please, click on the attachment links.
Advertisement


