[Tutorial] Tufted Ottoman
-
stereofidelic asked here how to model a tufted style ottoman so I did a quick tutorial. Hope this helps someone.
This requires the Subdivide and Smooth plugin.
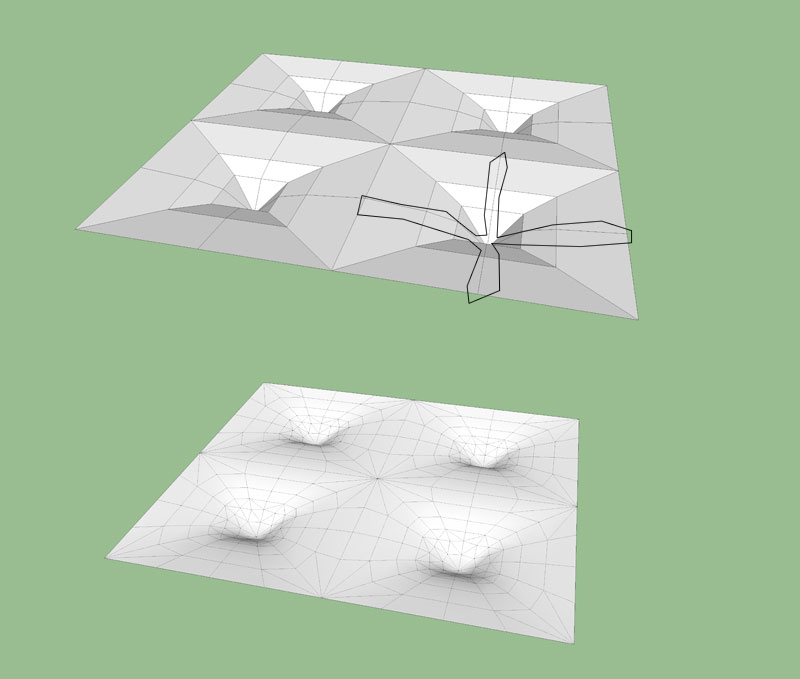
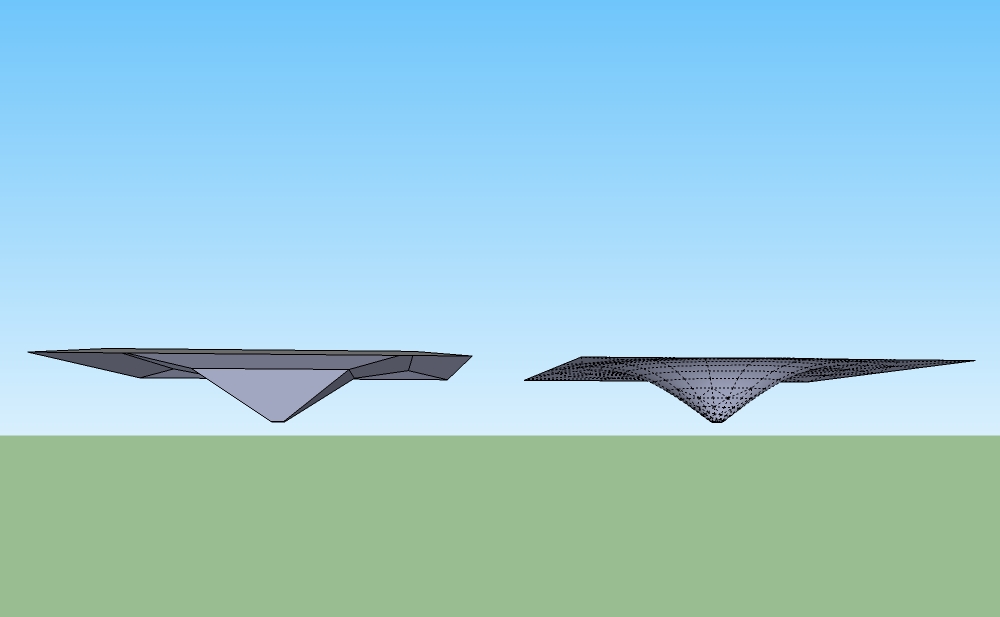
Simply make a square or rectangle and offset it a couple times. Then manually connect all the points, here just draw from corner to corner. I then drew lines from midpoint on each side. Using the move tool I created a bit of "elevation" to the mesh, simulating where the buttons would pull the fabric inward. Then I copied the shape many times and then ran the Subdivide and Smooth plugin with one iteration. That's it.

-
Nice

deserves [Tutorial] tag

-
True. I will add it.
Something I was wondering. Now that we have the organic modeling sub-forum, how do we decide where the tutorials actually go? If it is an Organic tutorial should it go here or in the SketchUp tutorial section. Hmmm
-
Csaba?
-
Bookmarked this page, and I will try to follow it this weekend.
-
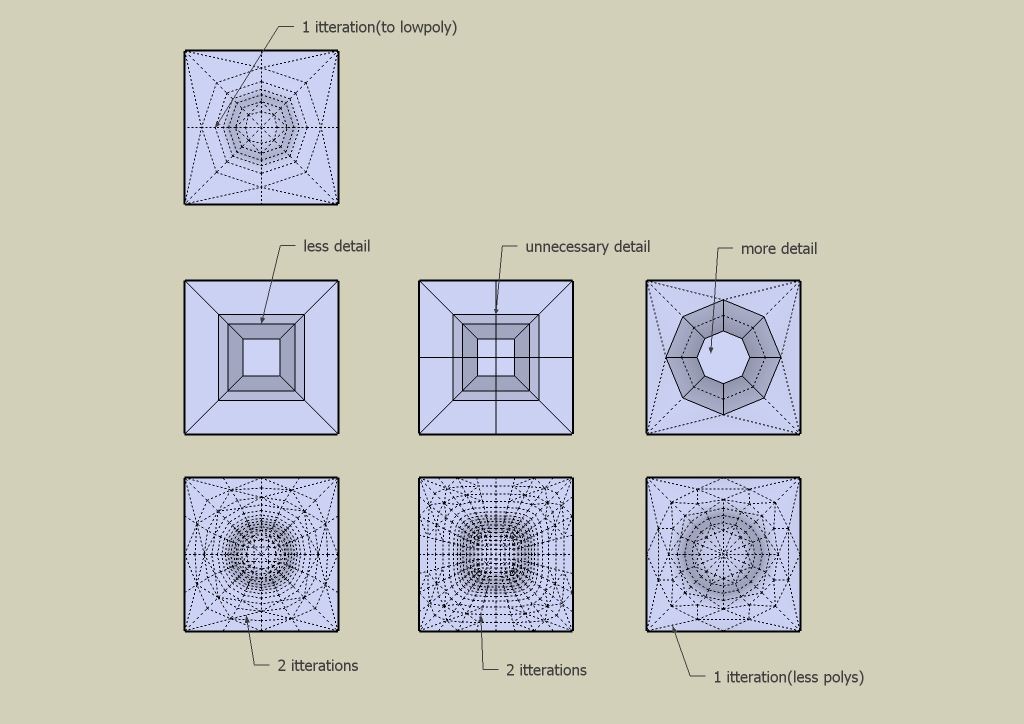
Take those lines out because they give a square result when subsmoothing .
See what i mean.
-
Excellent tutorial - really useful, thank you.
-
@unknownuser said:
True. I will add it.
Something I was wondering. Now that we have the organic modeling sub-forum, how do we decide where the tutorials actually go? If it is an Organic tutorial should it go here or in the SketchUp tutorial section. Hmmm
@unknownuser said:
Csaba?
I dunno guys. Think about it - we can move these any time. Or if we move it (and make more), we can keep a list with links here. Maybe tag like [Tutorial organic] (we used to gad tuts with special names, too). Then we can somehow generate a search result page like the Plugin Index.
Ah and before I forget; great tut!

-
(Bookmarked) Thanks guys, I hope there are more tuts like this once SDS2 comes out.
-
@ely862me said:
Take those lines out because they give a square result when subsmoothing.
Thanks for improving my knowledge.

-
Excellent tutorial(s).
I've also learned something new.
-
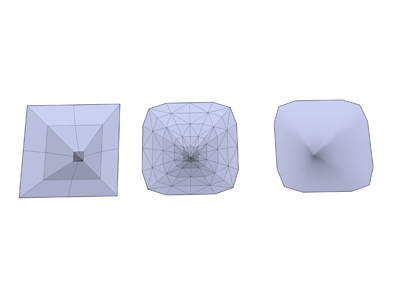
I've followed your tutorial, starting with a square. My result after subdivide and smooth "facets" the corners of the square as shown in the attached photo. Help please.
-
You need to use the crease tool on those edges before subdividing so that they remain intact after subdivision.
-
Well yes and no. In the original example I had that piece connected to many others to make the full ottoman cushion. Therefore you do not need to use the crease tool as it is all together. But if you are only doing one segment as you have shown Daniel then you need to crease the corners, not the edges.
-
well, corners then, thanks Eric. point is that it keeps the thing.
-
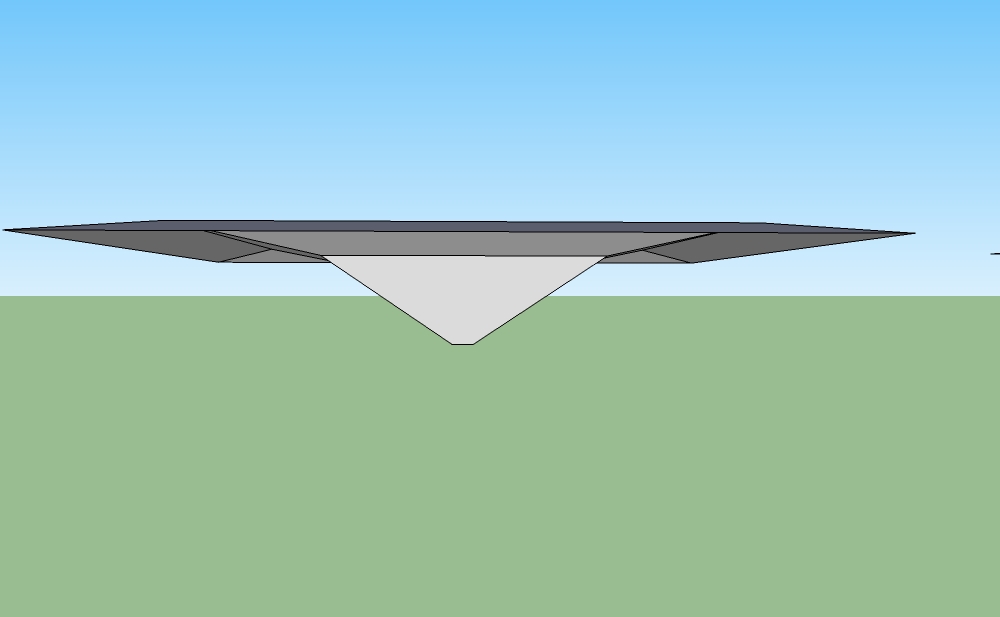
i'm following the tutorial , but after 2 iterations my square is always in 2D. there is no a hole. What i get wrong?
-
Probably you don't have any "hole" in it .First you must create the "hole" then subdivide.
See what I mean .
-
Been having a HELL of a time with that crease tool till I saw this.
Thanks Eric
So what does creasing edges or quads do for it I don't see much difference when doing it that way.
-
i did a slight variation to the proxy to obtain a quad-mesh most confortable for texture mapping, faster selections and further editing and it works fine for me.. hope it can help someone else for mapping leather, fabrics, etc. on it.
quadface tools rocks!
[xxl-img:2cc3ed4y]http://img705.imageshack.us/img705/4575/02cubettiimbottititest.jpg[/xxl-img:2cc3ed4y]
Advertisement


