Model this: Enrico bamboo cheese grater
-
@unknownuser said:
let me guess EA, 300,000 polys?

your post reminded me that i used weld.rb with mine.. it's been a keyboard shortcut for so long that i forgot it was even a ruby.
208,700. Sketchup was feelin' the pain.

Weld's quickly become one of my favorite rubys, makes for a lot smoother model.
-
These are all fantastic, the best part about this exersize is that there are many ways to skin the proverbial cat, so many different methods used to achieve a similar result. This is what makes SU such a great tool.
-
These are great, and as usual I've gleaned a great deal. My greatest respect guys
 Thanks for this Pete.
 -
Stevie Wonder got one of those for christmas - he said it was the most violent book he ever read!
-
 Sweet aussie humour !!!
 -
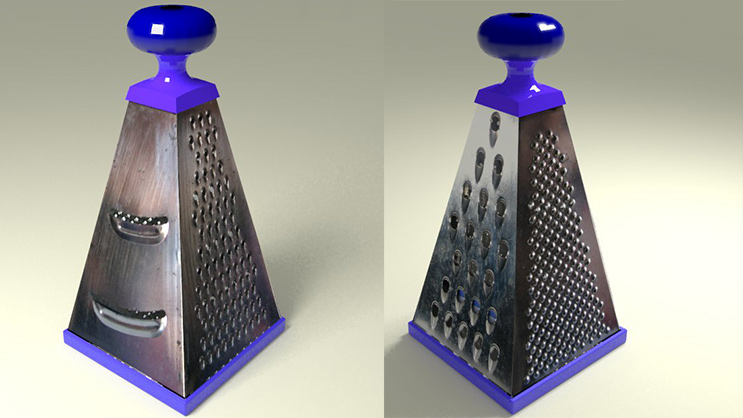
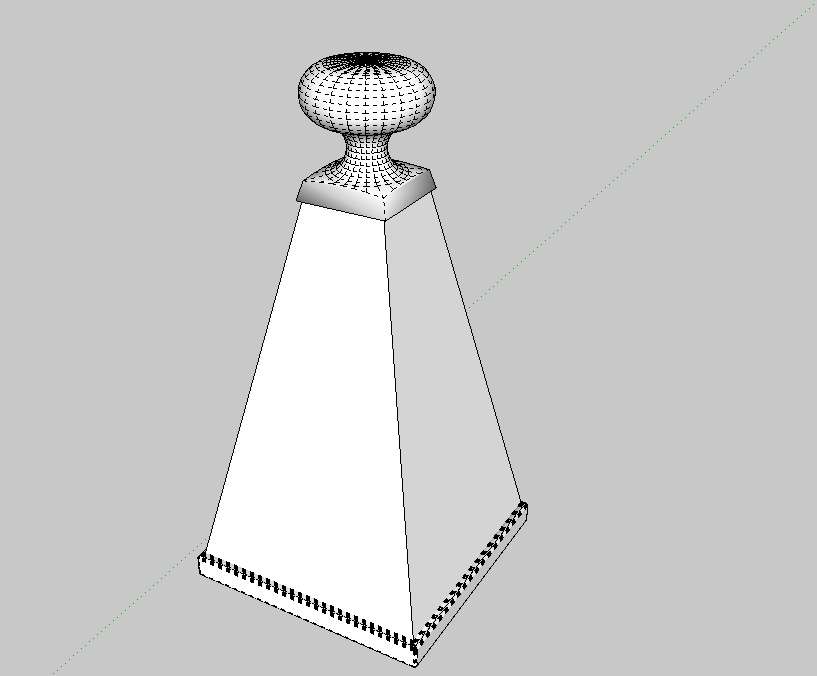
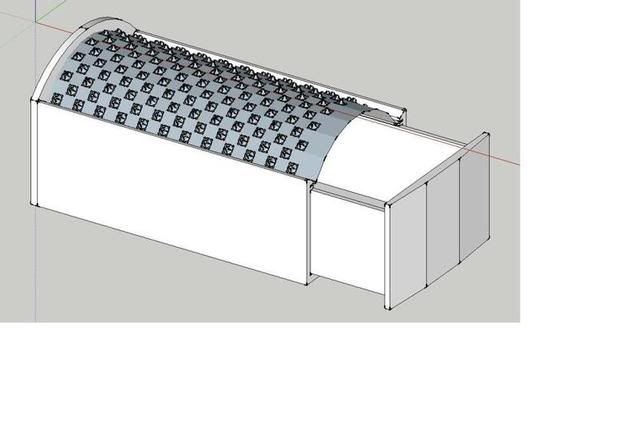
rotated the knives 45deg for more practical cutting, added a logo, roughed out the box, pseudo clay render.. i think that's about as far as ima take this one..

close up renders with the metal are going to show the problem of keeping the poly count down so i do think if i'm ever faced with a similar situation again, i'm going for high poly and instancing (which i very recently found out is possible with indigo
) -
-
lol wow... I only wish i could get a render as good as Reverse or Jeff's (or anyone's for that matter lol) but i don't think that'll be happening anytime soon.
I'd have posted it last night if i wasn't being sucha perfectionist (bottom face of the grater plate...lol something no- one will likely ever see....), but when you have a 4 week old that is refusing to fall asleep and keeping you up with her crying...lol what else are you going to do.
ahhh the joys of new parenthood,lolwhat did you use to get the 'psuedo-clay' render, Jeff?
-
hey Mike.
congrats on the new family member!i used indigo renderer which works out especially well for this because it will render backfaces.. there's no way i would want to attempt adding a thickness to the metal just so i could have all front faces showing
-
Can I post a new type of grater?
It has 4 different sides..
Modeling time: 2 minutes
-
@rev3rse said:
Can I post a new type of grater?
It has 4 different sides..
Modeling time: 2 minutes Whazzat? 2 minutes you say? Bump and transparency mapping + modeled top and bottom?
-
It's a very simple model with 4 simple textures, no bump, no transp.
A truncated piramid with a simple follow-me element...
Sometimes a real texture is the best option!!
-
o0
I dont even know where to start
.. I can make the box (no real challenge) but the grater is another story
Some nice (read=all) work here -
I really struggled with this at first and now have done it, but the model is a bit heavy.


So, I will probably not have time to model the rest of the box but for me this part was the challenge. I really had fun.
-
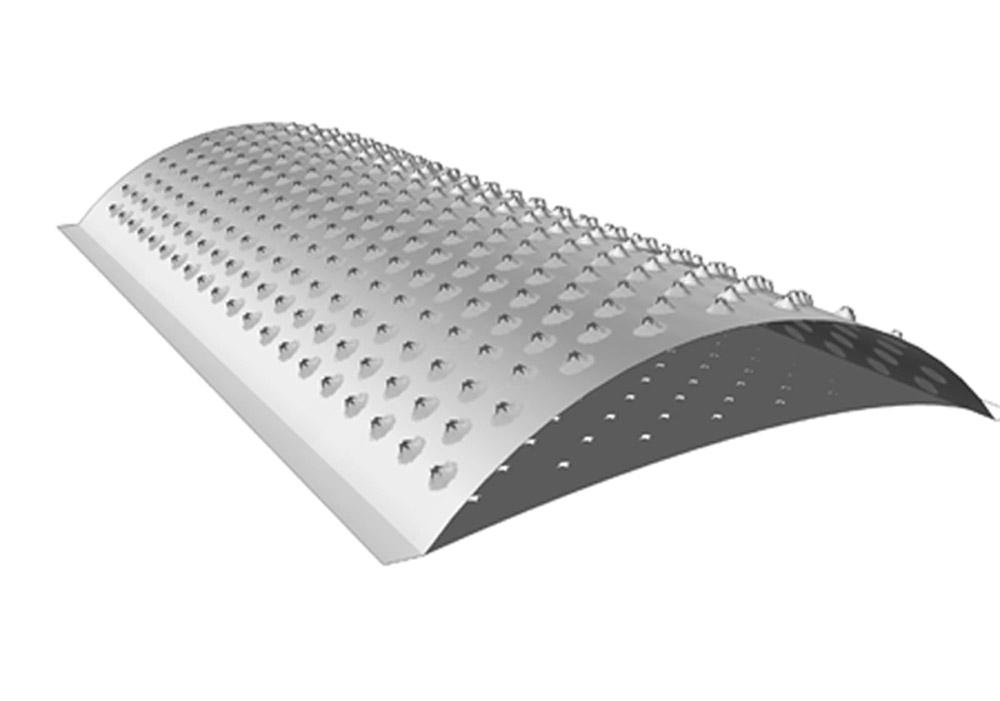
after more hours than i should have spent (though i learned alot on how to increase my efficiency) here is my rendition
there are only two things i dont like about it.
- i wasnt able to finish the bottom side of the grater,
- I wasn't able to blend the blades to the top surface of the grater (may try again later)
the rest of it though, I added a bit of detail, that you may not see unless you take the model apart or look really close at the wireframe model. so... here are my image shots and file
I welcome (and encourage) any and all comments and critiques
-
and here is the .skp for any who are interested.
again, any and all comments are welcome
I'm going to try and render this overnight, though I don't expect it to turn out...lol
-
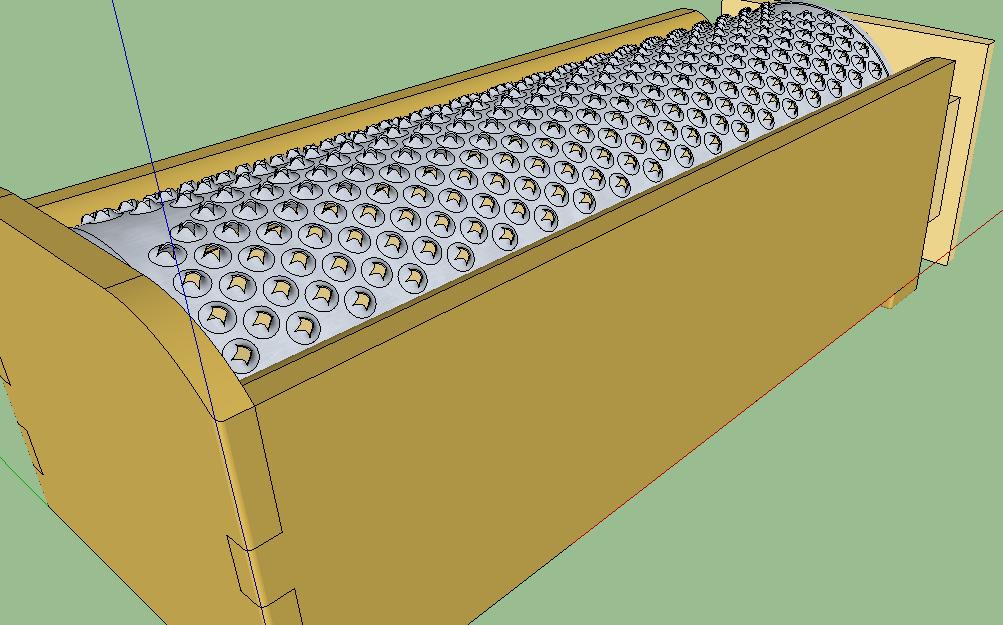
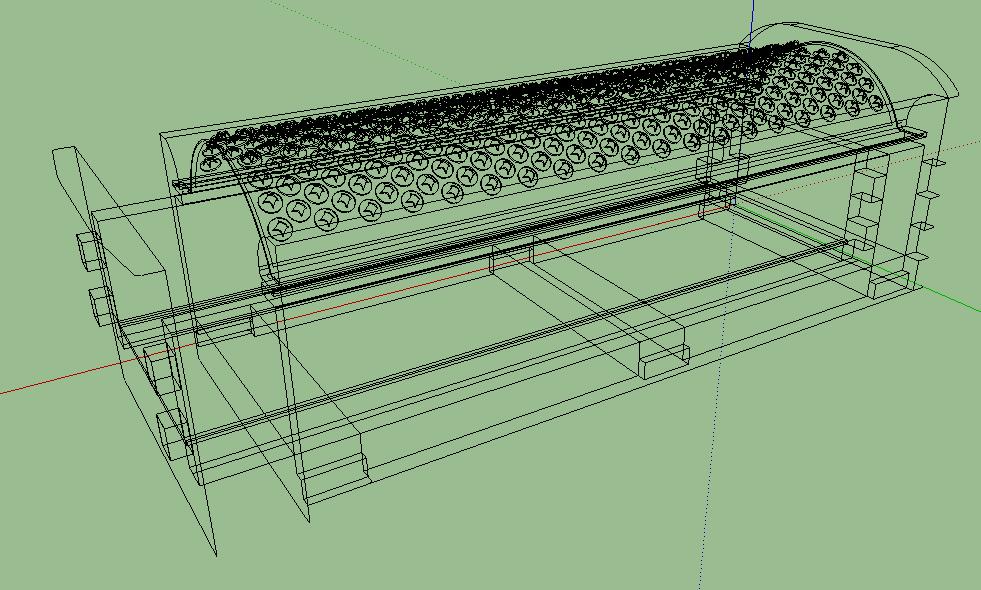
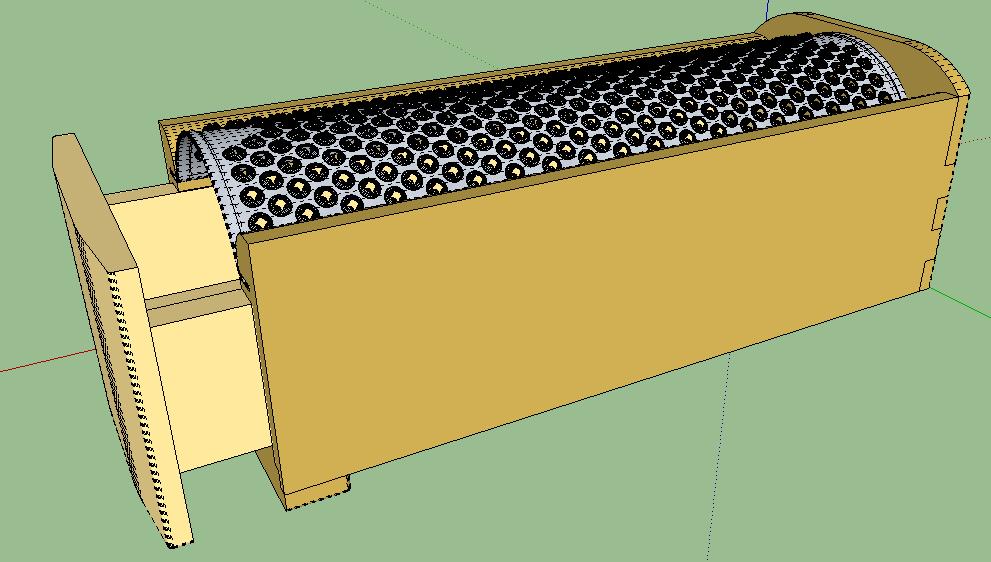
Well better late than never. I just hacked together the wooden frame. Not to concerned about any help with that.I basically used the same technique as Dale with the follow me and then intersect with model. I used no plugins. I am just looking for some help with my poly count. And would like some advice with the follow me tool. When I use the follow me tool it seems to leave the rotated solid in pieces and not a circle any more. Is there any way to get around that?
Thanks to Solo for starting the model this threads.
And thanks to all who posted it was interesting how many different ways one could tackle this model.
Hello! It looks like you're interested in this conversation, but you don't have an account yet.
Getting fed up of having to scroll through the same posts each visit? When you register for an account, you'll always come back to exactly where you were before, and choose to be notified of new replies (either via email, or push notification). You'll also be able to save bookmarks and upvote posts to show your appreciation to other community members.
With your input, this post could be even better 💗
Register Login


Advertisement