Model this: Enrico bamboo cheese grater
-
Okay, let's begin the 'Model this' segment. Finding an item that inspires everyone is very difficult, so instead I chose the following based on its shape, design and technically moderate to easy challenge to start with.(and the fact that there are nothing like this in the 3DWH that can be imported)
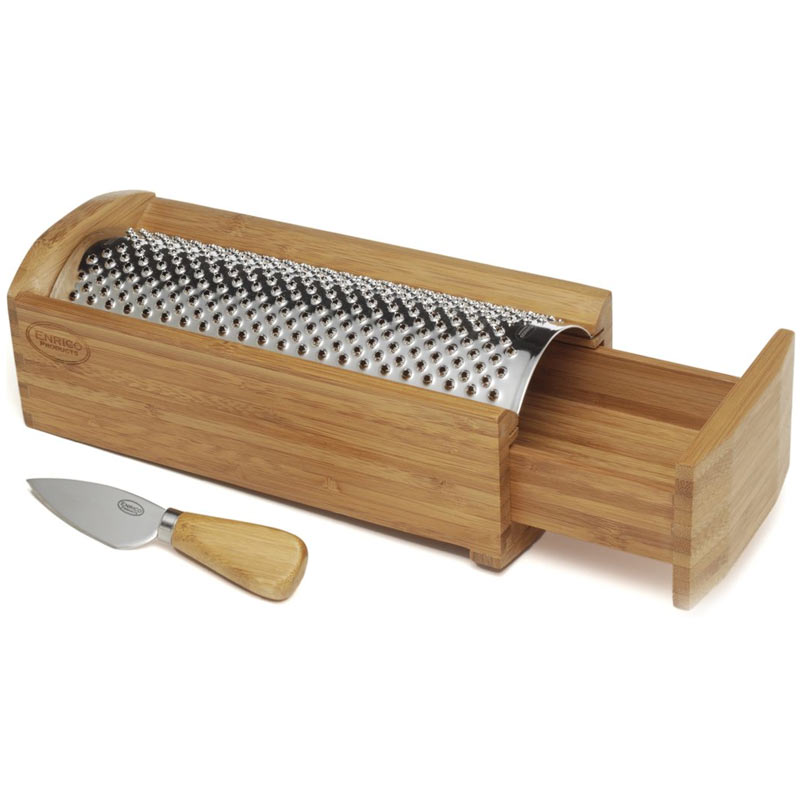
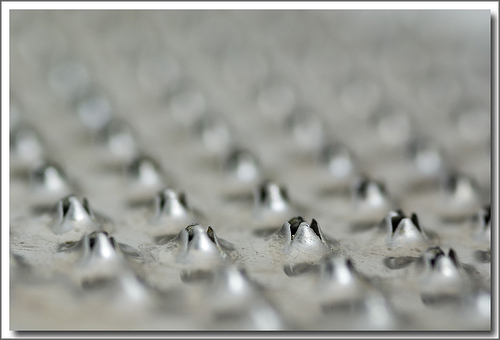
Based on the images below, model it to the best of your ability, you can also model the knife if you want, but the grater is the main object of this challenge.
This is not a contest but rather a challenge, the tricky part is the grater itself and if you do not know how to achieve it do not worry as someone will find an easy method and will share it in this thread, but still do try and do not feel ashamed to fail, so do post your attempts even if they are not perfect.This challenge is the Enrico Bamboo cheese grater.
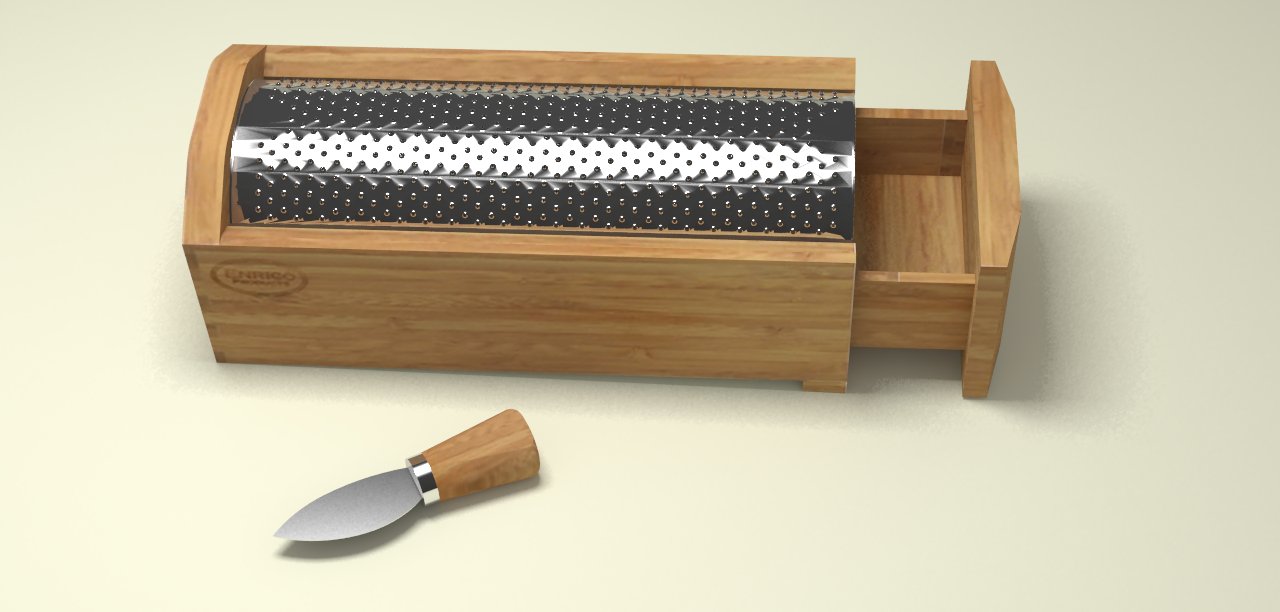
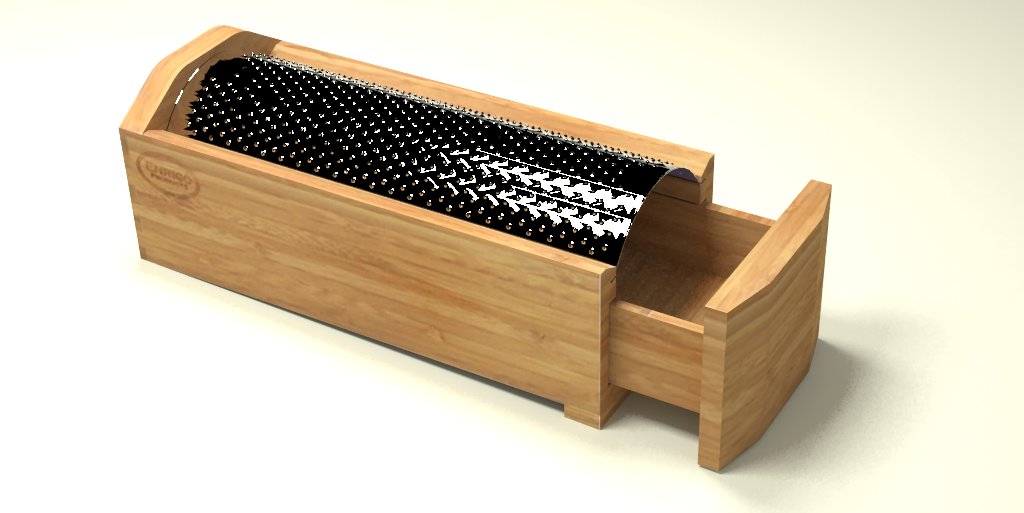
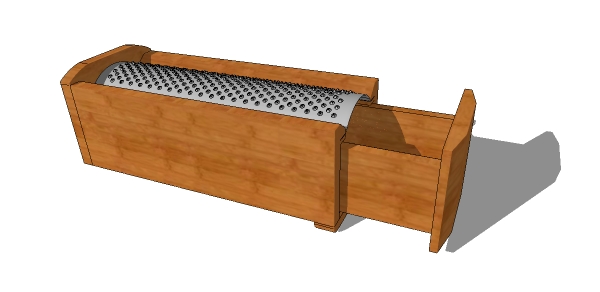
A stainless steel grater plate, removable and dishwasher-safe, sits atop a bamboo box and makes grating fresh cheese a joy. Bamboo is a sustainable material that resists mold and displays a unique, dense grain pattern. The beautifully warm bamboo box features a drawer that catches the grated cheese for easy serving. The included cheese knife with bamboo handle completes the set. Made in China.
When posting your results please include an images with lines present so we can see the mesh as well as one without lines so we can see it as a complete model, feel free to texture if you have the time, but do not feel obligated to texture as the focus here is on the modeling.
If you used ruby's please let us know which ones you used, this it to help others who are struggling to figure things out.
Thanks, and have fun.
-
Will there be a vote on the models at the end?
-
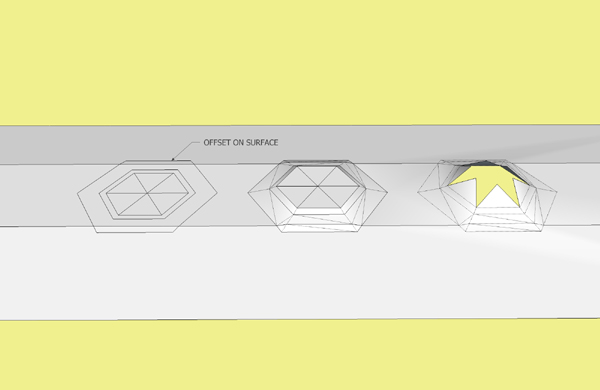
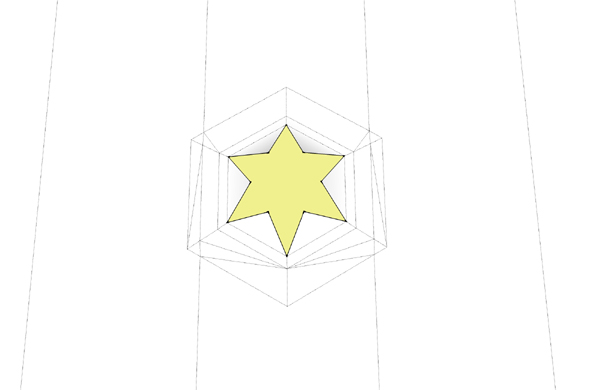
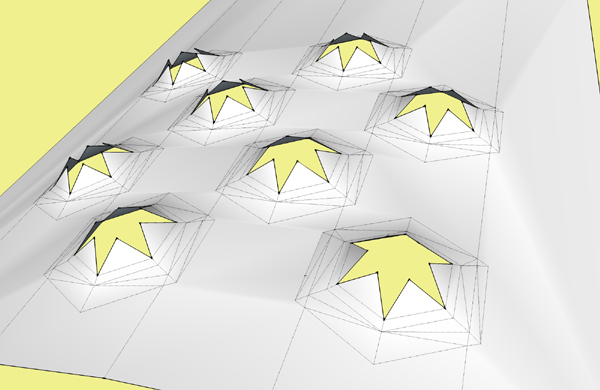
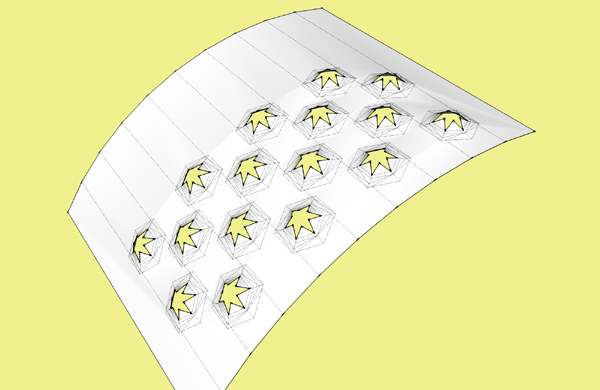
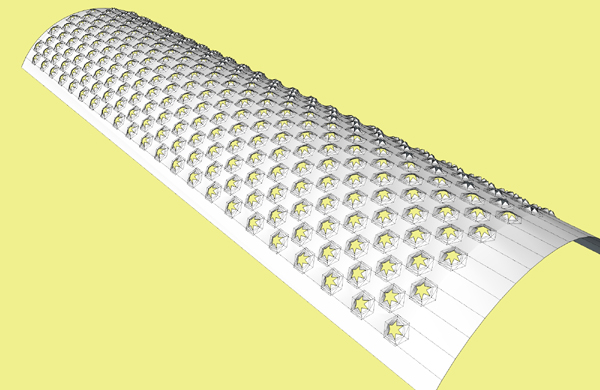
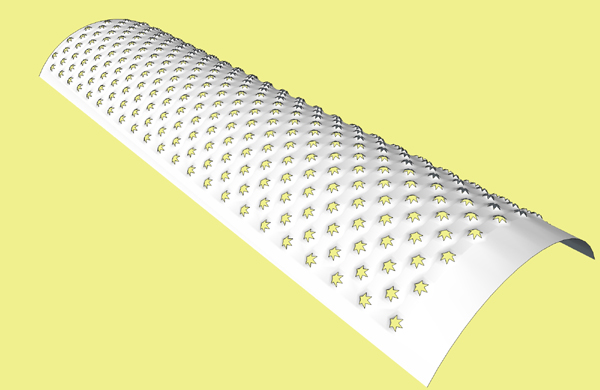
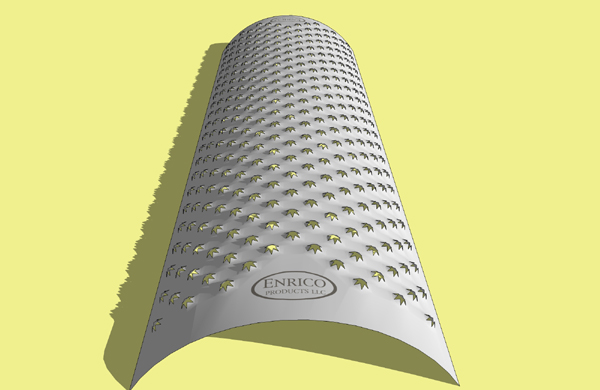
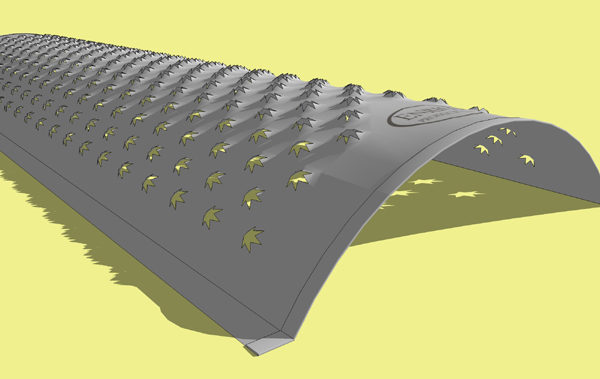
Well I have the grater done. I will have to work on the box at a later date as lunchtime is over and I gotta get back to work.
The only plugin used so far was the Offset on Surface from the Tools on Surface set.
-
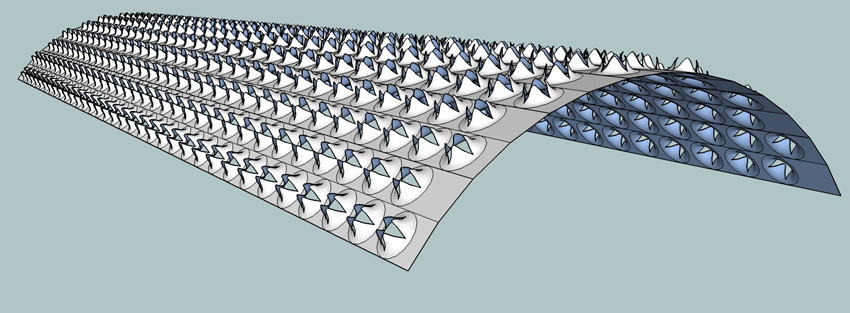
after a quick qo at the steel part, i'm already at 240,000 entities.. gonna have to rethink that

-
WoW guys!!
Those are looking awesome so far.
I guess to some guru's this has been too easy.
Interesting observation Eric, do you normally model with a yellow background? I have seen many folks using custom background and face colors for varying contrasts in modeling, I am boring with white background and mustard front faces against red rear faces.
Jeff, did you use any ruby's?
-
I usually model with a white background but if there is a lot of geometry I can get lost. Yellow is the most soothing to my eye for a background in this case.
-
I couldn't resist to try, although I have a lot of things to do

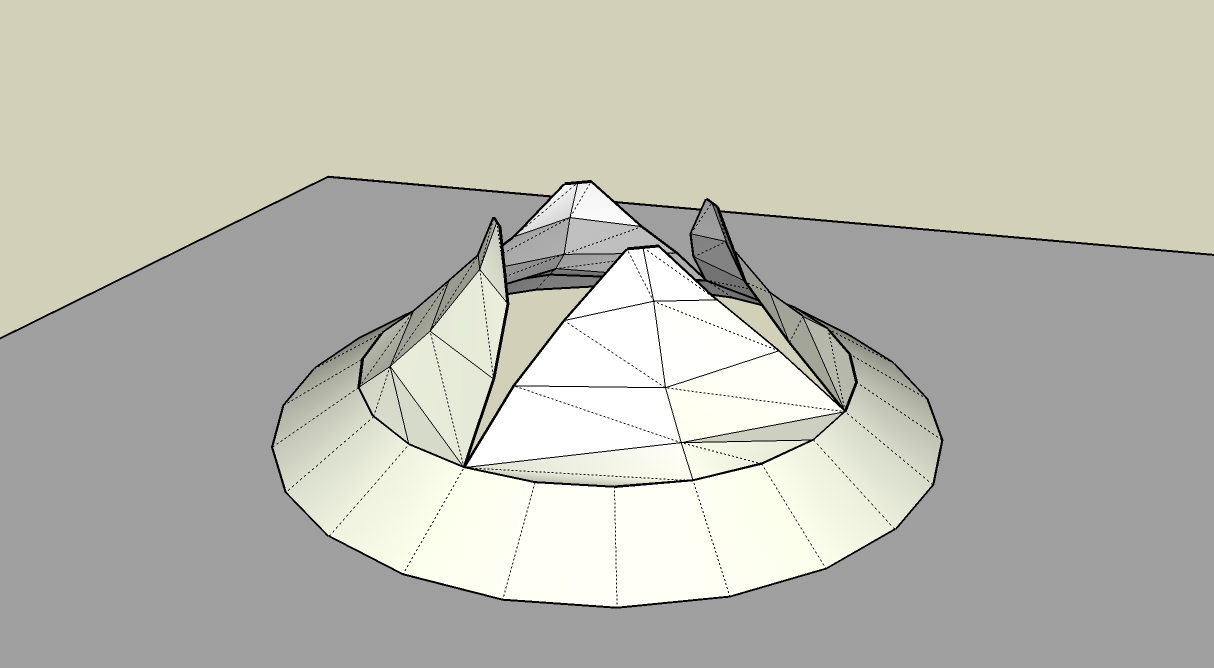
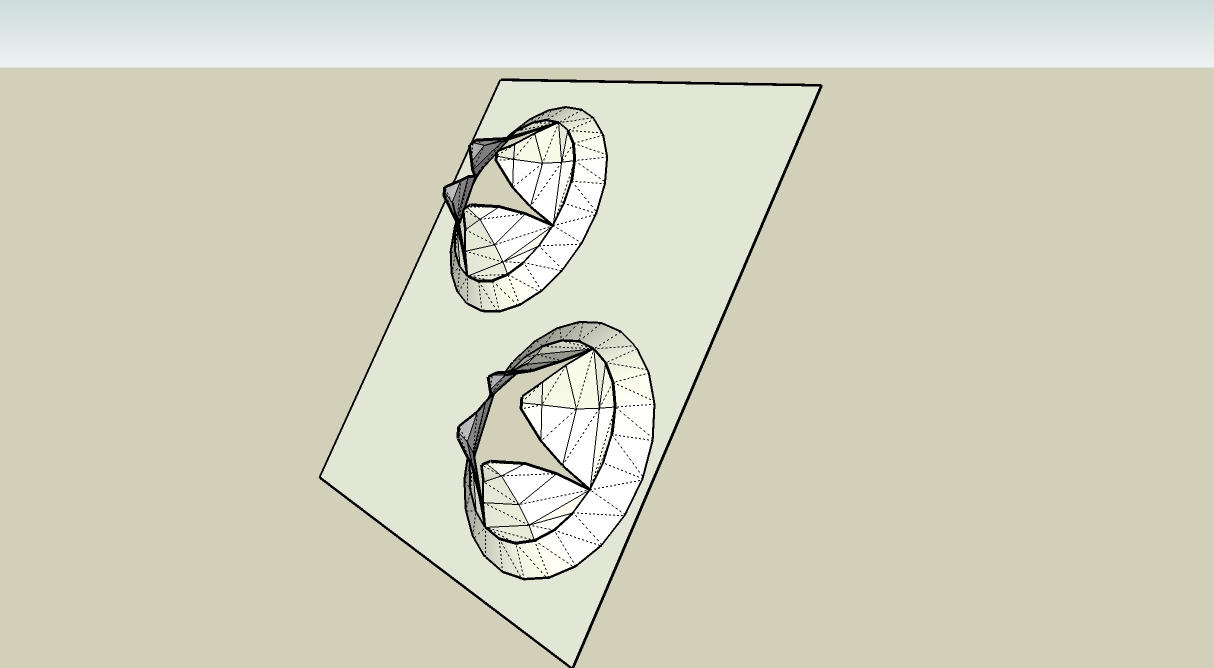
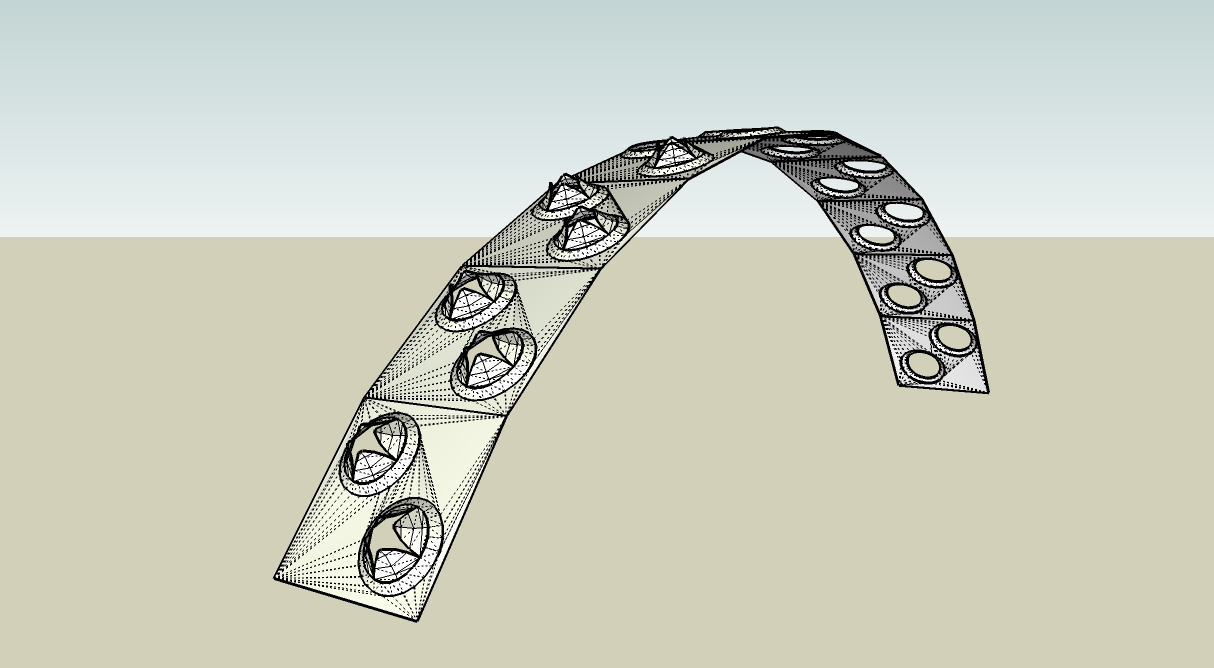
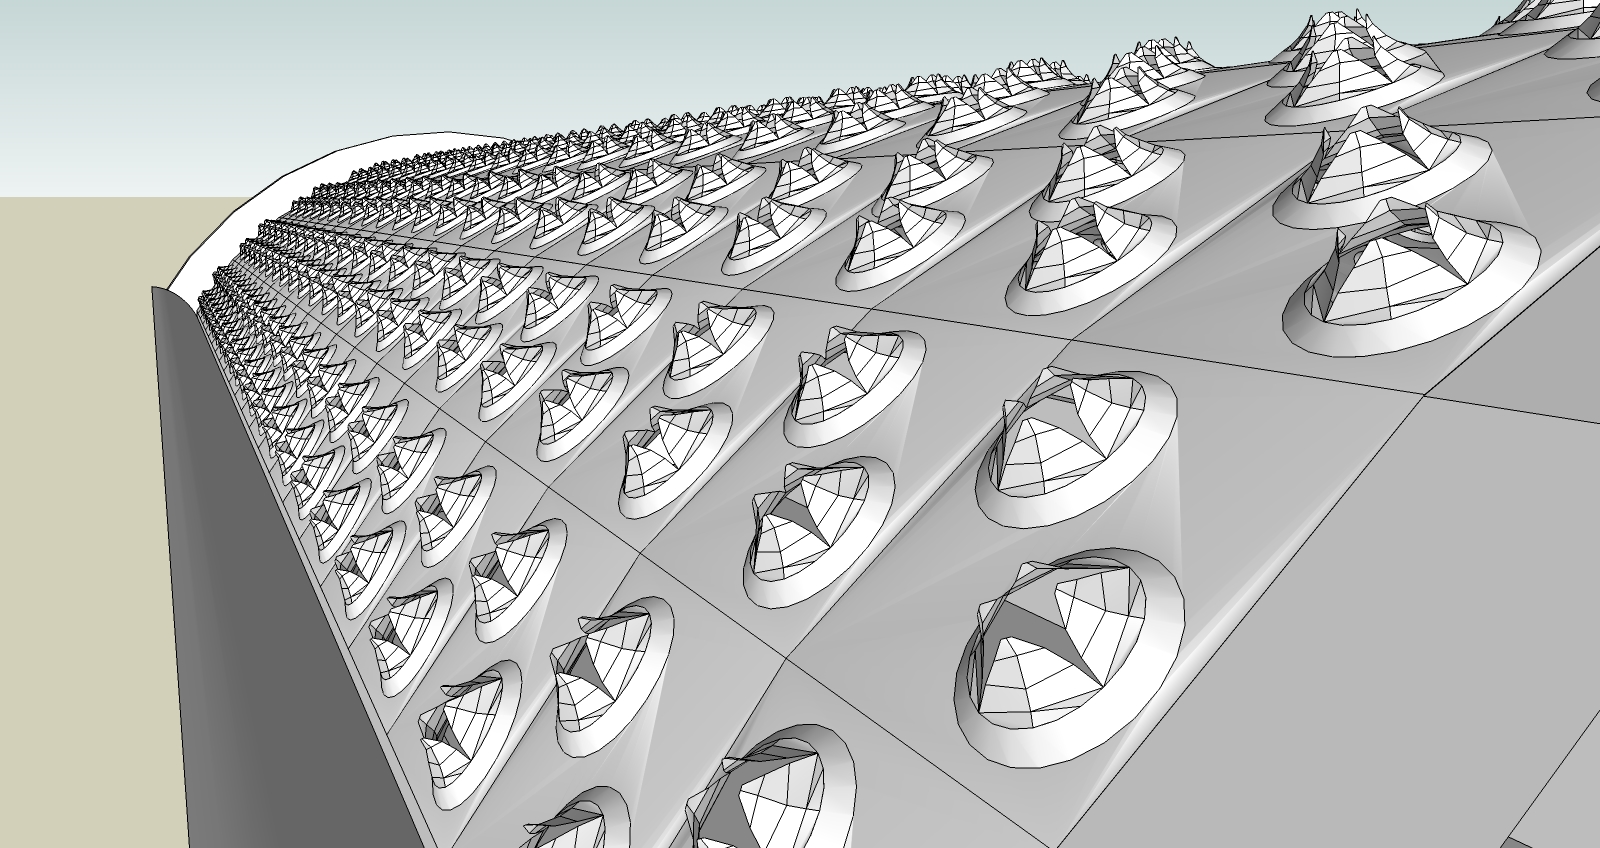
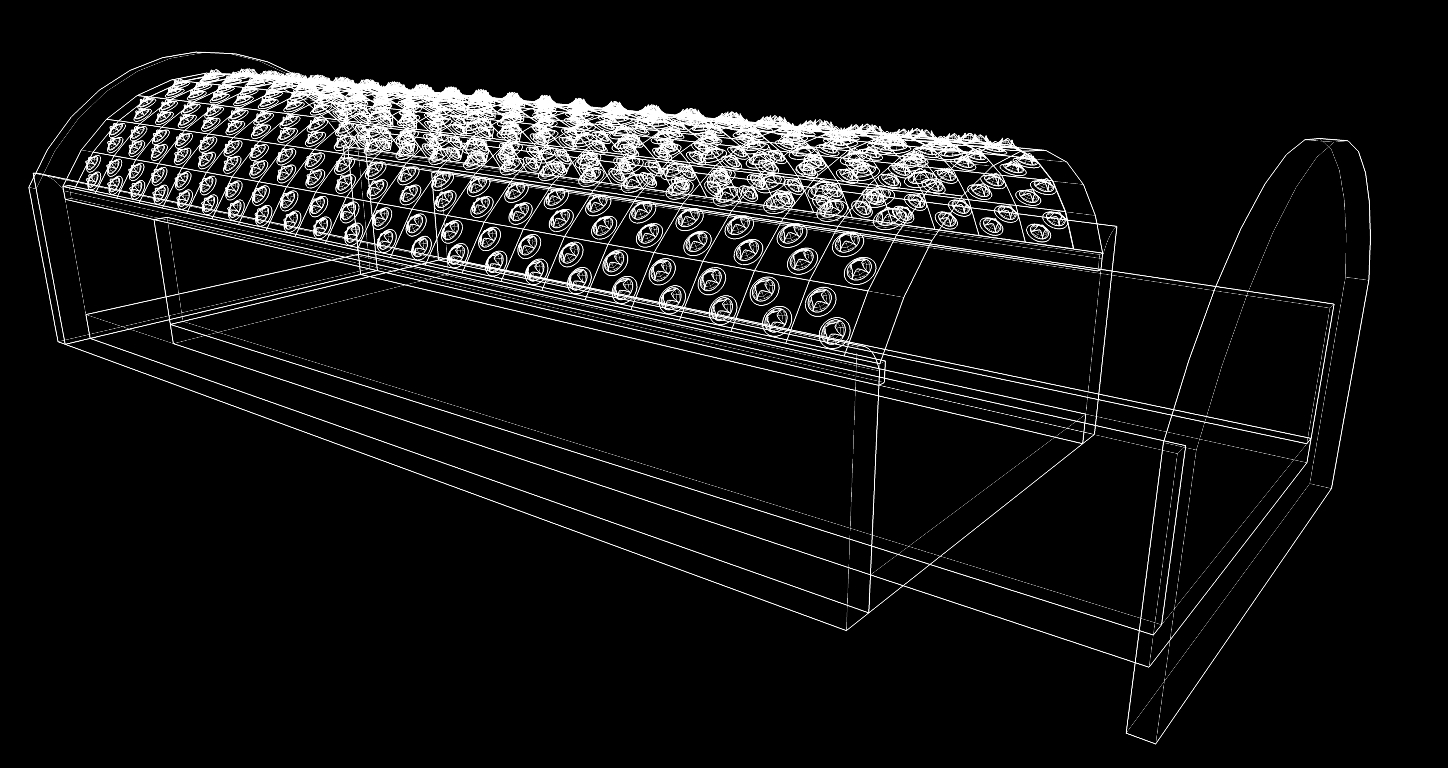
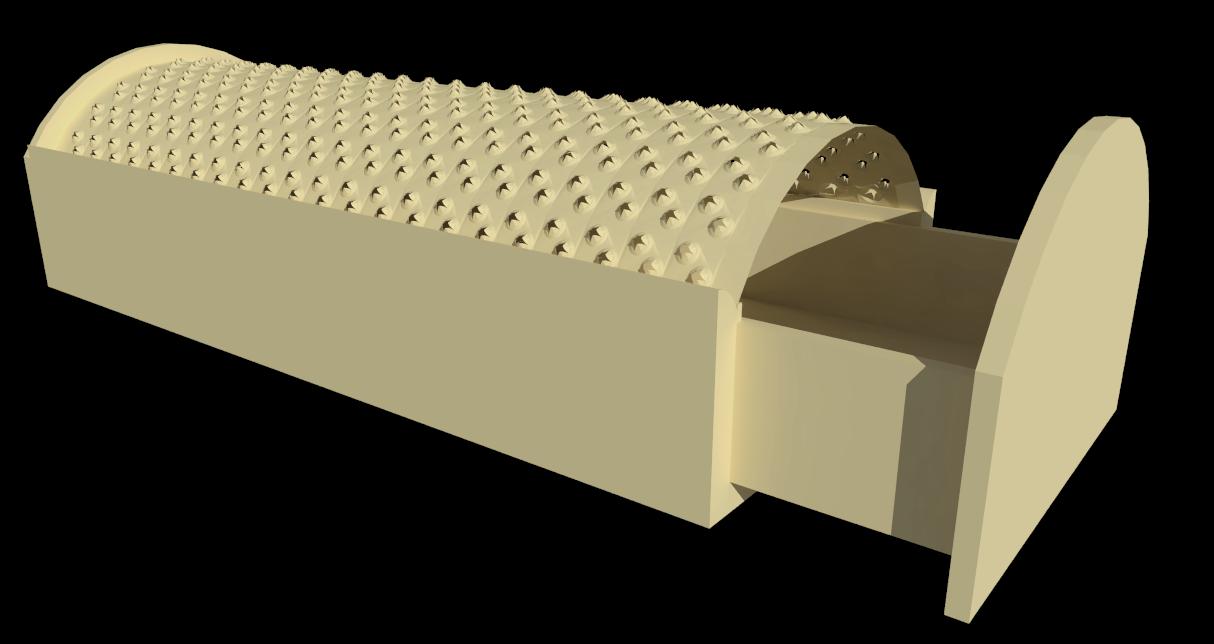
First I made two circles, moved up the inner one and divided it in 4 segments, leaft one and divided that. Then I selected the faces seperatly and grouped them. After that I used the radial bending tool from free scale ruby. Copied the segment and rotated it for the 4 sides. I put two of the theeth on a face and made a component, copied it 9 times and used the radial bending tool again, and then again copied the new component to make the grater.
The geometry turned out kind of messy, but Overall I realized some thing that can and can't be done with the tools I used. This was a good practice

-
No rubies in the method I used. I'll post the wireframe and brief explanation when I do a lower poly version later today.
Arc, followme, and rotate tools mainly -
That was fun! Thanks solo!!
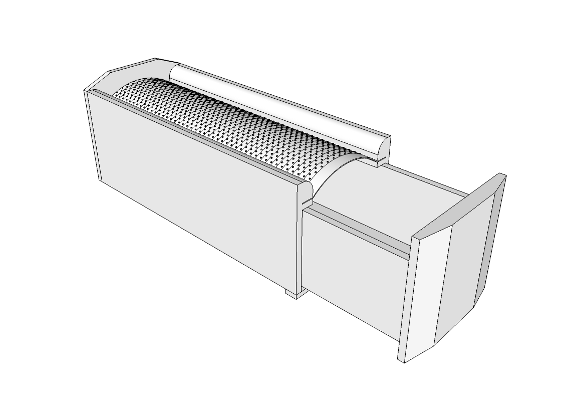
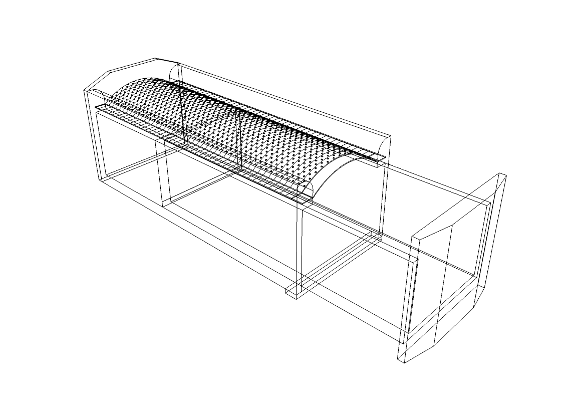
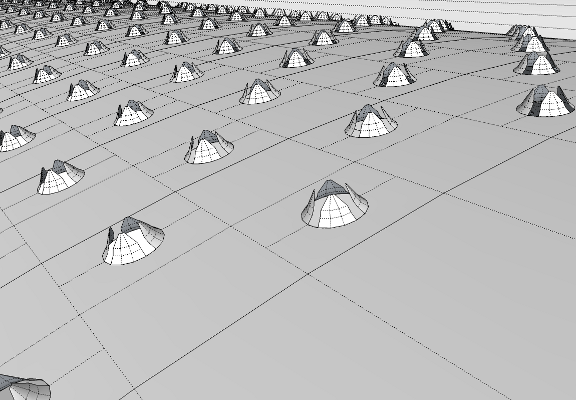
For the grater, I started with a cone, cut the top off, then segmented it twice and manually pinched it in using scale. Lower poly, but...
 No rubies used.
-
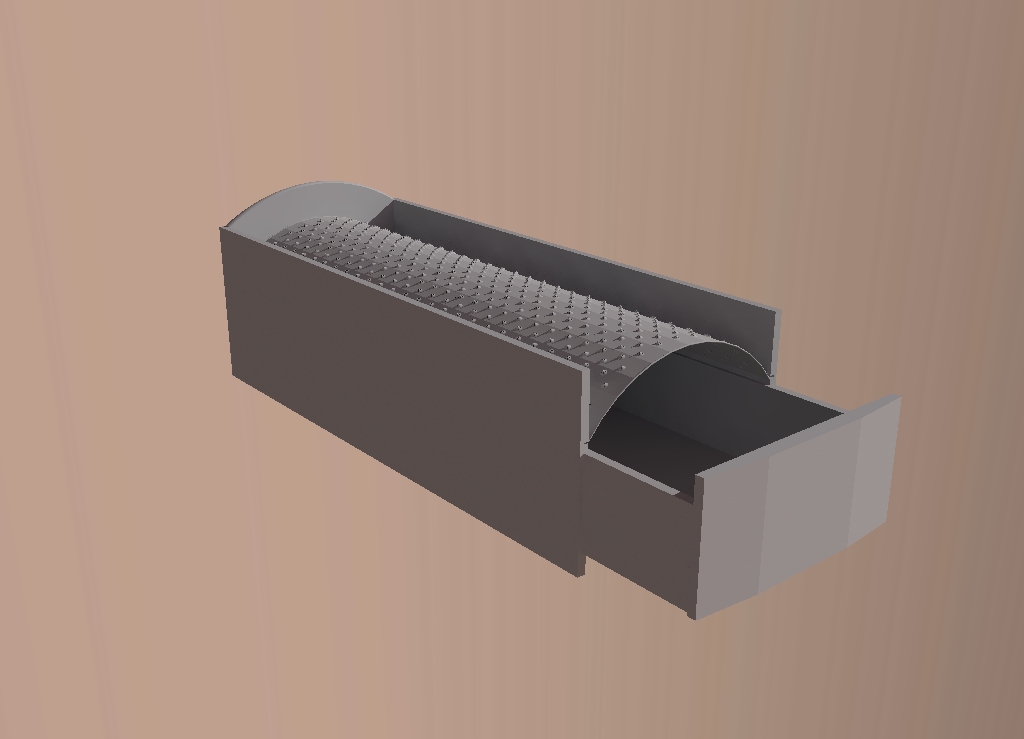
My attempt. Primarily I used "follow me", and intersect with model to form the graters. Was good fun.
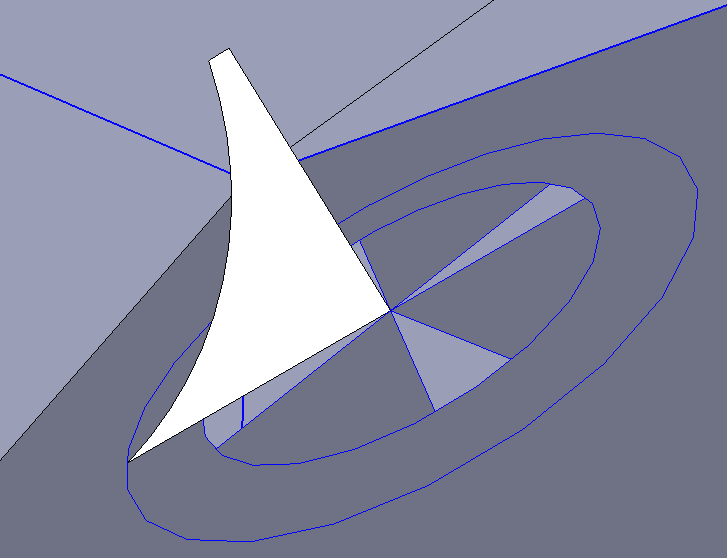
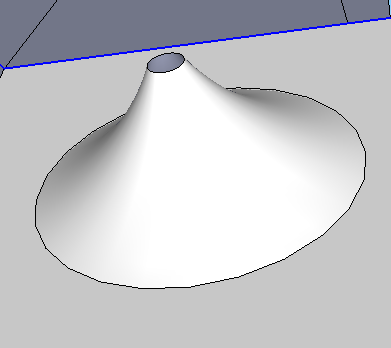
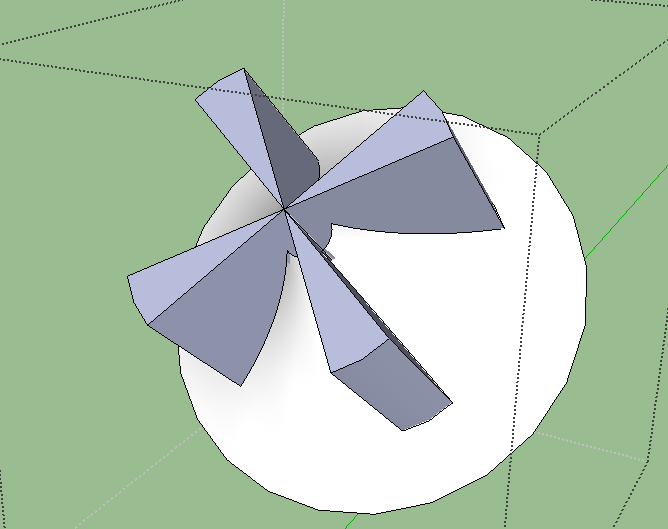
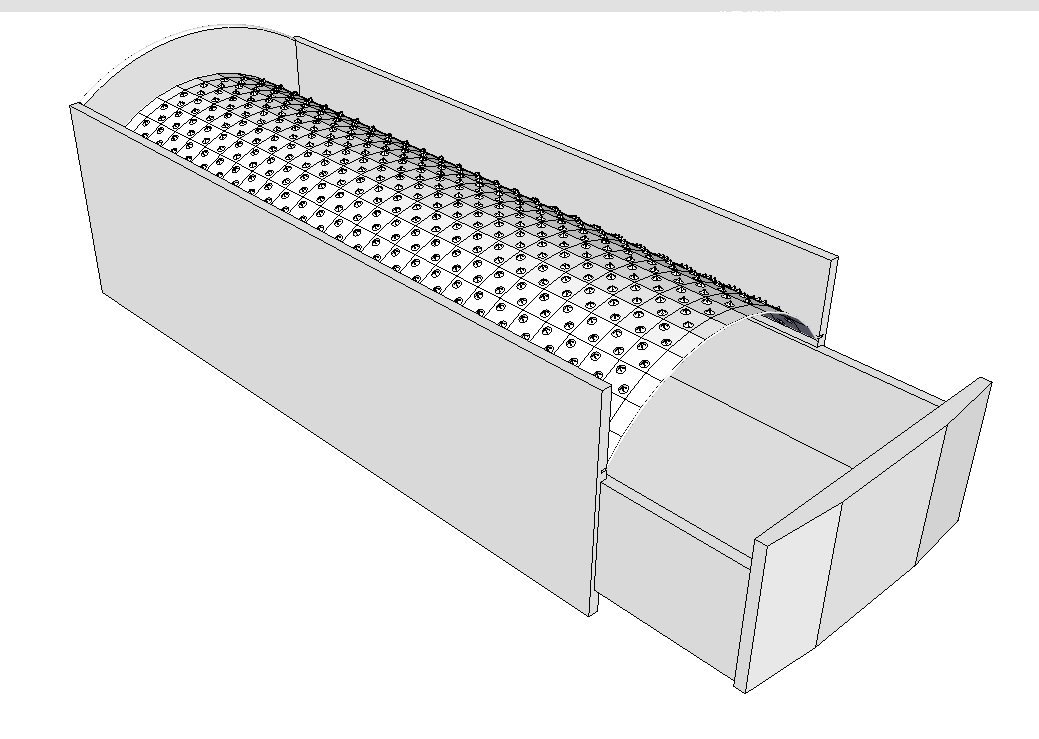
-
Okay, here's my ATTEMPT

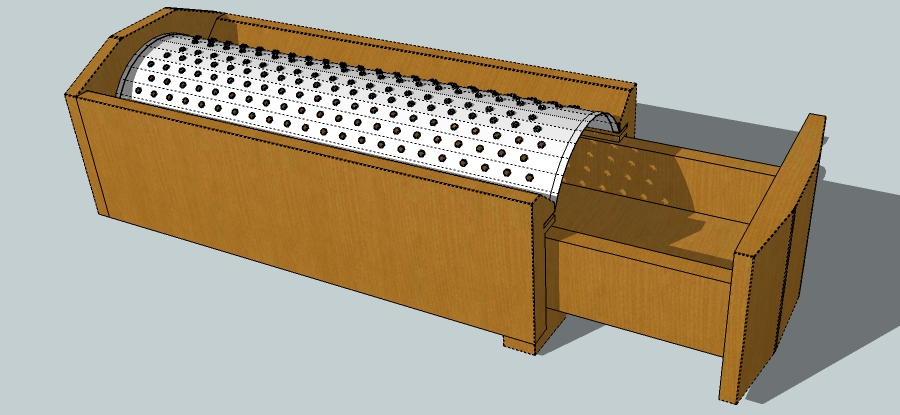
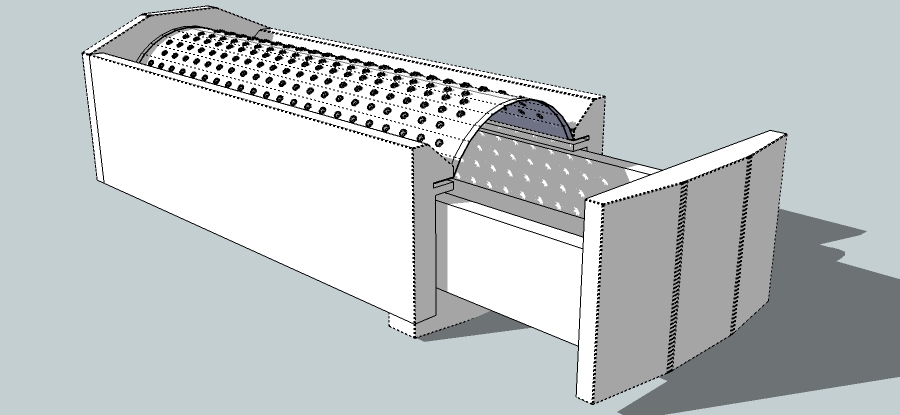
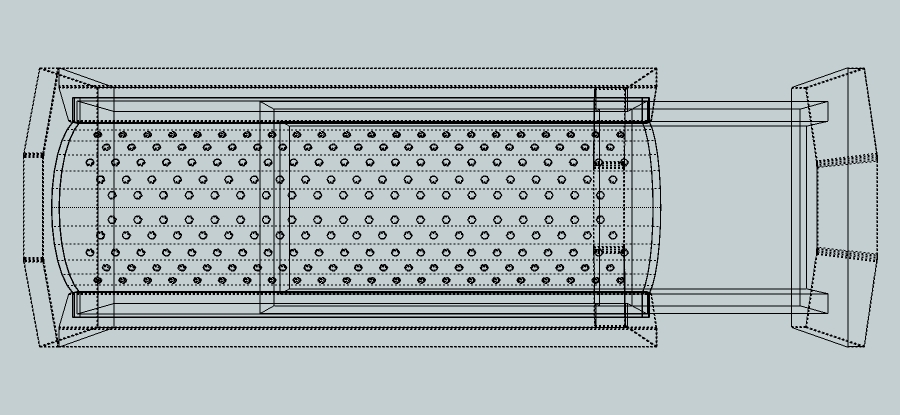
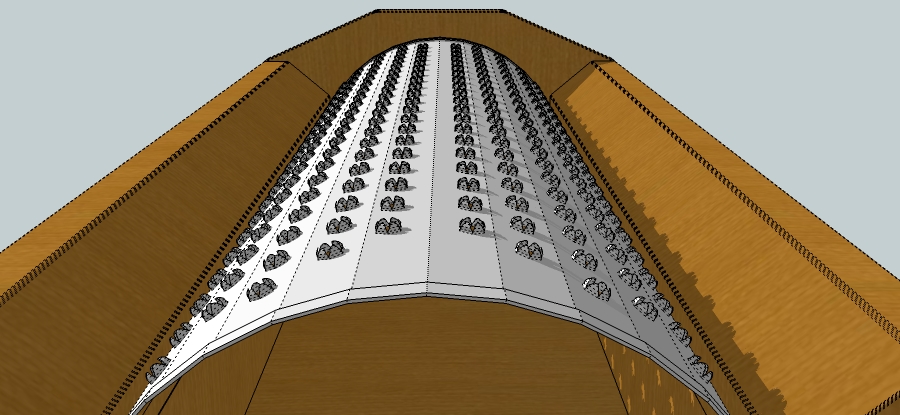
Fun challenge and used 2 Ruby Scripts
- Round Edge v2
- Joint Push Pull
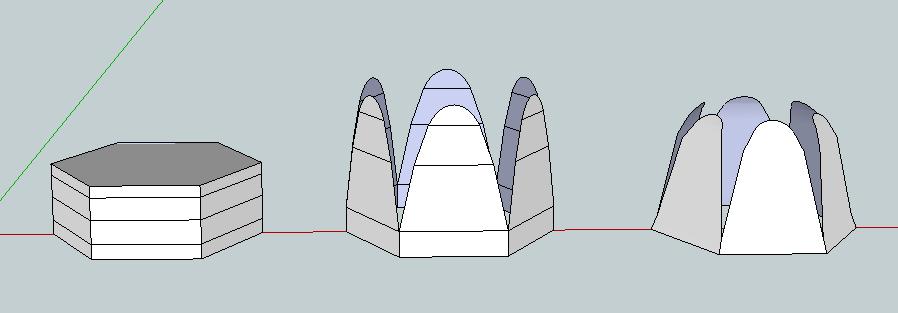
To keep Poly count low in kept the graters as simple as i could, here's an example...
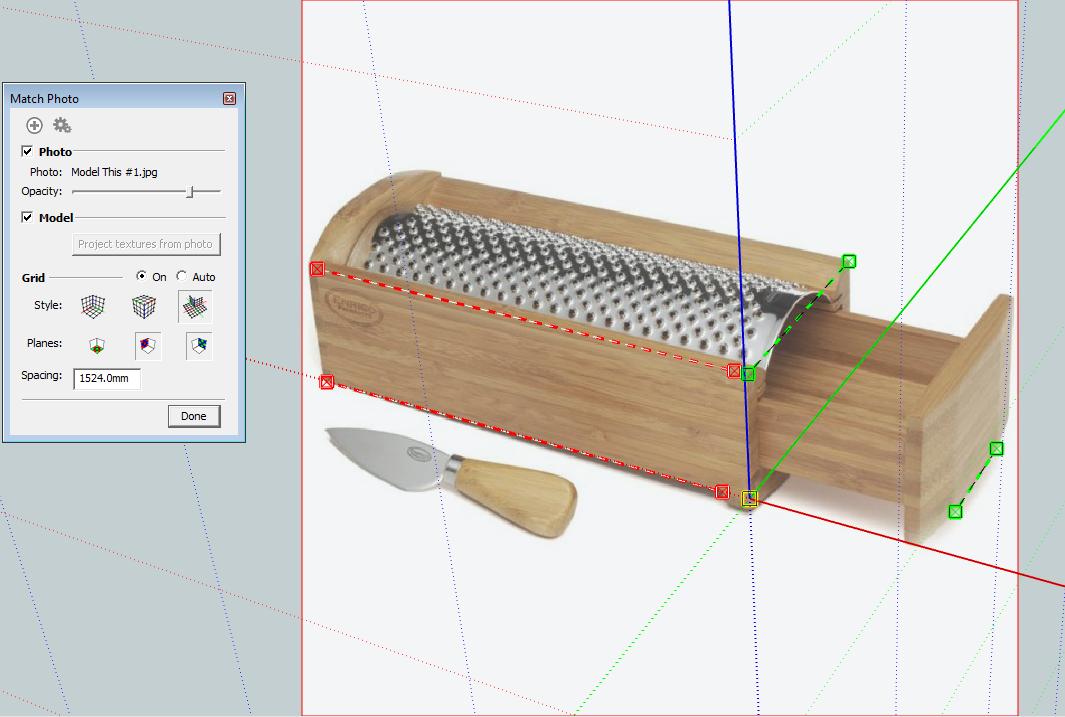
Also used Photo Match to rough out the dimensions...
If someons feels the need to view it in SU here's a link...
I didn't want to clutter the 3D Warehouse with Cheese Graters!!!
-
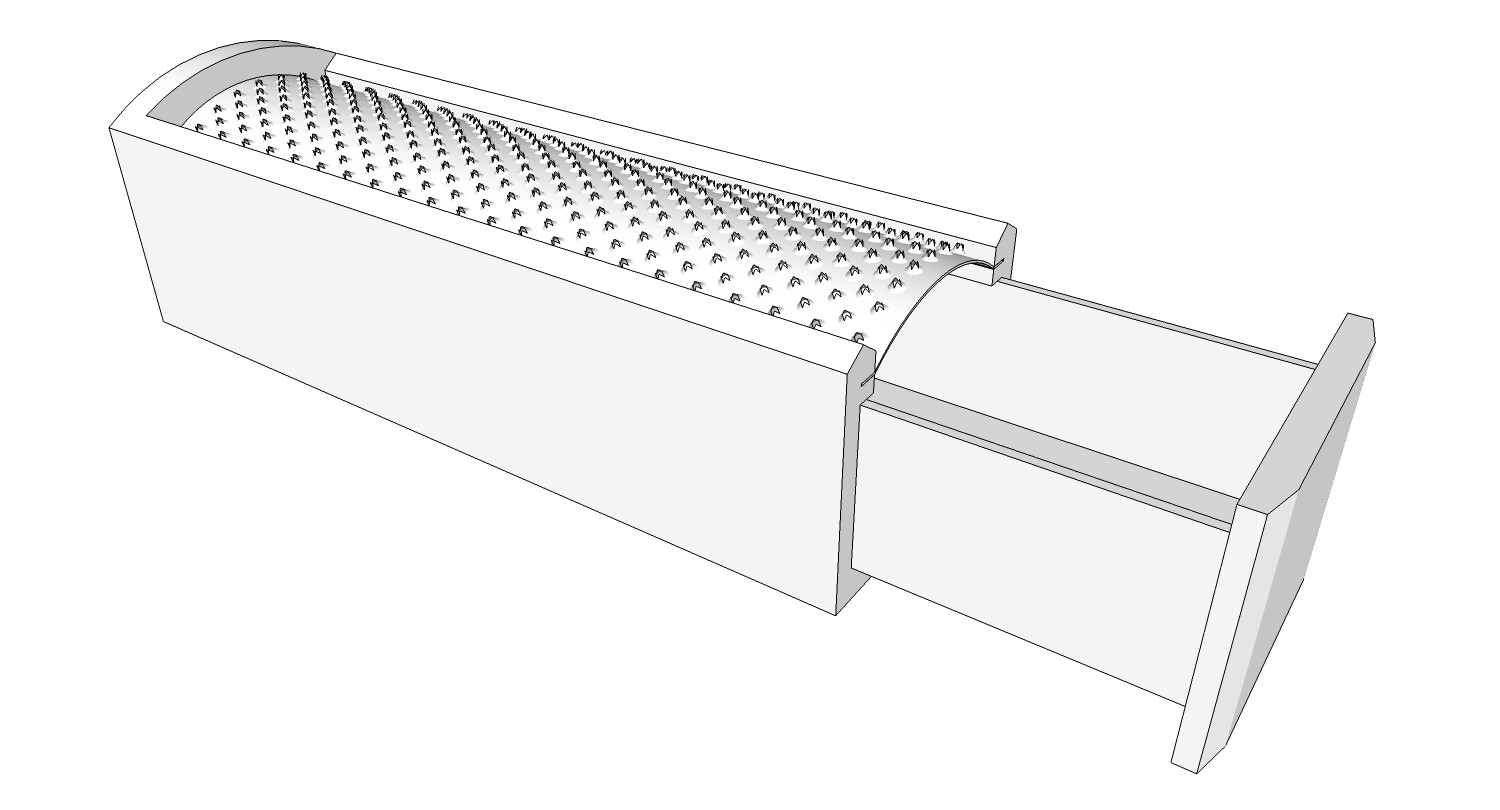
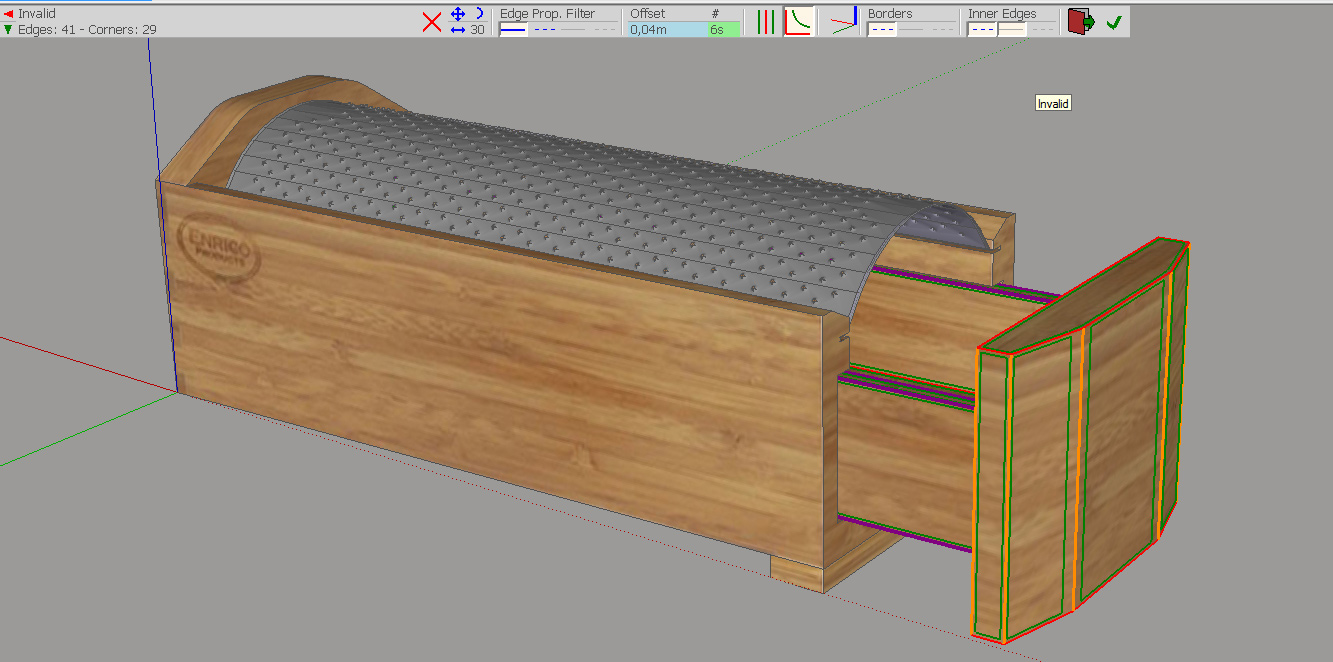
This was fun! I tried to hurry at the start, made some sloppy geometry, and when I went to save SU did something called "Check Validity" and deleted most of the faces on my grater!
 So I had to redo them, but I think it turned out good.
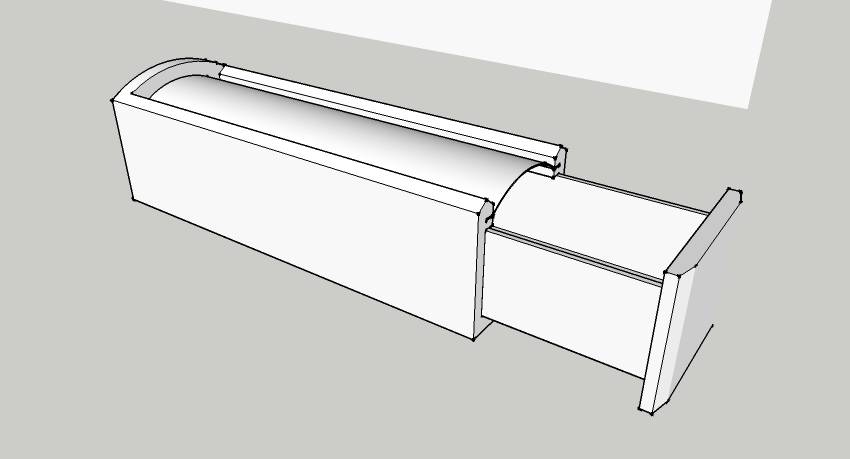
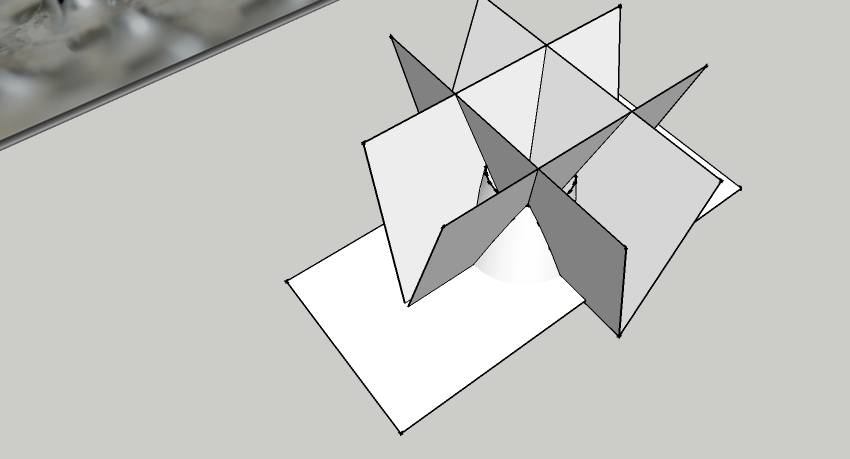
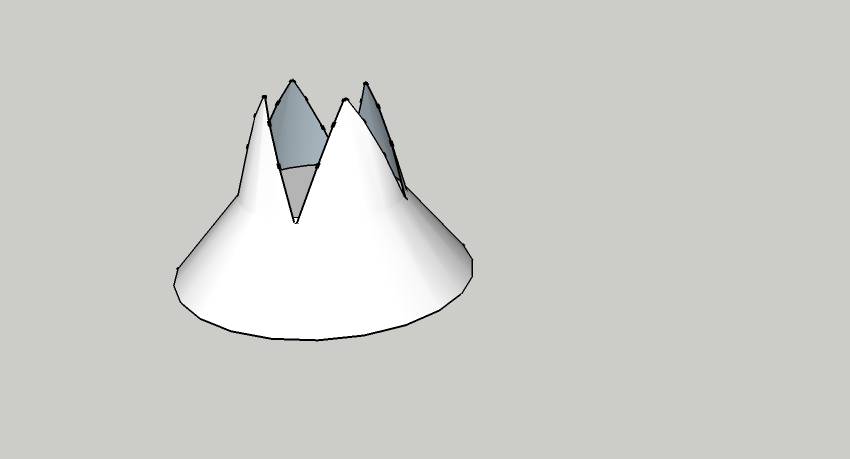
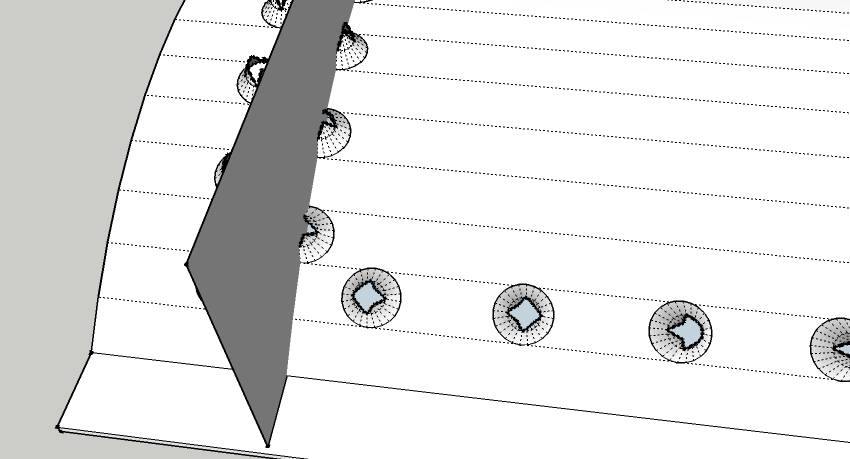
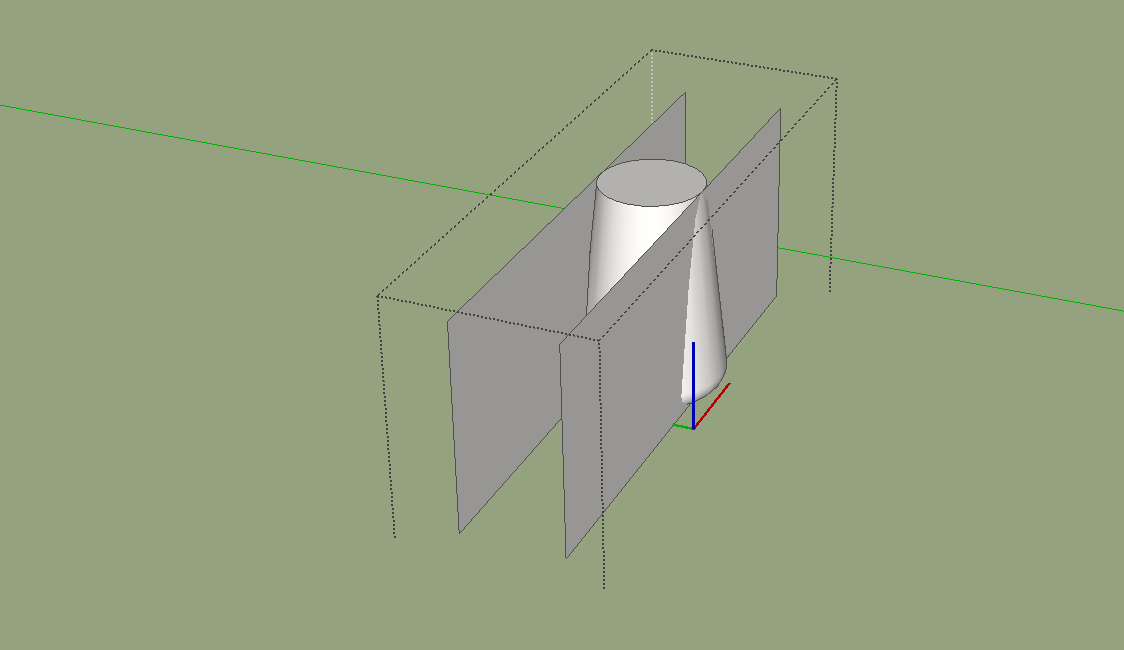
I did not use any plug-ins. I made the box first, then for the grater I used 2 cones and "intersect with model"(see picture), made into a cutting component and arrayed them using a temporary plane to get perfect lines.
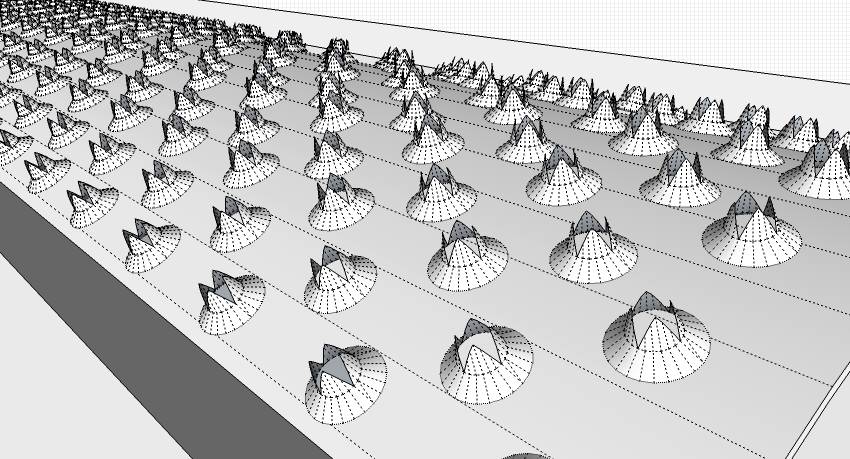
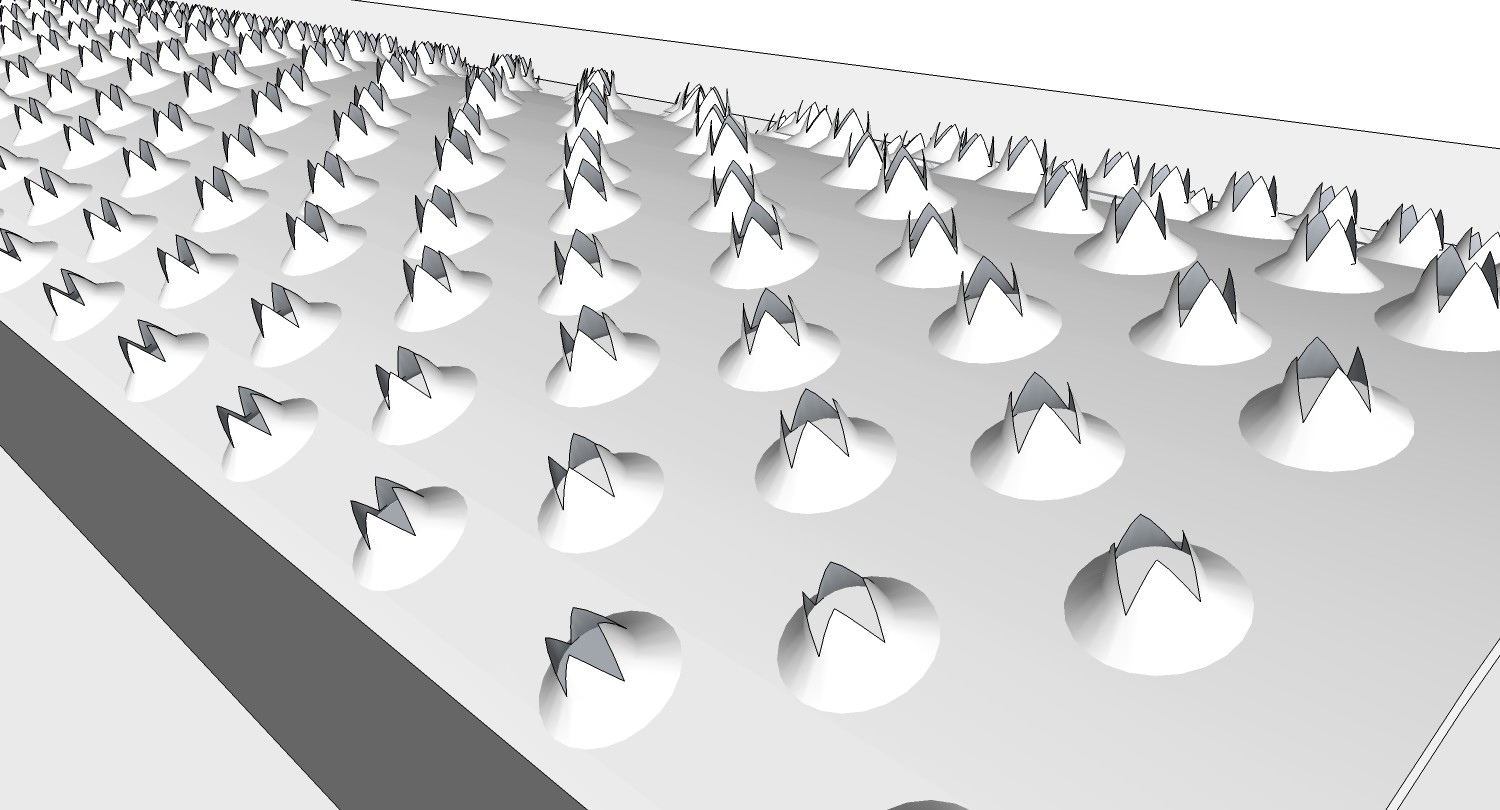
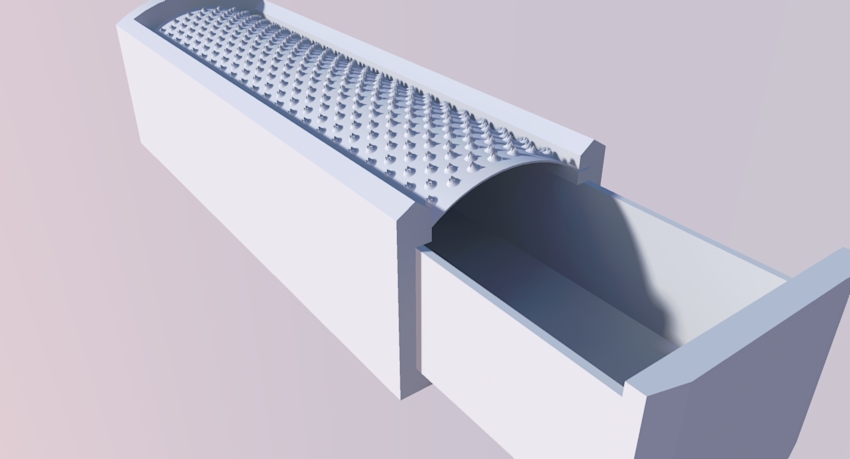
-
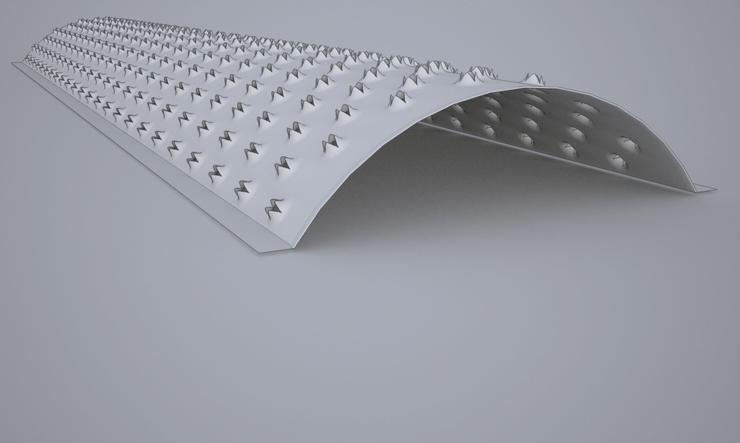
i did another one which i managed to get the poly count down (though it's still pretty high).. i took some screen shots along the way.. .skp attached at the end of this post.
no rubys.. 6 SU tools total were used.. i'll try to get some time tomorrow to make the cheese catcher..
a pretty cool exercise for me in that i rarely ever model without thinking about dimensions etc.. this was done fully freestyle and only by eye. (but, there's also some mistakes that were made as to sizes/proportions so while it was fun, i couldn't use this approach if someone was paying me to draw this for them)

-
Looking good Jeff.
So far, I'd say yours has the best 'feel'

-
Projects like this really show how week SketchUp is with hi poly modeling! I used Fredo's round corner and radial bending to make cheese grater and it took half and hour just to bend and killed SketchUP! It was a breeze in 3DS Max!
-
Mine textured and a fun clay render as well...
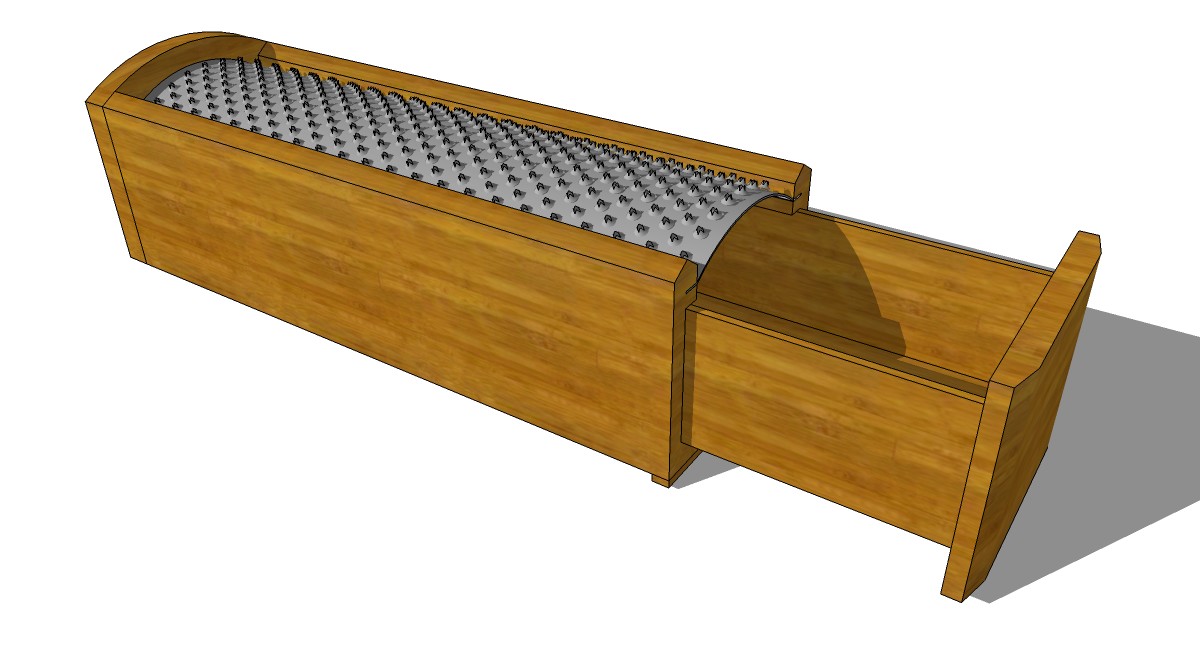
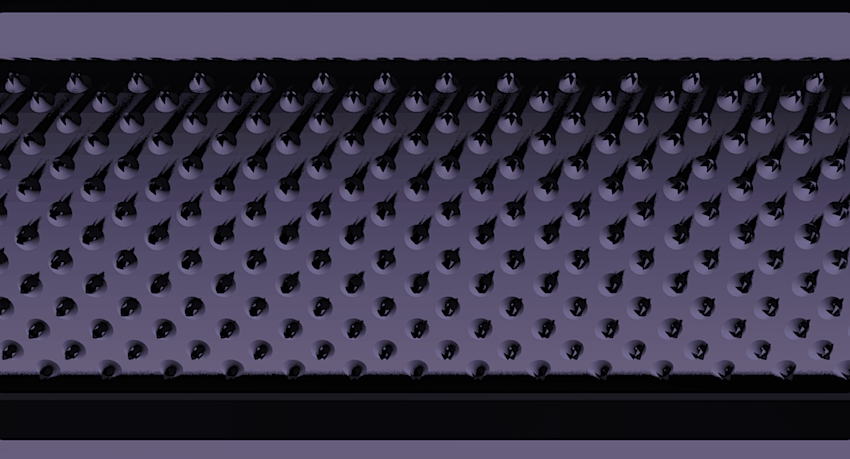
-
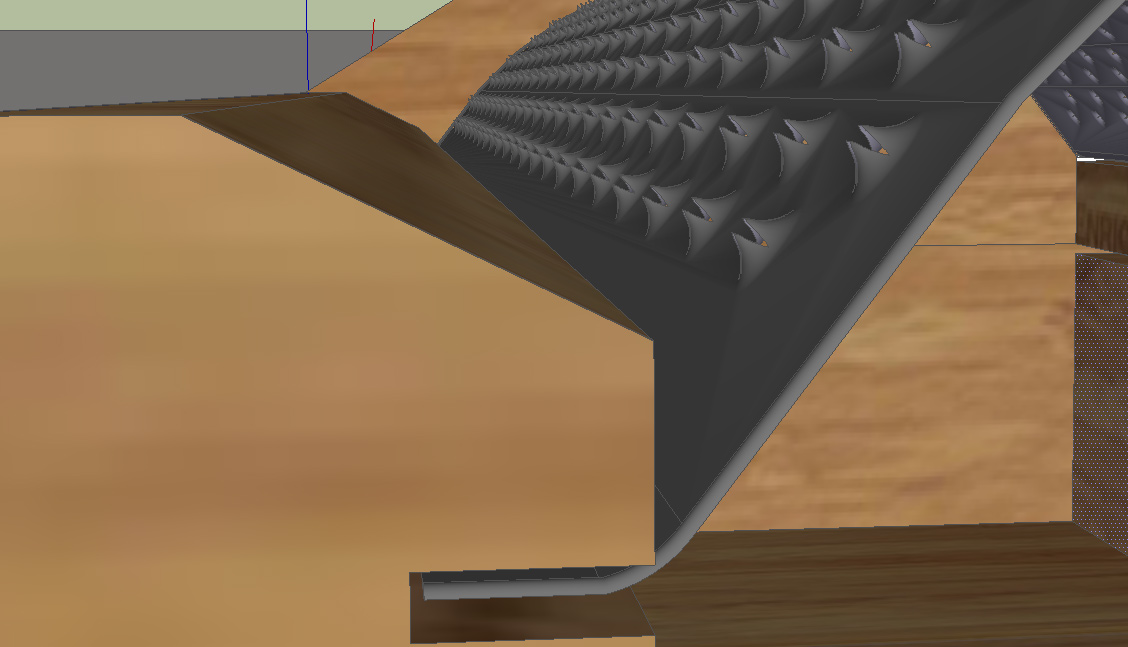
It seems simple, but that little element was a bit difficult to model.
Texture extracted from posted picture
I was trying to use Round corners ruby, but in the end i've preferred to not use it..
For the knife, a simple truncated cone with 2 planes in intersection
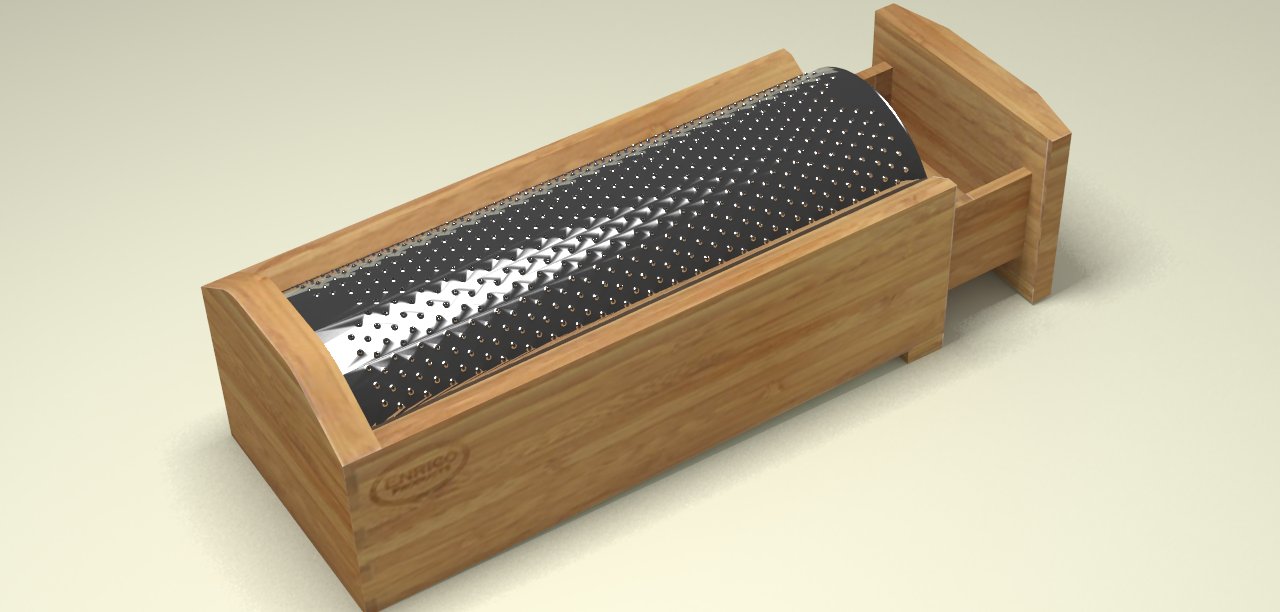
Some screenshots, details of work in progress and final piece (with some renders for fun..)
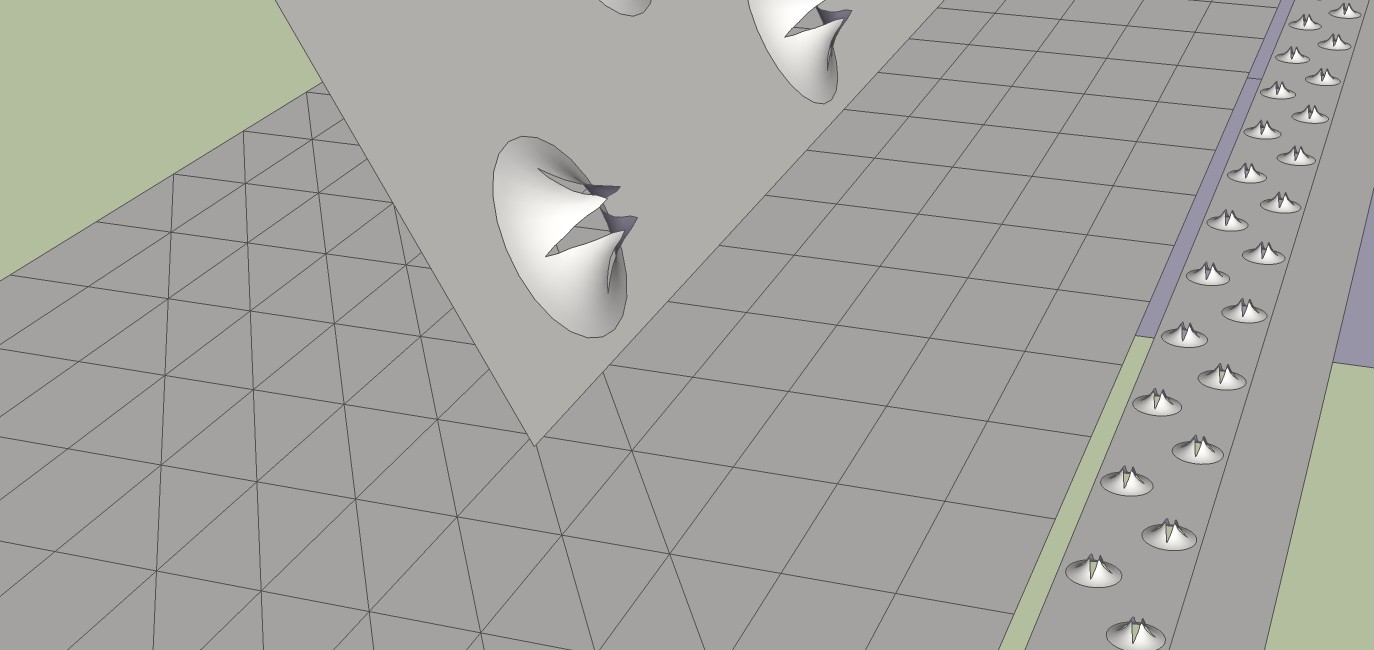
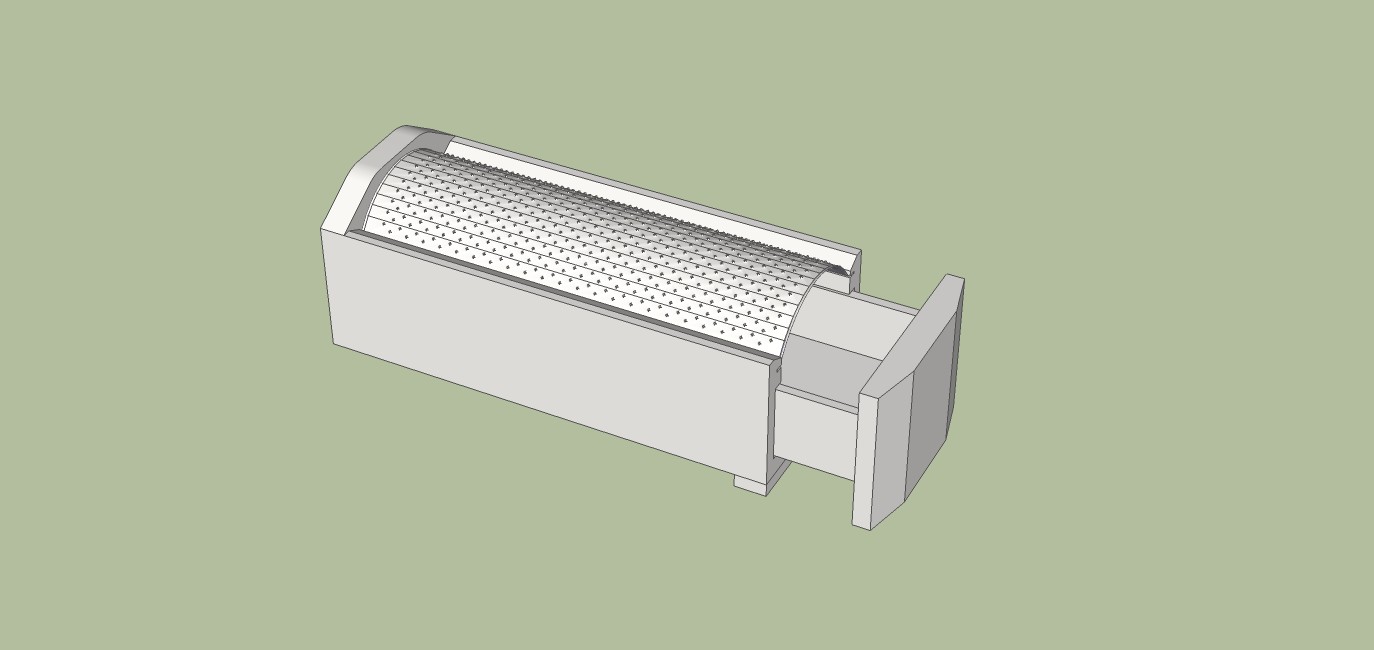
-
let me guess EA, 300,000 polys?

your post reminded me that i used weld.rb with mine.. it's been a keyboard shortcut for so long that i forgot it was even a ruby.
-
lol, wow,
definitively can see how my model will have some, cough, deficiencies, compared to some of these I've seen.
All i have left to model is the cutting teeth on the grater and maybe the knife. Hopefully by tonight II can post it.
going to try and give Jeff's method a shot. seems like it would work best for the approach I've been doing. -
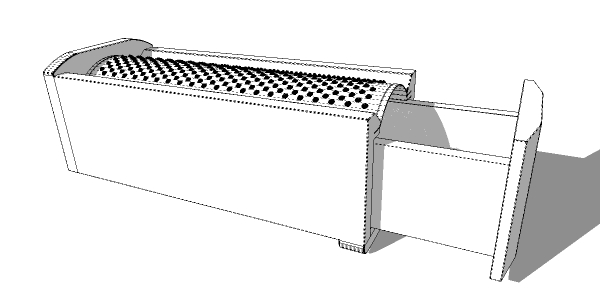
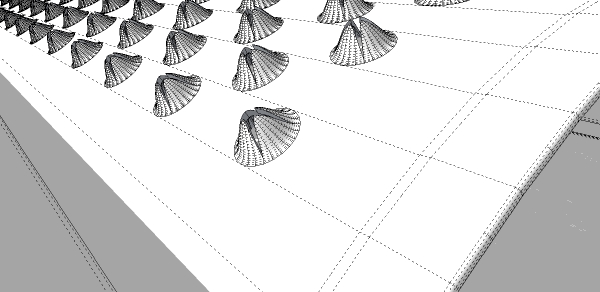
Rubies used: Round Corner, Weld, Bezier Curve, set center point
Grater pointy parts constructed similar to Dale's method; Bezier created the shape, follow me made it, center point allowed me to place it, and intersection cut out the "star" shape, followed by removing unwanted geometry. The metal here actually has thickness in case we render. Otherwise, it's pretty standard SU construction and tools. This model is pretty darn heavy. I definitely learned something building this, figuring out how to place the pointy parts on the grater was a challenge for me.
Advertisement


