Render this: L.E.D lighting
-
Excuse the dodgy kerning.

-
Cool reference photo. It would be even cooler to have a LED model like this one (wink, wink).
http://www.otherthings.com/blog/images/led_throwies_small.jpg -
@unknownuser said:
You could shorten it a bit...it's a bit awkward to throw around.

I took Solo's LED light strip and made a Dynamic component out of it.
If you stretch it the number of lights will change to match the new length.
Also, you can right click and change the light spacing or length if you have dynamic components enabled:
The DC is inside the .SKP file, so you could copy and paste the entire component if you wanted to use it in a different model.
-
Ok, here's my try with Twilight:
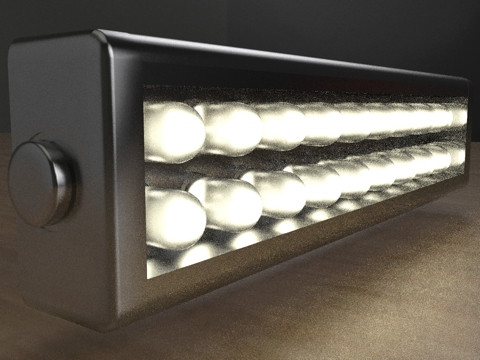
I used a very, very darkened HDR as background so the light coming from the LEDs would be the focus of the image. This caused the problem I had already foreseen because I've experienced it many times when taking real photos: If you lower the exposure until you see clearly the shape of the LEDs, the rest of the scene is too dark:
And if you rise the exposure until the rest of the scene looks better, the LEDs themselves become overexposed.
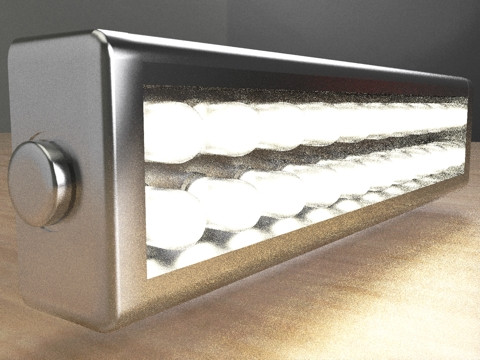
Of course, I could have used a brigther HDR background from the very start (Duh!), but I want to make a point here, so please bear with me.
I saved the render as an HDR and opened it in the free program Picturenaut, which is a very handy tonemapper, HDR creator, HDR<->EXR converter, etc. I used a "photoreceptor" type tonemapping with these settings:
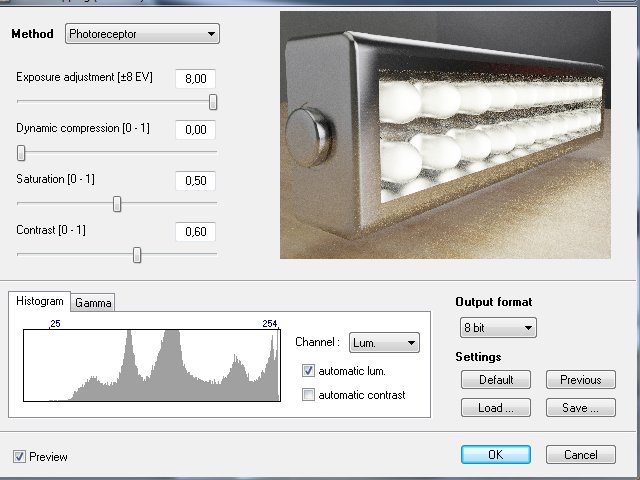
And here's the result:
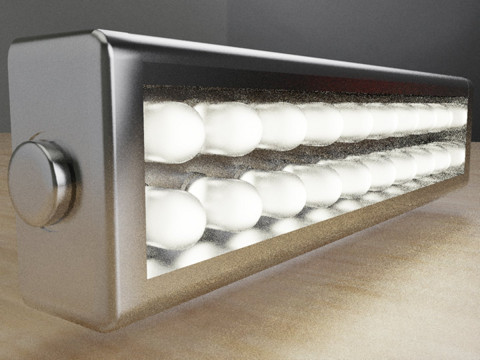
I could have chosen a higher saturation level but I like how it looks.So, which one do you prefer?
-
Your second image looks most realistic to me... LEDs are often overexposed in photos.
By the way, what kind of material did you use? The LEDs themselves look really good. -
Well, in the reference picture I linked to I noticed that LED light comes from:
- A small disc inside the casing, which seems to be the source.
- Total internal reflection.
- Sub-Surface Scattering.
So I used the SSS Rubber Ball template (which by default has IOR = 1.4, which seemed adequate after reading the first posts here), made it completely clear with no color, and rendered it with simple MLT (aka "Easy 09"). Perhaps I could have gotten better results with Bi-directional MLT (Easy 10).
-
@ecuadorian said:
Cool reference photo. It would be even cooler to have a LED model like this one (wink, wink).
http://www.otherthings.com/blog/images/led_throwies_small.jpgNice reference photo.
I had a bunch of LED's next to me when I was trying this out earlier. Kept hot-wiring them to a battery until they got hot. -
Closer observation of LEDs reveals that only a part of the plastic is actually lit, so here's an update.
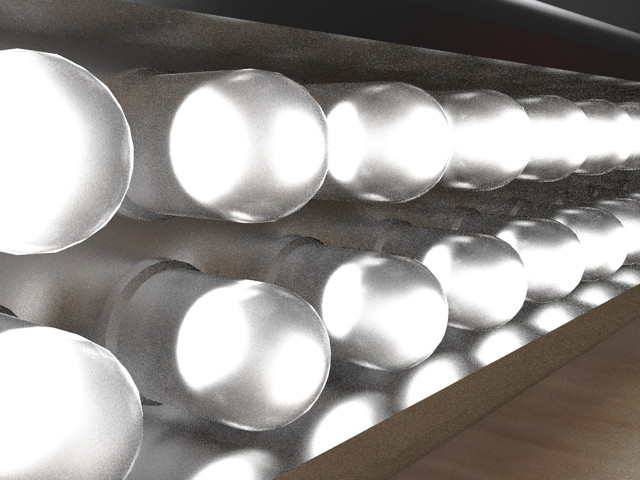
In reality, the lit part starts with a conical shape; I'll try that tomorrow. -
Miguel...the new one looks better, IMO. I think the "cone of shame" added a lot of realism. Care to post the model?
Here's an attempt with a green LED. Not really happy with it. I used a tiny Vray sphere lighting in each of the LED's. I tried an emitter plane, but it looks crappy. Used a soft water SSS material for the bulb casing. Took forever to render the 202 lights!
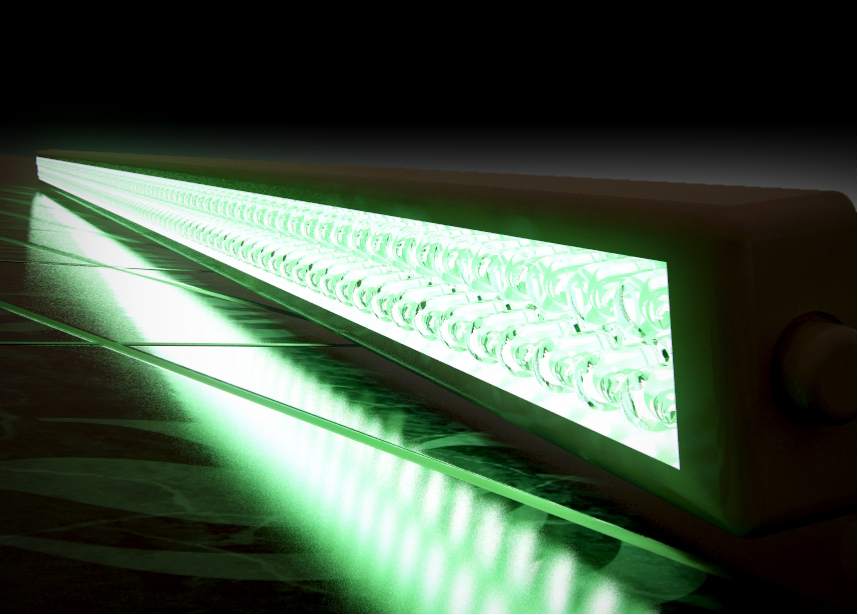
-
OMG!! A Point-Light for any led, it's a rendering nightmare...

-
@rev3rse said:
OMG!! A Point-Light for any led, it's a rendering nightmare...

Not if it's just a handful of LED for close ups.
-
i think majid's and earthmover's LEDS are most convincing. majid captured that falloff that you get with LEDS...they act like mini spotlights (well the one on my keyring does anyway). So I imagine loading an IES will work well.
-
OK, this time I modeled a tiny metalic "cone of shame" (he he he) around an even tinier emitter, to better simulate the light source in a LED.
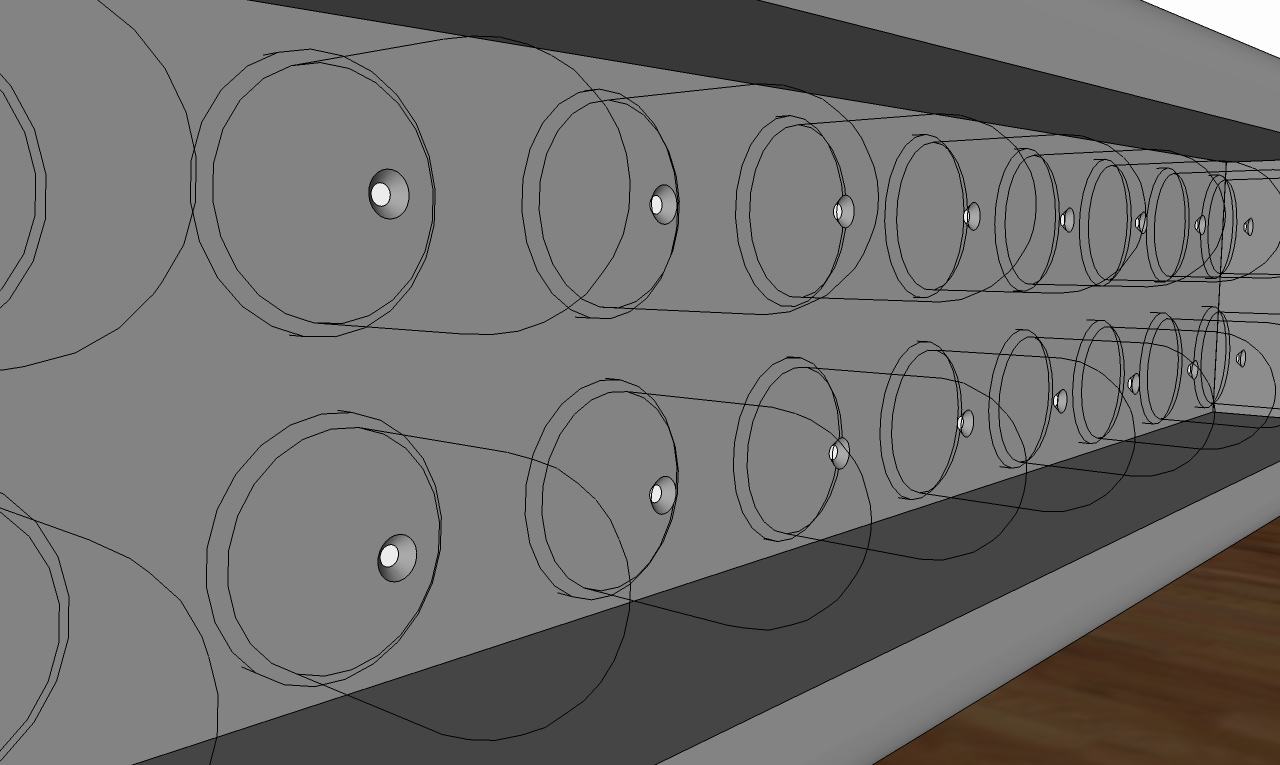
I'm not sure if I like this image better than the previous one:
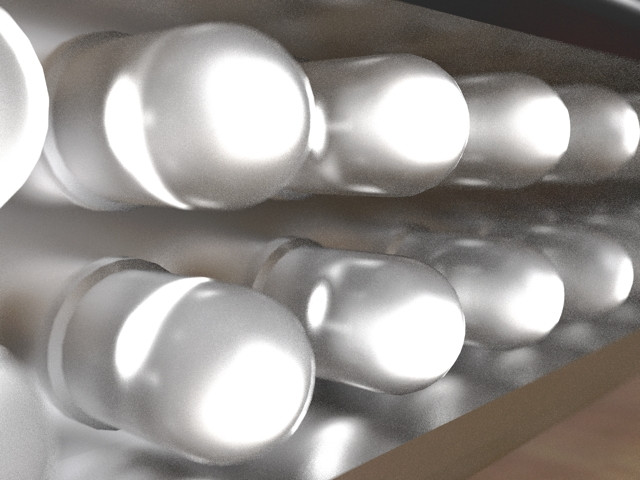
Different exposure:
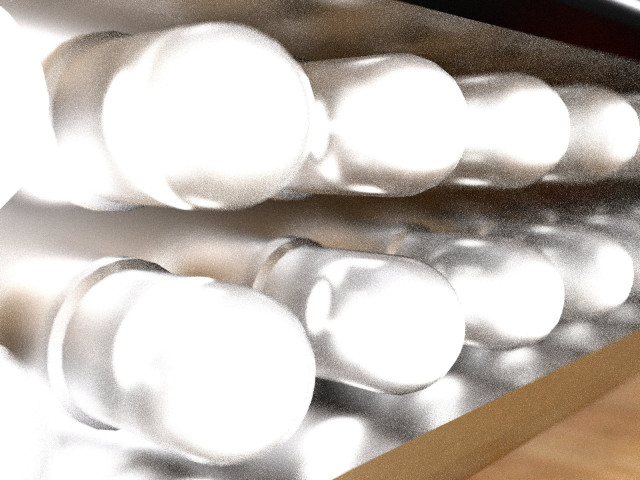
EDIT: Added the model with the cone.
-
Here is mine:
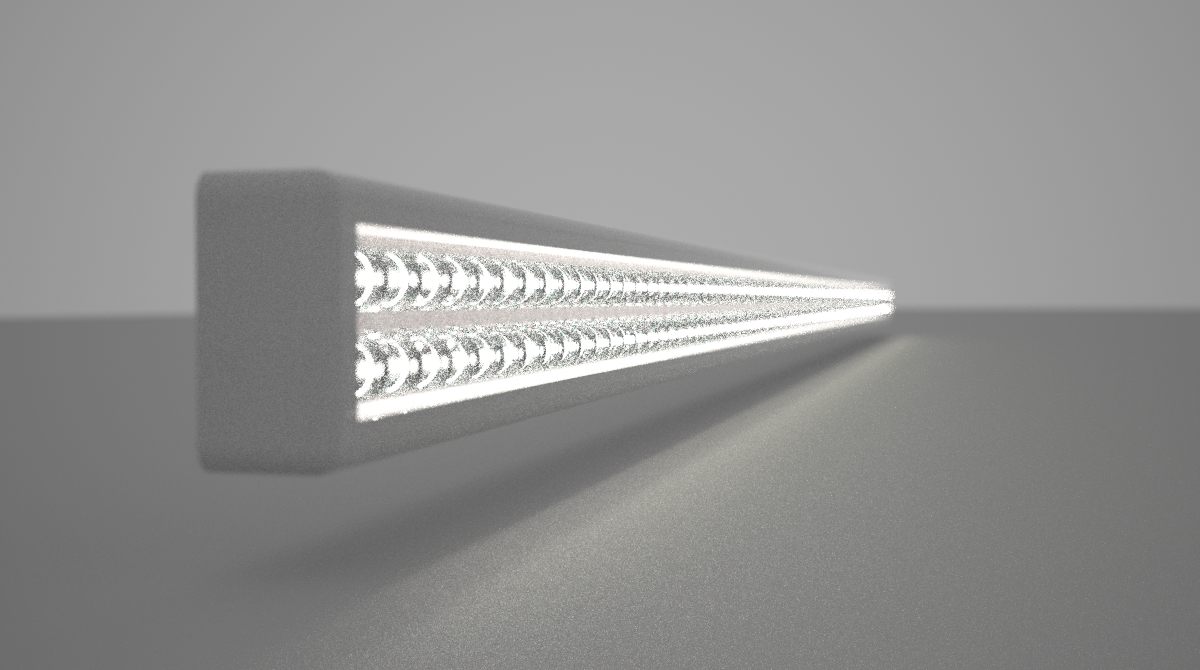
Transparent materials - real glass and that's the only correct material here
-
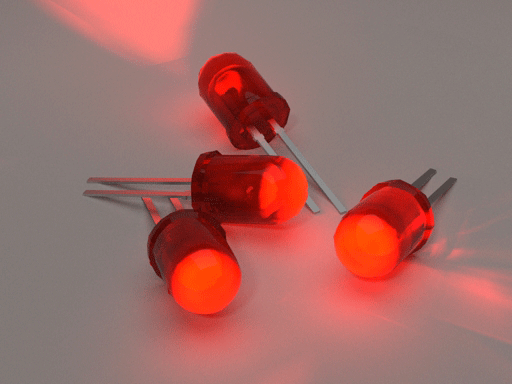
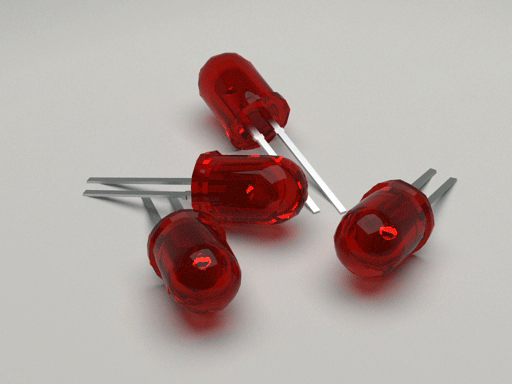
this is my try.sketchup + KT and also the result is a photoshop combination.
Also you may try it(unzip and load the KT file, attached)
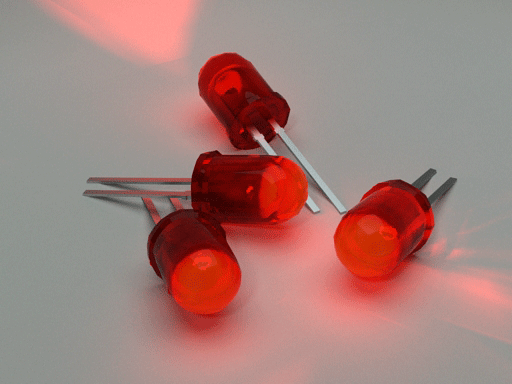
-
First try
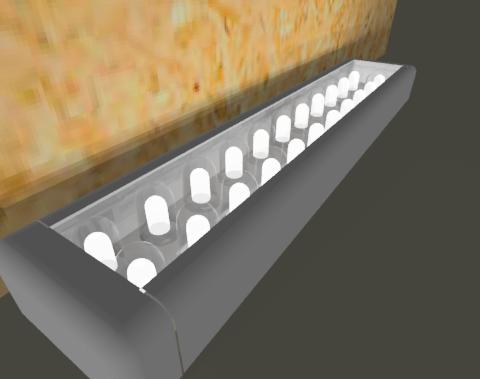
(I know I am a little slower at getting this done than some of you. Actually we found a bug where we were processing curved light emitters too slowly, so this helped fix up the software as well)
-
Dang. Majid, you beat me to it. I should've checked this thread before building my LED. Oh well, here it is anyway. Feel free to do what you will with it. It's a bit overboard detail-wise, I even threw in a few air inclusions.
I based it on this picture:

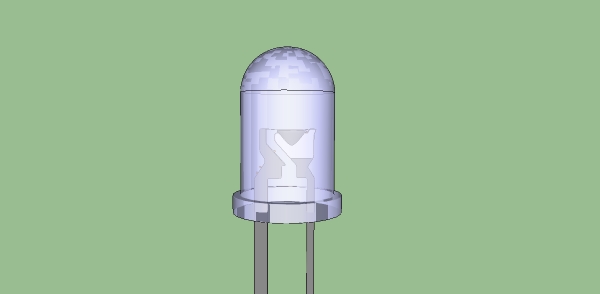
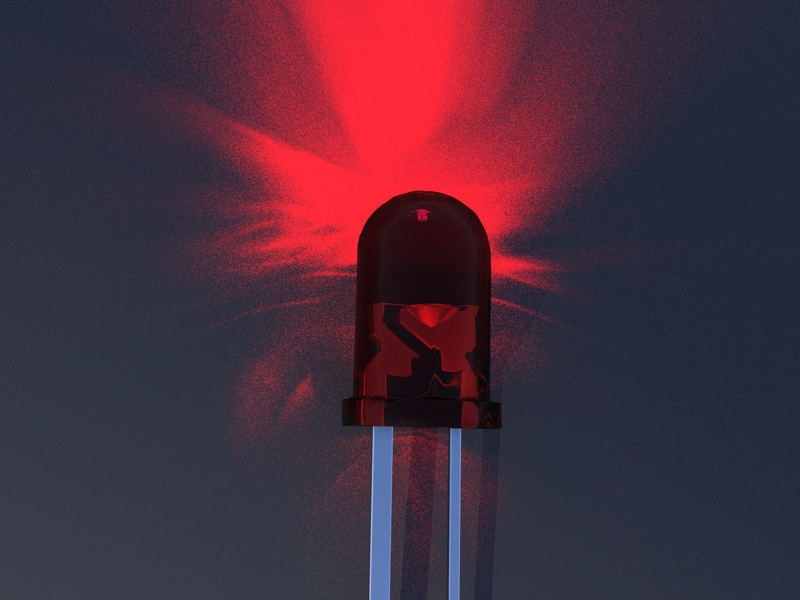
-
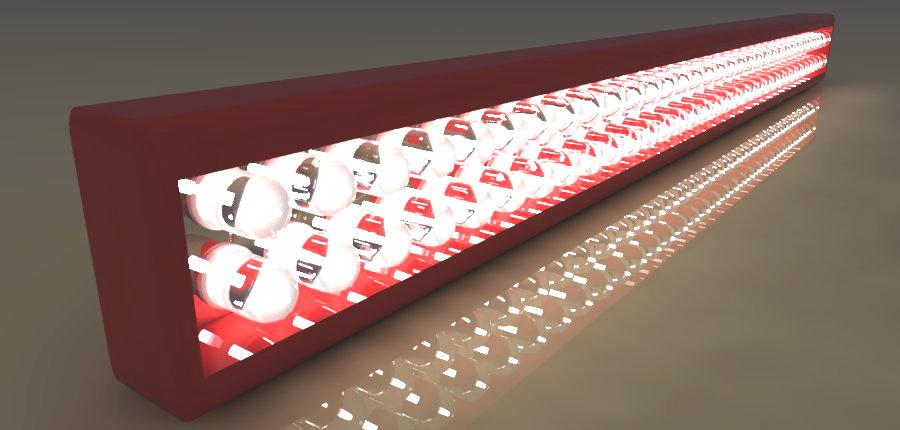
A quick try (10 minutes) with Vray for SU first version...

-
Hi all,
my first post on this forum today!
This is my render of the L.E.D. Lighting: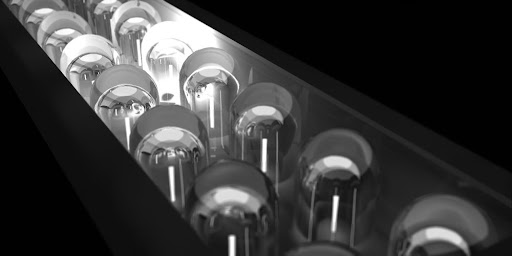
-
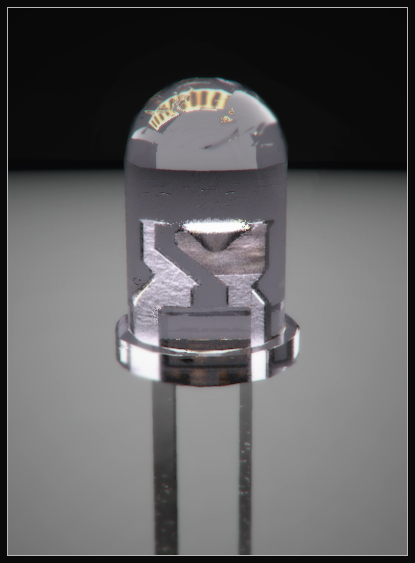
Ok mate, I tried to keep and respect your level of details, hope you like it
 (distort correction and a bit of bluring , by PS )
Advertisement


