Strange color thing
-
hello to everyone!
This the first time i'm posting in this community. really enjoyed reading all those tips & tricks and watching the tutorials.
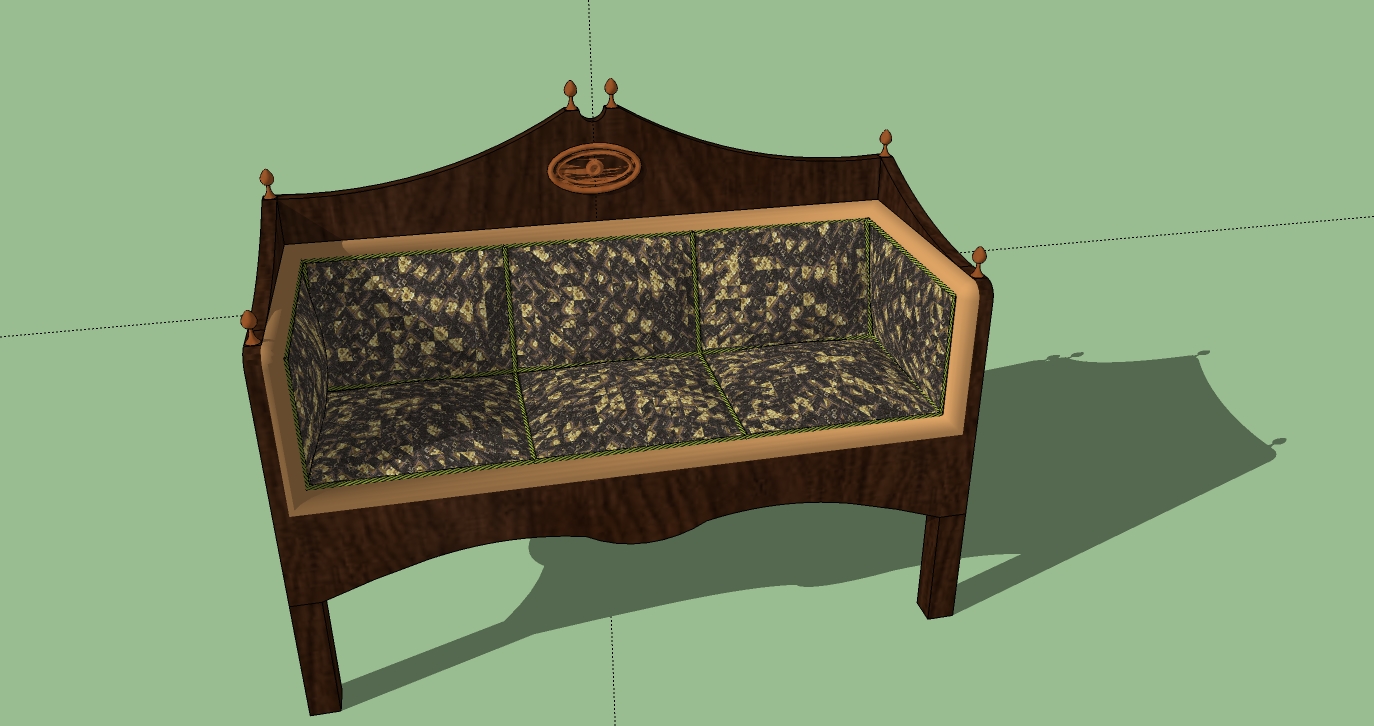
So here's what came out of this. my first model i'm eager to show you.
I guess it's no real masterpiece, but i'm satisfied with that.One thing that i dont understand are the overlapping colors in this oval thing on the back.
i moved the group on face of the back wall and not further. so why are the colors doing this?
Had this problem in some of my models.
Would be glad if you can give me some hints on how to get it fixed.
I also wanted to know if you can see anything in the way i moddeled this one that could have done better?What isn't really finished yet are the feet. ran out of ideas for today. so maybe you have some good things in mind.
so i hope you can give me some response.
thx
-
Hi, you have two surfaces that share the same plane so SU doesn't know which one has to be showed. Simply shift a bit on the green ax the oval (0,5 mm must be enough). After all in real life your oval must have a tickness.
-
thank you guys!
used both tips of you. first i gave the oval a bit more depth. removed the back of it and moved it aiganst the face of the backwall.
then i intersected the oval with the backwall and removed the shape created on the backwall. at least i fitted the oval back into the now existing hole.i also added some feet now using the skin.rb.
again thank you.
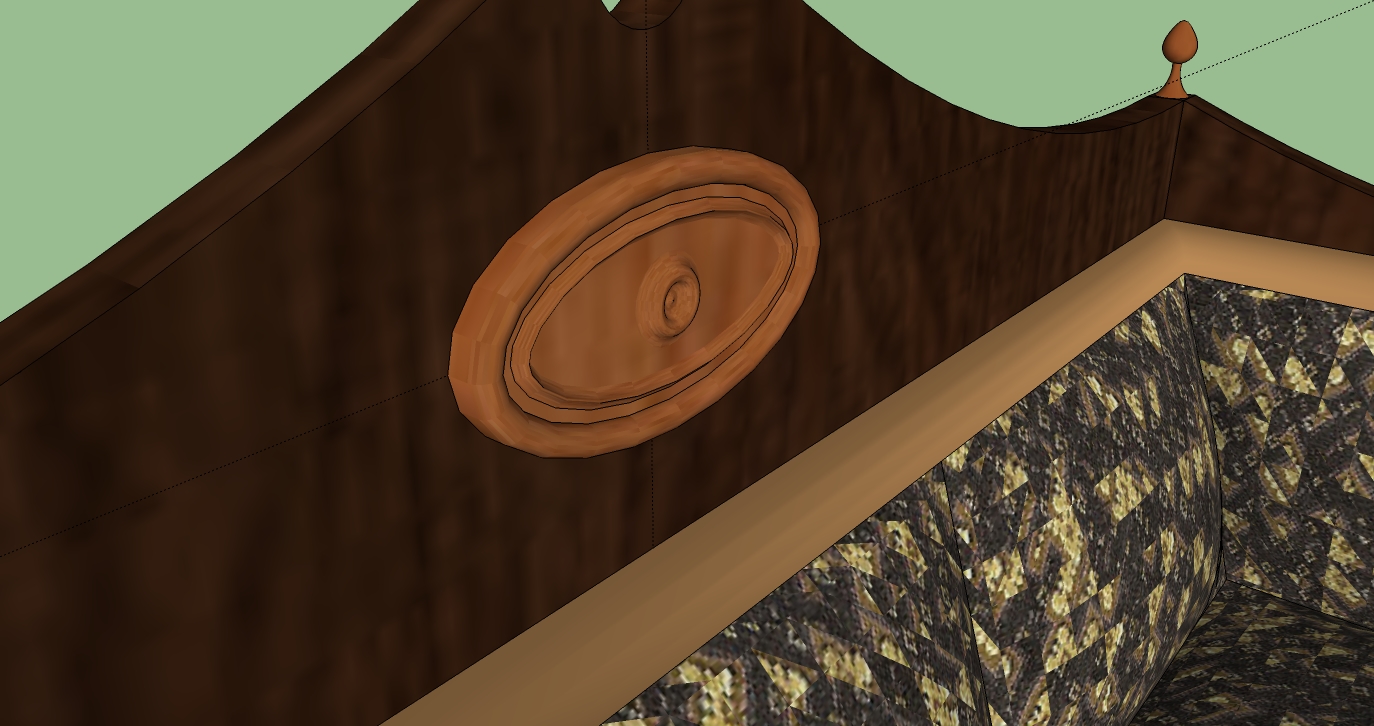
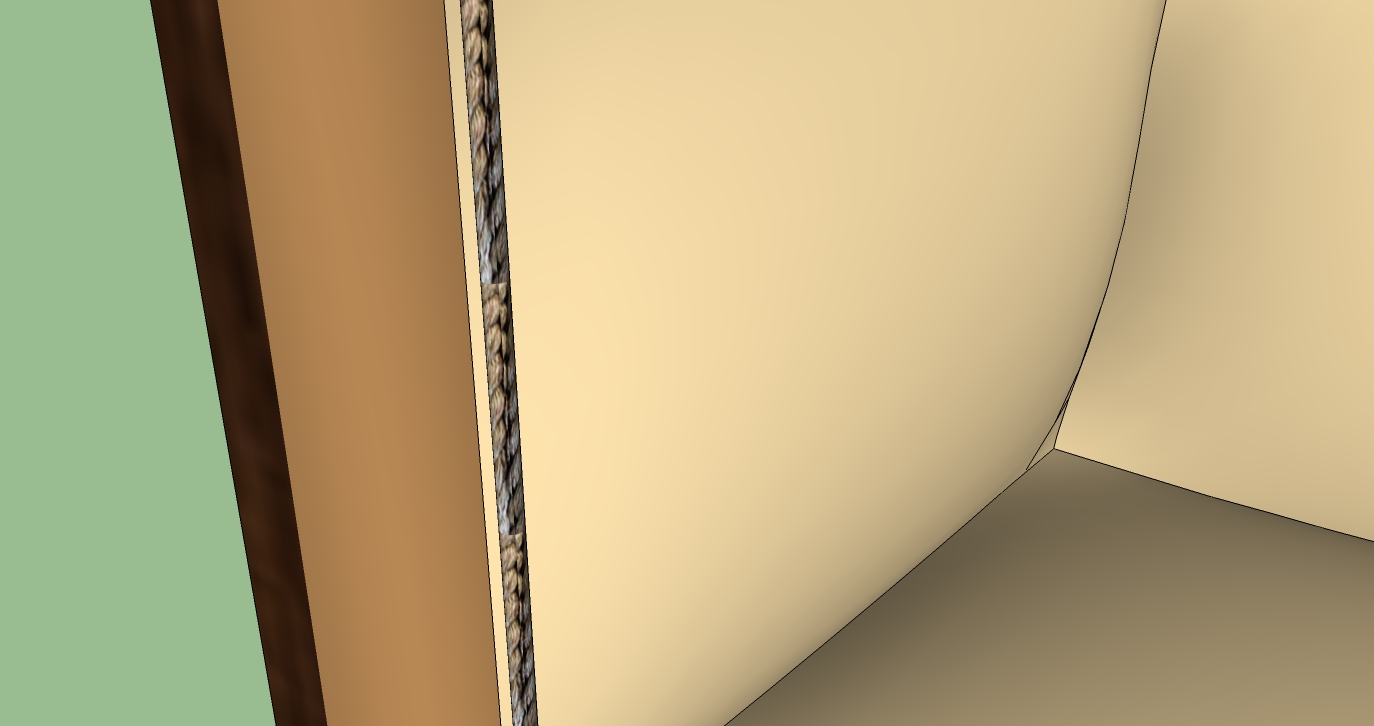
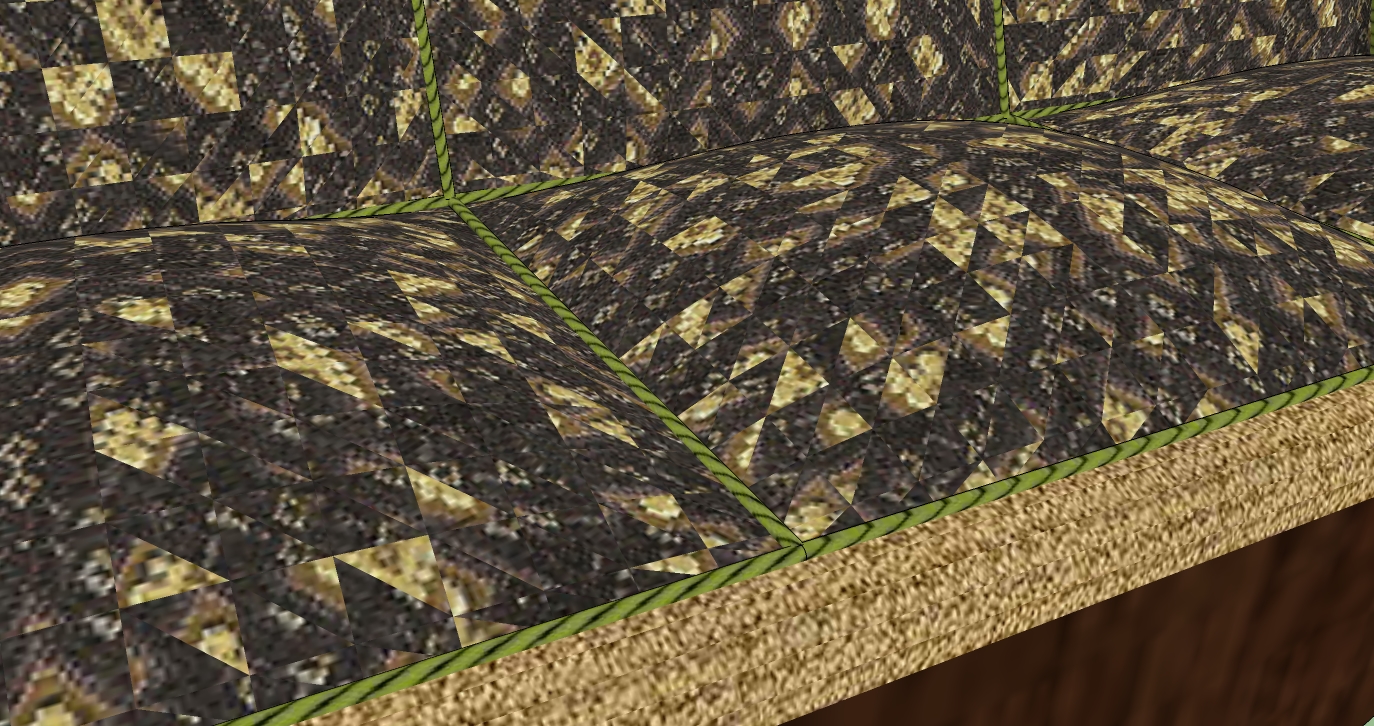
@modelhead: do you have a tutorial for creating and using textures? i tried a bit but got no good results.(seen in the image below)
-
hello modelhead!
i followed your little texture guide and it worked out well (for the first time using textures).
the size of the model is now about 1 mb smaller than before.
thank you for your help.i guess its time for a new model

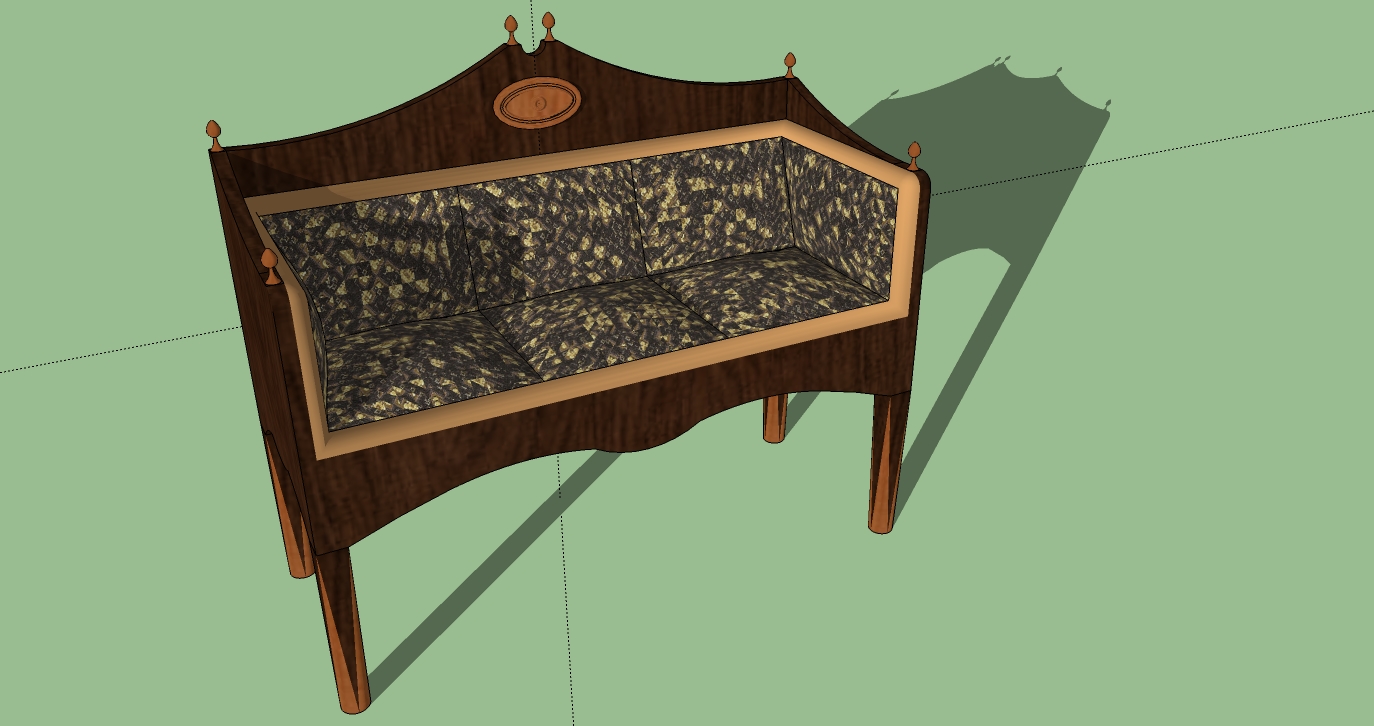
i added some pics. one with the texture you gave me and one other where you can see some new legs i created.
thx
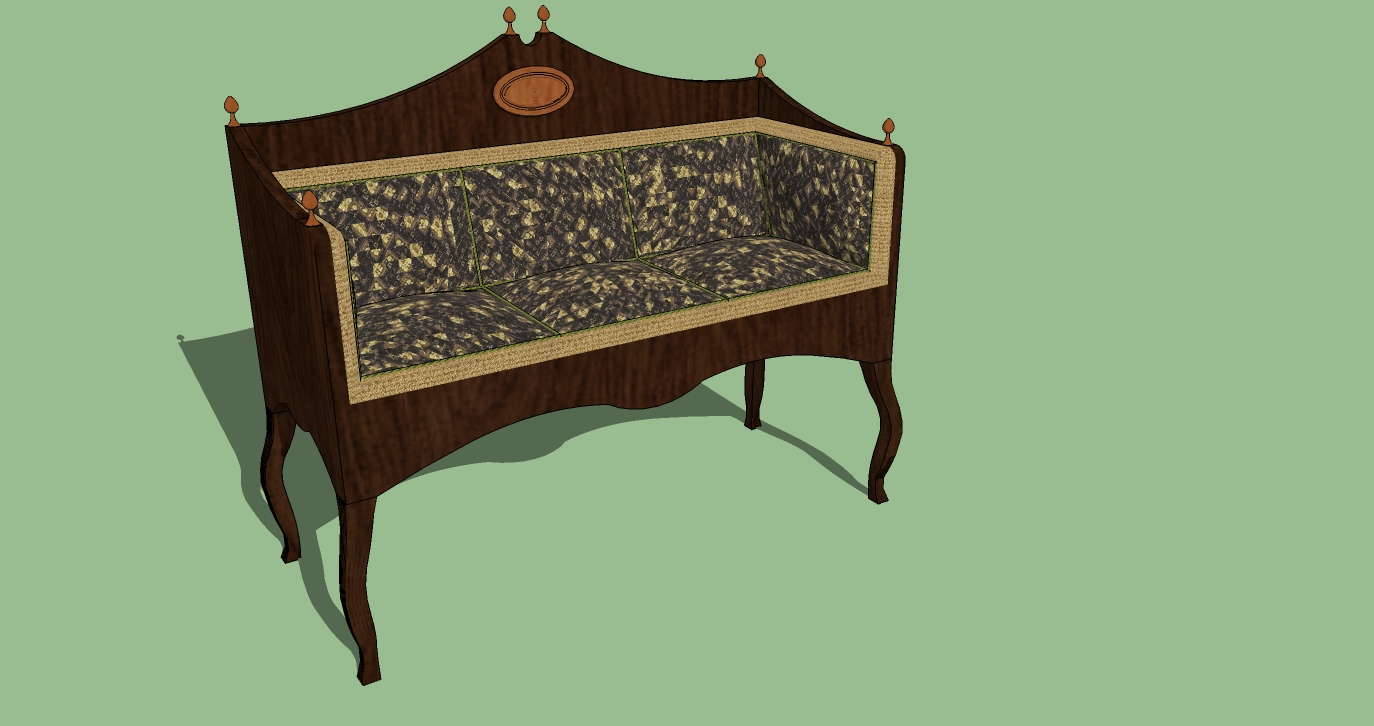
-
@jahman said:
do you have a tutorial for creating and using textures?
Chopra, Chapter 7.
And very nice work!
-
An important thing you have to know about textures is the notion of "projected texture". So your pillows become definitely better

Take a look at this video and keep posting!:
http://forums.sketchucation.com/viewtopic.php?p=119231#p119231
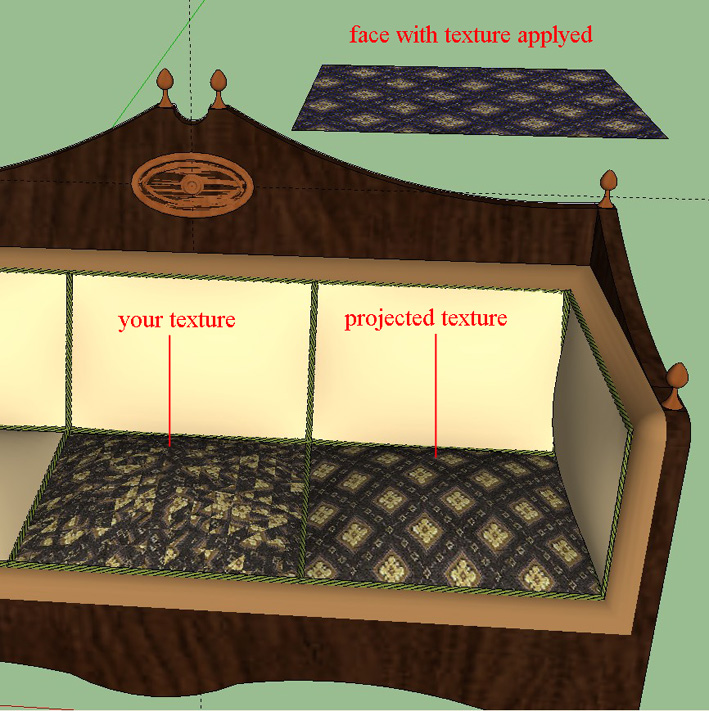
-
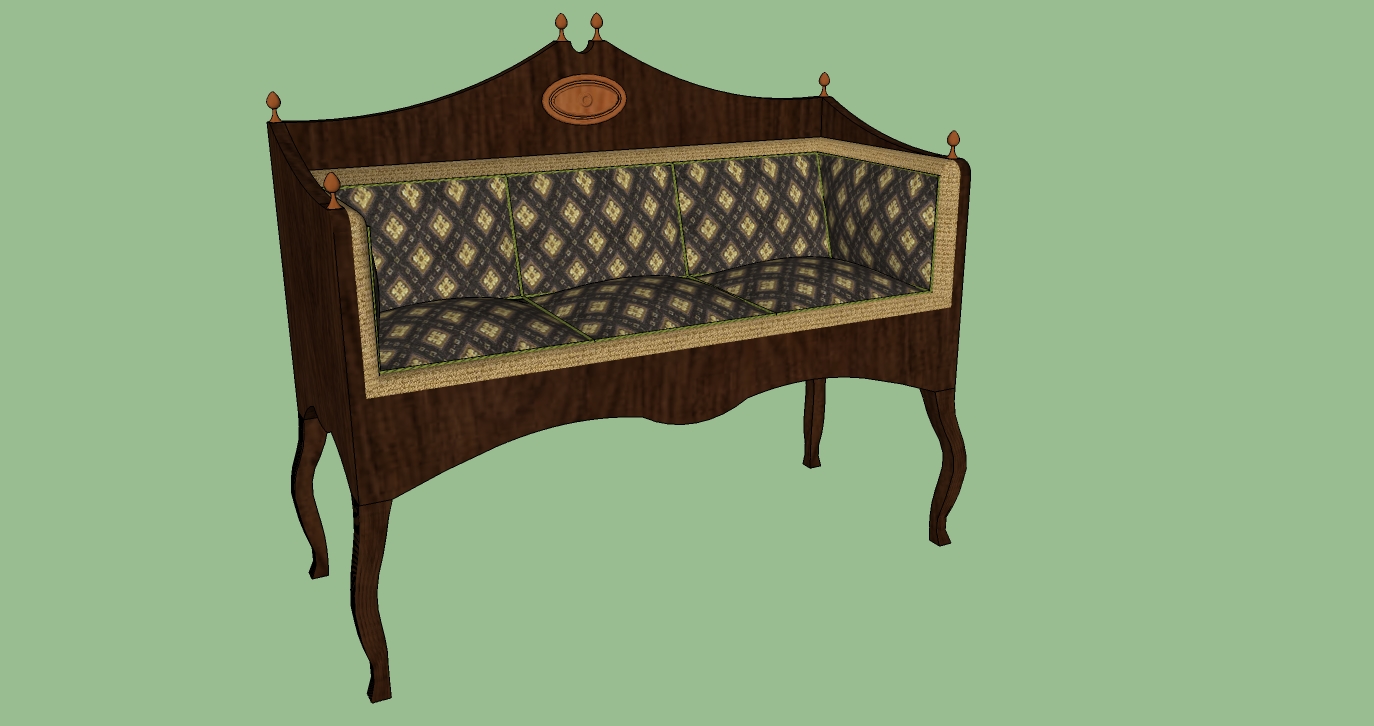
after a few days, i had the time to try apllying these textures to the seating.
and it worked. thank you all for your support.i attached the final version of my model. guess its time for an new one now.
@ martin: thank you four the refrerence to these chopra vids. somehow i missed them. very helpful.
but one thing i still want to know.
the way i apllied the material is that one:
- applied the wanted material to a rectangle.
- zoomed in so that nothing else was on the screen then exportet this view as an image.
- now importet that picture
- projected it on these curved faces.
for me it sounds a bit complicated. isnt there another way to get a material on curved surfaces without step 2 and 3?
i tried to paint an rectangle with the wanted material an project that on on the curved faces. but that didnt work.
-
You simply have to apply the texture on the rectangle, right click on the texture and choose "texture>projected". Then pick the texture on the rectangle with the eyedropper and use the paint bucket on the curved surface.
-
What Massimo says. Once you've applied the material on a single face AND projected it, you can always sample it and apply it on another (sur-)face.
Note however that the direction of the projection is always important.
-
thank you all.
i havn't seen that a material applied to a face is a texture. (dumb...isn't it!? of course its a texture....what else!?
 )
)
i always thought that the only way to get textures into skecthup is to import them. but now i got the hang of it.thx to all you helpers out there!
Advertisement


