[Plugin] SectionCutFace
-
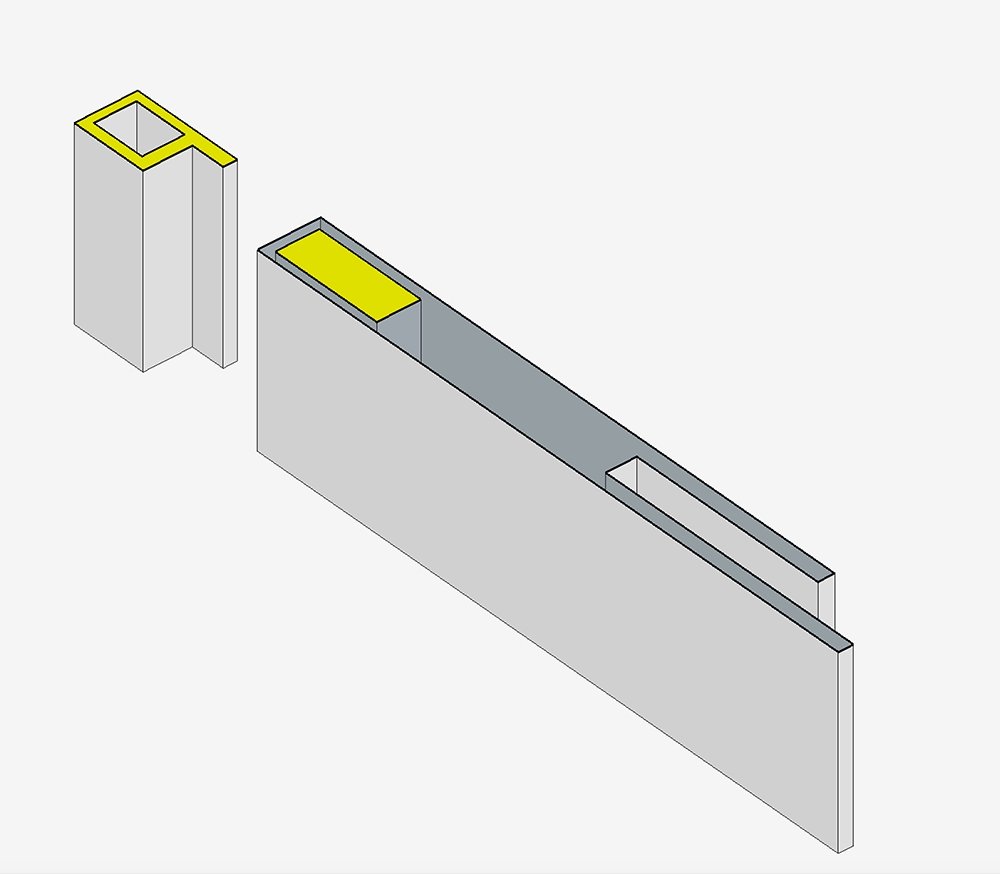
After installing latest plugin I was able to apply some hatches.
Refer included pdf.
This was achieved by unlocking the section cut face group and using the paint bucket.
Thank you for the assistance.garage section.pdf -
You can obviously open [i.e. edit] an [unlocked] SectionCutFace group and do many thing to it - like adding or removing geometry, using different textured materials on various faces etc...
This is fine if the SectionCutFace is made initially 'Fixed'.
BUT be aware that if the SectionCutFace is 'Remade' [because it was initially set up to allow this to happen, either 'On Demand' or automatically] then all of those changes will be lost in the new version of the SectionCutFace that is created.The only way to apply a textured material onto a SectionCutFace which will continue after this 'Remaking' is, to either to initially choose a textured material [from the lower part of the Materials' listing] when creating the SectionCutFace, or to make it initially using the <Default> material and then paint a textured material directly onto the [unlocked] SectionCutFace group, which WILL be replicated if its group is 'Remade'.
-
Hi TIG ,
Thanks for the plugin , I had tried to use it on my SU 2014 Pro with Vray 2 , I couldn't get the render to turn up the cut sections , it just renders the whole enclosed house instead of the cross section .
Just some extra info:
- I've installed via the Preference>Extension>Install Extension method, works fine and I see it in my context menu and adding a SectionCutFace fills up the hollow parts of the model
- I followed the online video, clicked render after the adding the SectionCutFace to the Section Plane but the original enclosed block turns up in render.
- My build is Mac , Sketchup 2014 Pro , Vray 2 .
I've tried the plugin on a simple cube and it doesn't render the half cut as well ... is there anything I'm doing wrong or is it version incompatibility ?
Section Cut Face

Vray Render

Looking forward to anyone with some help ?
Many thanks in advance!
-
@jamen
Only a few 3rd party render applications will render section-cuts: yours doesn't - therefore, although the black section-face is inside the box, you don't get to see it in the render.
The solution is to make a copy of your SKP and use a tool like Zorro2 [ http://sketchucation.com/pluginstore?pln=Zorro2 ] to slice the model at the section-plane [make it visible temporarily] - then you can render it and the black section-face will show up, because the rest of the model has been deleted.
Remember to work on a copy because this is a destructive cutting and deletion of much of your model !
-
Indigo has a feature that would render section cuts.
-
@TIG , awesome thanks ! Works like a charm now that I can remove off . Maybe its just me , it is only when you explained above that I finally understood what Zorro really does. I had a hard time looking at the pictures in the tutorial to be honest. but it works now ! thanks!
-
Don`t work under sketchup 2015?
-
@maki84 said:
Don`t work under sketchup 2015?
It works perfectly in SketchUp 2015. What makes you think otherwise?
-
@maki84 said:
Don`t work under sketchup 2015?
Yes it does !
Read and understand its instructions...
Firstly, make sure its Extension is activated.
Next...
Remember that it is context-driven: there is no menu item.
Select [highlight] just one SectionPlane.
Right-click > Context-menu > Choose-Command[s] > Options-Dialog > OK > Result
-
Thanks. I will study it and i'll tell you
-
Yes, it's runs ok!! The pluggin is on Tools menu. Thanks so much.
-
@maki84 said:
Yes, it's runs ok!! The pluggin is on Tools menu. Thanks so much.
For those that come after and might read your post: No, it isn't in the Tools menu. It is found in the Context menu as indicated in the description and instructions for use as well as the reply to you from TIG above your posts. And, being in the Context menu, it only shows up when you right click on a section plane.
-
As Dave says...

SketchUp's native 'Section' tool is found under the Tools menu [or on the appropriate toolbar[s]].
This places a SectionPlane which cuts sections through objects in the current context...
These have no 'faces' at the cut-plane.BUT my 'SectionCutFace' tool only appears when one SectionPlane is selected, and then it appears in the right-click context-menu - no where else. Note how the available commands may vary, e.g. if the SectionPlane already has a SectionCutFace and the Updating option was chosen in this tool's settings dialog...
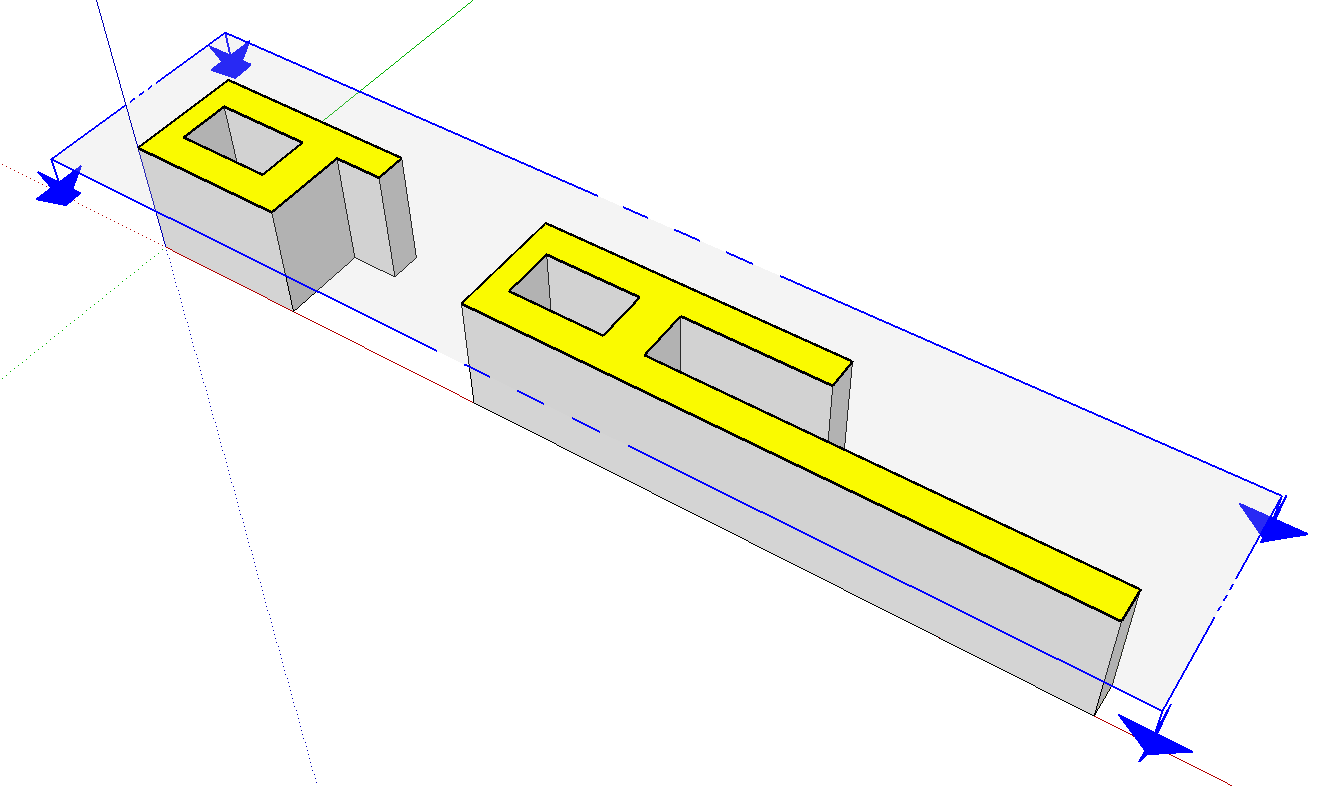
It will add a group of 'faces' at the cut-plane - using the settings you have chosen.
-
I love this plugin. It has revolutionised my Sketchup use! Many thanks. Ed.
-
Hello guys!
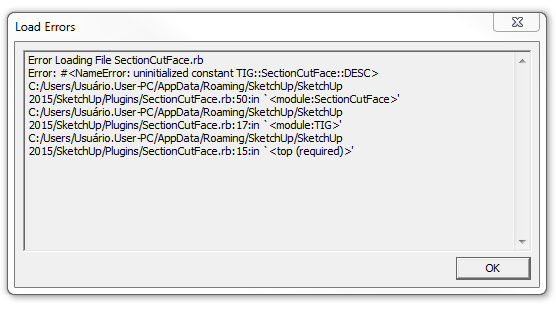
I installed plugin but when I open Sketchup 2015, it shows this message attached
Anyone can help me?

-
hi everyone. i got some problem to install this plugin. actually just wanna ask where to copy this plugin into my sketchup file? thanks
-
@syahreenhishamudin11 said:
hi everyone. i got some problem to install this plugin. actually just wanna ask where to copy this plugin into my sketchup file? thanks
Like all PluginStore entries... it downloads as an RBZ archive.
Use the native SketchUp > Preferences > Extensions - Install... button to install that RBZ.
Once installed this particular tool only appears in the context-menu if you have just one Section-Plane Selected - read its Usage notes... -
Tig... amazing plug in!
But a problem I know has been discussed but I can't find a simple workaround. Simple object, clean geometry and shows as volume in the inspector, but I can not get it to honor the solid to poche the correct area. Any thoughts on how to message it?
Thanks
Dave

-
Hmmm... It works correctly sometimes.

Could you share the SKP?
-
It tries to decide what is solid and what is not.
In your case something about the objects cut throws it off.
It is not God.
It makes mistakes.
However it is easily resolved.
Make the cut as a one-off [i.e. no to 'auto-update'], no to 'hide edges', yes to 'keep all edges', no to 'lock'.
When it makes it incorrectly you can just edit the group, draw over an unfaced edge and it should then get a face.
Paint the new faces with the material eyedropper-ed from nother face.
Select + <delete> on any the unwanted faces.
Hide edges using Erase+shift as desired.
Lock when done if desired.
Advertisement


