EMD SD45 - Union Pacific
-
Wow! Excellent work!

-
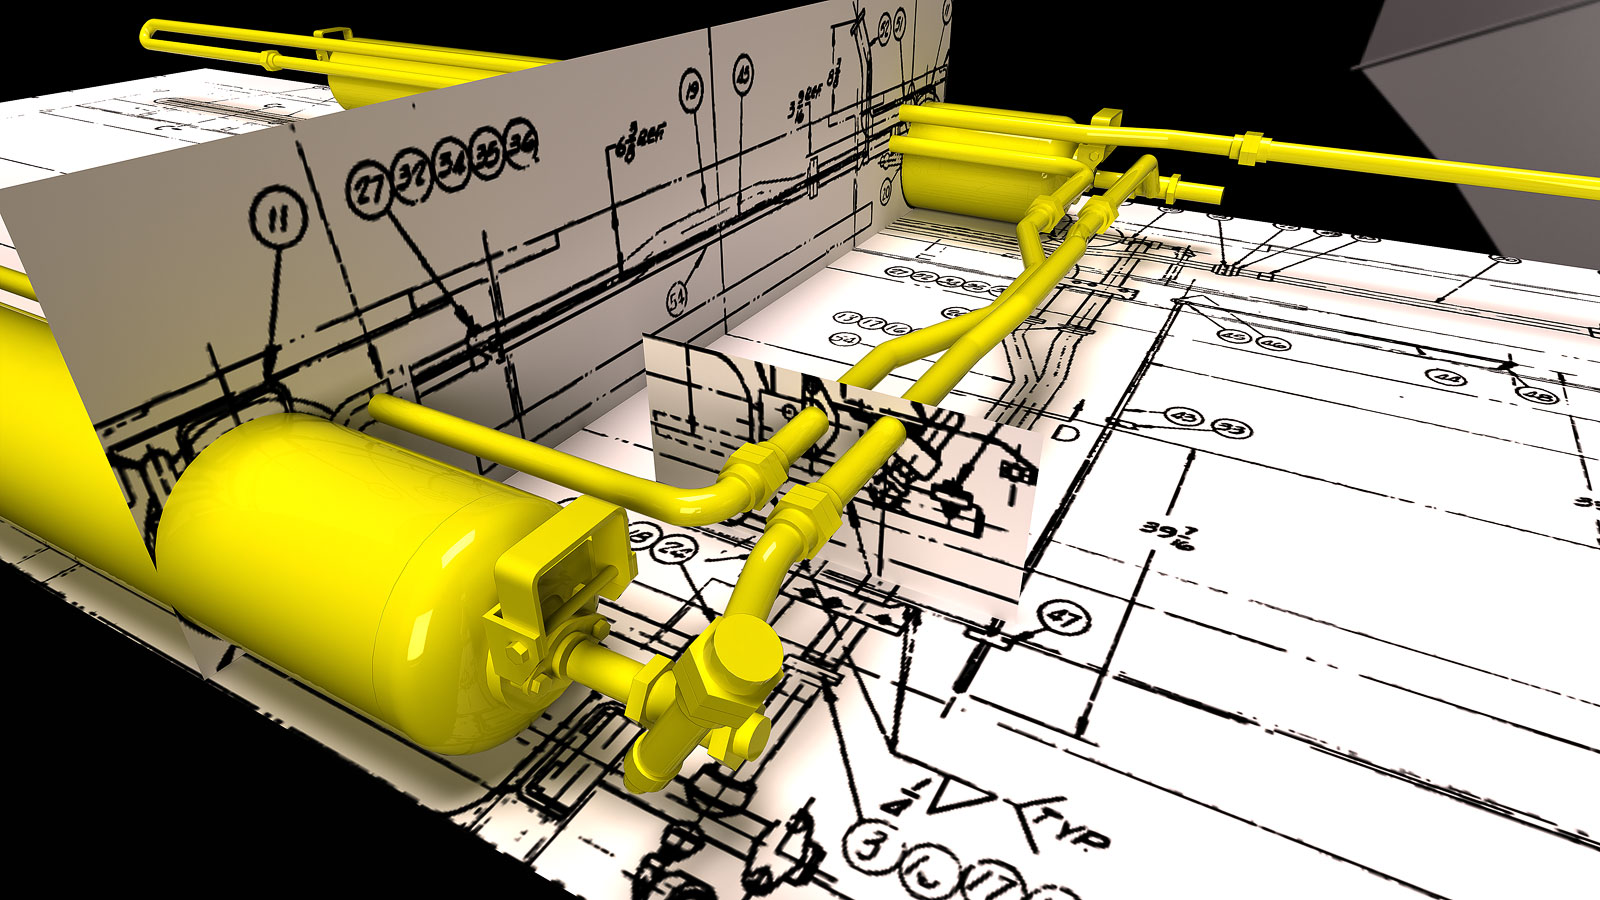
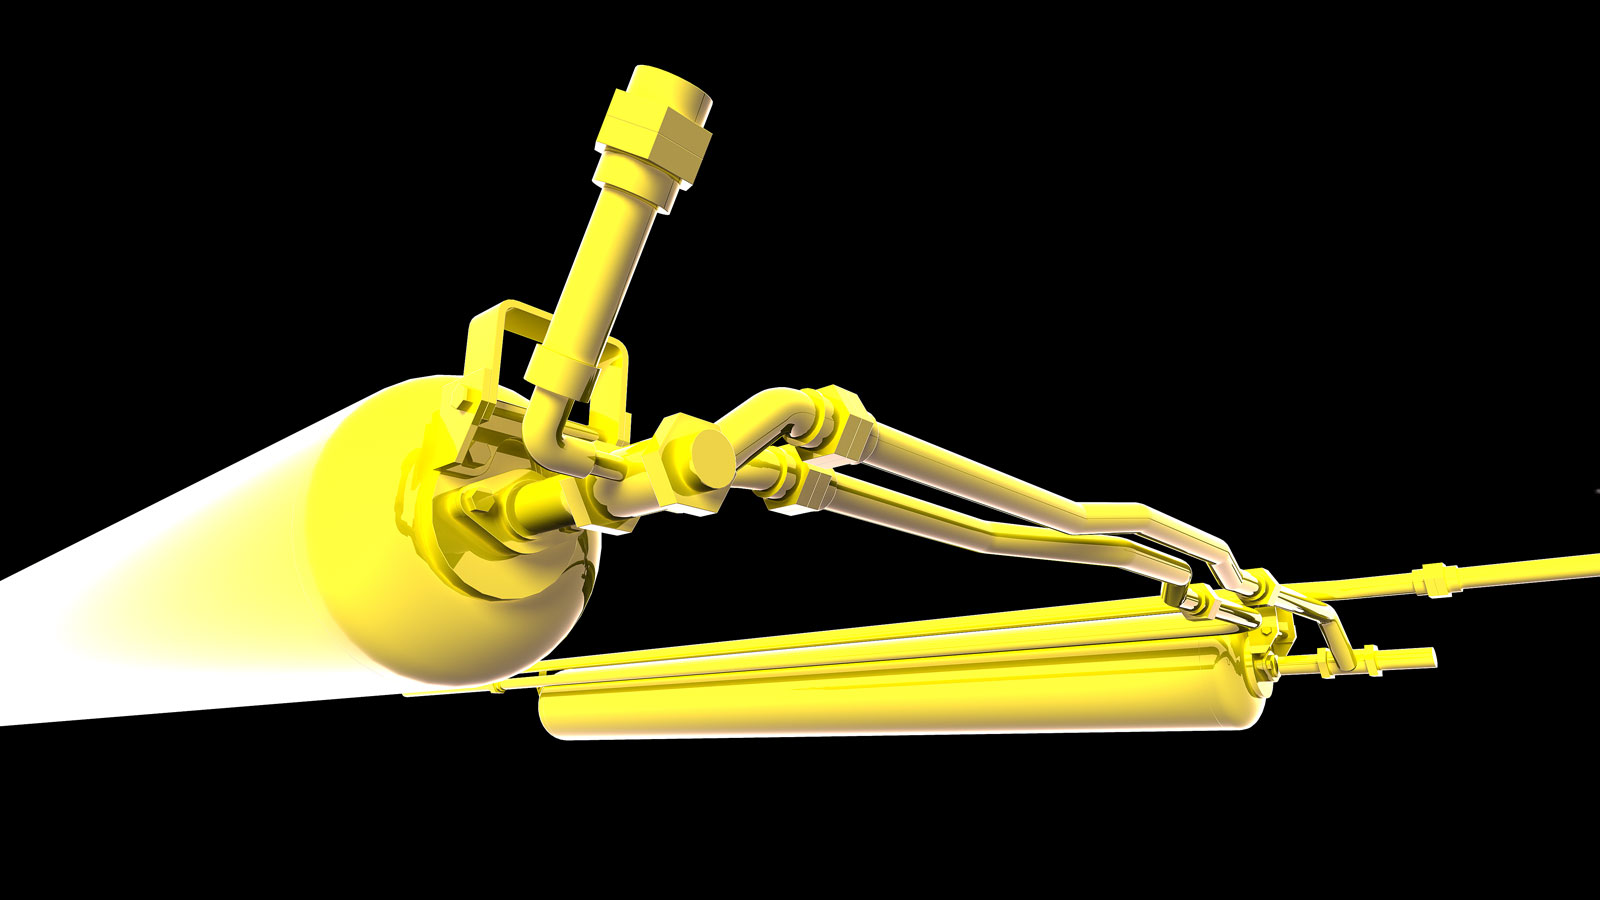
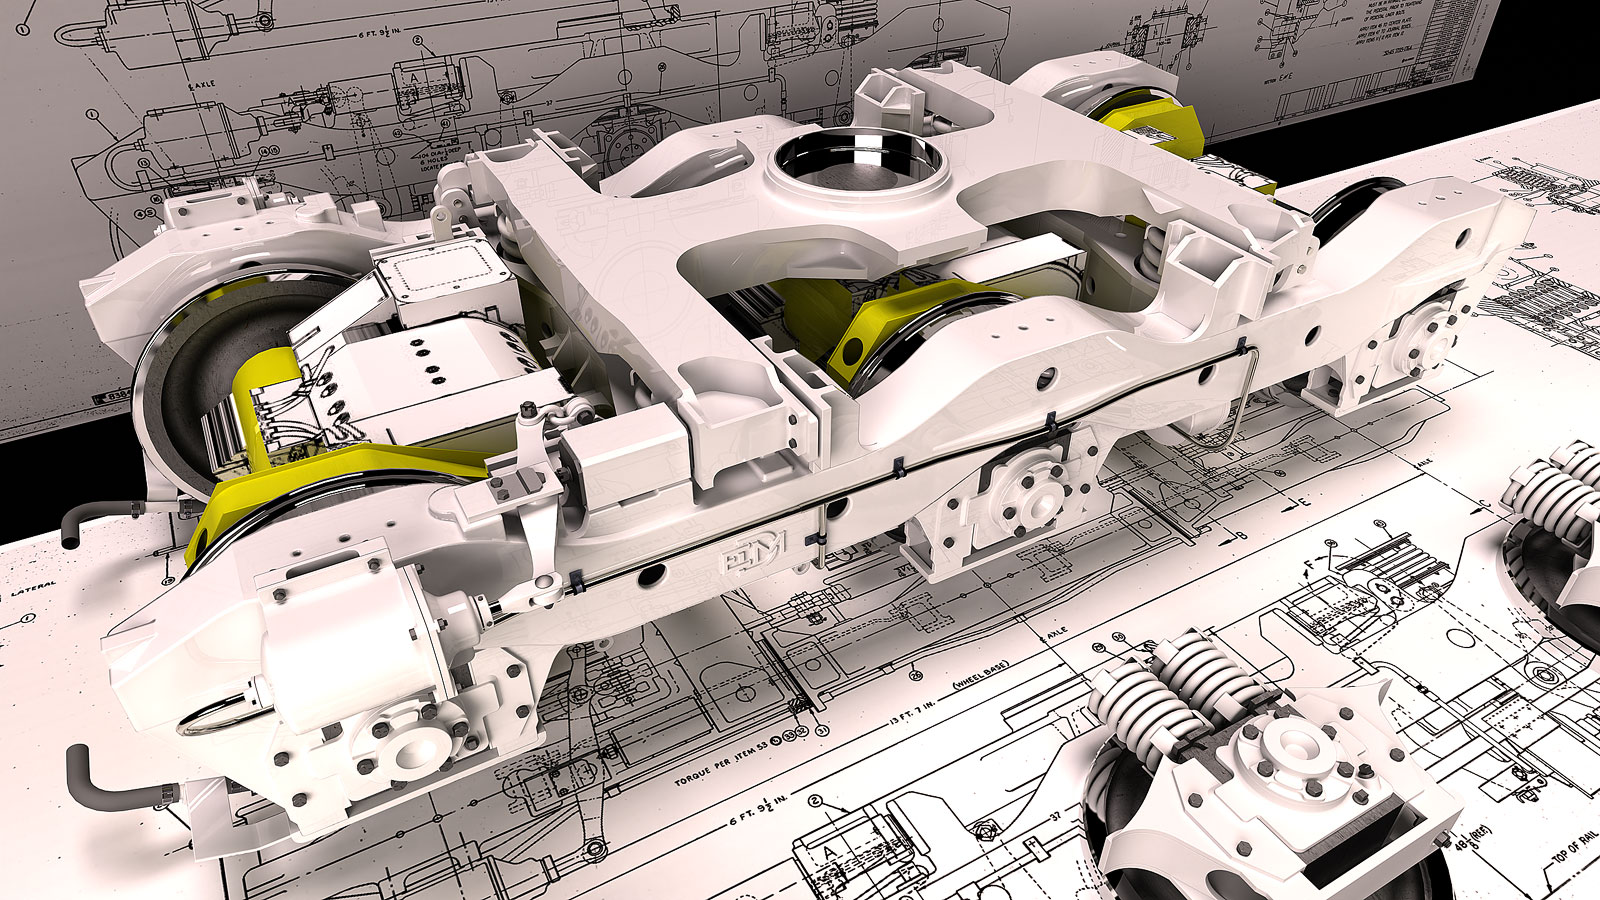
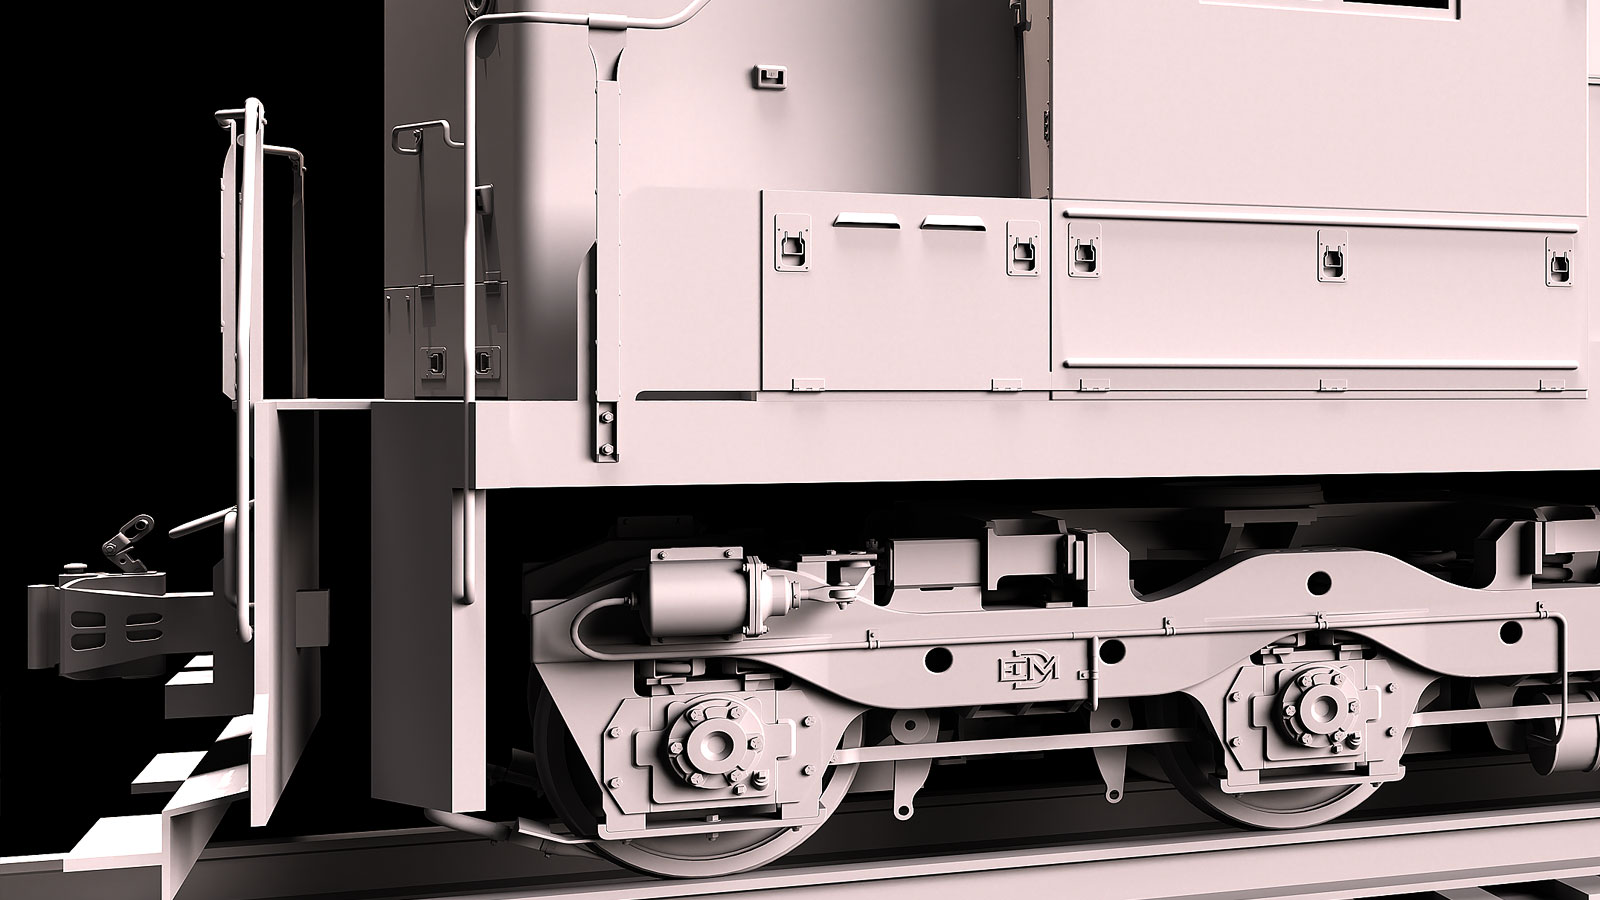
Got the main (air) reservoir and piping laid out and the traction motor blocked in the truck model in addition to adding more detail to the truck. I'm searching for a couple of more details for the brake lever below that connect to the brake shoes.
The pipe fitting are fictional and just comprised of a couple of circles one of which is a six sided hexagon.
-
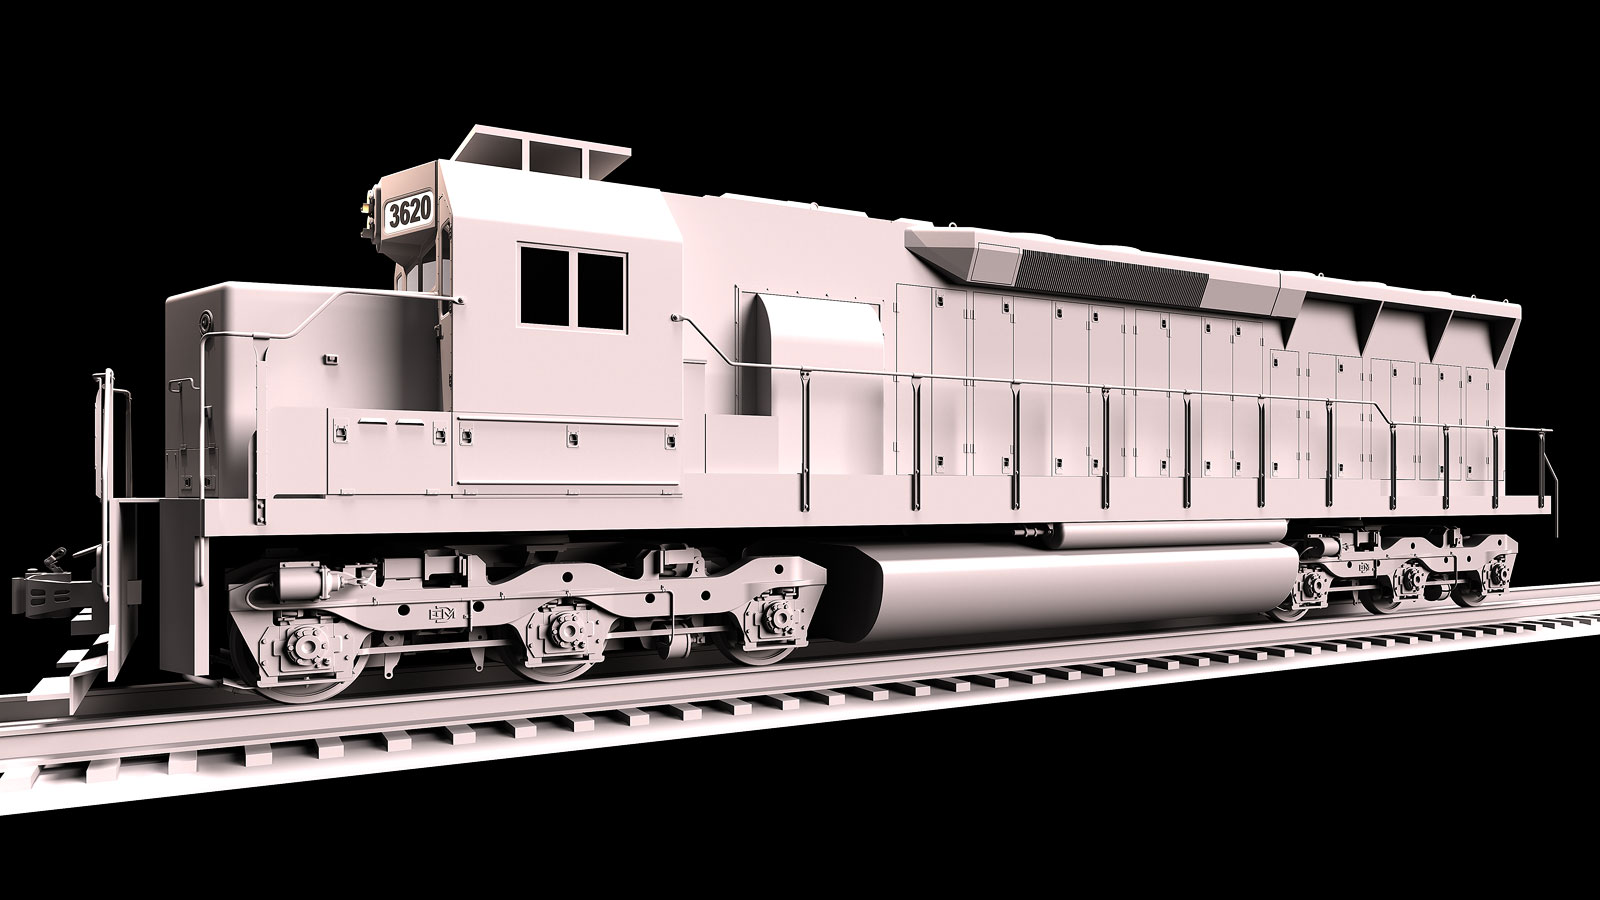
Clay model of the entire locomotive with everything so far. The two point perspective views seems to distort the wheels.
-
Top notch work!

-
I judge this type of topc by the "Does it look 'solid' and 'right'", this has all that. It IS the subject rather than just looking like it.


-
Thanks Mike and Bryan.
This is a tough one filled with many intricate details. Fortunately they're mostly at right angles. I can't believe the amount of steel they put in these locomotives. They're monsters.
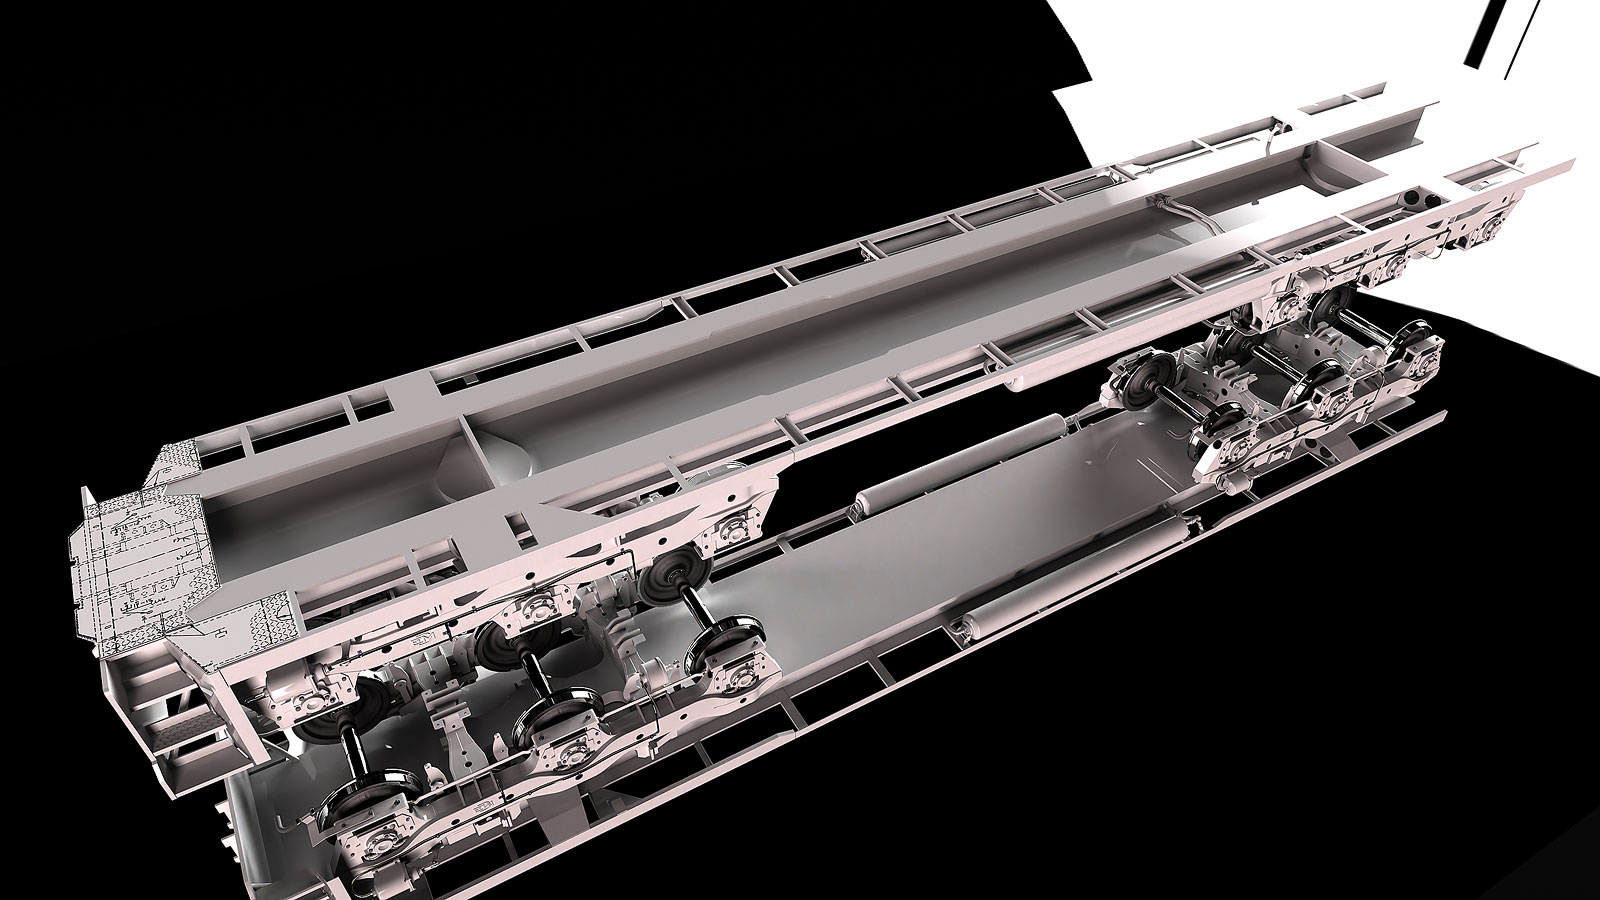
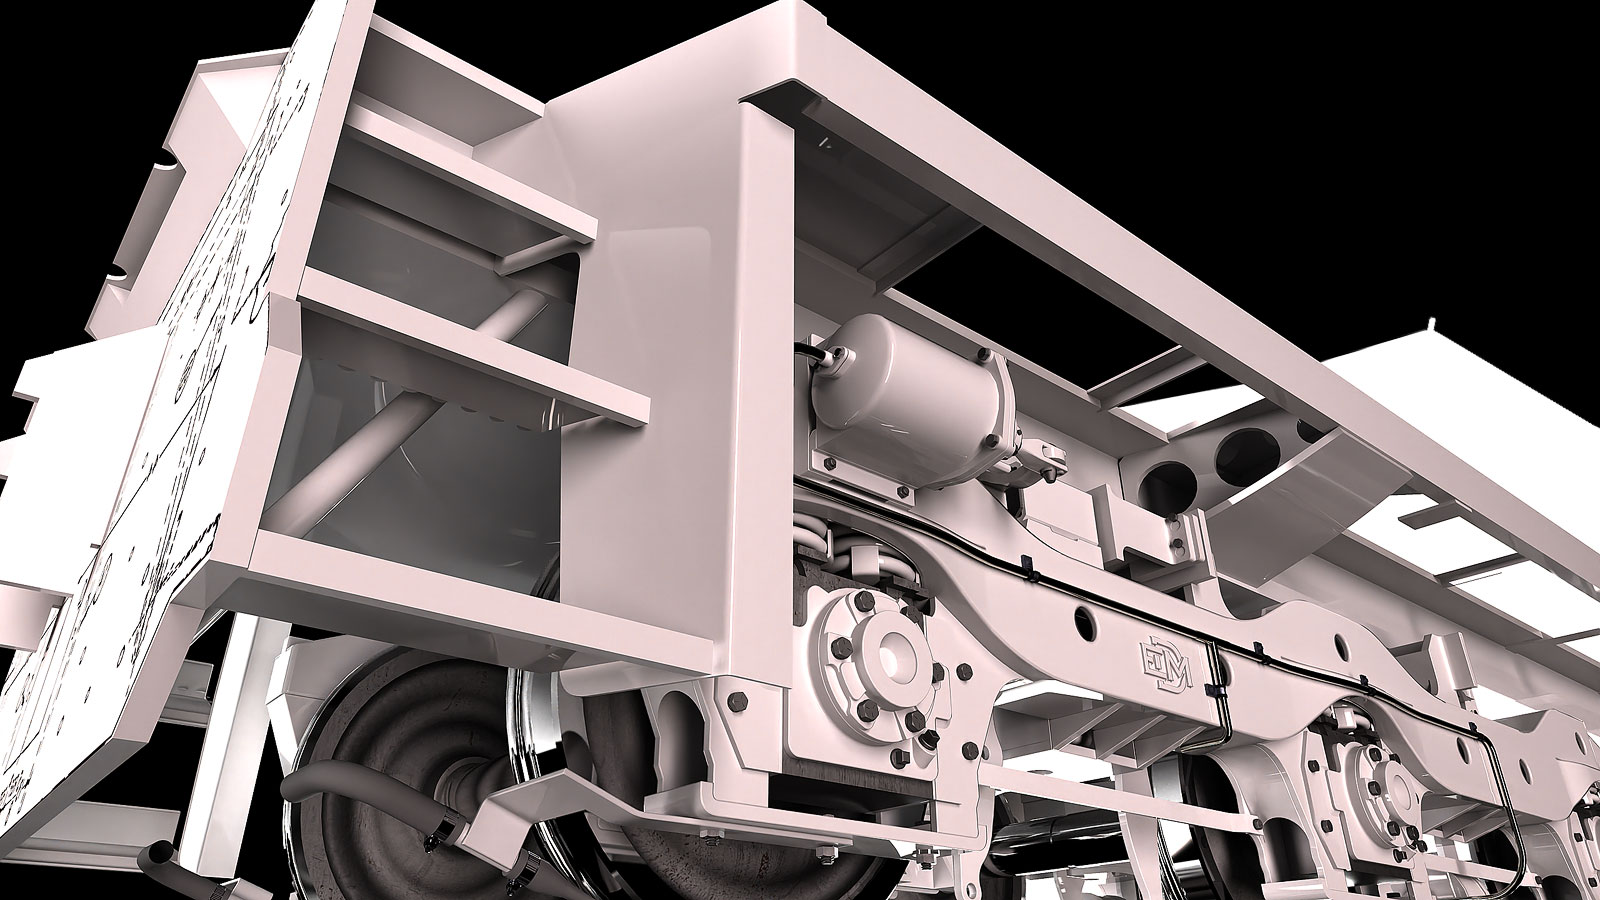
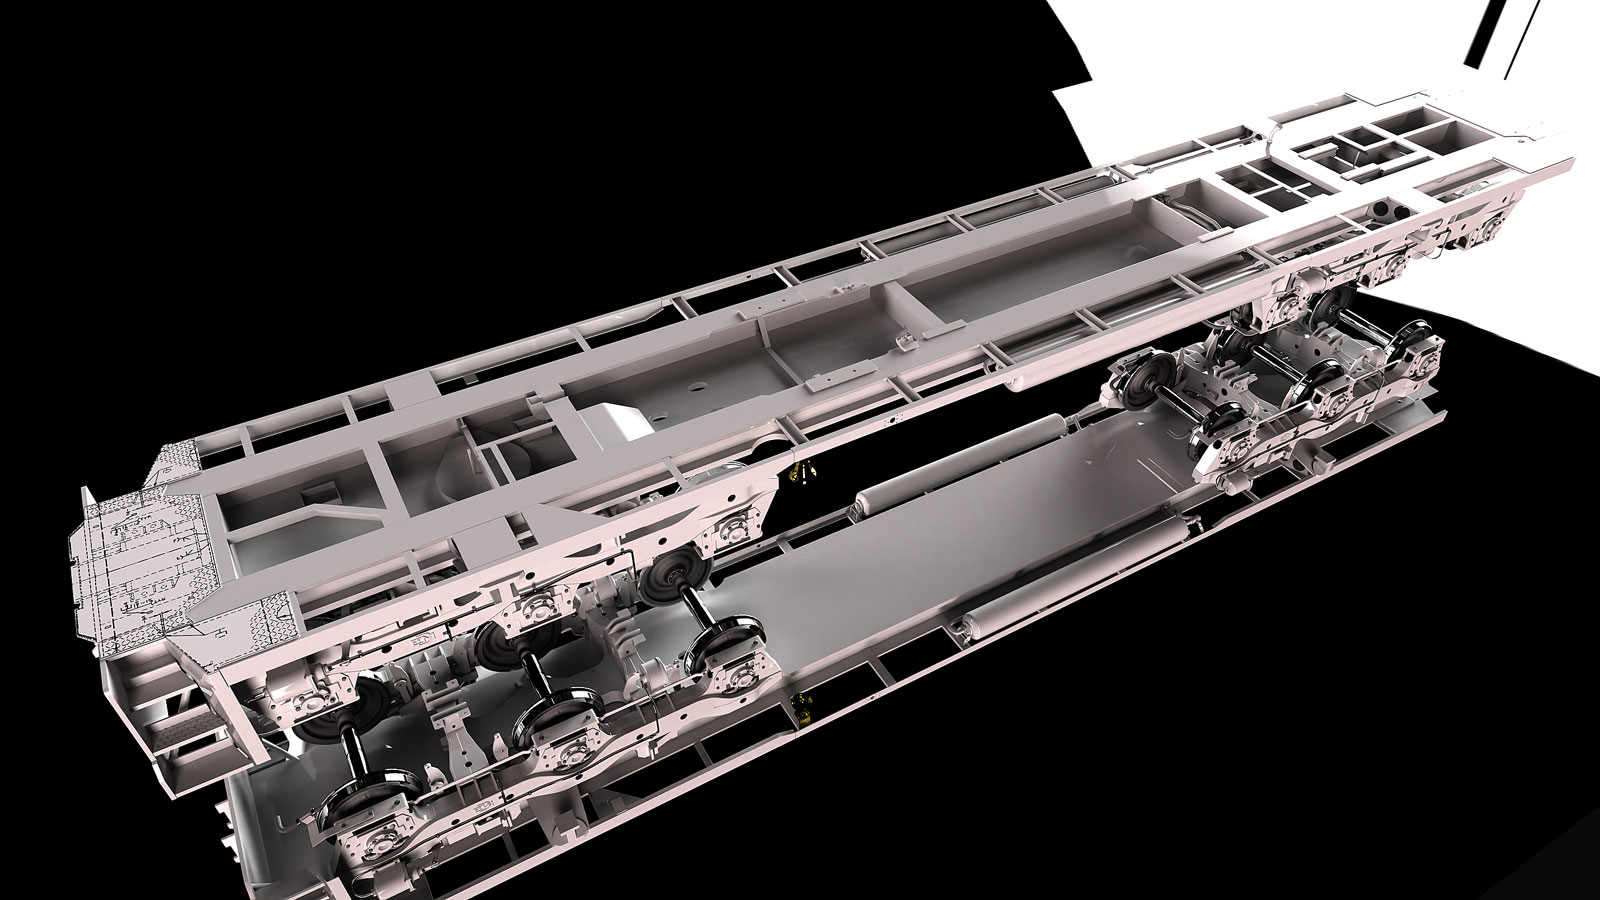
This is the underframe. Can't get too carried away since there's plenty more down there. Had to adjust the trucks and the main reservoirs to line up right. Most everything is either dimensioned or traced which is within less than an inch.
I did a lot of structural drafting and design in the past so that helps. For anyone aspiring to do this kind of work learn about how it's built whether it's furniture or a locomotive. Or a house.
-
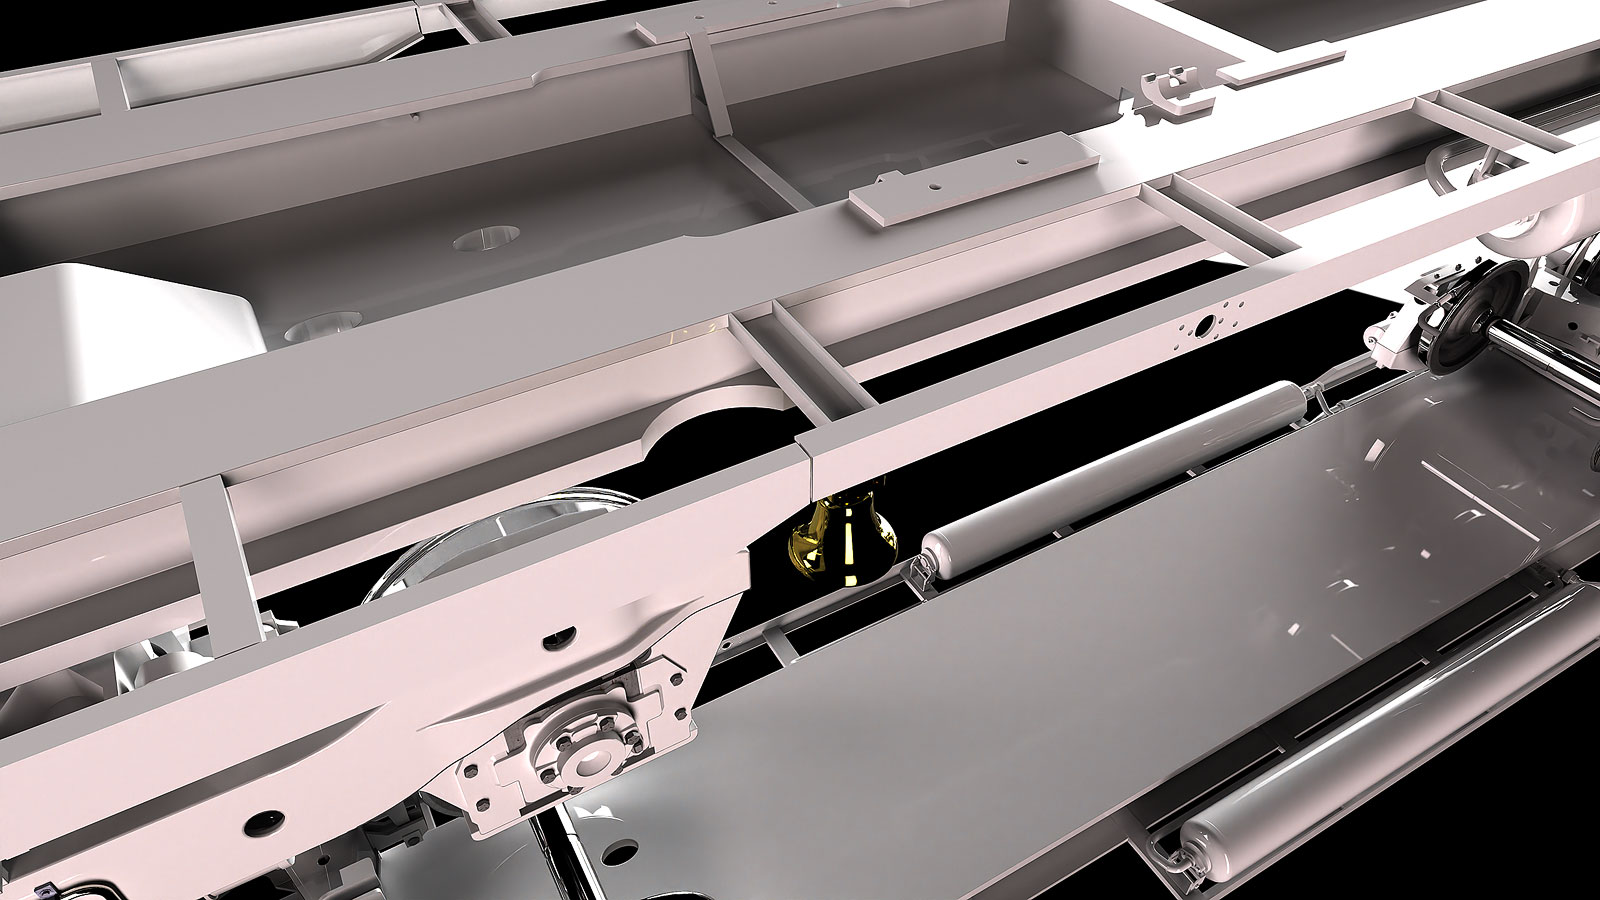
Added more bells and whistles to the underframe. A lot of this is like ductwork or metal shop in high school. It's tedious but tedious is what creates good detailing. You just work through it.
Surprisingly there isn't much underneath the underframe.
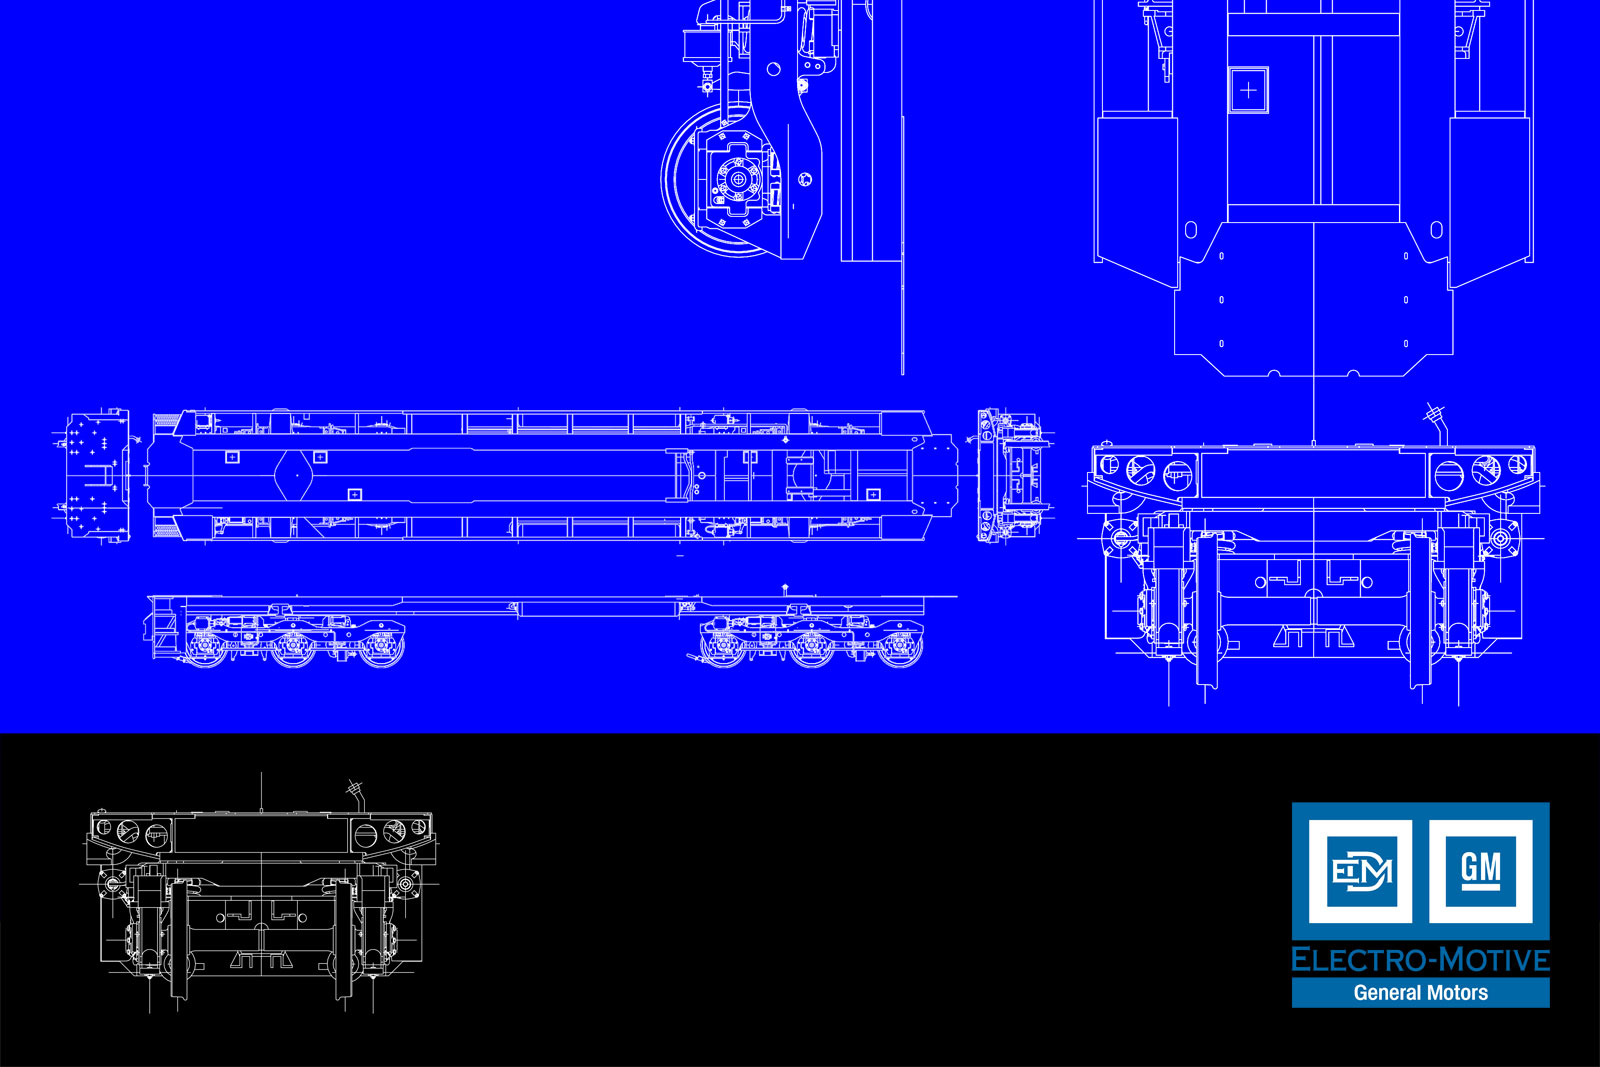
I also did a little graphic poster. The linework is just a dwg export that I printed to a PDF and tweaked it in Photoshop.
-
Its look great, looks like you are having alot of fun, really nice to work with such detailed plans!
-
Thanks axeonalias. I do enjoy myself doing this. Sometimes it borders on an obsession while being a challenge to figure out the plans without spending weeks on one part.
I'm still amazed at the weight of these locomotives. The SD-45 weighs 368,000 pounds.
-
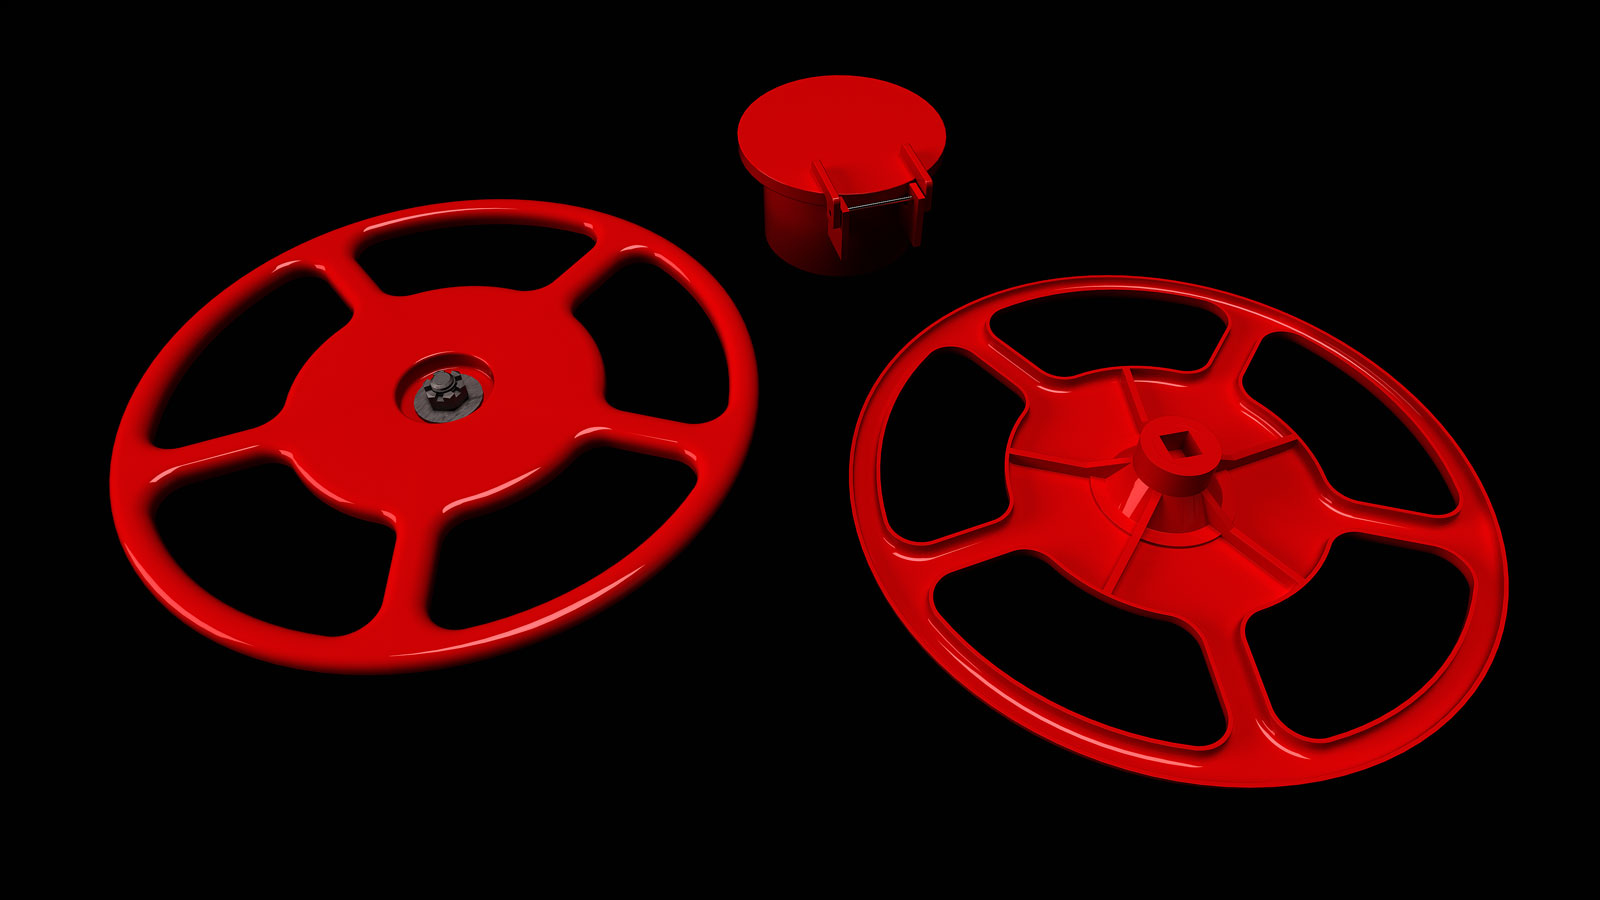
A hand brake wheel and a sand filler cap. The wheel is comprised of 5 radial components except for the lug which is just a group. Sand is used for traction on railroad.
-
This is crazy.... Wow!
-
Thanks Majid. I managed to reduce that wheel from a 1.2 MB component to 146 KB. Laid it out at first in Autocad which imports with 100 segment circles. The Former component was made up of 5 identical components. With fewer segments and making it out of 10 identical components I cut it down to size.
-


-
I've been working on the railroad!
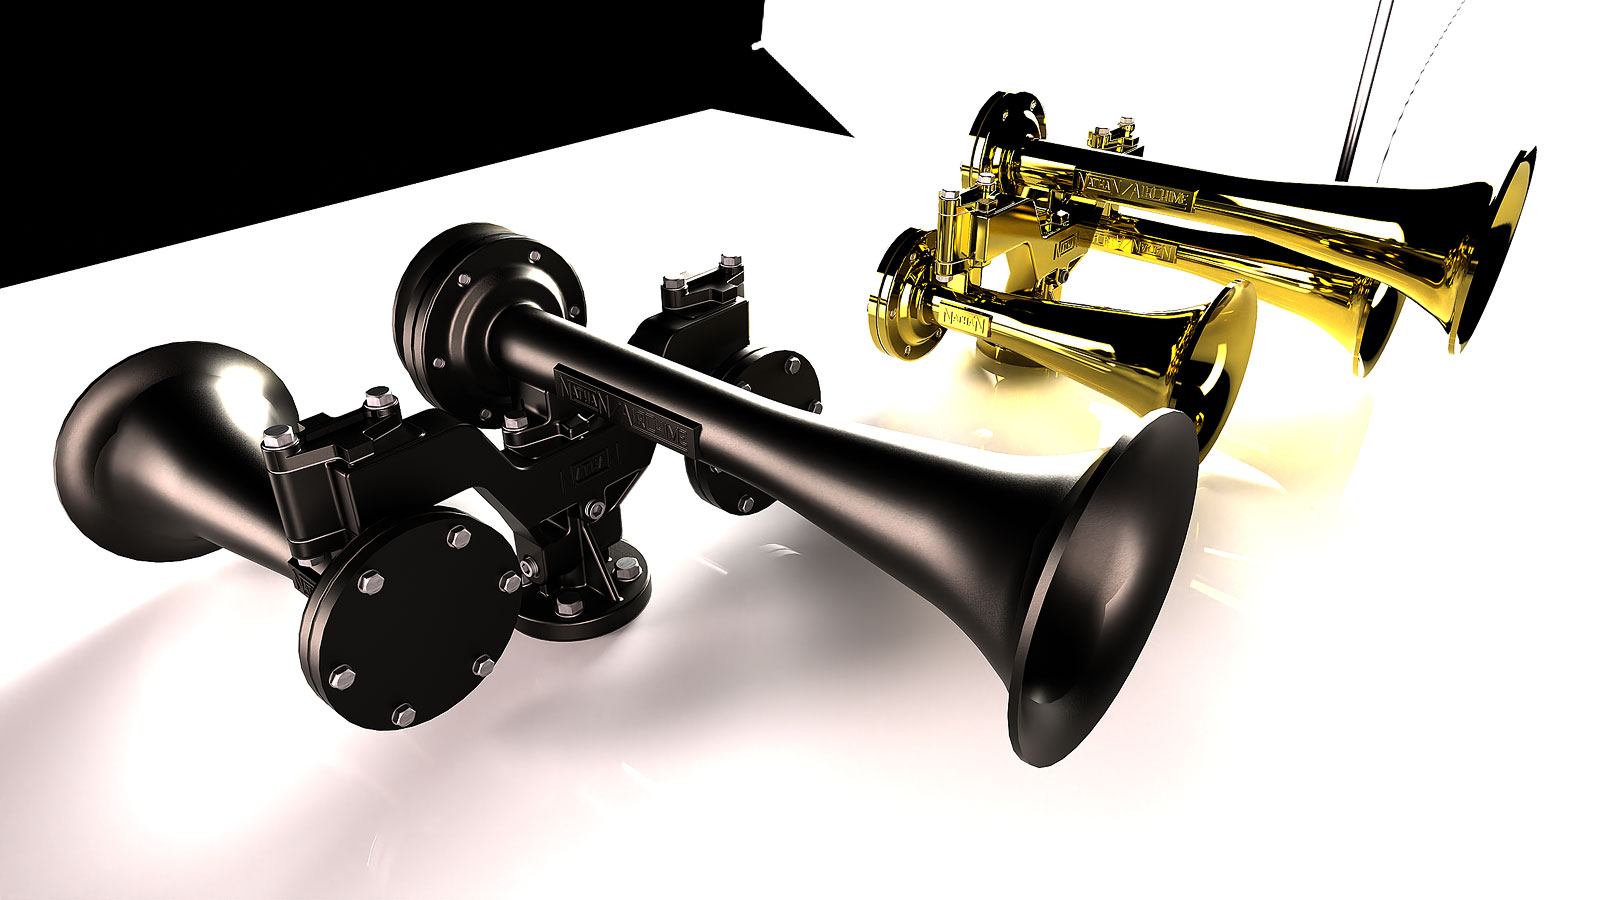
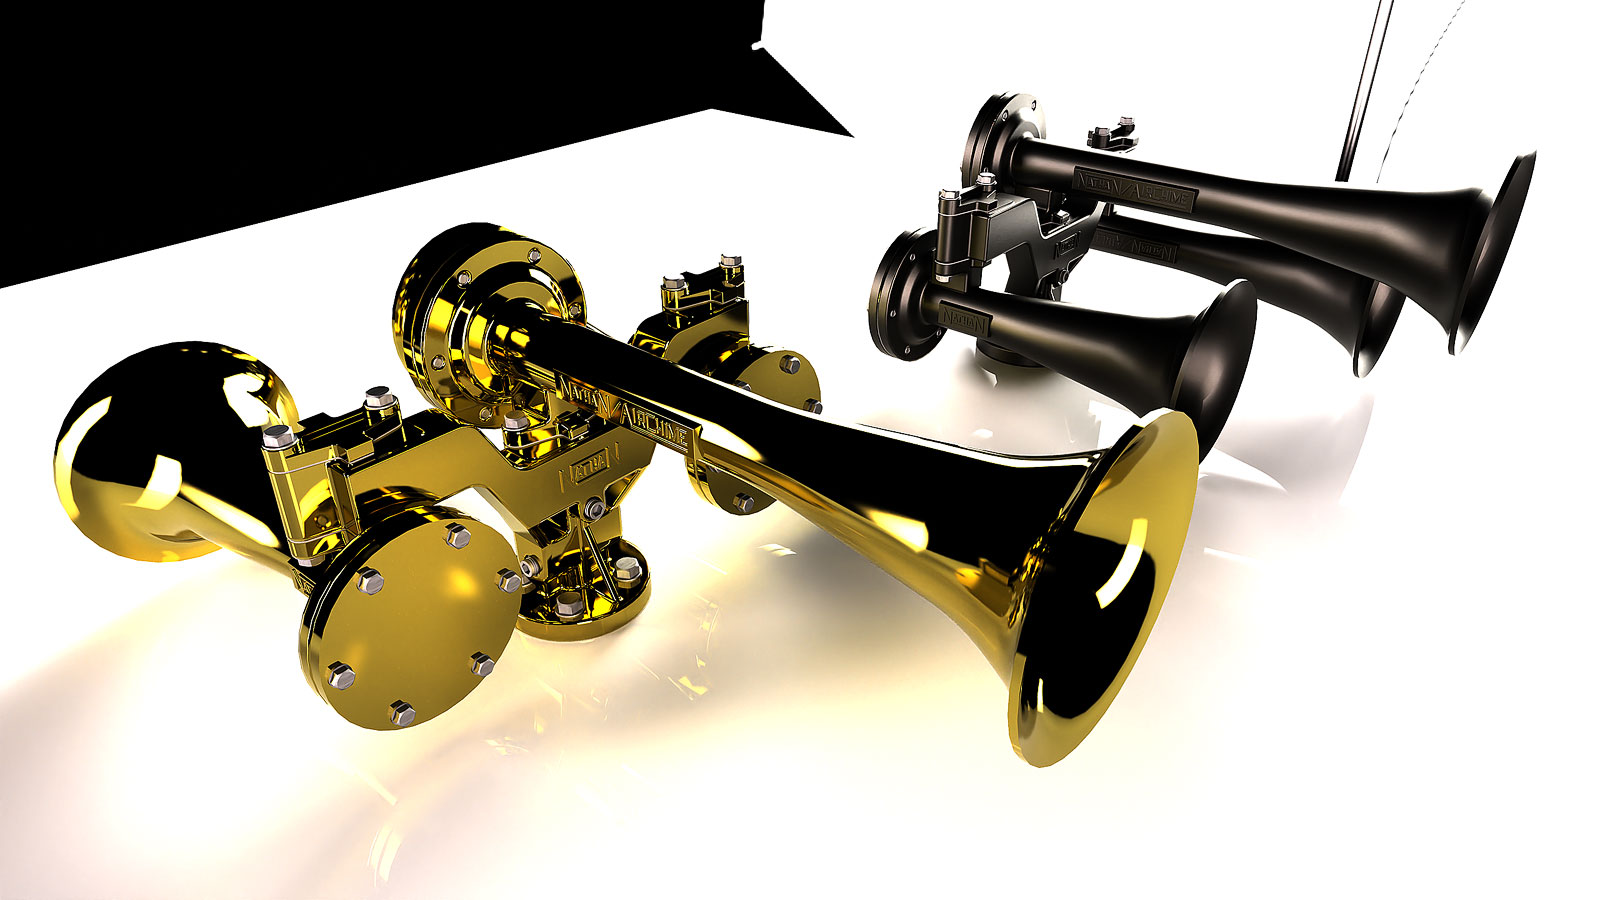
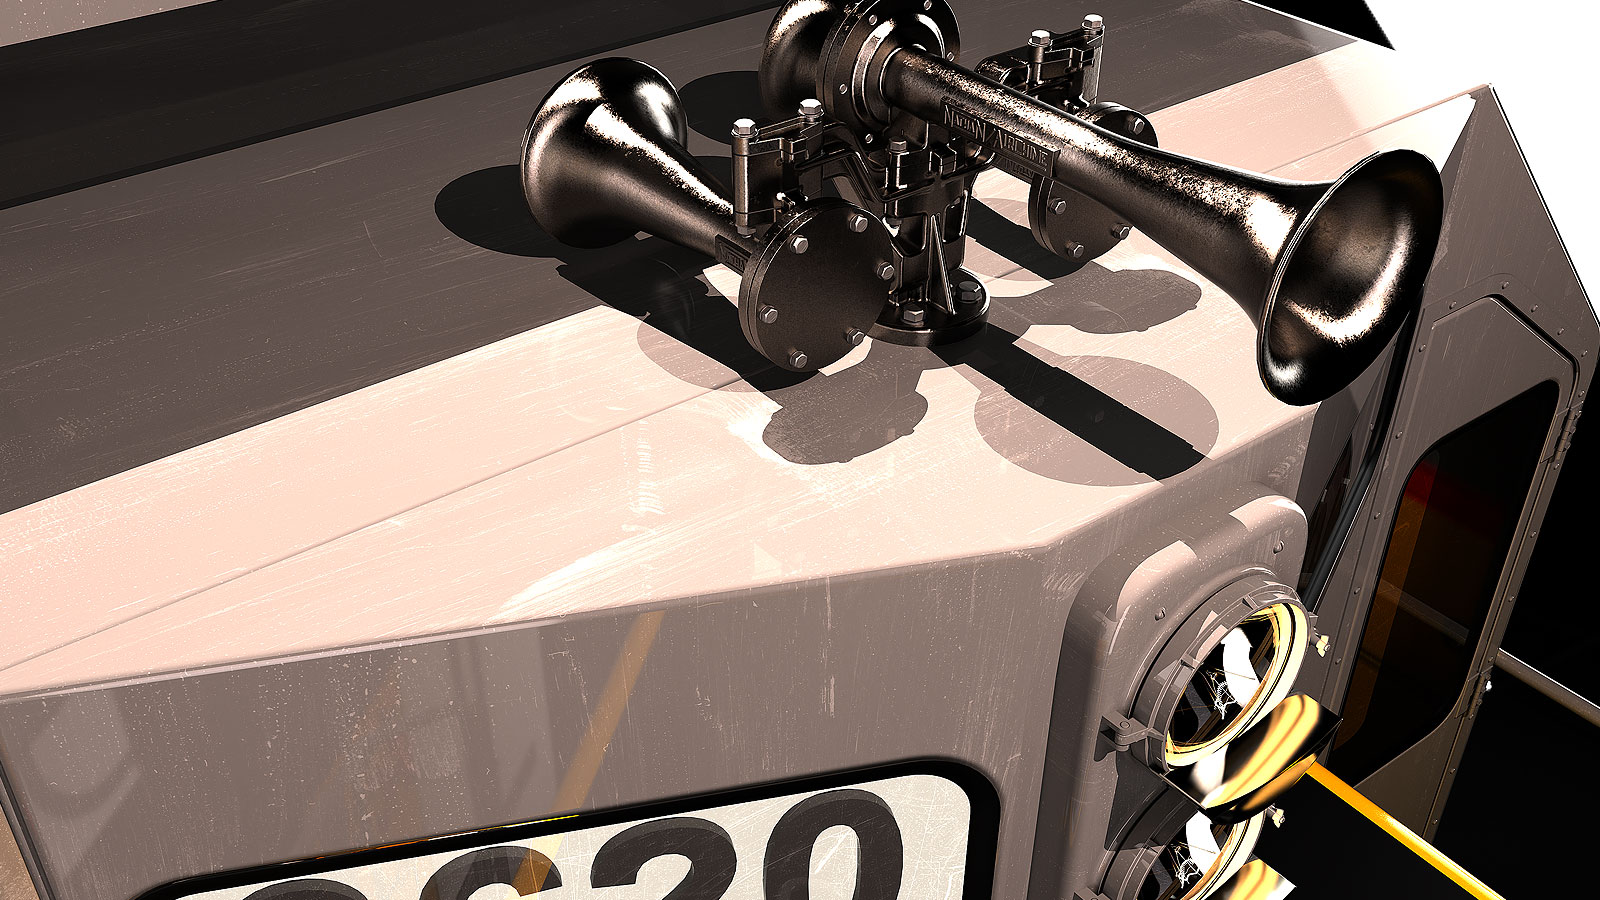
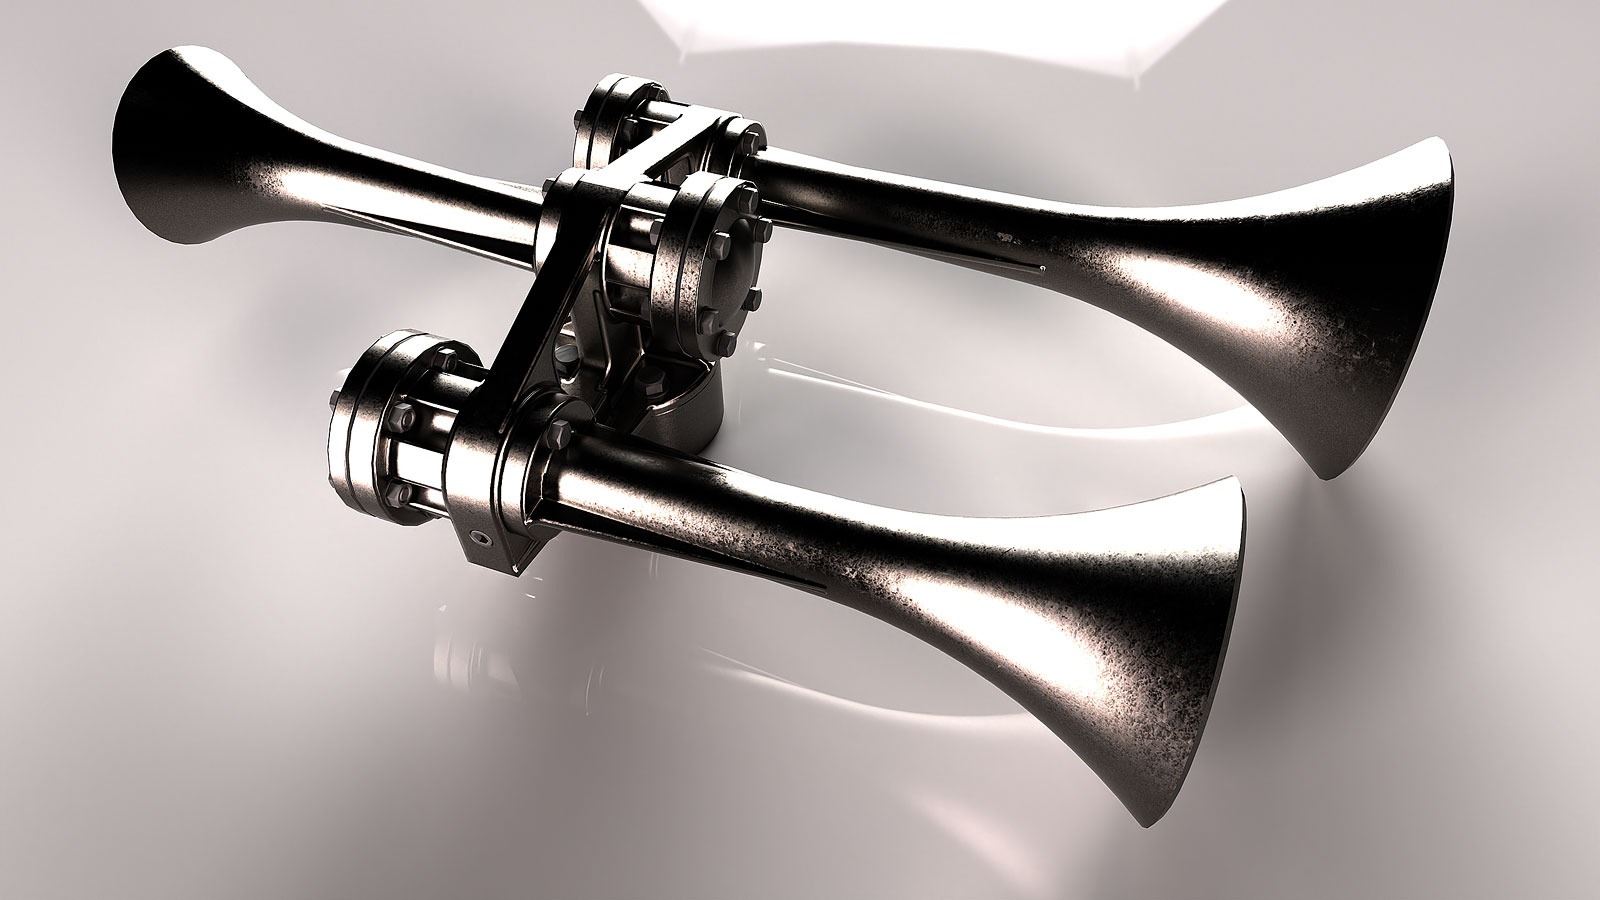
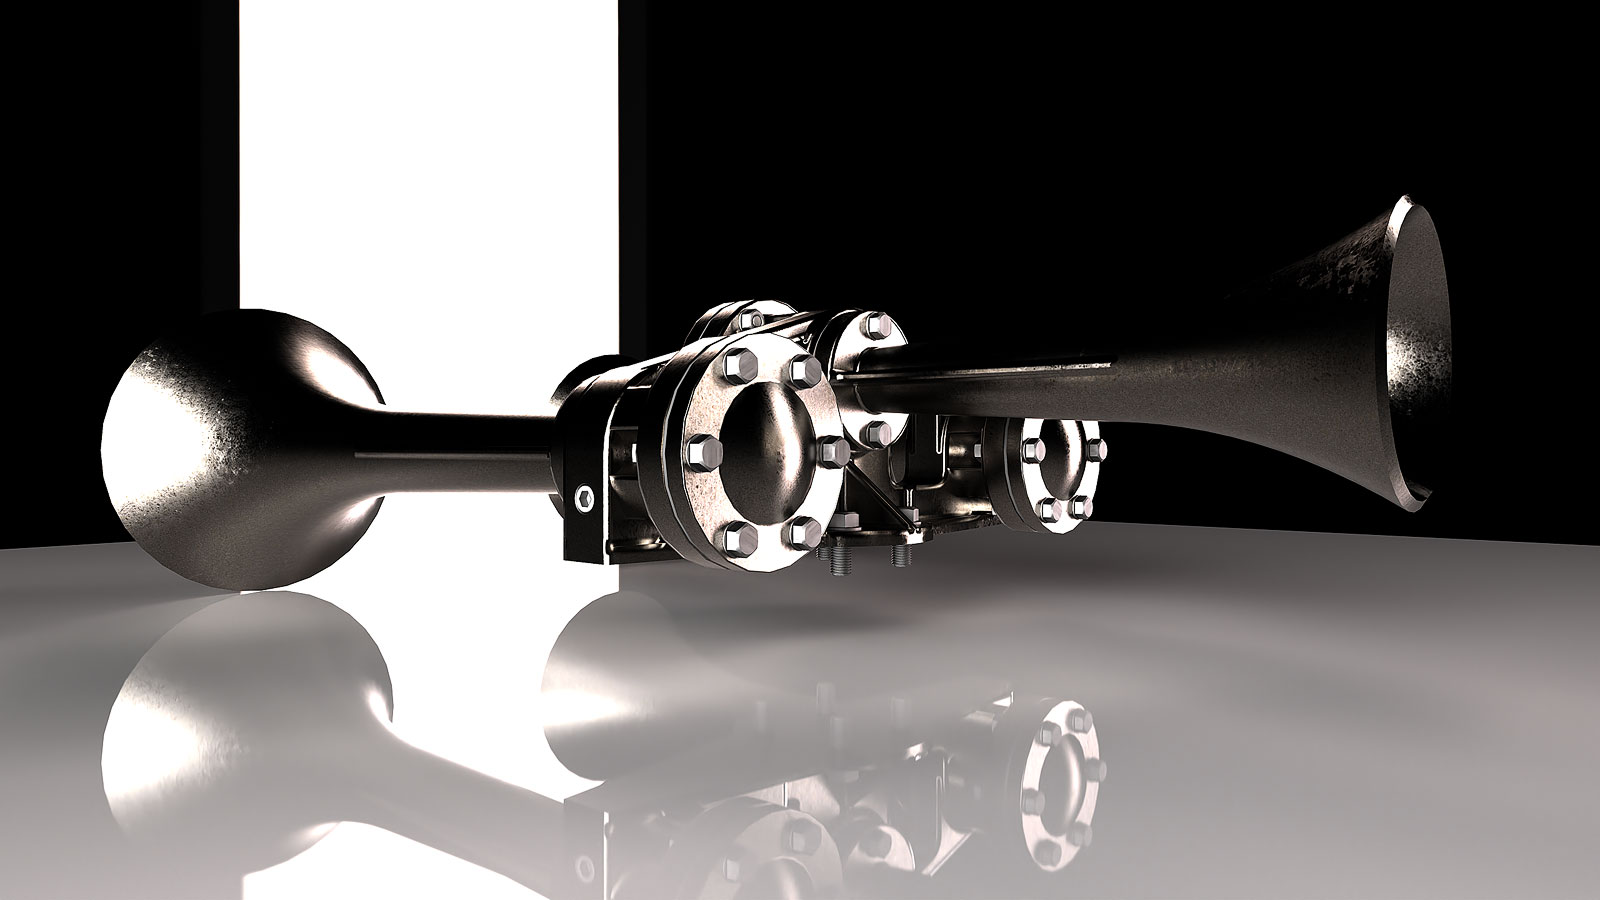
So, back to the SD45. I haven't nailed down the exact horn used by this number and at first I thought it might be the Nathan Chimes P3 but I think it might be a Prime Manufacturing 920. It can also be a Leslie. I started off with the P3 so I thought I'd soldier through it and possibly beyond what's needed for an overall locomotive model. No plans were available so I had to eyeball it with images of the P3 which required a deep search on the internet.
The mounting bracket was a little complicated.
-
Wow!

-
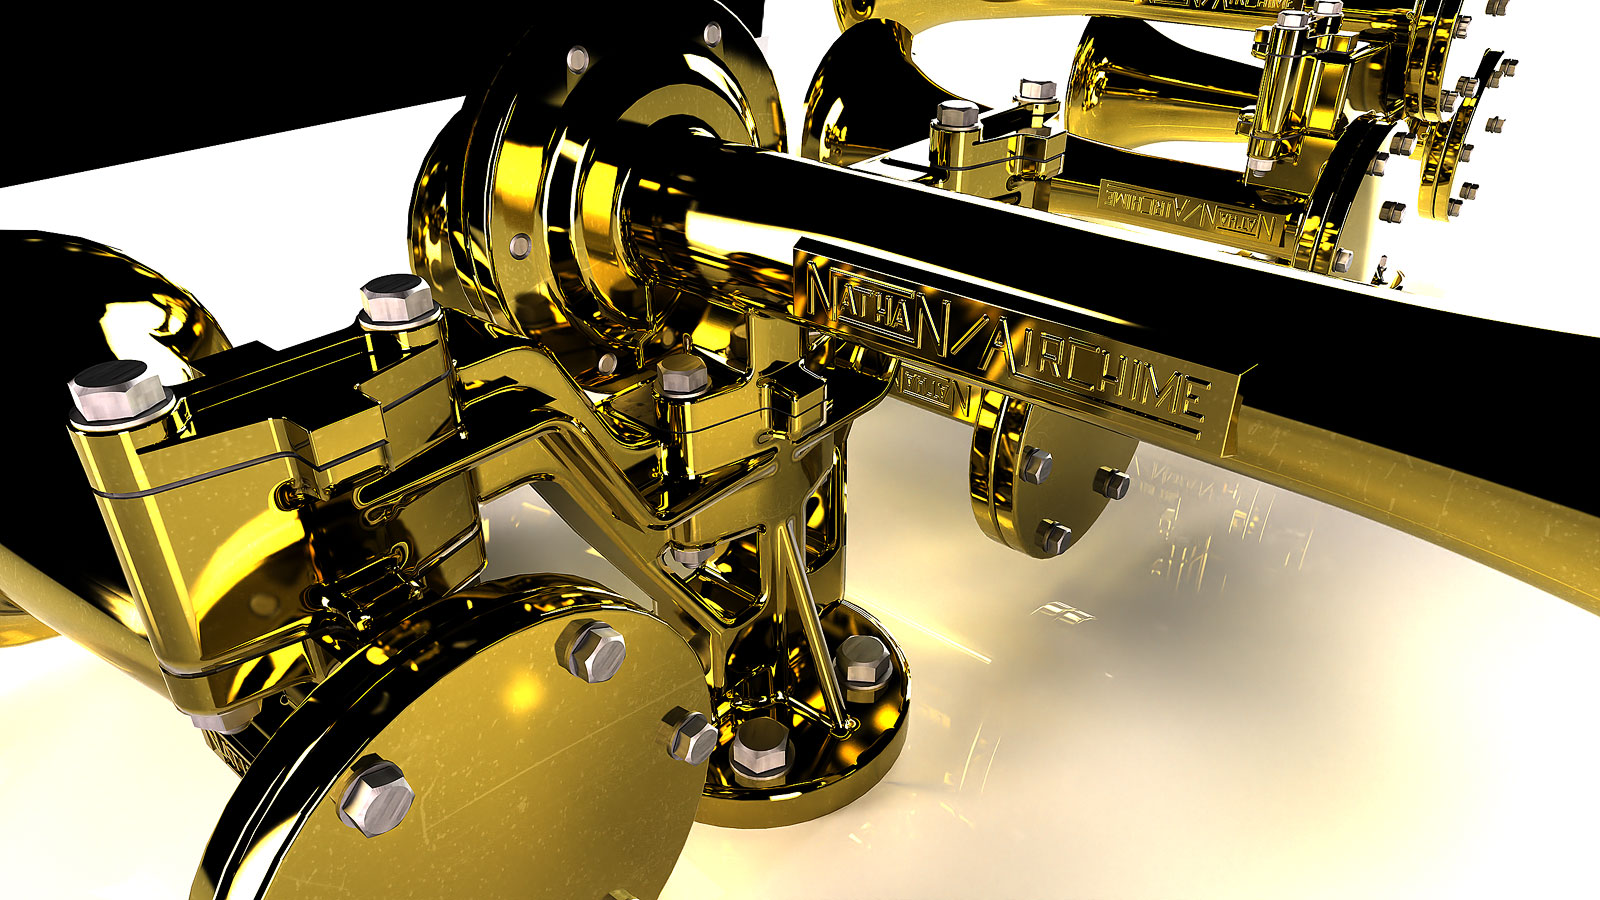
Thanks Bryan. It looks more like a polished trumpet right now but that's the fun of rendering. The material is Brushed Brass Metal Texture from Poliigon. I added the scratches in a material layer which if from 4K Imperfections.
I had some of the parts pointing in the wrong direction and fixed that since. It's too detailed to include in the final SD45 model or maybe not since I can always create a Thea proxy. I did the line work for the Nathan logos in Autocad. It wasn't that difficult since it's all straight lines. I'm able to reduce the amount of linework in SU by using Thea's bevel.
Now I'm thinking about modeling a trumpet.
-
-
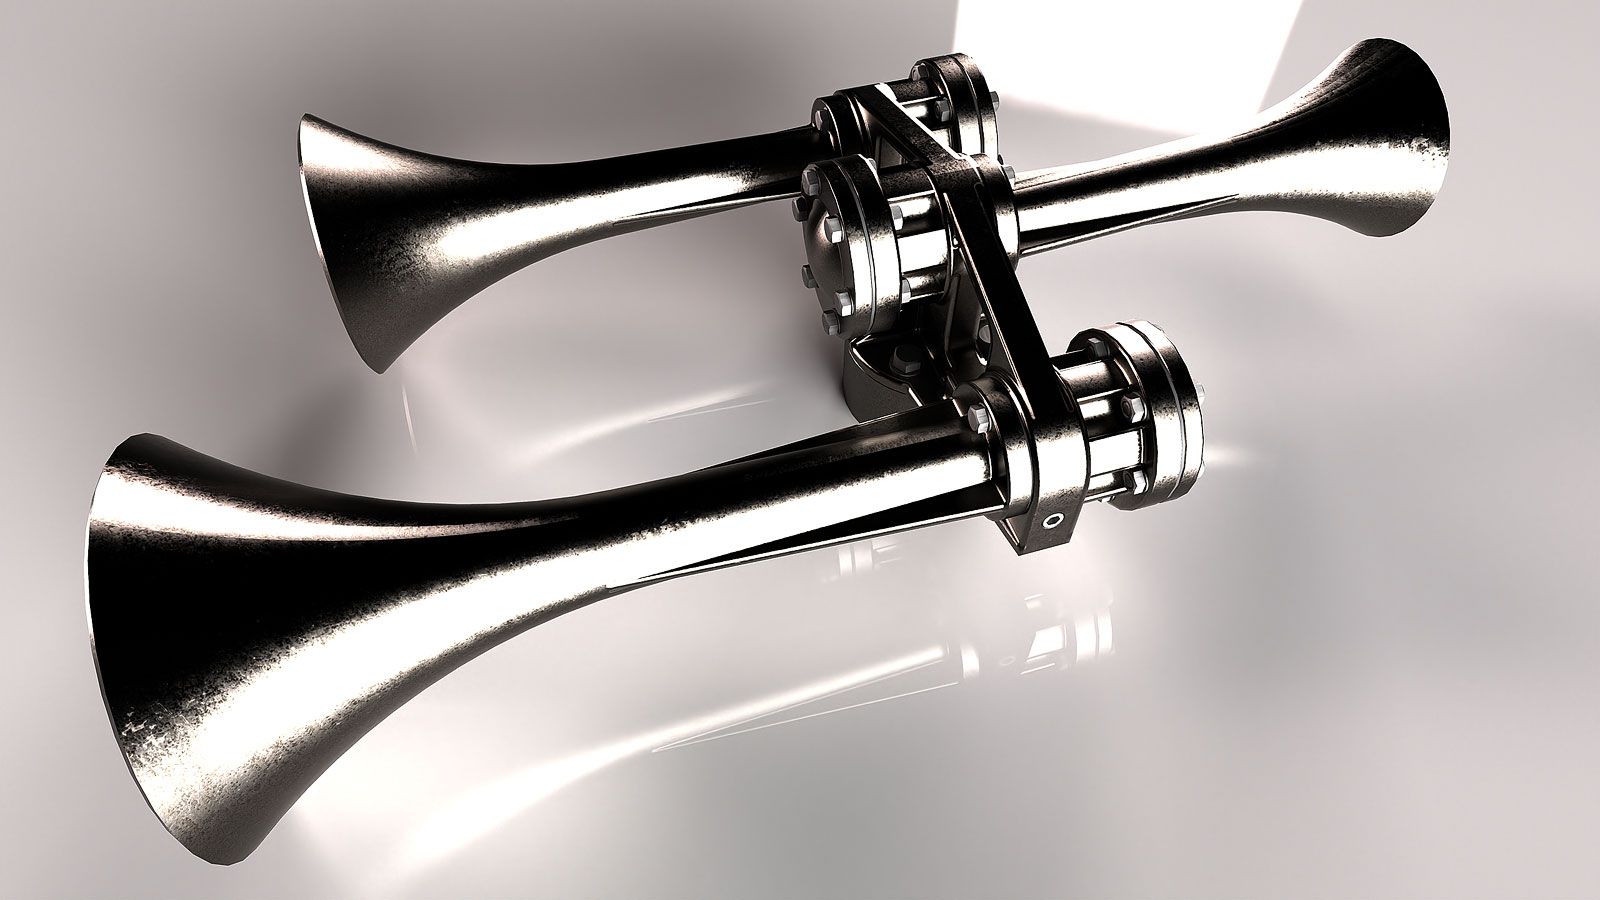
Here's the Prime Manufacturing 920. It's a copy of the Leslie S-3L. It was a lot easier to model than the Nathan P3. The material is "Cast Iron Texture, Raw" from Poliigon.
-
This stuff blows my mind. I need to set my level back to beginner.

-
Thanks Dave. Practice, practice, practice. I think in this particular case it helps to be able to visualize distances and think proportionally such as if something is 20 inches long you estimate other parts of an object which may have a diameter of 1 inch. Then if that looks wrong try 1.25 inches, etc. I know in the case of design it's also good to step away from the computer and think about how you'll tackle a project while lying in bed.
Advertisement


