Medeek Wall Plugin
-
I'm not actually drawing the blocks just applying a material/texture to the solid wall group to make it appear that way. With this being said some of the finer points with regards to block wall construction can be safely ignored, at least for now.
-
Version 0.8.9b - 07.25.2018
- Stud/Wall Depth and Width parameters added to the Walls tab of the Global Settings.
For CMU walls you will want to disable the standard stud sizes and then specify the wall/stud width (ie. 7.625") with the Walls tab of the global settings. Also set the framing mode to "CMU" if desired.
When creating the walls one would probably turn off the advanced wall options since gypsum, sheathing, trim and cladding are usually not needed for this wall type but if required all of the options are available for this wall type as well.
One additional note to add is that if you are upgrading the plugin and currently using the layers feature you will want to open up the layers tab of the global settings, so as to reinitialize the layers. I've added an additional layer option for CMU block.
-
Version 0.8.9c - 07.26.2018
- Added double, triple and quad casement windows to the window draw and edit modules.
- Resolved a bug in the window and door attribute library modules.
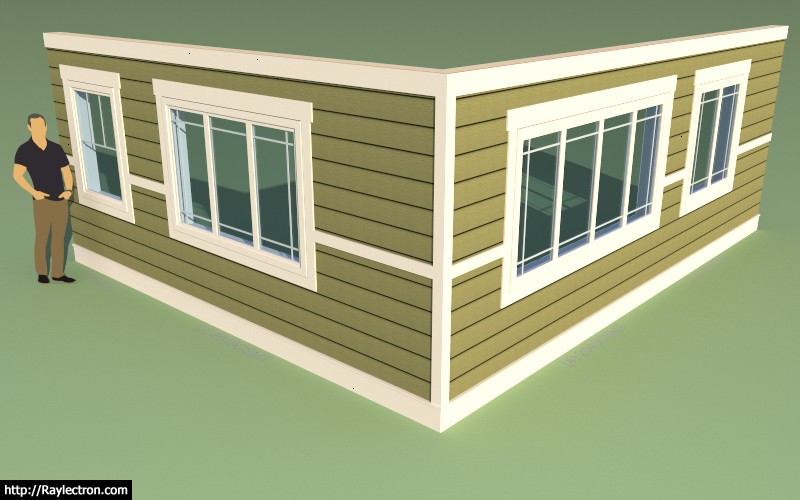
I'm not sure if the callouts are really visible with this image but they are formatted like so:
(3) 2040CSMT (for the 3 lite 6040 window)
This update is per customer request.
View model here:
3D Warehouse
3D Warehouse is a website of searchable, pre-made 3D models that works seamlessly with SketchUp.
(3dwarehouse.sketchup.com)
I've also been thinking quite a bit about integration with other plugins and how I can best facilitate that plugin-to-plugin communication.
My first thought is that the under the hood structure of the wall is actually fully exposed already and can be modified with any other third party plugin. Everything required to build the wall is contained within the attribute library of the wall panel group (outermost container). I will be publishing a specification which delineates each value and position within the attribute library so other plugin authors can easily obtain or set this information as required and have an exact understanding of what each parameter is.
I will also be assembling an API so that another plugin author can cut holes in the walls for openings (windows and doors) and also rebuild the wall panels etc... I'm not exactly sure on all of the details yet but hopefully this will make the plugin more accessible to other plugin authors and allow for better integration.
-
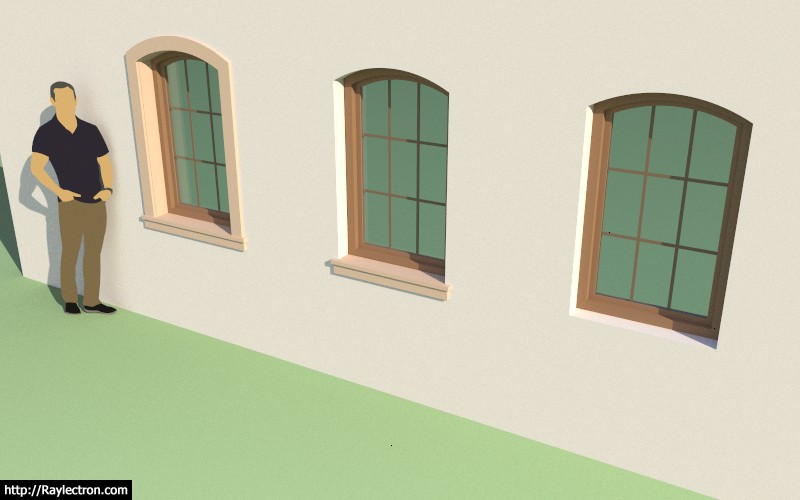
A couple of segmental arches and a quinto acuto and equilateral gothic arch:
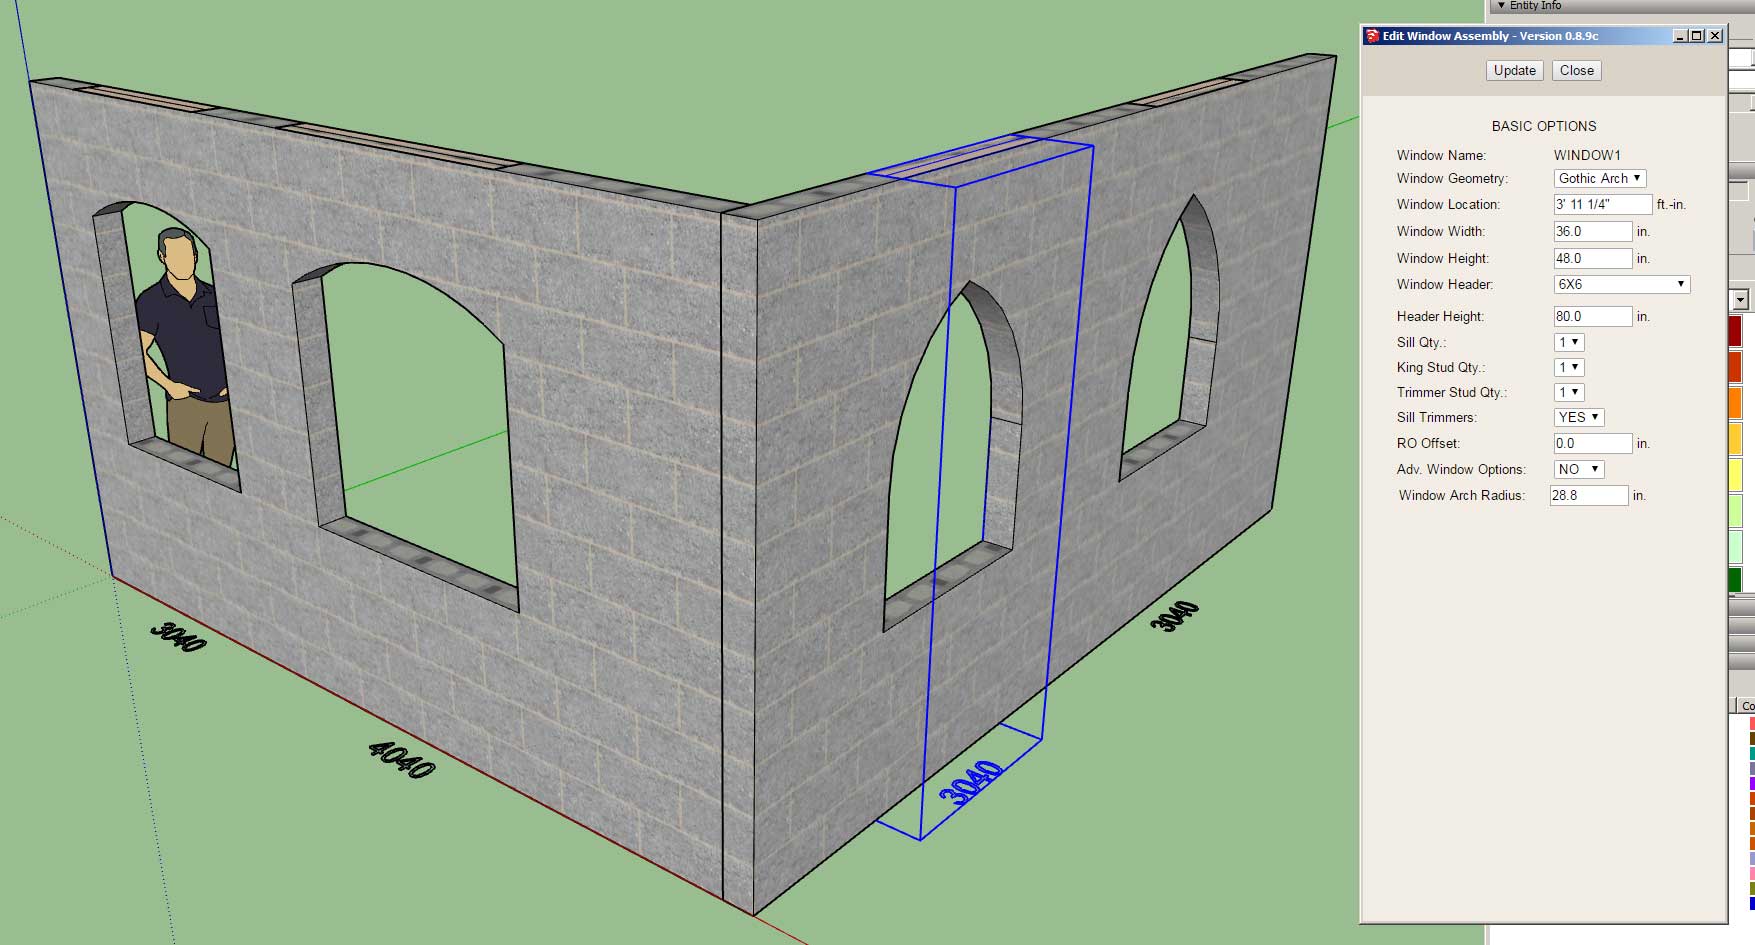
Selecting either an arch or gothic arch geometry will enable the "Window Arch Radius" parameter as shown in the edit window menu above.
-
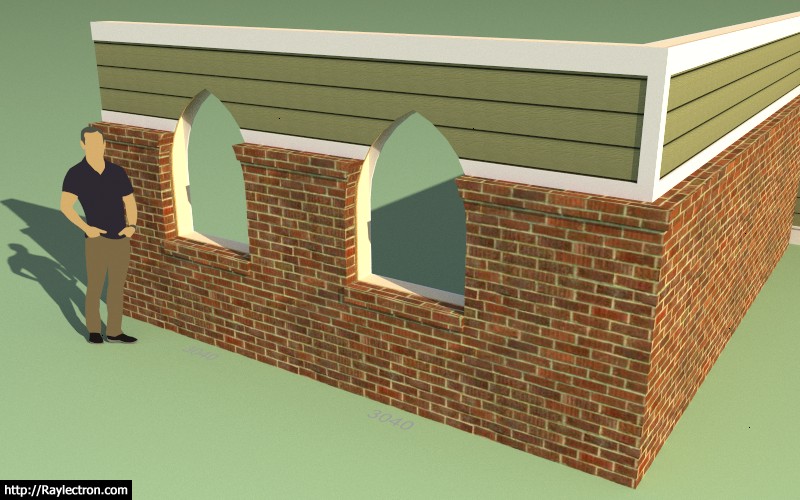
Arched window openings now have exterior trim and wainscoting enabled:
For those interested this is the underlying equations that I'm using to calculate a gothic arch:
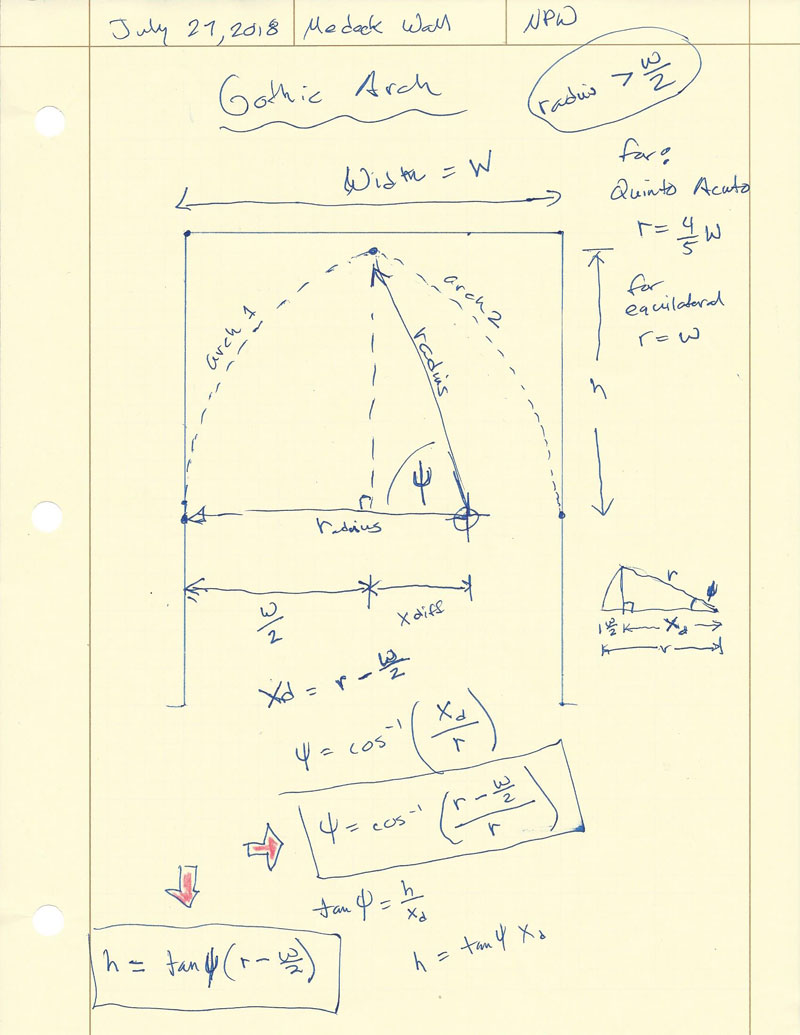
Notice that the center of the arch is at the same height as the springline but the lateral placement of the center of the arch is driven by the radius since the arch is tangent to the vertical . A classic quinto acuto gothic arch has a radius that is 4/5 of the width of the opening, whereas an equilateral arch will be radius = width.
-
These arched windows and their grilles (Prairie Style shown) were a bit more than I was wanting to bite off when I started into them this morning but perseverance won over in the end and I finally got them sorted out:
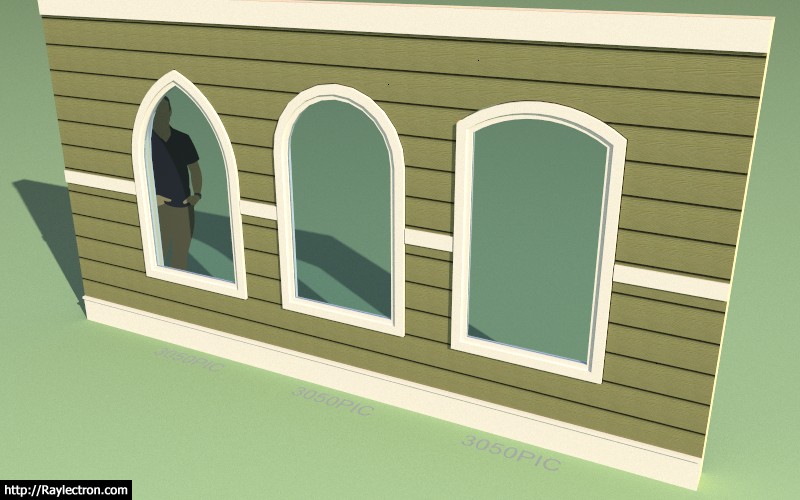
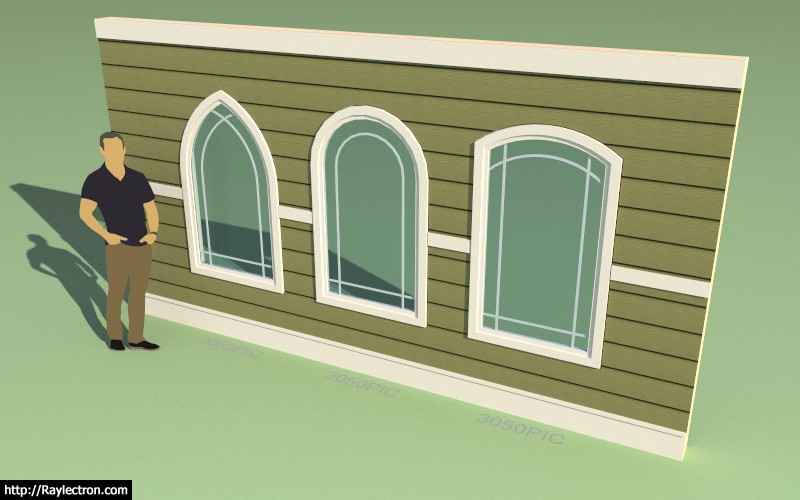
The half round springline window is created by setting the radius to half the window opening.
Also note that only the picture or fixed window type is available for the arch and gothic arch geometry.
I still need to work on shutters for these window types but that is a job for another day.
View model here:
3D Warehouse
3D Warehouse is a website of searchable, pre-made 3D models that works seamlessly with SketchUp.
(3dwarehouse.sketchup.com)
-
Does anyone have a good texture for T1-11 siding that they would be willing to share?
-
Version 0.9.0 - 08.03.2018
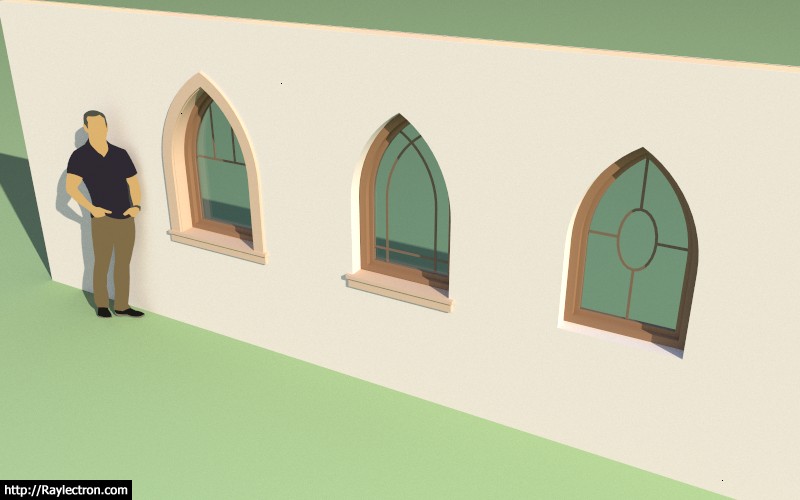
- Added gothic and segmental arched windows to the window draw and edit modules.
- Added shutters: Solid, Flat Panel, Raised Panel, Louver, Board & Batten to arched and gothic arch windows.
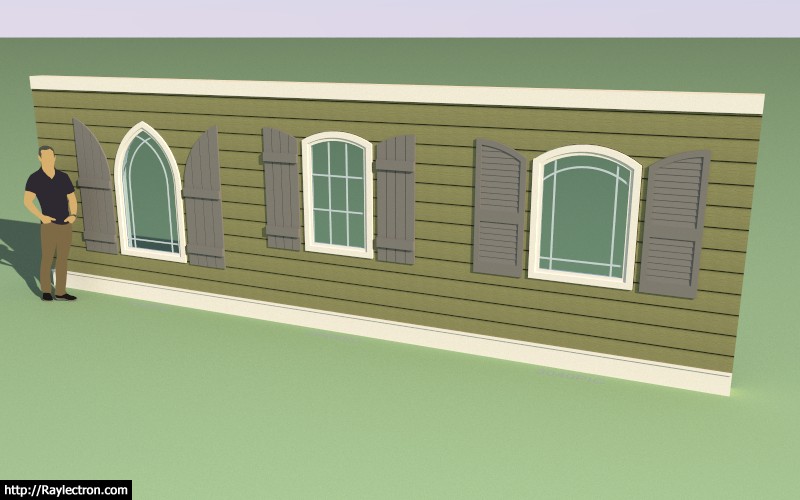
View model here:
3D Warehouse
3D Warehouse is a website of searchable, pre-made 3D models that works seamlessly with SketchUp.
(3dwarehouse.sketchup.com)
-
The arch/gothic arch window rabbit hole was very deep:
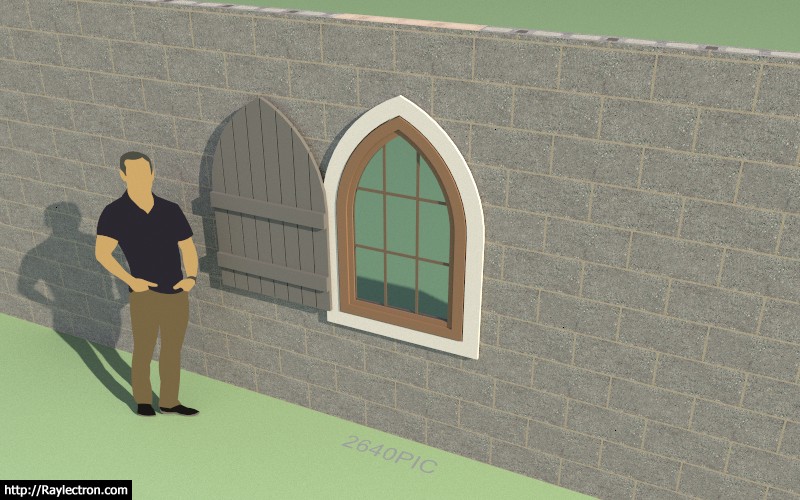
Ext. Trim and Shutter (Left)
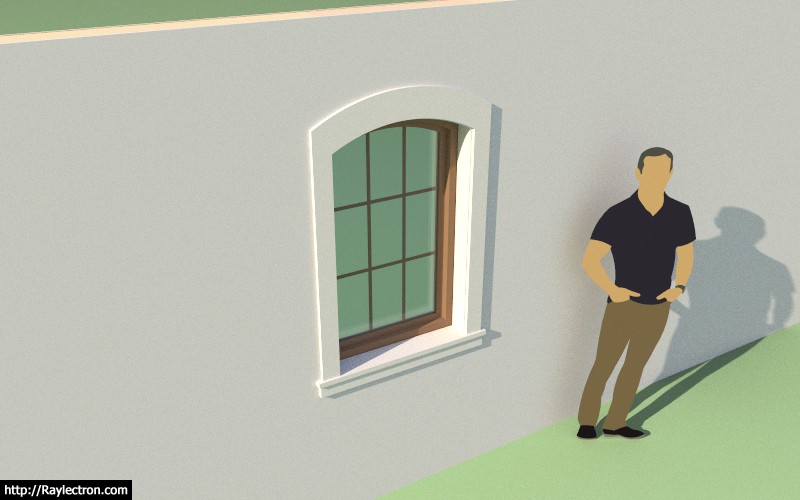
Interior Casing
Interior Casing Options
Adding a new window type now entails the following additional features that must all be considered:
1.) Exterior Trim (Style A, Style B)
2.) Interior Casing/Trim (Style A, Style B, Style C)
3.) Window frame, casing and glass (window geometry will dictate if additional styles can be created for that geometry in addition to the standard fixed window).
4.) Window Grille (ten different grille configurations currently)
5.) Shutters (five different shutter types currently in three different configurations)Some window types will also involve additional parameters due to asymmetry or other special features.
The trapezoid or triangular window may also involve a pitched header will further complicate matters with wall framing.
-
Version 0.9.0b - 08.03.2018
- Enabled all interior casing styles (Style A, Style B, and Style C) for gothic and arch windows.
-
Some of the casing styles are looking very nice. Some combinations should probably not be allowed, in good taste, but there's no telling what people will do, even in buildings that are considered "conventional" or "traditional".
-
I've basically distilled it down to three interior window casing styles as seen in the images above.
The left most example includes the full casing that wraps the window as well as the stool and apron. The middle example eliminates the casing but keeps the stool and apron and the simplest version is just gypsum wrapping the interior of the window well.
Where things usually get more elaborate than this is with the addition of additional elements to the top casing or head casing:


I'm not a huge fan of rosettes but I've seen plenty of this as well:


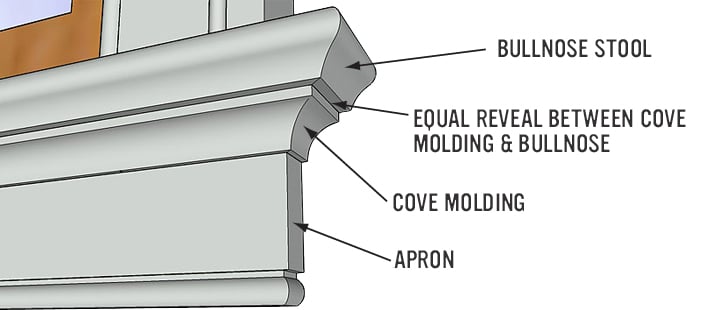
I need to keep the geometry fairly simple otherwise it will really bog things down when you start adding a lot of windows or doors into a wall panel. Take for example the complexities of the stool and apron combo below:
-
Today and yesterday I'm taking a much needed break from plugin programming to address my new reseller program. I am still fleshing out the way I want this to work but I think it will be a good thing, allowing me to focus on the code while more talented individuals are able to drive the sales end of things.
-
Just an FYI there is a known issue with stacking walls right now (multi-level structures), funny that this did not show up previously. I am currently working on it and should have a new revision in a few hours that hopefully addresses it fully.
The issue is with the auto-corner configuration, apparently the algorithm is detecting walls on different levels when it should only be detecting the walls within a specified vertical range (on the same level).
I think I've got my head back in the game now after a short hiatus from the code.
Currently the three hot development items are:
1.) New HTML menu/draw tool
2.) Gable Walls
3.) Garage Door ModuleI'm also excited to report that the new reseller system is live and ready to go. I am currently recruiting resellers so please contact me directly if you are interested. I haven't determined the number of resellers or if there will be a specific limit however I am looking for people with diverse backgrounds and people who are passionate about promoting SketchUp as a primary architectural design tool for residential and commercial design.
You may also want to reset your bookmarks to the new Medeek Wall extension page:
I've had to switch to a dynamic html page with the implementation of the reseller program however the static page will automatically redirect to this page.
-
Version 0.9.0c - 08.08.2018
- Critical fix to the auto-corner configuration module which addresses a bug with multi-story construction.
If you are doing multi-story construction with the plugin you will want to download and install this fix immediately.
-
Version 0.9.0d - 08.09.2018
- Added logic so that callouts for stacked windows are properly cascaded.
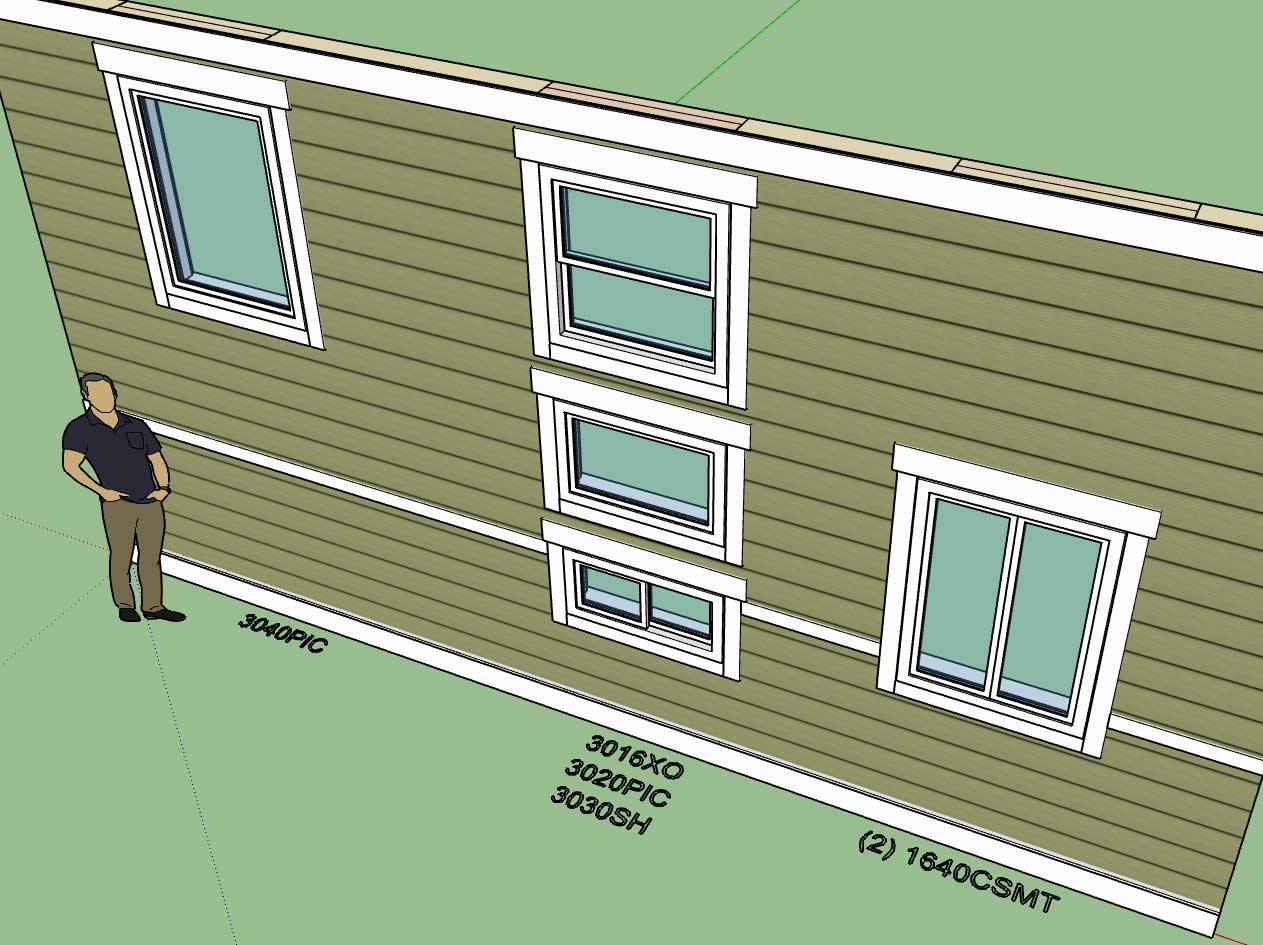
Note that there is still an issue with stacking windows in the full framing mode. The plugin will not throw any errors (within the ruby console) but I will need to add some additional logic to properly frame up the cripple studs between windows, if any are required. Also the algorithm for the trimmer studs will require some modifications.
Initially I did not foresee stacked windows but they do seem to be quite common so they have become a high priority.
View model here:
3D Warehouse
3D Warehouse is a website of searchable, pre-made 3D models that works seamlessly with SketchUp.
(3dwarehouse.sketchup.com)
-
Transoms are common in our designs.Generally they are mulled with the window.
-
@pbacot said:
Transoms are common in our designs.Generally they are mulled with the window.
This is slightly different than transoms, this is a situation where windows are stacked and each window has its own header.
-
I have updated the listing/title in the plugin store and on my own web page to show that the extension is still in BETA. Even though a lot of progress has been made, I am of the opinion that I am still a little ways off before I can confidently say the plugin is ready for production work.
I am hoping to wrap up some major items in the next couple of weeks and hopefully this will get us to Version 1.0.0 and the official release.
-
Looking at this screenshot one would think I am attempting to edit a wall panel however if you look a little closer you will notice that I am actually drawing a wall panel:
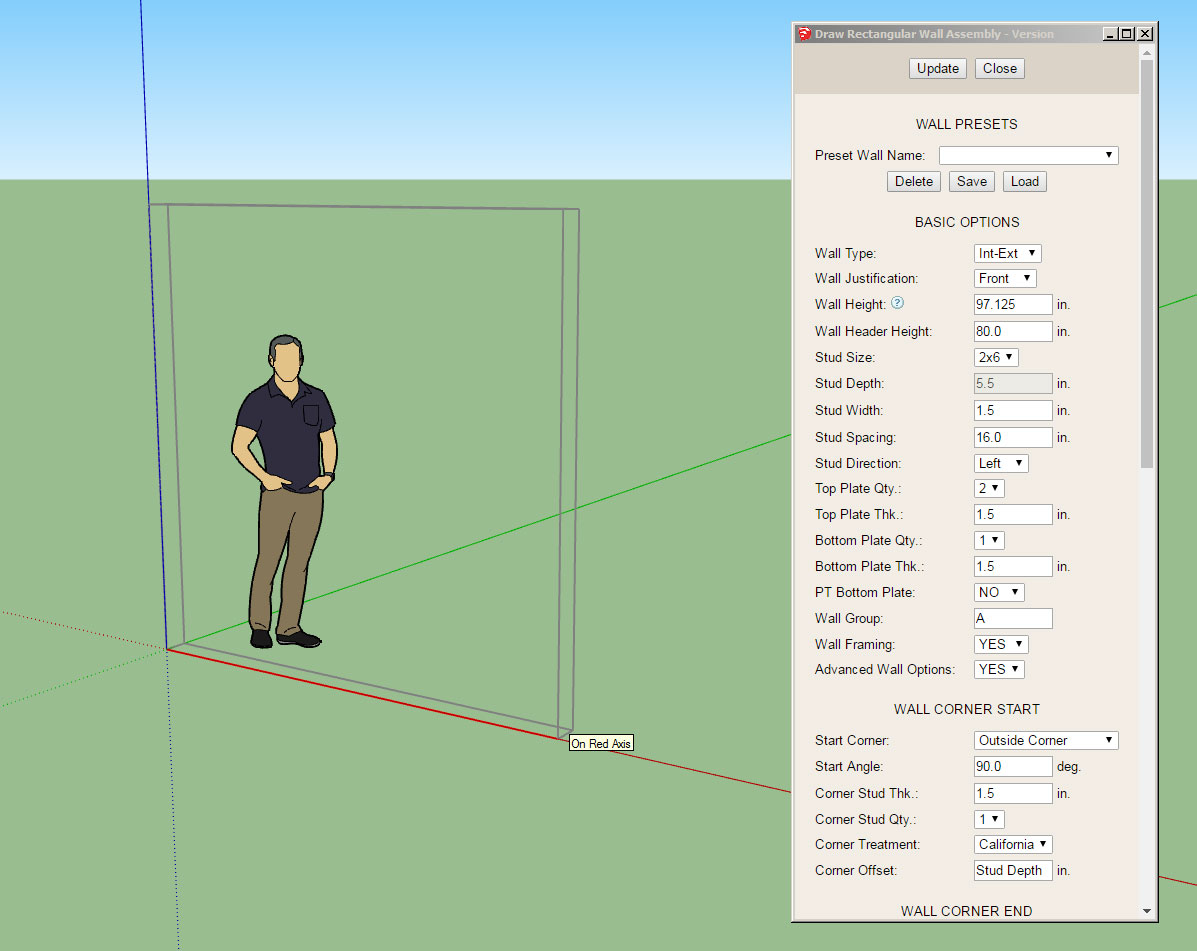
The HTML draw menu (Graphical UI Option) is almost ready to release. I have a bit more testing to do and some additional javascript logic to add to the HTML itself and then I think it will ready for prime time.
I think everyone will find this is a much quicker and easier way to create wall panels than the legacy (non-GUI) method. However, for those who prefer the old menu system that will still be available by setting the graphical UI option in the global settings (General tab) to "NO".
The other upside will be the ability to select from your presets rather than having to edit the wall panel after the fact.
Pressing the spacebar will exit out of the draw wall menu and tool, as is usual for SketchUp tools.
Pressing the ESC key on Windows will exit the current wall panel polyline and allow the user to start a new series of wall panel(s).
Clicking the Update button will update the draw tool with the parameters shown in the menu and allow the user to change things up mid-stream during the creation of wall panel(s).
I am hoping that this will be a big usability improvement for the plugin and make it quite a bit more efficient.
Advertisement


