How to clean shower tray model?
-
Hey

I have a problem with the cleaning of models with redundant parts. If anyone has experience in such work, I would appreciate if you share your opinions.
I do a lot of visualizations of the interior. Downloading models party manufacturers interior decoration. Unfortunately, each model is rubbish. I would like to learn how to quickly clean the mess.
Using Solid Inspector I see a lot of mistakes.
I tried to use Solidsolver by TIG. Unfortunately, the model disappears?
Here is a link to the model - download model.
I would be grateful for any clue how to go about working on the cleaning of such a model. I hope that you do not have to do everything manually.
Regards,


-
That SKP is a mess.
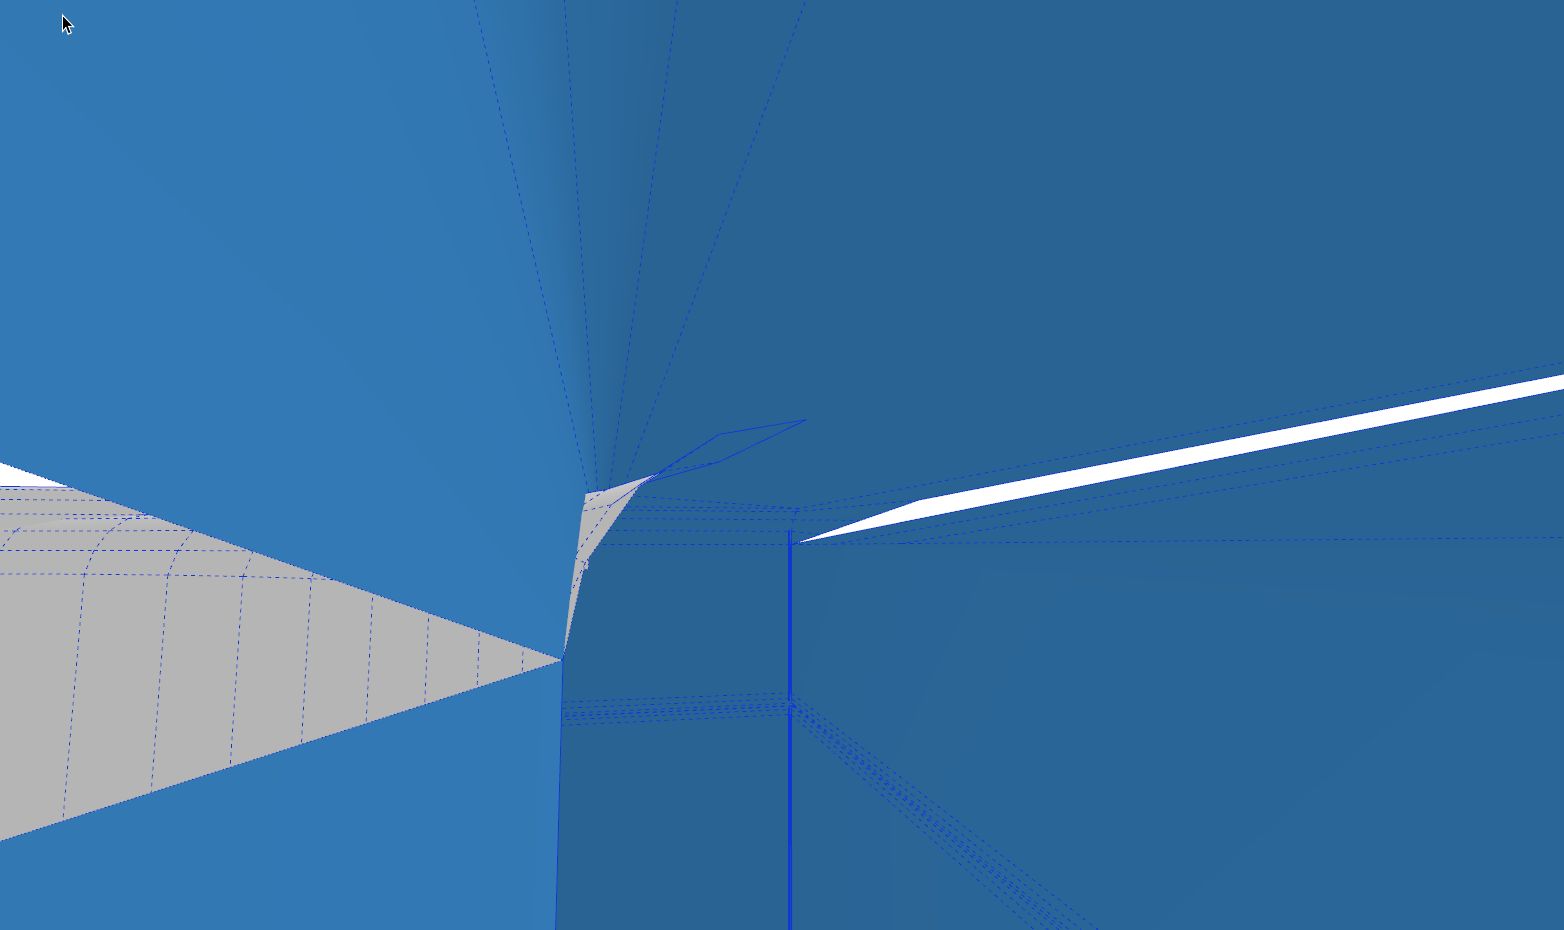
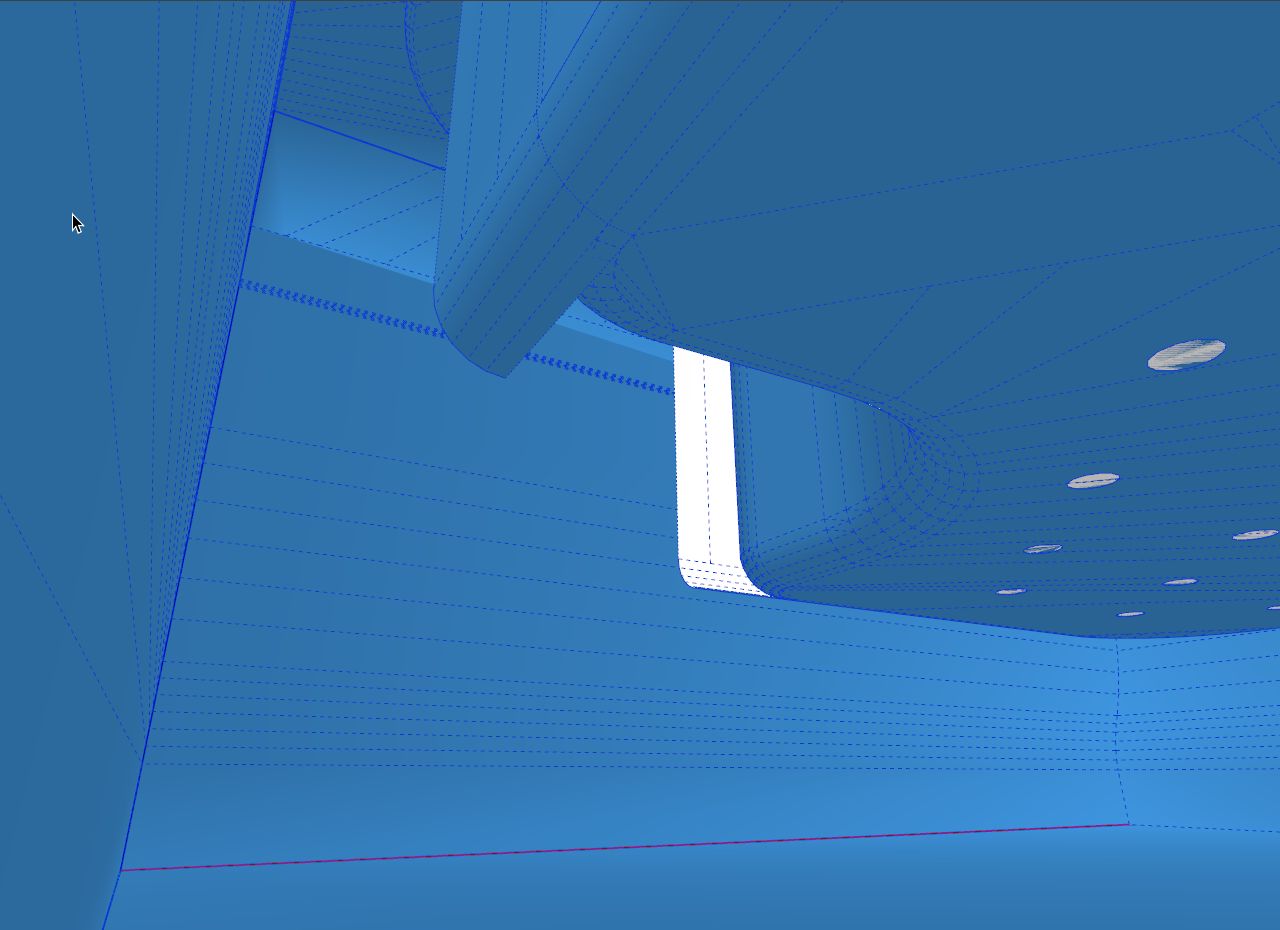
SolidInspector shows it's full of holes internal flaps/partitions, overlaid faces, tiny geometry etc.
SolidSolver will choose a path to delete incorrect geometry, but it that leads to more incorrect geometry - likely with such a complex 'mess' then your object will disappear.
I fixed it using SolidInspector to see the issues - then using a combination of intersect to get some sanity, drawing triangular facets to heal thing, erasing of internal flap edges etc using xray mode, deleting coplanar/faceless edges, and also delete for a few overlaid faces... saving as I went... slowly the SolidInspector errors reduced until it now reports 'solid'.
So now all of the separate parts are 'solids'.
You will not be able to combine them into one solid as subgroups are not allowed in a 'solid', and some parts like the outlet will merge to make an internal partition again !
-
Thank you for your response TIG.
@tig said:
That SKP is a mess.
SolidInspector shows it's full of holes internal flaps/partitions, overlaid faces, tiny geometry etc.Unfortunately, you're right. Most of the models derived from equipment manufacturers is like that. That's why I asked how to deal with it.
@tig said:
SolidSolver will choose a path to delete incorrect geometry, but it that leads to more incorrect geometry - likely with such a complex 'mess' then your object will disappear.
I fixed it using SolidInspector to see the issues - then using a combination of intersect to get some sanity, drawing triangular facets to heal thing, erasing of internal flap edges etc using xray mode, deleting coplanar/faceless edges, and also delete for a few overlaid faces... saving as I went... slowly the SolidInspector errors reduced until it now reports 'solid'.From your description it follows that there is no automatic way. A lot of work before me.
And is it possible to automate the repair using MeshLab? Unfortunately this is complicated program.
Regards,
-
Not sure.

It's not a holed mesh, it's a series of overlapping surfaces too...TT's Solid Inspector is good at showing the issues, but complex fixes head some human brain power...
The automated fixers like my SolidSolver are best suited to the occasional small hole of internal partition.
If you view your original SKP in Xray mode you'll see that the main swept sides extend way past the internal corners into the void and don't even intersect properly in several places...
That said, 10 minutes might fix it = once you get your head around the methodical approach and the likely causes of non-solidity...As I said:
Hidden Geometry ON
Xray mode to allow access to internal edges for deletion.
TT's Solid Inspector to highlight major issues - fix RED ones first...
Intersect surfaces that pass through each other without likes.
Over-draw edges to heal holes.
Erase edges to remove flaps and partitions.
Section to access internal face which you can then selected & delete.
Re-stitch missing parts with triangulation if necessary.
Delete coplanar and unfaced edges.
Delete tiny edges.
Use tools like Fredo's 'Delete Lonely Vertices' to minimize them.
You can also use the Move tool with no preselection, to pick then move a vertex and snap it onto another one, to heal tiny holes or simplify over-worked faceting: you might need to hold Alt to auto-fold the surface... -
Thank you TIG for this workflow. When I'll get more experience probably will it go even faster. I changed the default settings X-ray and on the "front-material" I gave the blue and on the "back-material" I gave red. Now much easier to work in this mode.
If the model only needs a little sort out your plugin (SolidSolver) copes better.
Thank you again

Advertisement


