[Plugin] FredoTools::ThruPaint - v1.3a - 20 Oct 16
-
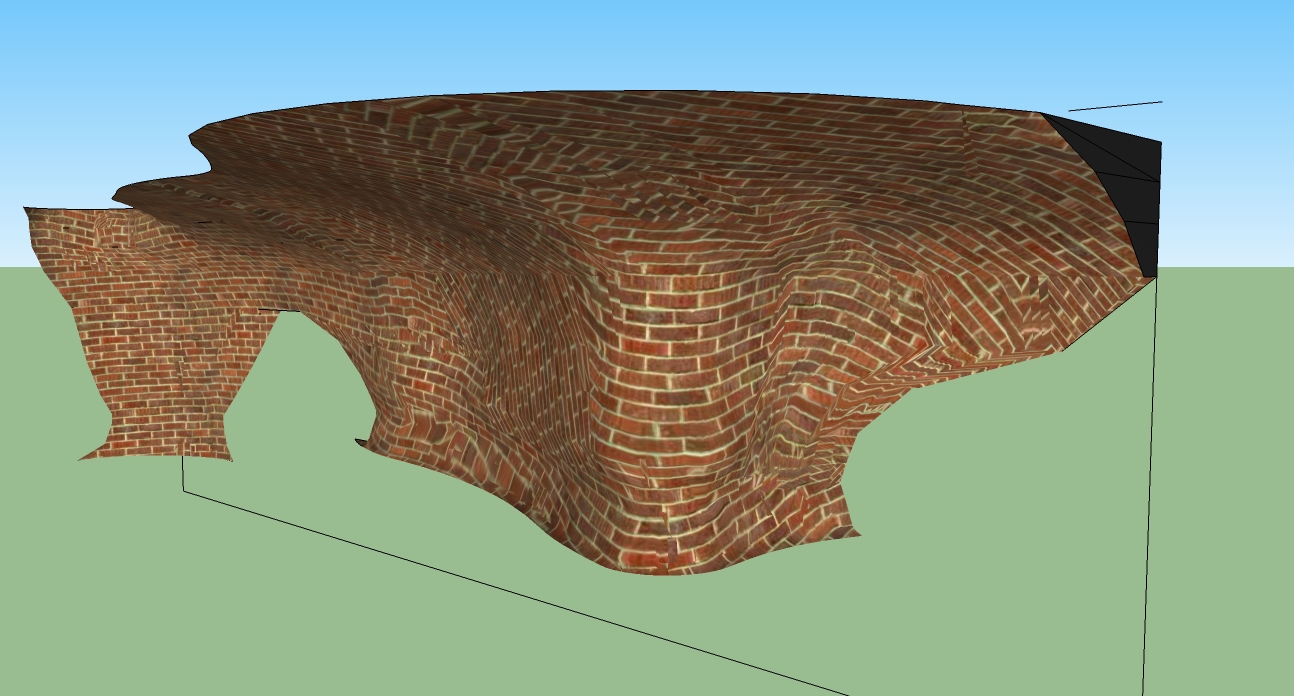
I cant seem to texture this irregular surface, it just wont do it, textures wont align no matter what, and they also rotated differently everywhere.
Edit: Uploaded the file also.
-
@masterpaul said:
I cant seem to texture this irregular surface, it just wont do it, textures wont align no matter what, and they also rotated differently everywhere.
Edit: Uploaded the file also.
The surafce is very 'irregular' actually. Unless it is made of Quads (with Thomthom's convention), I am afraid it cannot be properly mapped with ThruPaint.
I would recommend you try with SketchUV plugin, which is more specialized in UV-mapping any kind of surface.Fredo
-
@unknownuser said:
@masterpaul said:
I cant seem to texture this irregular surface, it just wont do it, textures wont align no matter what, and they also rotated differently everywhere.
Edit: Uploaded the file also.
The surafce is very 'irregular' actually. Unless it is made of Quads (with Thomthom's convention), I am afraid it cannot be properly mapped with ThruPaint.
I would recommend you try with SketchUV plugin, which is more specialized in UV-mapping any kind of surface.Fredo
Thanks

-
Hi Fredo,
I'm user of Thea4SU plugin and I have found a conflict with your plugin, before to install Thea4SU, ThruPaint worked fine but after, it appears this Error in Ruby Console:
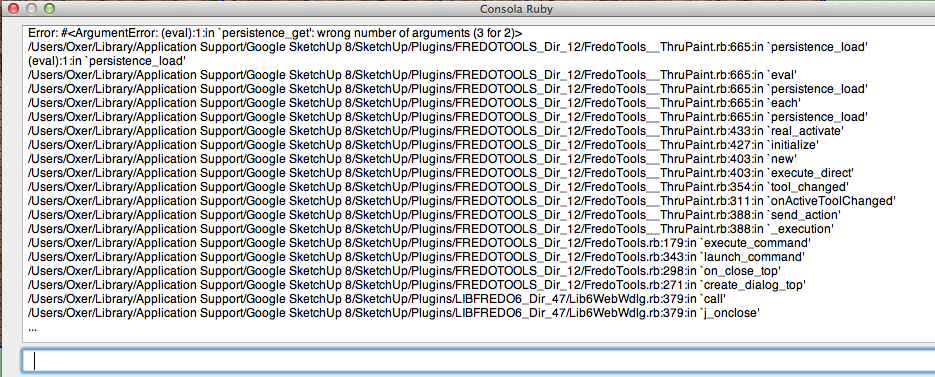
I don't know if you can help me, I'll comment it to Tomasz (plugin developer) too. -
Oxer,
Thanks for signaling.
Could you type the following in the Ruby console and send me the output
Sketchup.read_default "FredoTools_ThruPaint", "Param"Thanks
Fredo
-
This is the output in Ruby Console:

-
Oxer,
Thanks. Did you type the command with Thea installed or uninstalled (because the string is correct)?
Fredo
-
With Thea installed, I probed to type the command before and after to use Thea4SU and the result in the ruby console is the same.
-
Perhaps Thea uses a materials-observer and that then clashes with how this Fredo tool works ?
Other renderers like Twilight probably have something similar too, without clashing; so it will be fixable, but then that's probably needed on the Thea side... -
Many render engines has a tendency to cause instability due to observers. Now, I do think ThruPaint also uses some observers. It's not easy to work out where the conflict lies when most render engines scramble their files (understandably).
-
The issue does not seem to be related to observers but to a corruption in the Plist registry, since
Sketchup.read_defaultreturns a corrupted string.
What is not clear is the relation with Thea Render and where this can come from.I don't know is any other users on Mac, using both Thea and ThruPaint (and Ivy) have met this problem!
Fredo
-
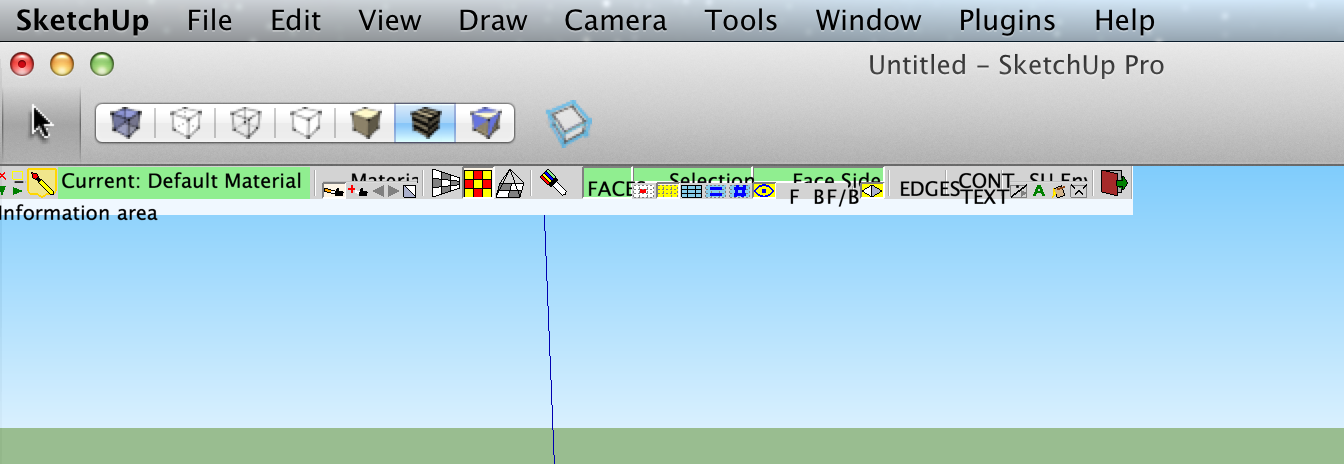
I am trying to setup Sketchup on a Mac Mountain Lion computer. When I load Thrupaint the dialog is cramped and tiny. Obviously I can't work with this. What determines this? The dialog for Curviloft is the same.
Has anyone had luck with this and Mountain Lion? It's on a 15" retina display laptop.
-
Somebody should give you a gold medal dear Fredo6

-
I really love this plugin, it is probably the one I use most often, just because it makes texturing so much more quick and easy than with the native tool. However, the QuadMesh-Mode does not work when exporting the meshes to other programs, because the textures get distorted. First I had this problem with Walkabout3D and now it happens when I export objects to Unity engine with Playup Tools. Is this due to limitations in Sketchup or could this be fixed somehow? Might this work better with SketchUV? Haven't tried but I think I am going to purchase it, just noticed the price drop.
edit: It worked with SketchUV. Still this plugin is amazing.
-
@pherim said:
I really love this plugin, it is probably the one I use most often, just because it makes texturing so much more quick and easy than with the native tool. However, the QuadMesh-Mode does not work when exporting the meshes to other programs, because the textures get distorted. First I had this problem with Walkabout3D and now it happens when I export objects to Unity engine with Playup Tools. Is this due to limitations in Sketchup or could this be fixed somehow? Might this work better with SketchUV? Haven't tried but I think I am going to purchase it, just noticed the price drop.
edit: It worked with SketchUV. Still this plugin is amazing.
The Quadmesh mode deforms the texture, which is not well handled by Sketchup, as it only supports 'perspective' deformation. In some model, this is OK, in others it is not. Very often, the best technique is to have a set of patches with projected texture and take care of their nice junctions. In any case, you are right to use SkethcUV which is a great plugin and is much more powerful for accurate texturing.
Fredo
-
Just wanted to add to my previous post, that I have since discovered that ThruPaint and SketchUV really work well together. For example, if I paint a texture in Quadface mode with ThruPaint it will be distorted when I export the model to Unity, as I wrote before. However, when I use SketchUV to triangulate the faces after applying the texture with ThruPaint, the mapping gets preserved and the export works perfectly. So thanks a lot to the creators of both plugins, they complete each other wonderfully.
-
@guanjin said:
@unknownuser said:
your interface and icons are ugly, but these tools are EFFING amazing!!!!!! Really cant believe these things are possible in Sketchup (wheres the clapping hands icon) - and very gracious of you to make them free, i will definitly donate!
please fix graphic interface and icons

support, all of the powerful plug-in, Fredo6 the selfless spirit! Admire
-
I'm not sure I understand how Natural UV mode is supposed to work. No mesh I've tried it with ever got continuous texture mapping like one stock SU painting tool in Alt-mdode is capable of applying. Only the rotation is rarely repeated properly, but the position of the tile in UV space is completely off. Here is a simple example, two bent rectangular columns made with some repeated rotations and pulls. Simple sequence of faces, no triangles, no bidirectional corners.

Stock SU paint bucket tool creates proper continuous texture mapping for each face based on UVs from the border of each previous face (of course, you have to edit the coordinates on the first face at least once to override the automatic projection mapping). ThruPaint produces a seemingly random sequence of tile positions and rotations even if the first face mapping was modified and even though the faces were painted in order, just like with the stock tool.
Some more examples of the behavior I'm trying to get (easily achieved with the stock Paint Bucket tool and Alt key sampling of each face texture mapping through the sequence):
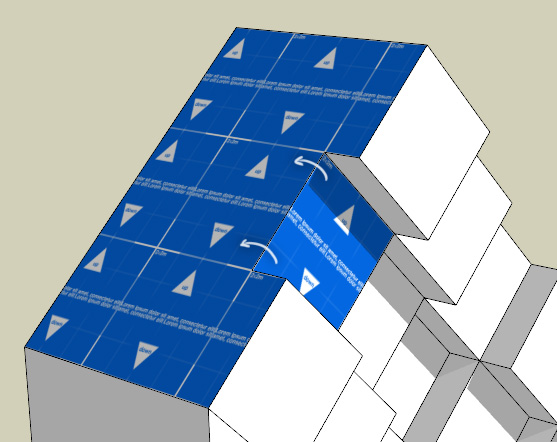
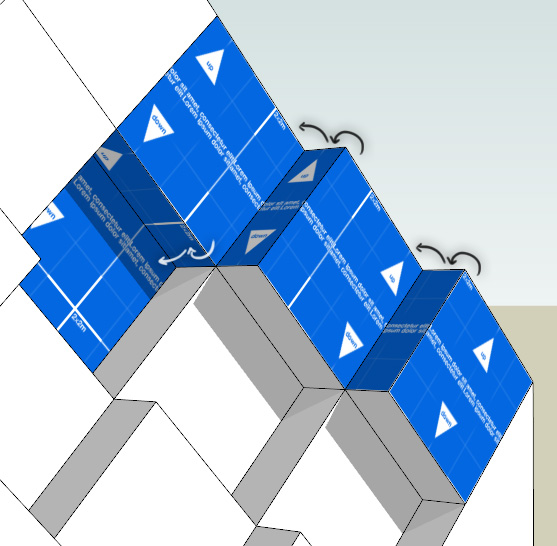
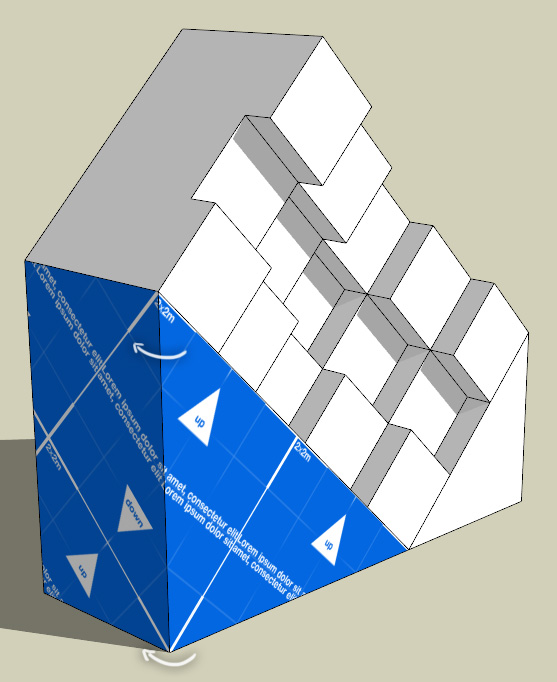
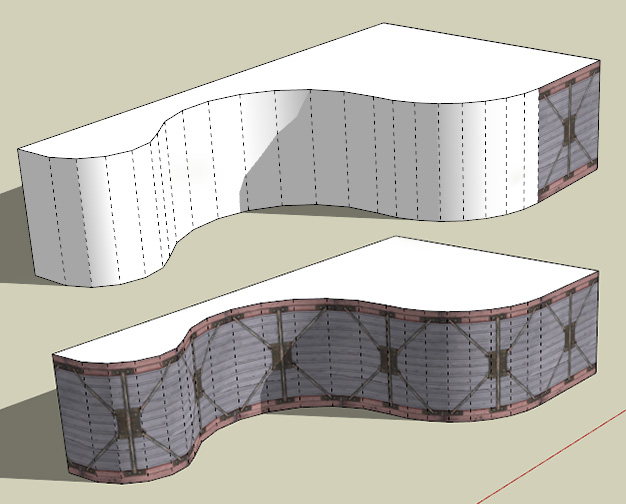
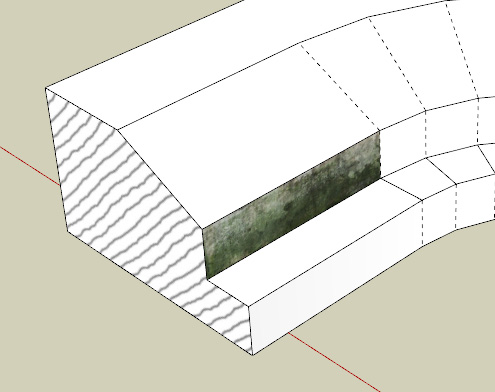
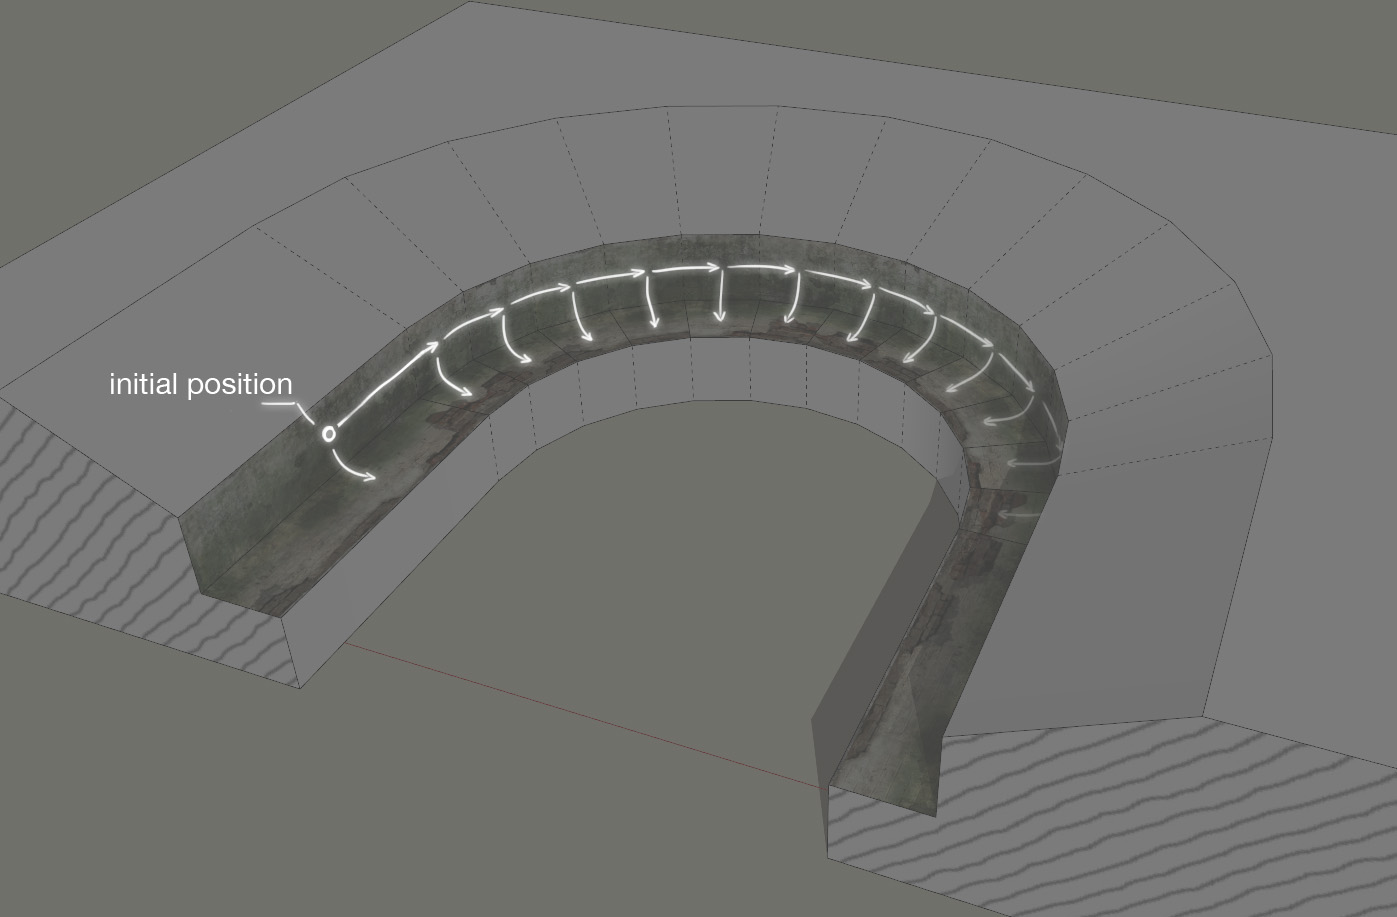
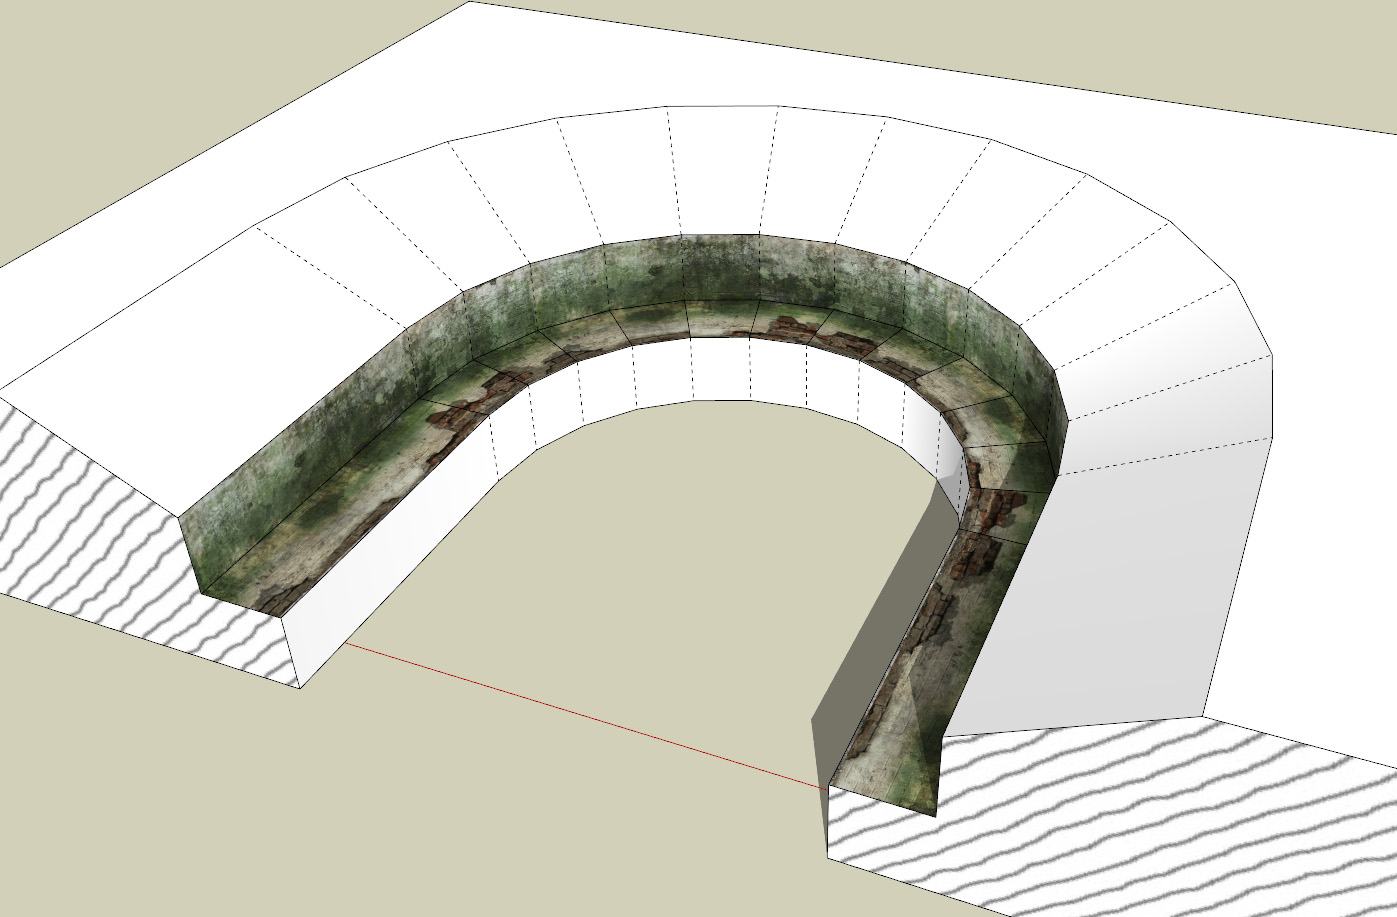
What am I missing to get that essential feature to work? As you surely know, GPUs treat every edge without continuous texture mapping as a set of two edges (i.e. borders of a UV islands), which is why results like those aren't particularly useful if you don't want to render more than twice vertices than necessary. Surely I'm just overlooking some setting or hotkey.
-
Interesting. You seem to understand how UVs work with Sketchup.
Would you have a sample model, with your texture, so that I try and see what is going on.
Thanks
Fredo
-
Excuse me how do I download this plugin?
Hello! It looks like you're interested in this conversation, but you don't have an account yet.
Getting fed up of having to scroll through the same posts each visit? When you register for an account, you'll always come back to exactly where you were before, and choose to be notified of new replies (either via email, or push notification). You'll also be able to save bookmarks and upvote posts to show your appreciation to other community members.
With your input, this post could be even better 💗
Register LoginAdvertisement


