Rolleiflex Automat [Model Progression Thread]
-
looking good...!!
-
Thanks Gareth!
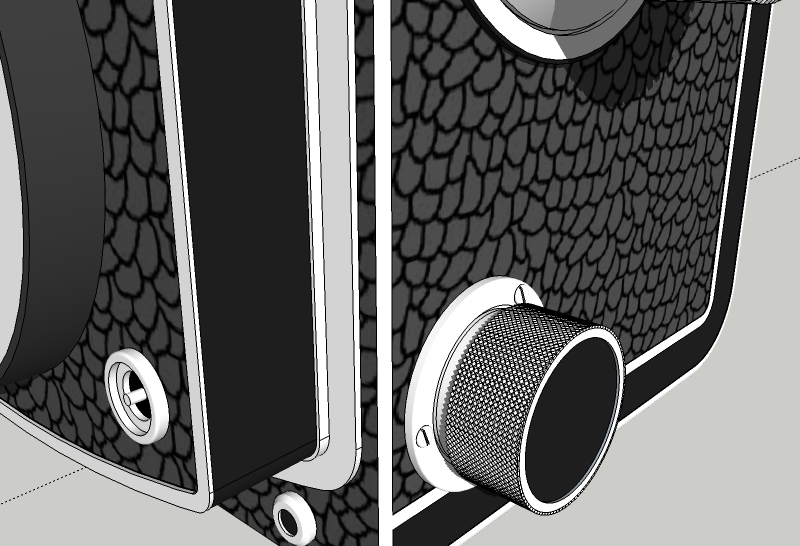
Knurling complete on side knobs. Screws and bezel ring on side knobs also complete.
I think the scale of knurling is a tad smaller than shown in references, but it's the best I can do and I think still pretty darn close.
-
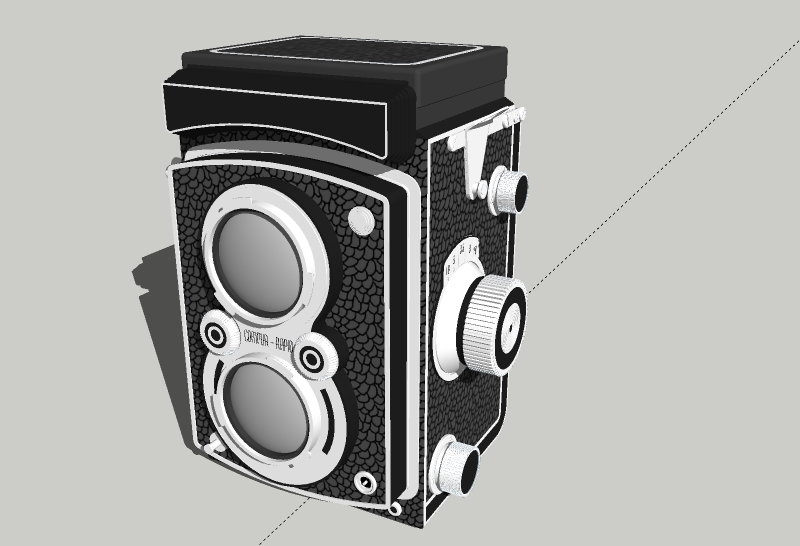
More lens detail.
-
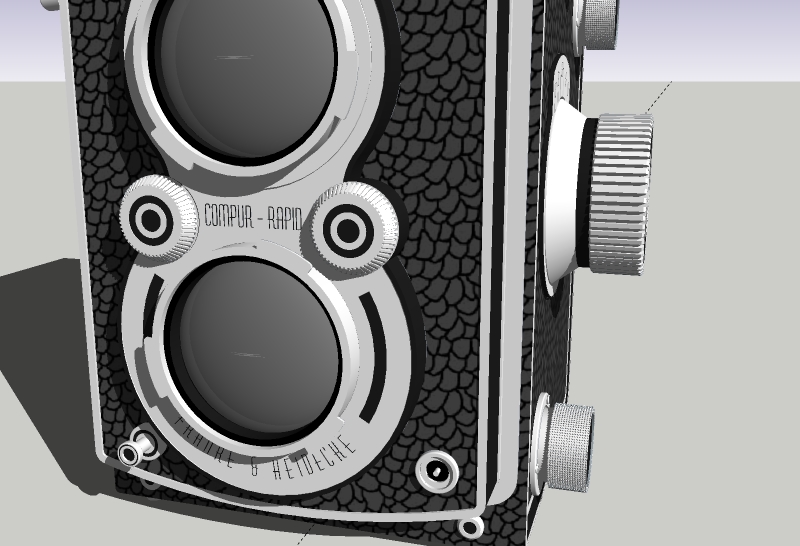
More lens front detail.
Arrgghh! I just noticed the lens locking ring is a little more complex than I thought. So what you see right now is not correct.
Also, the font used for the lettering is not the official font. I don't have that font and I doubt anybody but Rollieflex does, so I tried to use something I thought was appropriate from the era.
-
The font is close enough the standard of modeling is exceptional and the detail level high. Thanks for showing this step by step, very inspirational and a fantastic production.
-
@mike amos said:
The font is close enough the standard of modeling is exceptional and the detail level high. Thanks for showing this step by step, very inspirational and a fantastic production.
Thanks Mike.
There is still quite a bit of detail left to be done. I may have this done by this weekend.
BTW, can anyone point me to a tutorial on how to create material texture and import it in SU? The body textured material I'm using at the moment is not exactly right. The pattern needs to be a lot smaller and the one I'm using has reached its scale down limit.
-
@unknownuser said:
BTW, can anyone point me to a tutorial on how to create material texture and import it in SU? The body textured material I'm using at the moment is not exactly right. The pattern needs to be a lot smaller and the one I'm using has reached its scale down limit.
Leave that until very end, use a basic material as you have while modeling then when ready to render you can play with materials. What render engine do you plan on using?
-
@solo said:
@unknownuser said:
BTW, can anyone point me to a tutorial on how to create material texture and import it in SU? The body textured material I'm using at the moment is not exactly right. The pattern needs to be a lot smaller and the one I'm using has reached its scale down limit.
Leave that until very end, use a basic material as you have while modeling then when ready to render you can play with materials. What render engine do you plan on using?
I'll be using Kerky. I have a 3 light, stage cyc, model I built a few years ago I'll use for the final render.
-
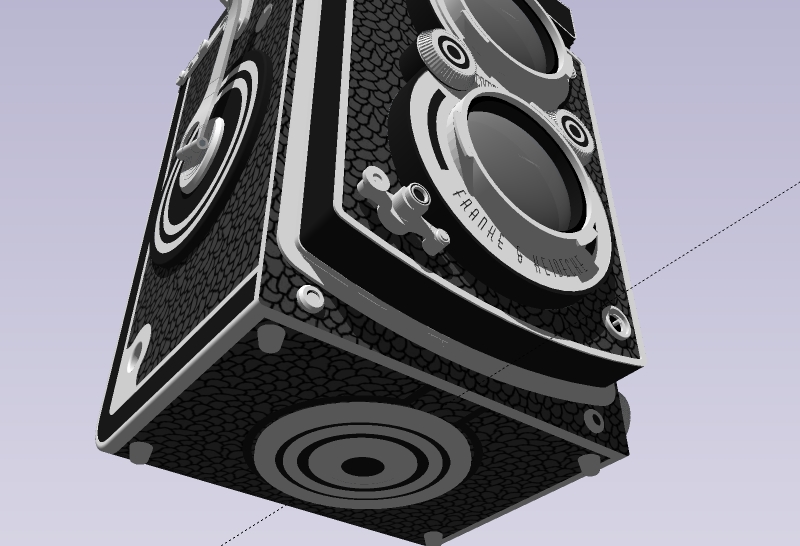
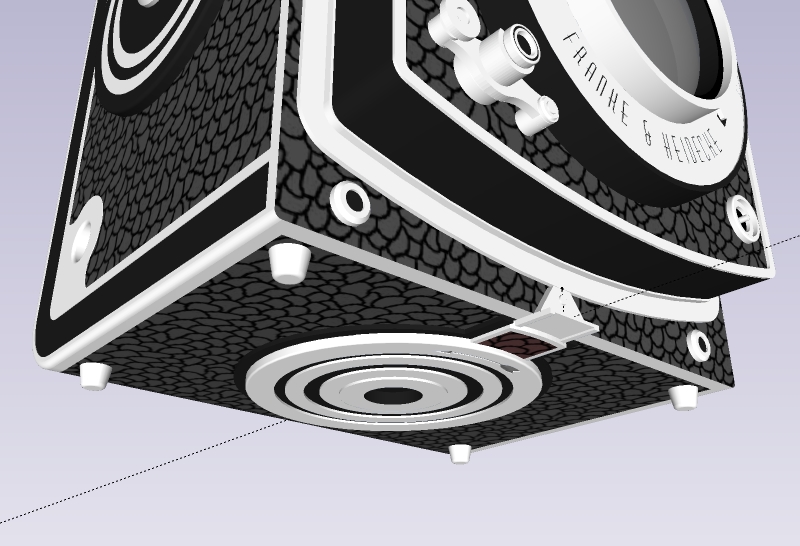
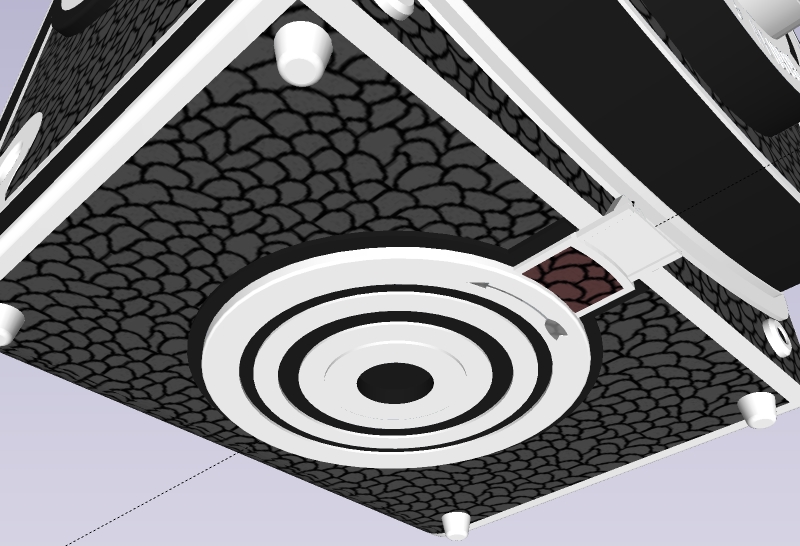
Shutter release guard added. Feet rounded. Starting on tripod mount detail.
-
Tripod mount assembly complete. There will be no threading for the screw hole. It will never be seen.
-
I don't know about that Bryan, every time I look at it now I'll be worried it will fall off the tripod!

-
@box said:
I don't know about that Bryan, every time I look at it now I'll be worried it will fall off the tripod!

No problem. I just won't model a tripod.

-
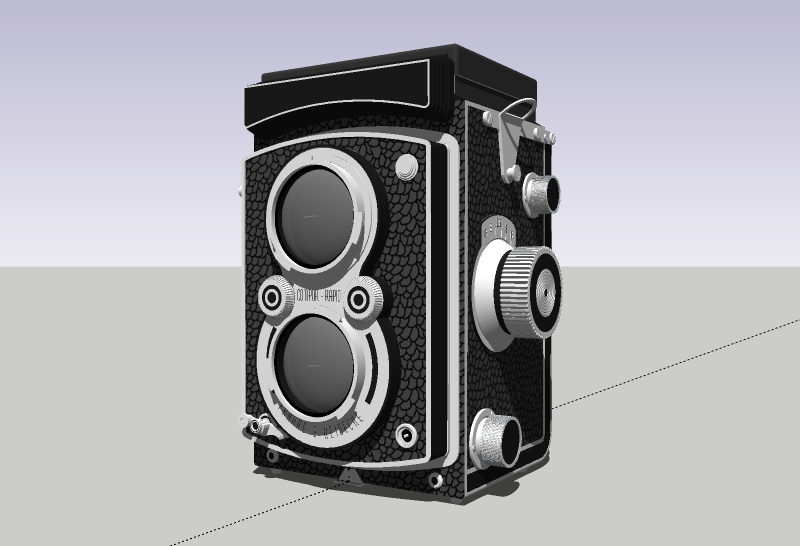
Almost there. Probably 8 more hours of work left to do.
-
only 8 hours..??
....you mean your are not modelling the internal mechanisms...?!!

-
@gareth said:
only 8 hours..??
....you mean your are not modelling the internal mechanisms...?!!

The what what?

Sick this weekend. Still feeling low today. No updates until maybe tomorrow.
-
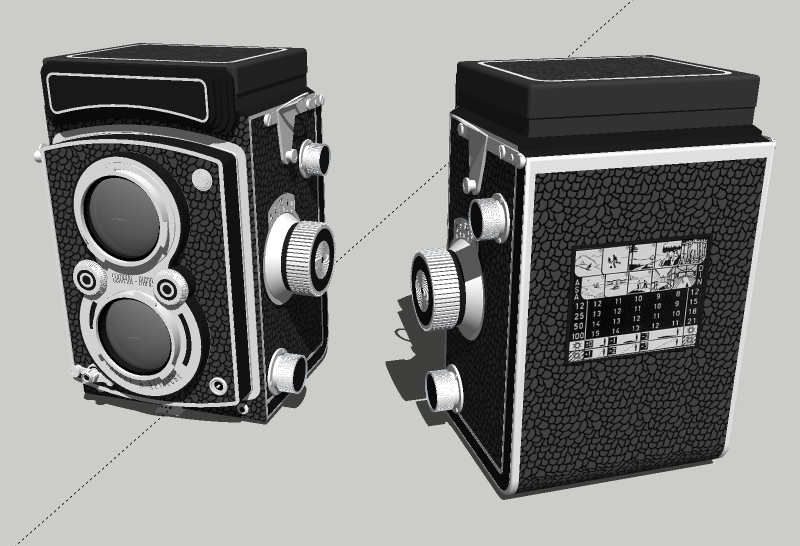
Couldn't let it go.

Rebuilt the nameplate face for the 5th time. I think I've got it this time.

Extended the tripod flange handle. (you can't see it in this pic) Added the exposure chart. Nameplate join to pop-up viewfinder was wrong.
At this point it looks like only
23 more things to be done: numbers on focus knob and finger flanges on lens locking rings and logo. (see, I knew I could have this done this weekend, dang it, but I'll bet I find more details are wrong)
-
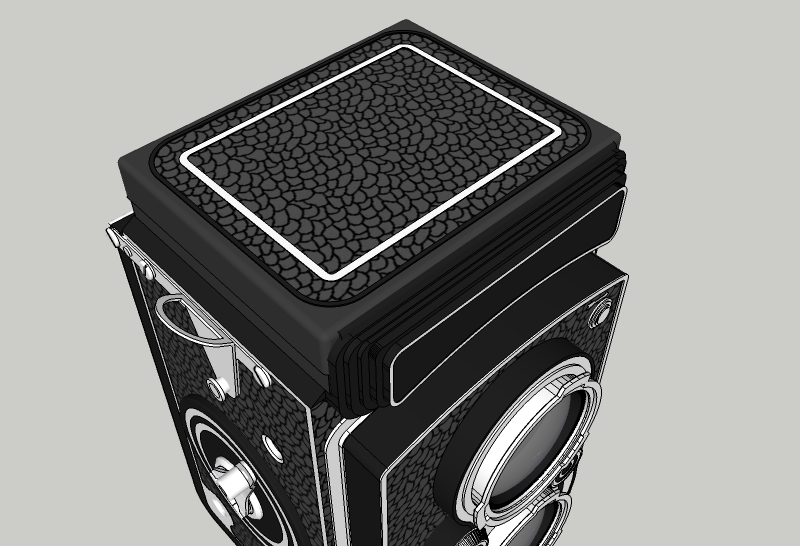
Reworked top of view finder.
Still only 2 more things to do. Just 2 more things.

-
What a great machine you've got there !
Btw, it is not that tedious to make those numbers if you want to do it like this :
[web 100%,396:1pvof88h]http://www.screenr.com/embed/lLcH[/web:1pvof88h] -
You are over thinking it.
You only need to position one number accurately, easily done using the glue to feature of the components, then array the numbers and replace the components as necessary. You can then explode and intersect or solid tools or component intersect etc to get the stamp effect.
It's only a few minutes work.Here is a quick rough unfinished version of what I mean.
[screenr:1oc6z3fl]1ucH[/screenr:1oc6z3fl] -
Whoa, Box! "Replace Selected"?
I just learned something new.
Elisei, thanks!

Advertisement


