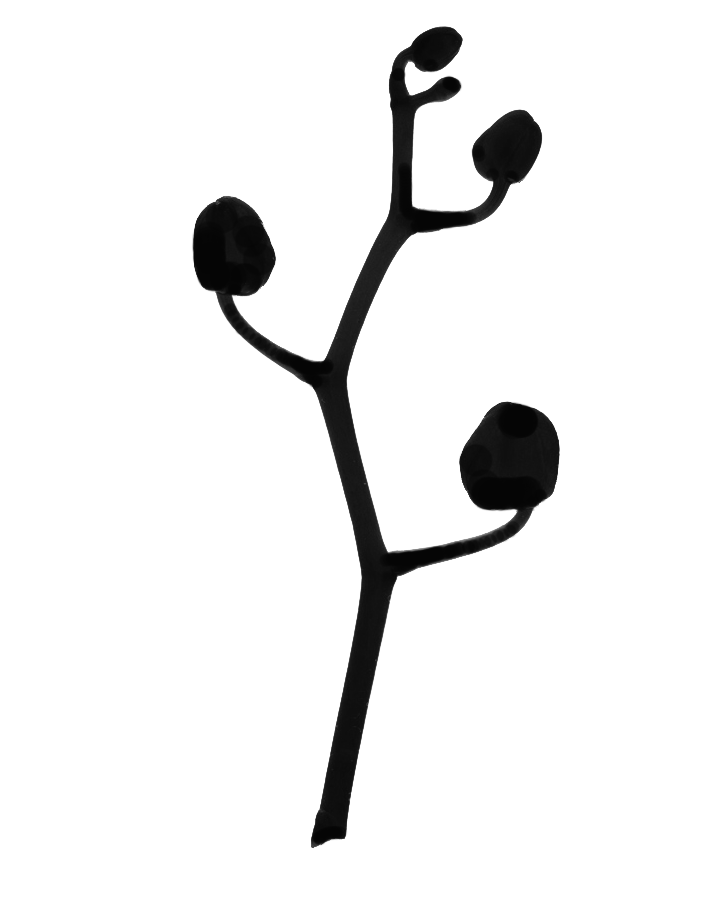
How to trace an image to create a cutout
-
 What's the best way to take an image, trace it's outline, then convert that outline to a face (cutout) that I can use the push-pull tool on?
I've tried using ImageTrimmer with poor results. I'm not even sure what it outputs. The edges, if that's what they are as you can't edit them, are very aliased (even without using ImageTrimmer-Simplifier).Shows imported png alongside ImageTrimmer results.
-
Adobe Illustrator shod be able to vectorize the image and save it to a dxf that you can bringinto SketchUp.
-
ImageTrimmer will work fine on this Image IF you prepare it properly.
It needs to be a PNG.
It needs to be 'flattened', then an alpha-channel re-added.
Magic-wand select all of the white [blue!] background and delete it, so it is the transparent part.
A little manual tidy-up removes wayward perimeter pixels...
Now auto-crop the image so that it is as small as it can be - no need to extend processing time by having hundreds of transparent pixels to inspect and disregard.
Now ImageTrimmer will trim it into a neat shape for you...
This example took a minute to prepare the PNG and then a few seconds to ImageTrim into a 3d shape...
-
Thanks Tig. I'll work on my Photoshop skills.
-
orchid.skpStill not getting this.
In PS I select the orchid shape with magic-wand and copy/pasted it onto a new image file with a transparent background. I created an alpha channel using the Actions toolbar: Video Actions: Alpha Channel from Visible Layers action. I saved-as .png with no interlacing.
I imported the png into SU and ran ImageTrimmer on it. It repeatedly hung SU if allowed to use ImageTrimmer-Simplifier, so I didn't. These are the results. I get a component, but it has random pixels everywhere and remains super aliased. not smooth at all like your component.
-
Try Scan2CAD and than import DWG
-
Your PNG image has raggedy pixels around its edges.
Try 'sharpening' it in PS, before deleting the transparent parts...
Therefore the smoothing takes 'forever'... it will complete, but with little visible change.Here is what a little image adjustment in Gimp [PS is just the same] can do - see the steppy edhes are improved and how it smooths [I have edited the component and made the hidden perimeter edges visible so you can see the smoothing better [the texture's 'stepped pixels' are unavoidable...]
I have attached my edited version of your PNG, BUT please use it to compare yours and mine and learn how to fix the issues yourself rather than using me as a lackey to do the editing for you


-
Thanks all for your responses. I ended up using Scan2CAD with very good results. I found that importing a raster image, converting it to a vector, and editing the vector was easier.
Advertisement


