SU 9 Wishlist
-
@dave r said:
I think your work flow could be more efficient than you describe. I frequently have need to draw things like crown moldings but haven't done it the way you describe and have no problems.
If you extrude the profile without making it into a group first, it becomes virtually impossible to group afterwards (I make rather complicated crown mouldings with loads of corners, "popping out" on top of a column etc)
@dave r said:
What parameters?
The form of the profile, the path it follows,... If you need to make a change now, you need to delete it and start over.
-
@thomthom said:
You need this plugin:
http://www.smustard.com/script/ProfileBuilderFree version is also available:
http://sketchucation.com/forums/viewtopic.php?t=44237Super, I'll check it out immediately!
@unknownuser said:
he's talking about history modeling.. (or at least that's the term i know it as)
-draw a path & profile
-follow me
-move, say, a vertex of the path
-the extrusion updates accordinglyYes... I am very bad at explaining myself... But that's exactly what I mean.
-
@fluffy82 said:
If you extrude the profile without making it into a group first, it becomes virtually impossible to group afterwards (I make rather complicated crown mouldings with loads of corners, "popping out" on top of a column etc)
It certainly is possible to make it a group afterward. And it is quite simple. Why would you think it is "virtually impossible"?

-
If the operation is done in a model where other objects aren't grouped. Then it merge with other geometry. That's why I keep telling the people at my office to always group (or make components) out of everything - and organize the model properly.
-
@thomthom said:
If the operation is done in a model where other objects aren't grouped. Then it merge with other geometry. That's why I keep telling the people at my office to always group (or make components) out of everything - and organize the model properly.
Indeed!
-
@dave r said:
It certainly is possible to make it a group afterward. And it is quite simple. Why would you think it is "virtually impossible"?

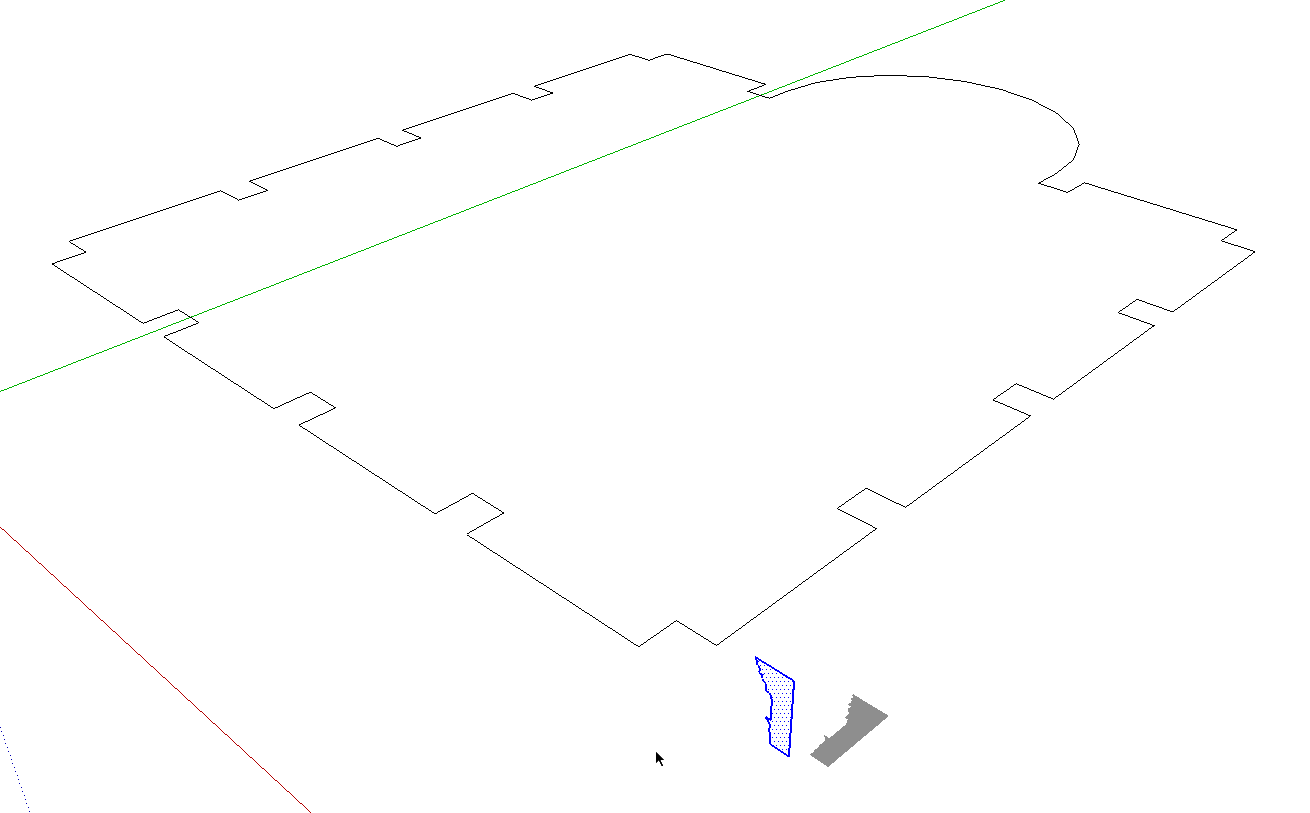
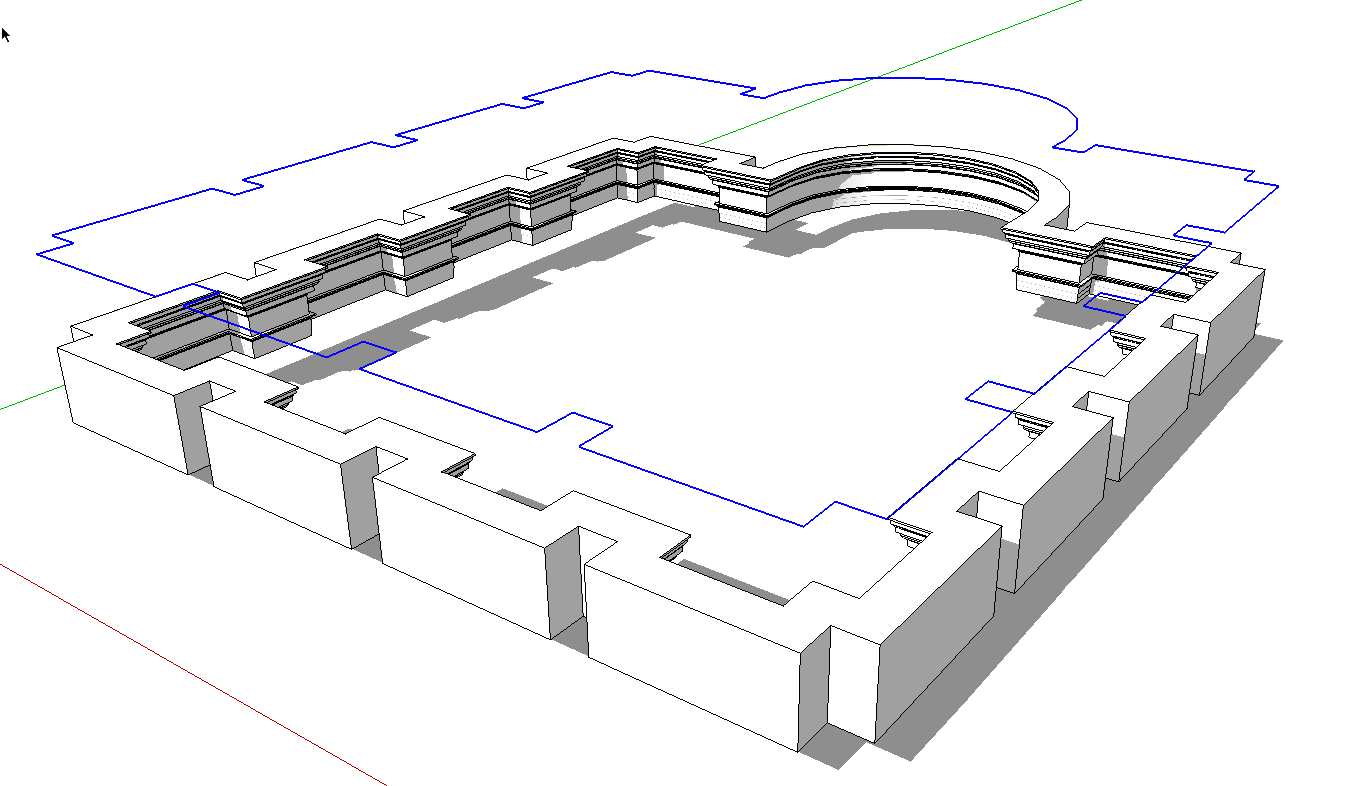
Of course it is possible, but it is a lot of work selecting all faces and edges because there are a lot of them (see example). I am probably doing something wrong then.
I know there are several ways to select multiple objects (select right-to-left, triple click,...) but those always seem to include things I don't want it to select (geometry or groups/components which happen to be in the way).
So the only way is to double click on each and every face to select it and its edges, while holding the Ctrl-key...Anyway, I will check out the profilebuilder, maybe that will make my life easier

@thomthom said:
If the operation is done in a model where other objects aren't grouped. Then it merge with other geometry. That's why I keep telling the people at my office to always group (or make components) out of everything - and organize the model properly.
You are right, I usually group most parts of the model, but things like walls (including holes for doors/windows etc) are not grouped. I should really remember doing that systematically...
PS I only use SketchUp about an hour a week or so, I am comfortable with the program but far from an experienced user... I spend more time reading about how to do this or that than I actually build things myself

-
@fluffy82 said:
Of course it is possible, but it is a lot of work selecting all faces and edges because there are a lot of them (see example). I am probably doing something wrong then.
I know there are several ways to select multiple objects (select right-to-left, triple click,...) but those always seem to include things I don't want it to select(geometry or groups/components which happen to be in the way).You've hit on your problem. Make it a practice to make a component (or a group) of things that need to remain separate. This is the only way to keep things separated in SketchUp. If you did that, a triple click with the Select tool on your molding would select only that and nothing else.
You mentioned before that you don't want to have to redraw the path for Follow Me in cases where you have to change the molding. Well, don't. After you've traced around the room once, move the path straight up above the room and the molding profile.

then, running Follow Me won't consume the path. You could make it a component of its own and put it on a "Path" layer or just save it for later until you know you're finished with it. If you want to put a chair rail around the room, you could use this same path and then cut for doors and windows as needed afterward.

By the way, when you make molding profiles as components, consider making them so they are standing vertically so when you insert them into your models later you don't have to rotate them into the proper position. That'll save you some work.
-
As Dave says keeping each "object" in the model as a group gives you a good organization. Also, keep faces and edges on Layer0 and place the groups and components on layers. (I also encourage people to never change the active layer to anything other than Layer0 - because when you start changing the active layer it's all to easy to forget to change it to the correct one.)
-
@dave r said:
After you've traced around the room once, move the path straight up above the room and the molding profile. Then, running Follow Me won't consume the path. You could make it a component of its own and put it on a "Path" layer or just save it for later until you know you're finished with it.
Ok, I never thought of that... Great idea, thanks!
The path "disappearing" was one of my issues, making it into a group ment I couldn't do a follow me on it anymore. Moving it up, using it as a path and then make a group and hide it on a separate layer will work great.This seems to have moved a bit off topic, sorry about that. But it's clear to me now.
-
How about built in file compression that can be used optionally to keep filesize down? And not just for Pro, but everyone.
-
yes, filesize is my problem too, every day!
-
Physics.
Pretty please?
Hello! It looks like you're interested in this conversation, but you don't have an account yet.
Getting fed up of having to scroll through the same posts each visit? When you register for an account, you'll always come back to exactly where you were before, and choose to be notified of new replies (either via email, or push notification). You'll also be able to save bookmarks and upvote posts to show your appreciation to other community members.
With your input, this post could be even better 💗
Register LoginAdvertisement


