Simple Artisan examples collection
-
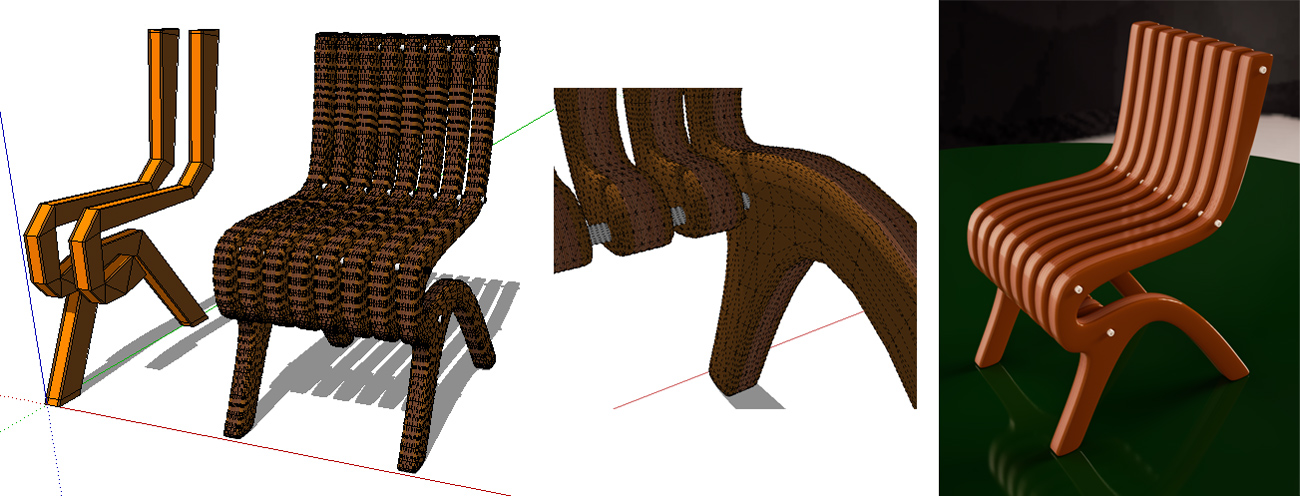
Chairs are very cuty!

-
@baz said:
That second chair is a ripper cotty, I wouldn't mind having a go at making it for real using laminated timber.
bazThank you! If it was a chair of Alvydas, it would probably be beautiful and perfect textured as laminated timber
 . Maybe this will be a task to practice the new texturing tools out there ...
 -
-
-
-
-
-
Nice overall, keep sharing
Thanks! -
lots of organic modeling tutorials..thanks
-
Nice cotty.
How would you go about this if you wanted a single face for the front and back?
Ie: as if it were bent plywood with vertical edges in the z plane.
Of course one could intersect a plane and intersect/delete, which image shows. Just wondering how an artisan would do it:)
baz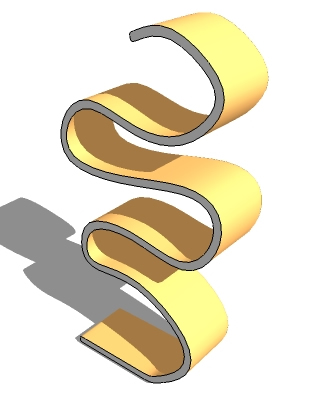
-
@baz said:
How would you go about this if you wanted a single face for the front and back?
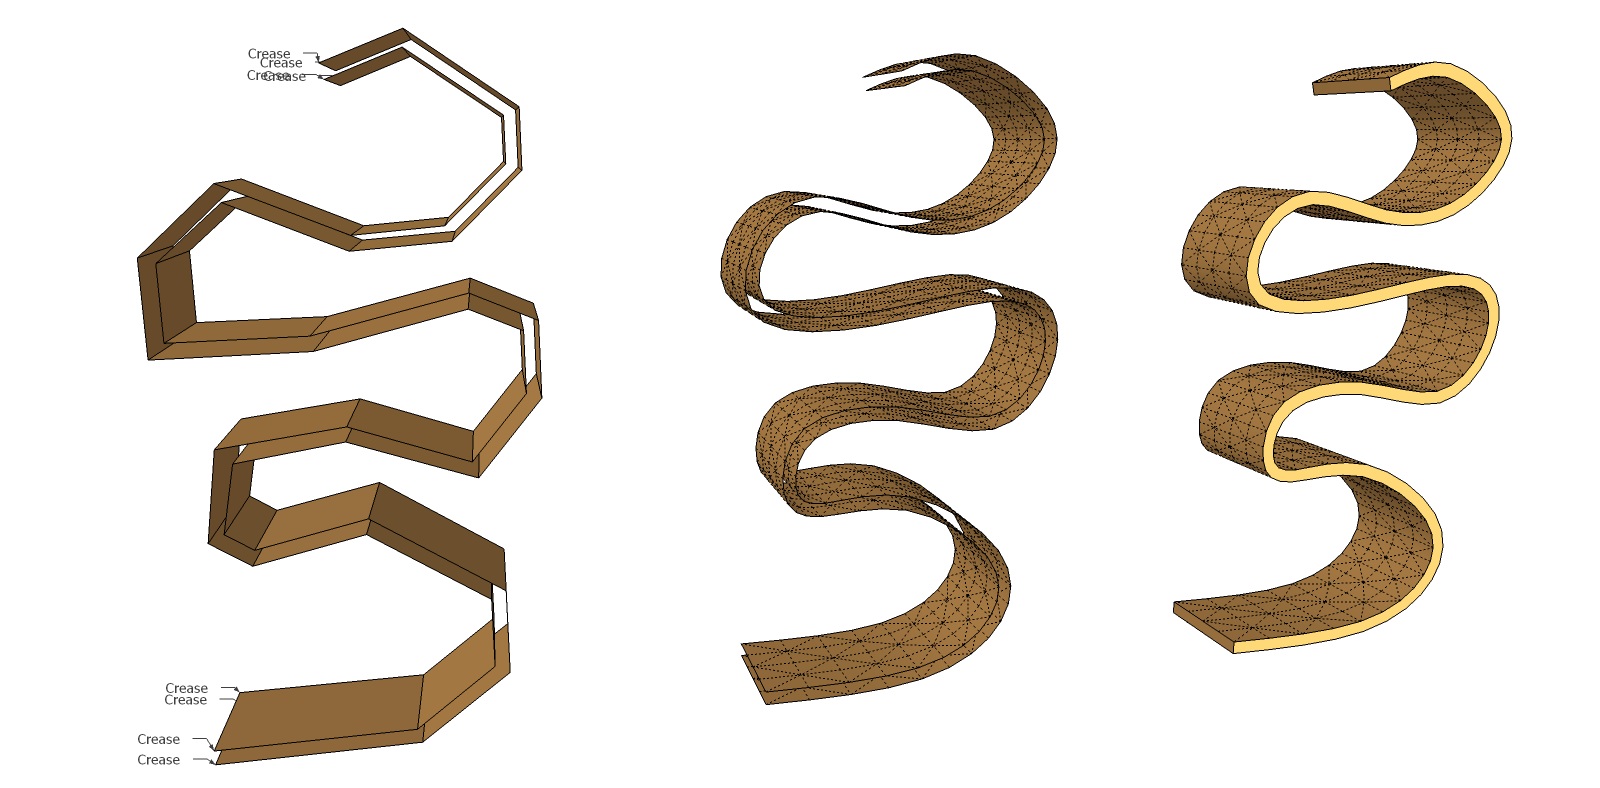
Ie: as if it were bent plywood with vertical edges in the z plane.Delete the sides, crease the corners, run artisan, then just draw 4 lines to connect the corners together.
Like so:
Awesome collection, Cotty - please keep it up! This thread was invaluable to me a couple weeks ago when I made my first real project with SDS (I haven't needed to upgrade to Artisan yet.) The project was for 3D printing, and my customer was very happy with the result, so thank you!
-
Hi Marcus, can you explain the 'crease' a bit more? The model has the labels but I'm missing the creases.
-
Hi, cotty:
Your thread is inspiring and helpful. I have tried a few of the examples, myself. Thank you for posting. -
@baz said:
Nice cotty.
How would you go about this if you wanted a single face for the front and back?
Ie: as if it were bent plywood with vertical edges in the z plane.
Of course one could intersect a plane and intersect/delete, which image shows. Just wondering how an artisan would do it:)
baz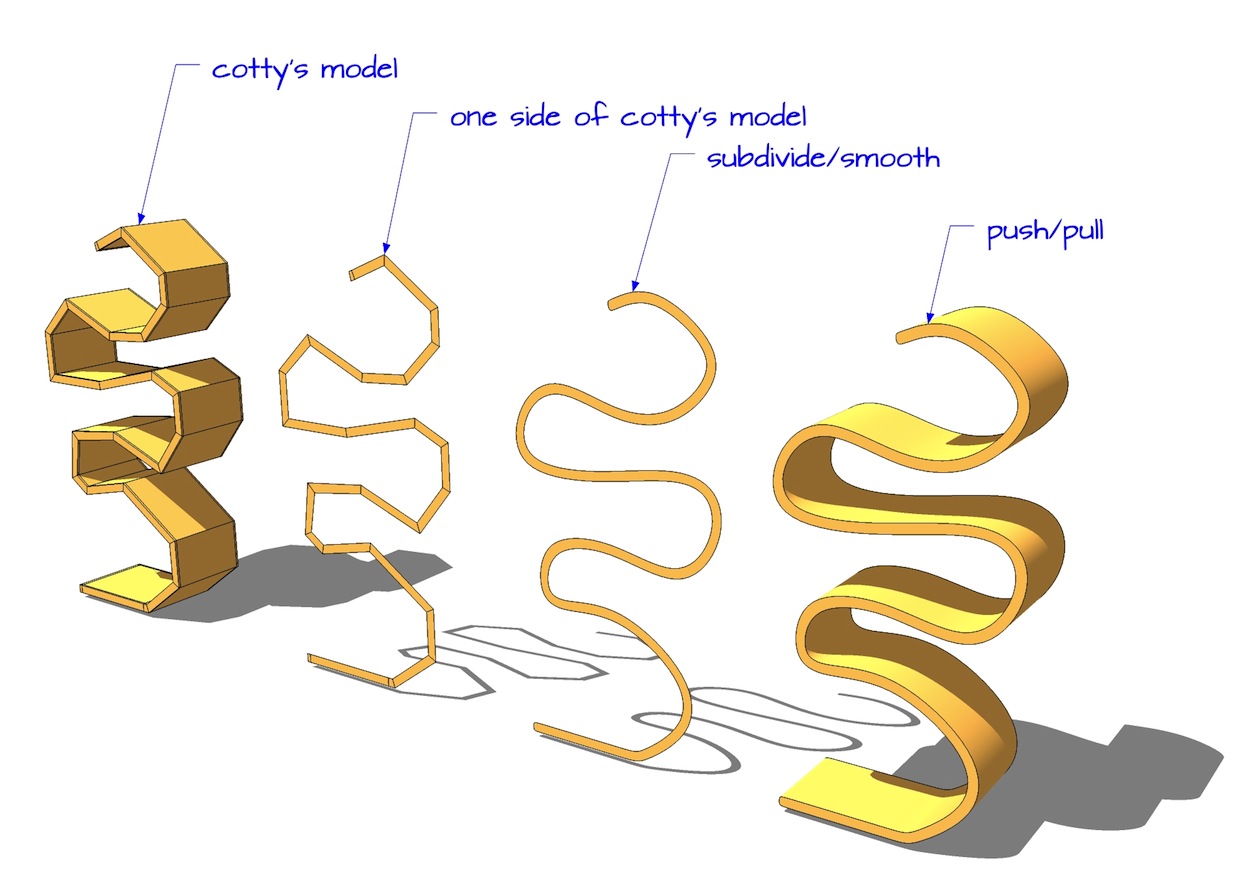
maybe?[edit] after step3, delete the face which has all sorts of coplanar lines from the subsmooth.. draw a line to form a new single face.. then push/pull..
-
@baz said:
Hi Marcus, can you explain the 'crease' a bit more? The model has the labels but I'm missing the creases.
Just use the Crease tool (at least that's what its called in Subdivide & Smooth), and click on each of those vertices. The Crease tool icon changes from Red when uncreased to Green when creased. There's not a visible effect right away on the model, but you'll be able to tell the difference after running the plugin.
...or in this case, Jeff's way is simpler, but you'll still want to crease the end vertices before subdividing so you get square ends.

-
@baz said:
Just wondering how an artisan would do it
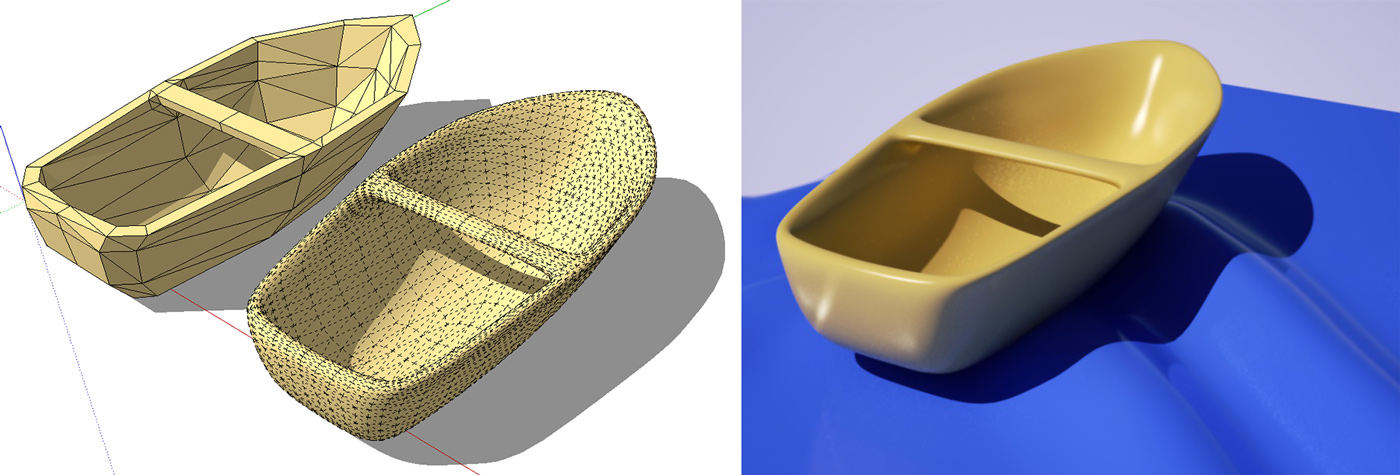
I am not shure, but I will dream of it, maybe a solution will appear ...
Here is a little boat ...
-
Thanks Marcus, got it.
-
Thanks to ninopiamonte, shri, d12dozr, mitcorb for your kind words. I'll try to add new examples regularly. If you have any ideas for simple geometries, let me know or feel free to share them here too...
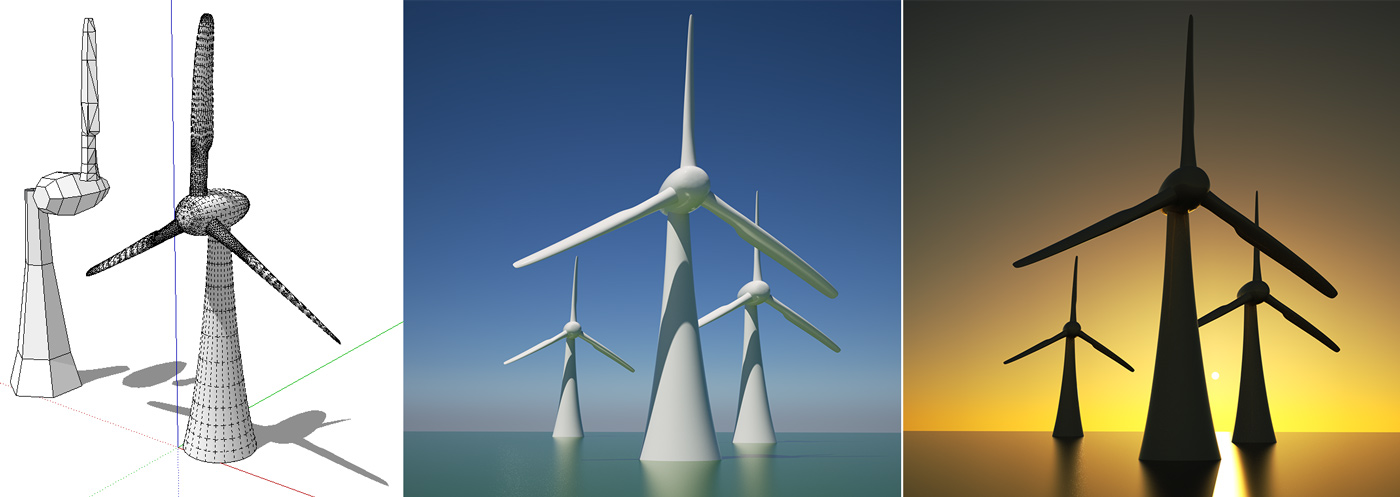
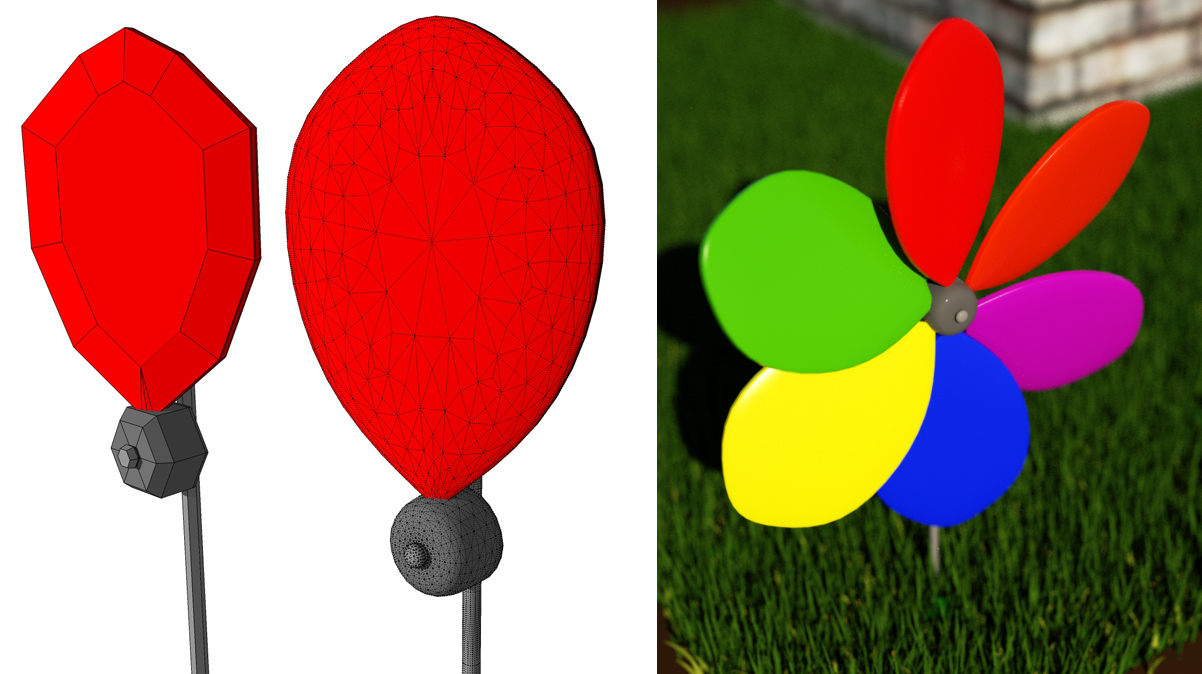
Another example: a very simple wind flower...
-
-
Hi,
Here's a little contribution to this great thread:
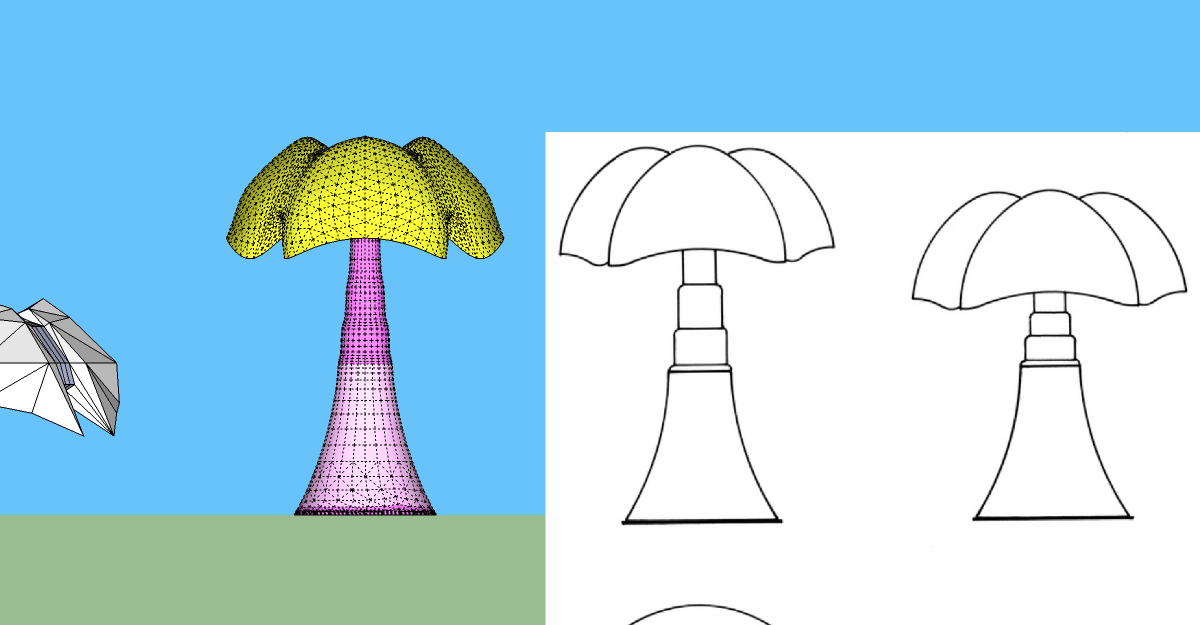

pipistrello lampThis one can be certainly found on the internet but I found this an interesting modelling challentge. Could be better but there you go.
Thanks a lot for starting this Cotty!

Nicolas
Advertisement
