[Ongoing-Tutorial] How to make a car using SDS/Artisan?
-
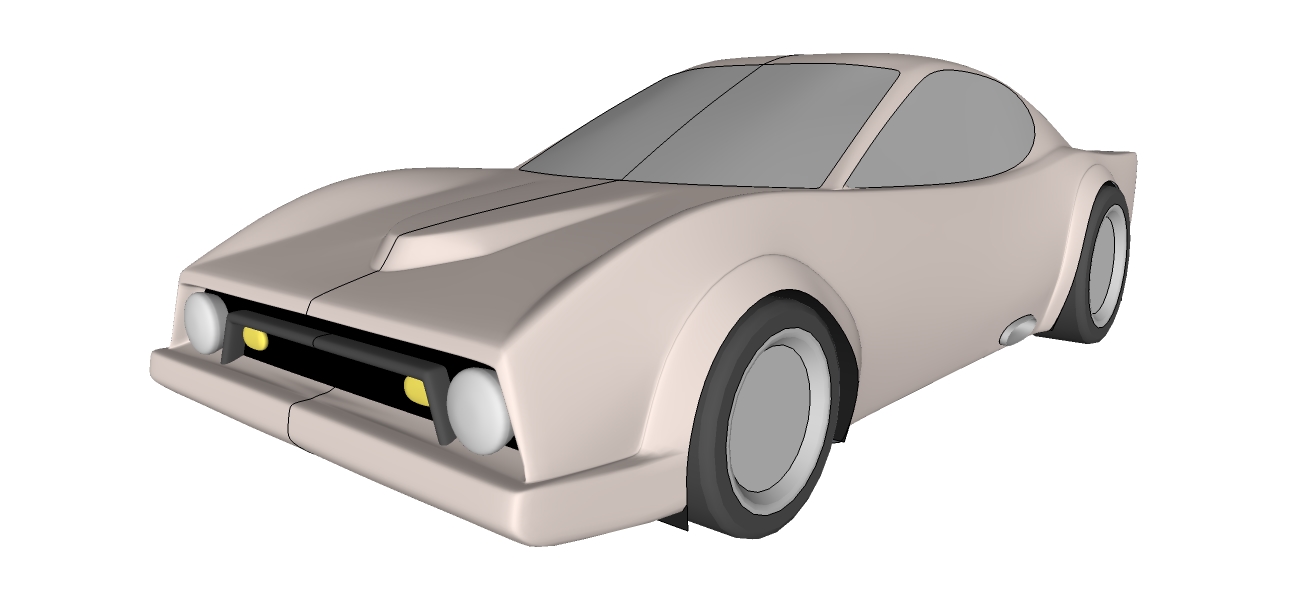
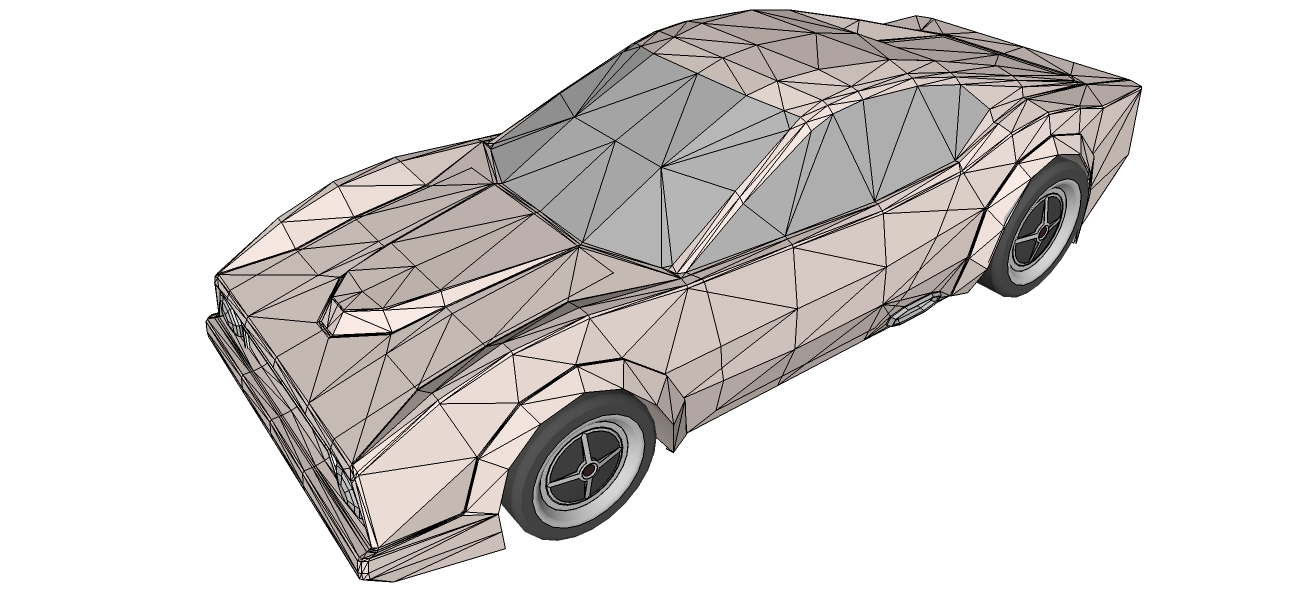
Hi,Mitcorb. Yes I post images as I proceed. The car is now in the same state as shown above
I normally don't keep any files up until I have the car fully stitched.
After that I save separate files for most versions in both low poly and smoothed. Take a look at some versions of my cars here http://www.deviantart.com/download/150756465/Sunbeam_Evolution_by_Marian87.jpg or the more up to date video http://www.youtube.com/watch?v=gomKM8wGUII and here http://www.deviantart.com/download/152264013/AXA_Evolution_by_Marian87.jpg -
As I said above now is the best time to modify the design, it depends on each of you the direction in which you want to take the design.
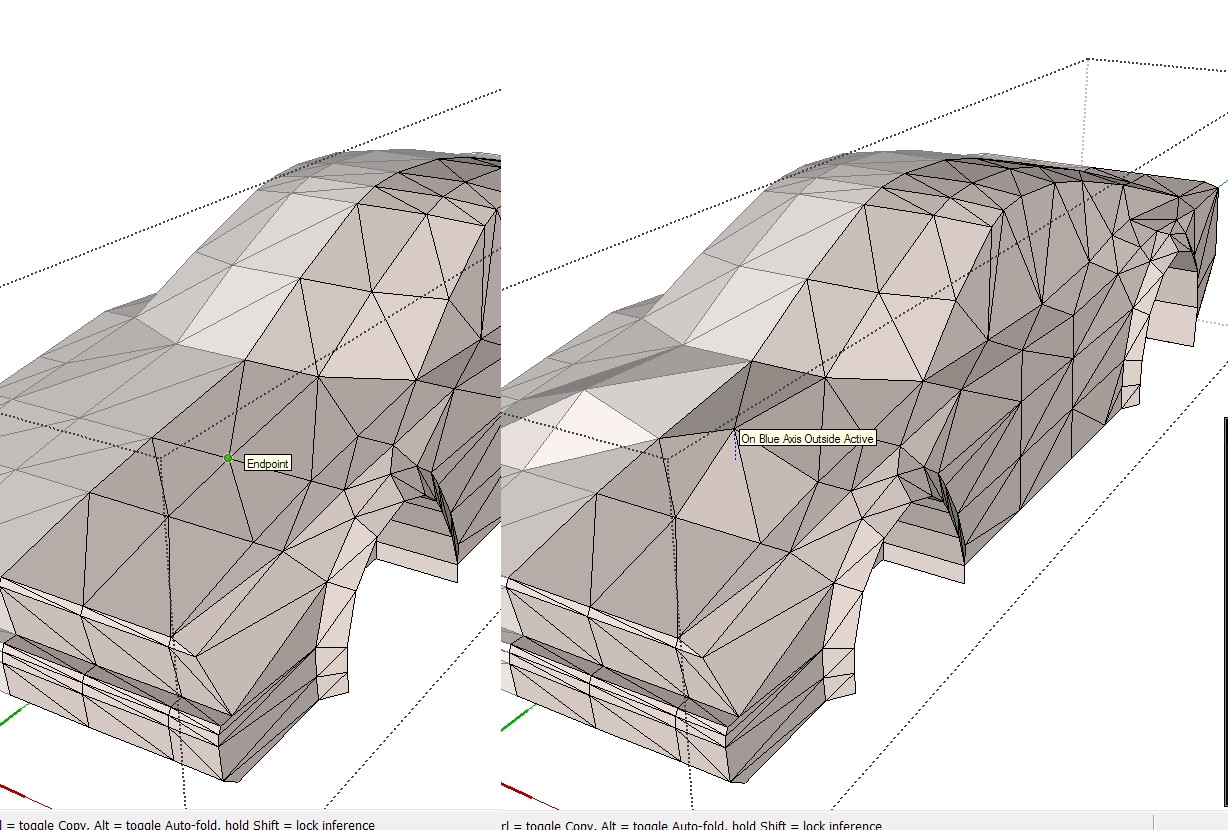
Because editing vertices is especially important for tweaking these kinds of cars I'll go over how you do that with SU in case some of you didn't know it can be done. Use the move tool over vertices until a green dot appears, then click and hold and move it in the direction you want.
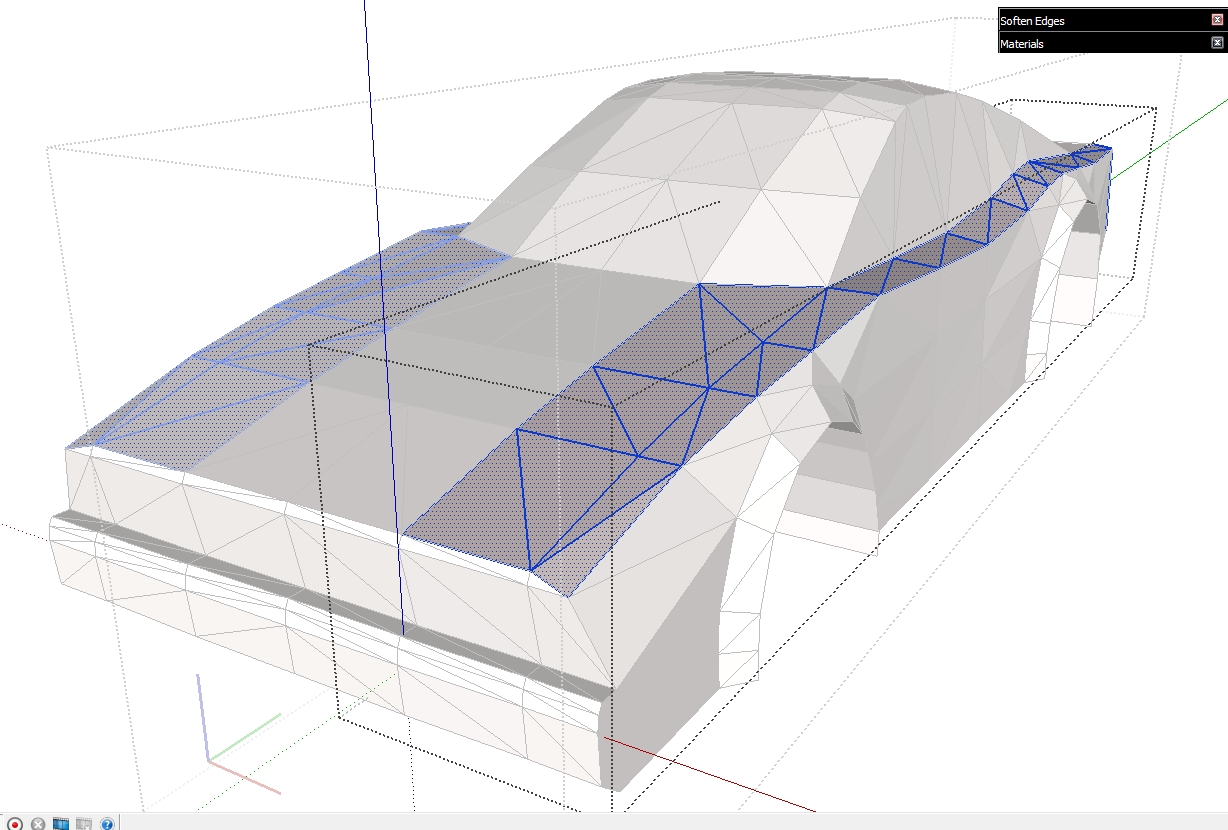
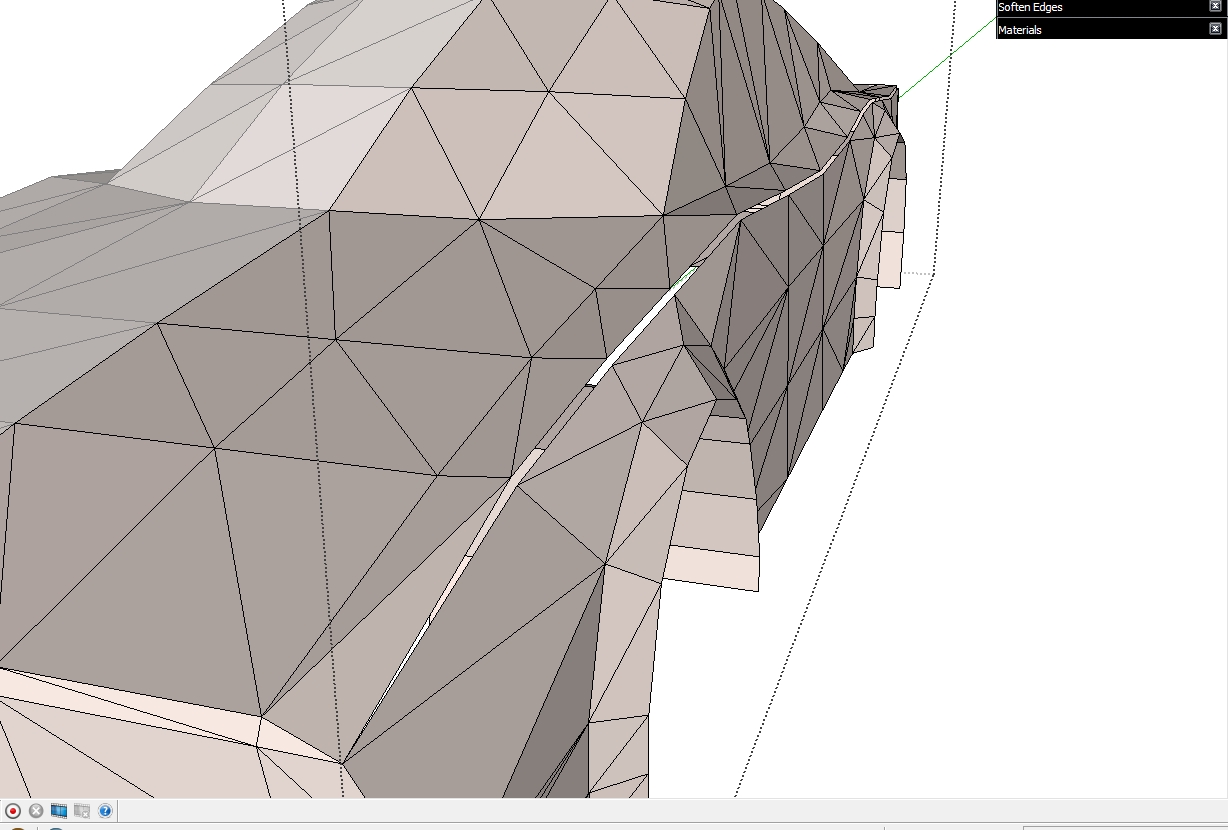
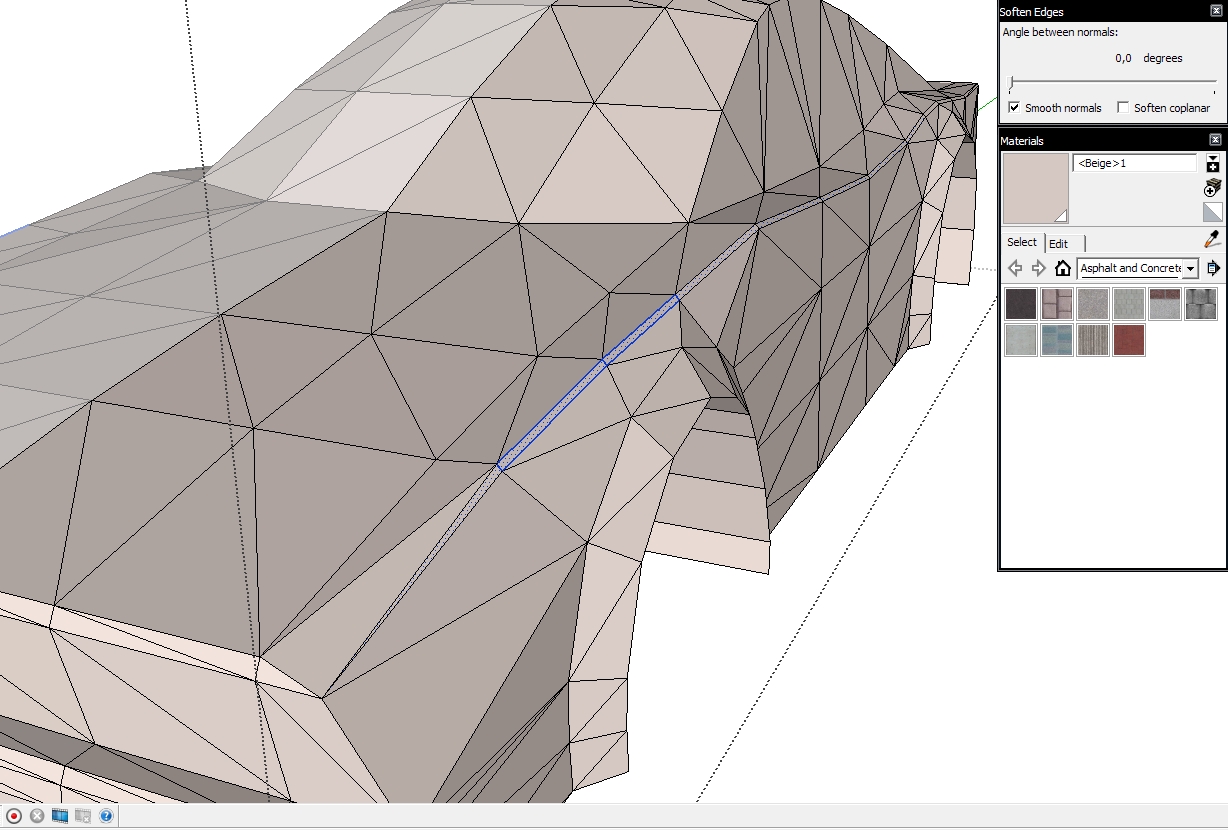
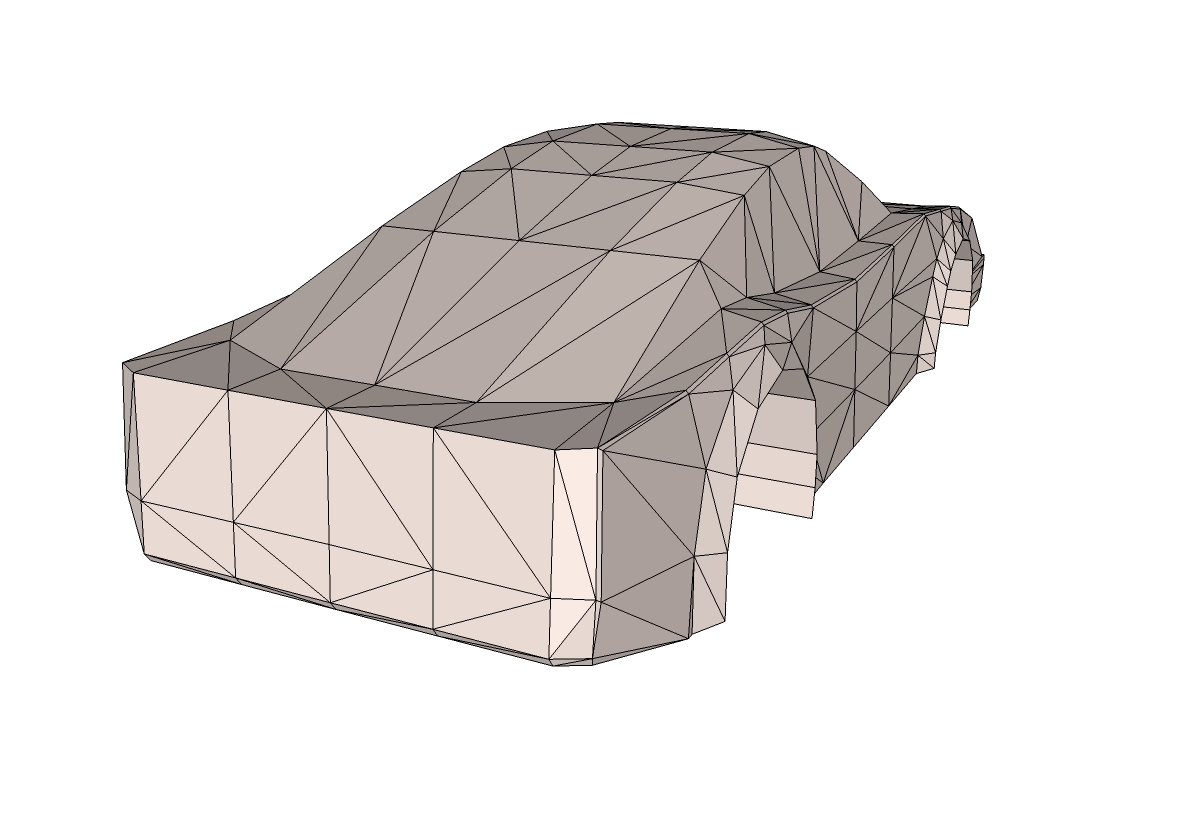
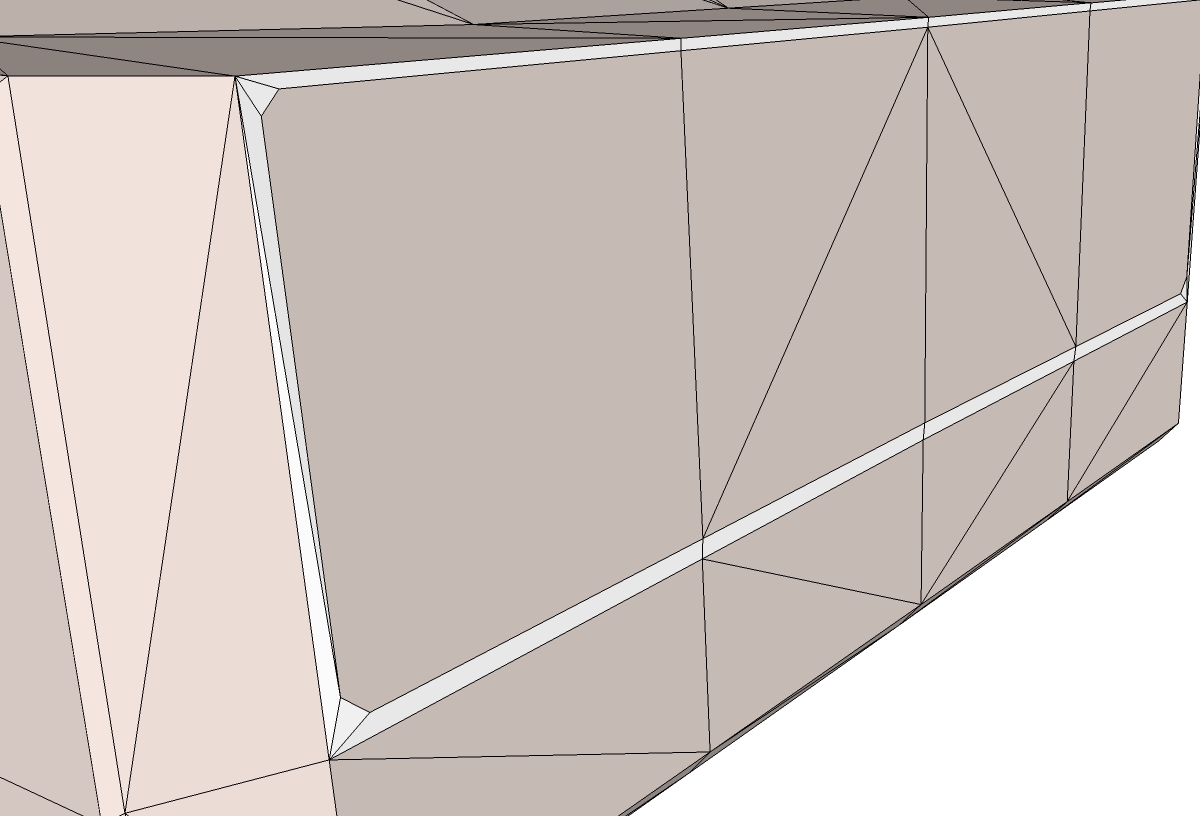
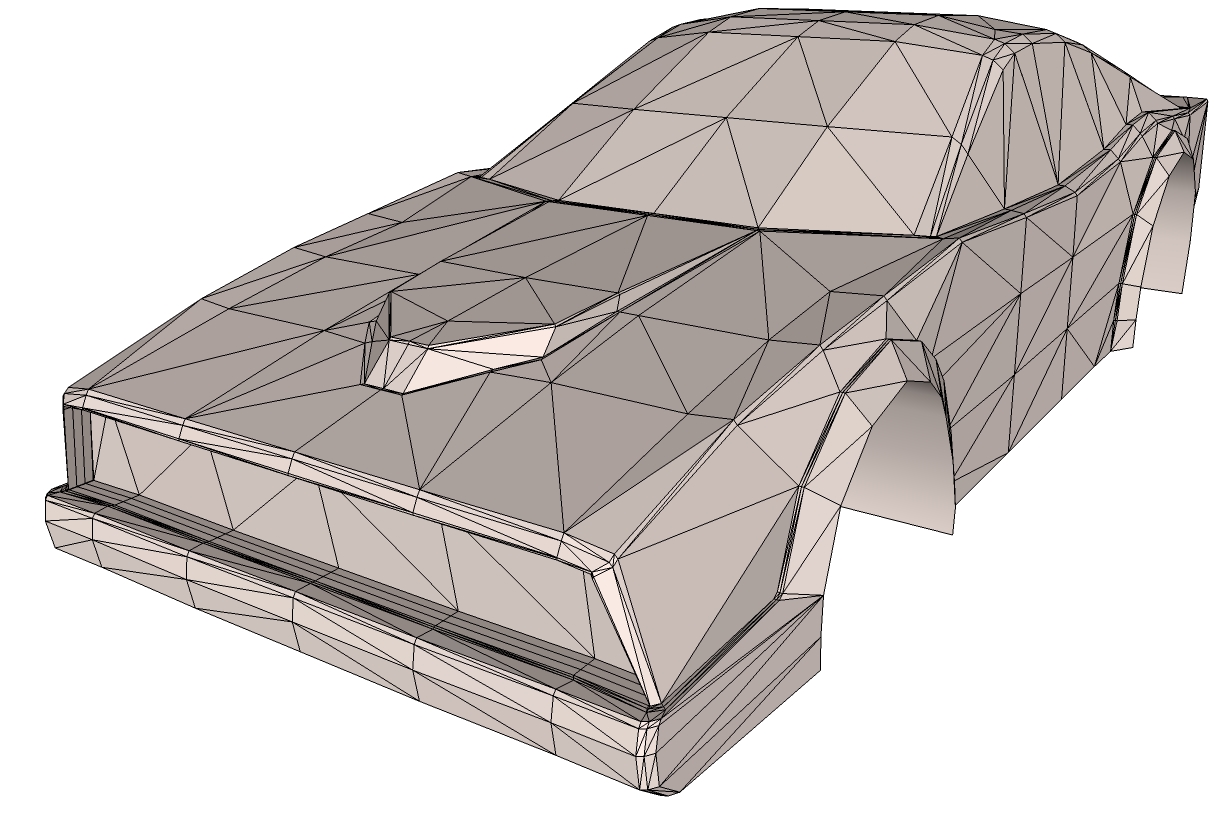
Another important aspect of modelling for SDS is the concept of "doubling" lines to have crisper lines once smoothed. In some cases you'll need to triple the lines to get an acceptably crisp line.
Select the geometry along the line you wish to double make it into a group, then select only the lines and move them to the side a bit or up or down depending on the mesh. After doing this you can explode the group and start stitching the gap. Now you can see the difference in the smoothed mesh.
-
-
-
@deanlegg said:
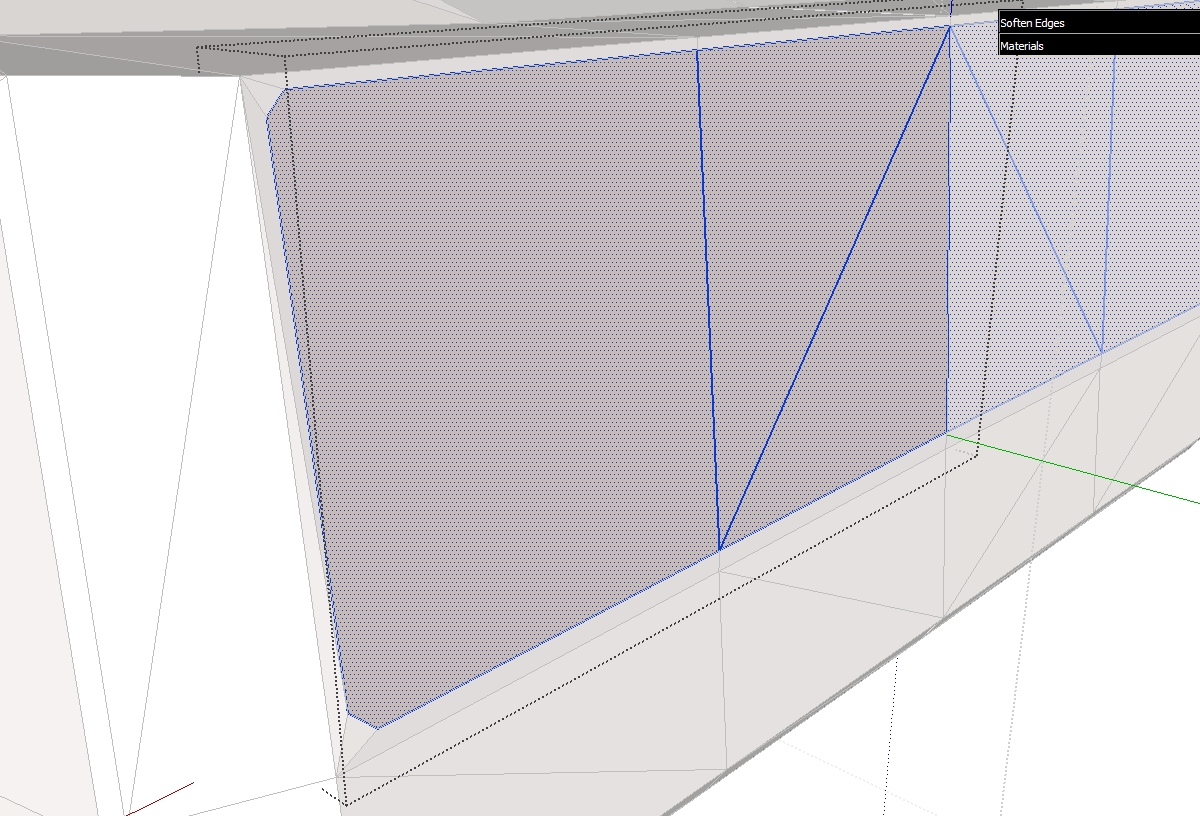
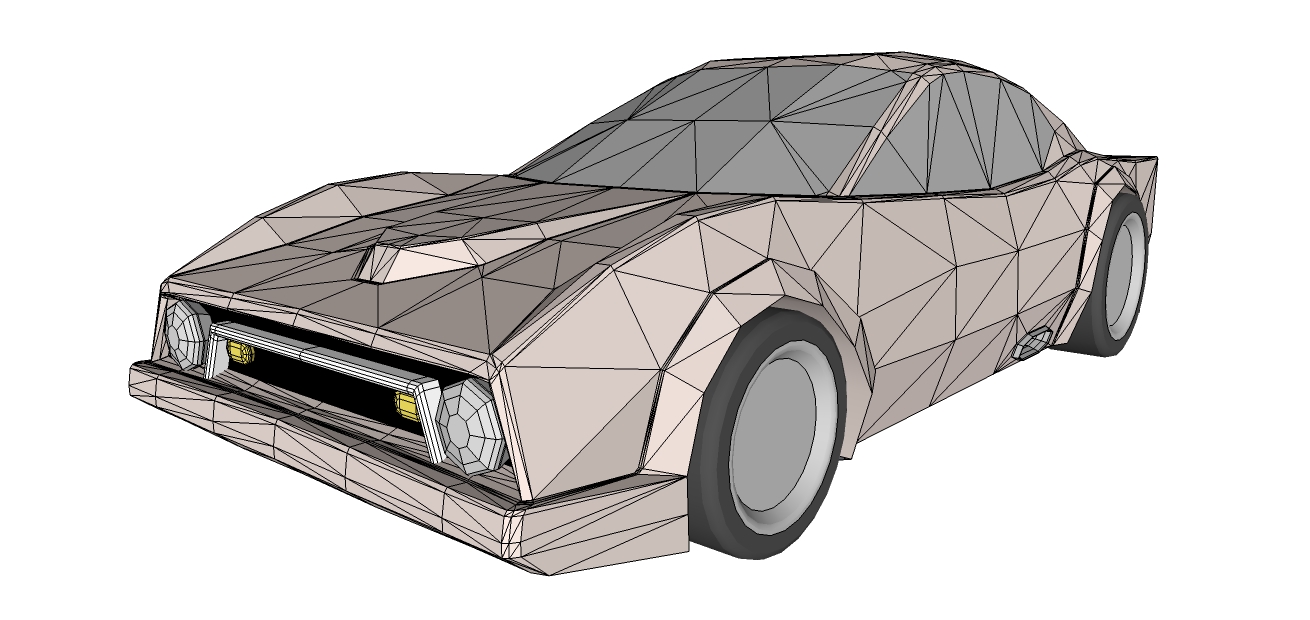
Can anyone tell me the little problem on the hood?
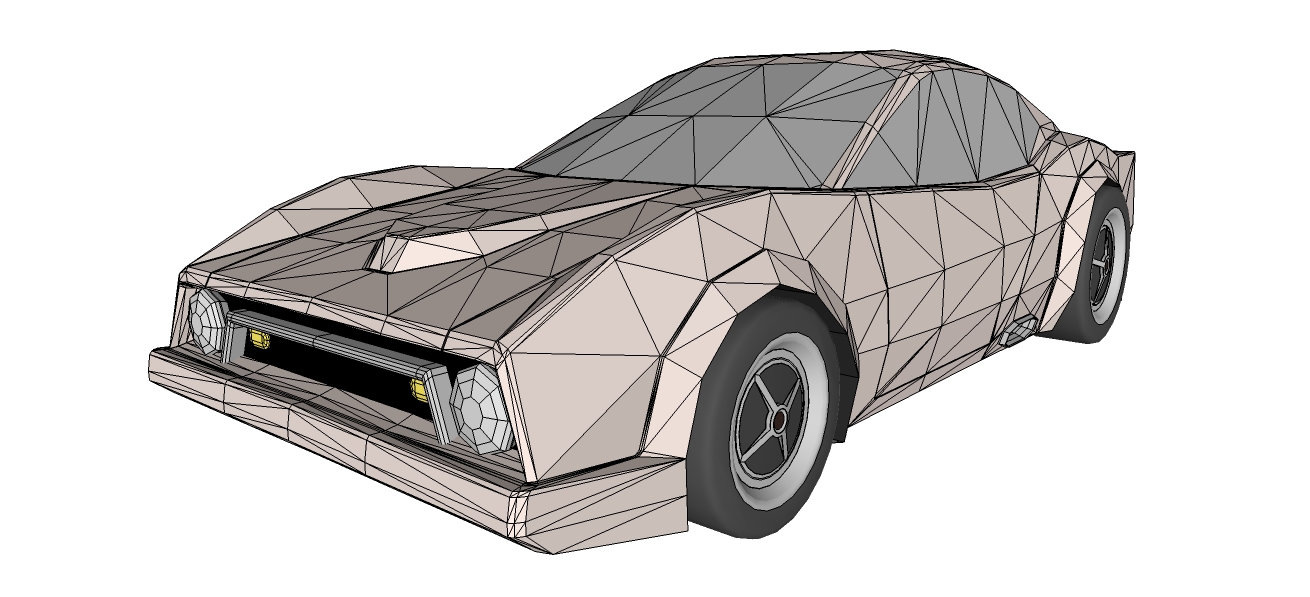
The problem on the hood is related to what I said a few posts up. Look for he NO and YES picture hope that makes it clear. You should connect all lines and not let them connect in the midlle of a face like you have on your hood.
-
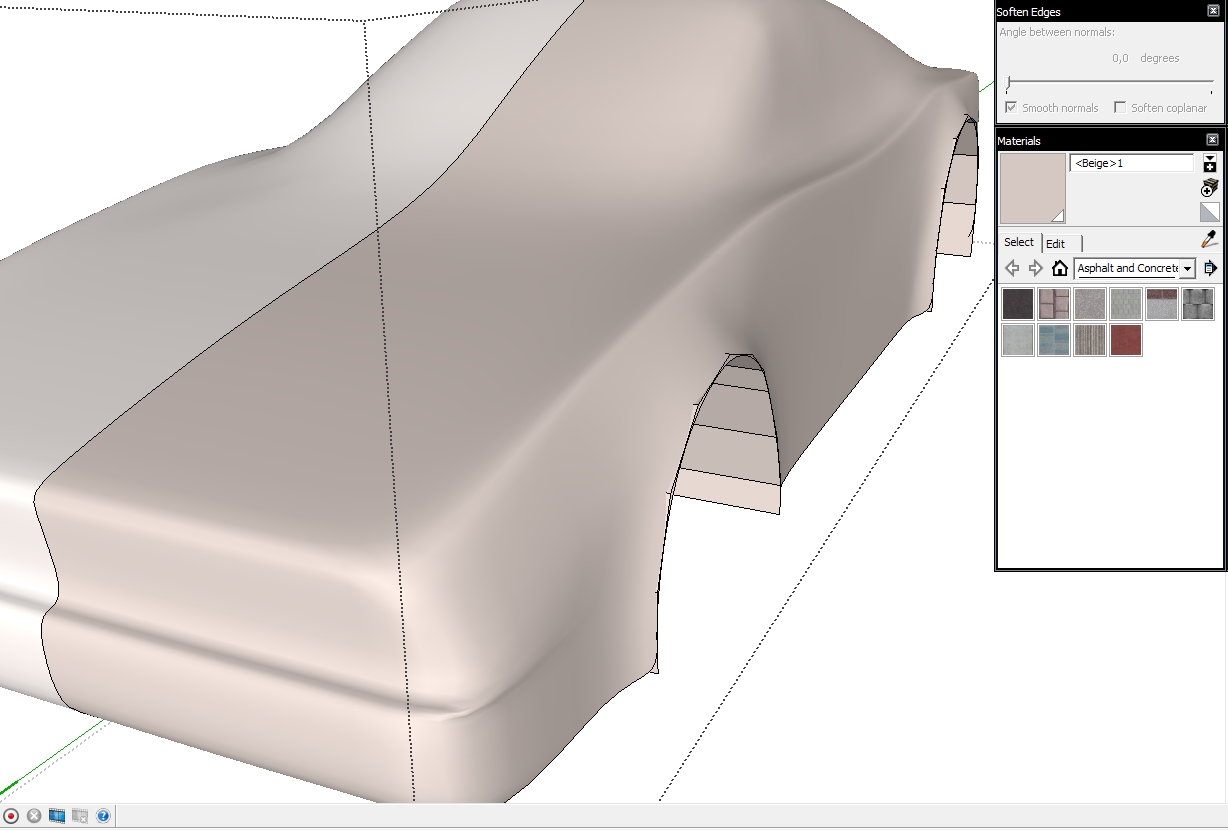
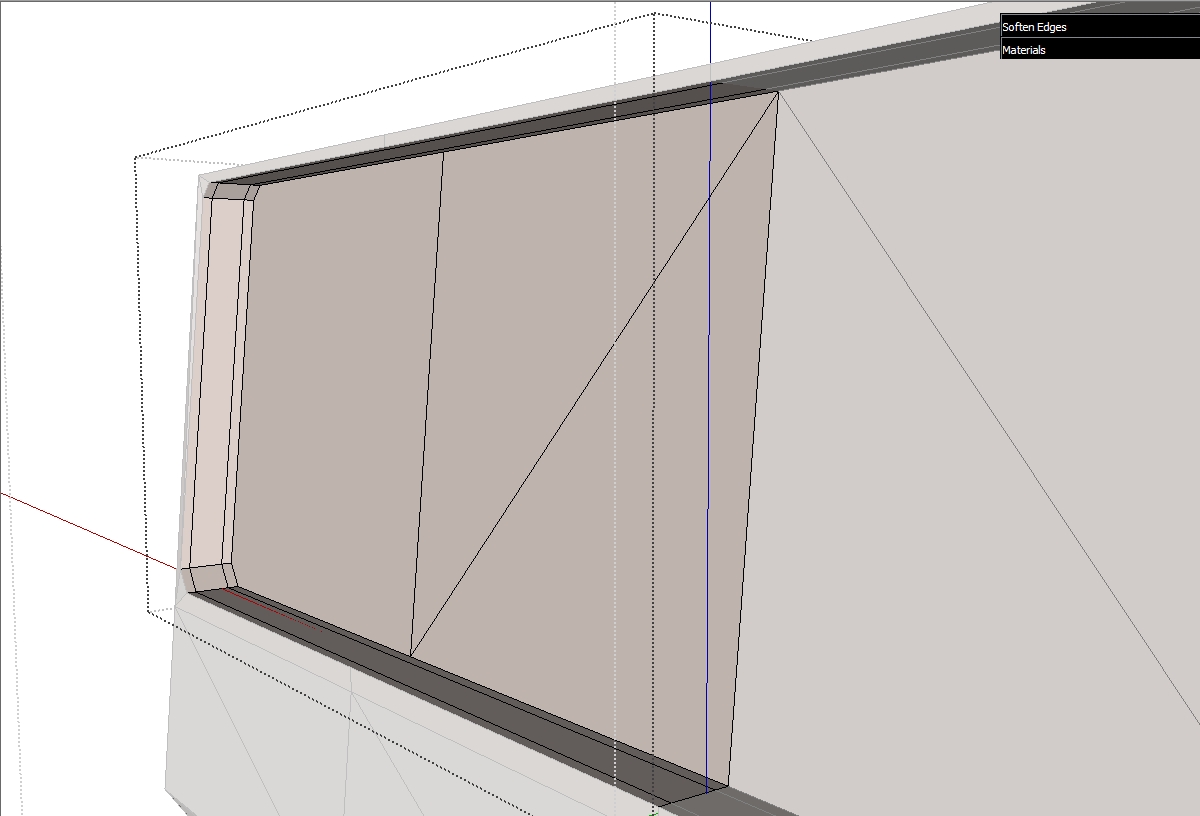
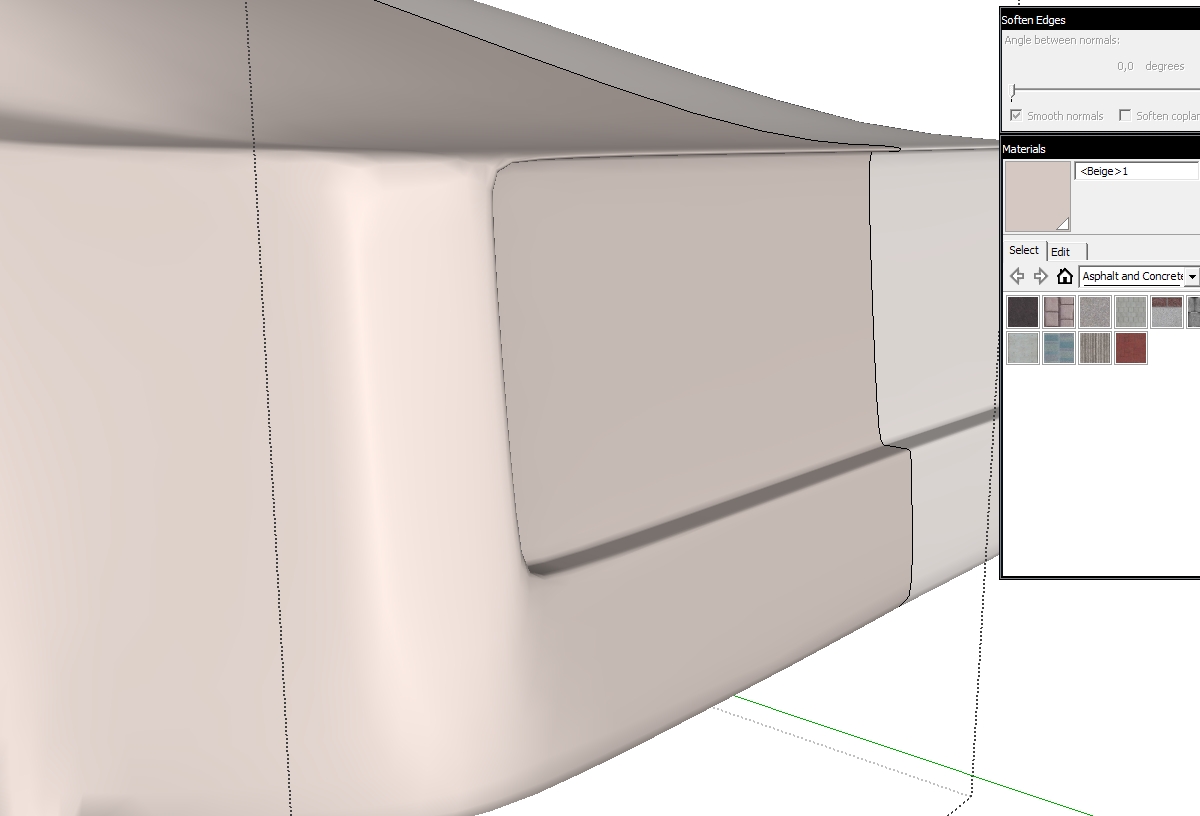
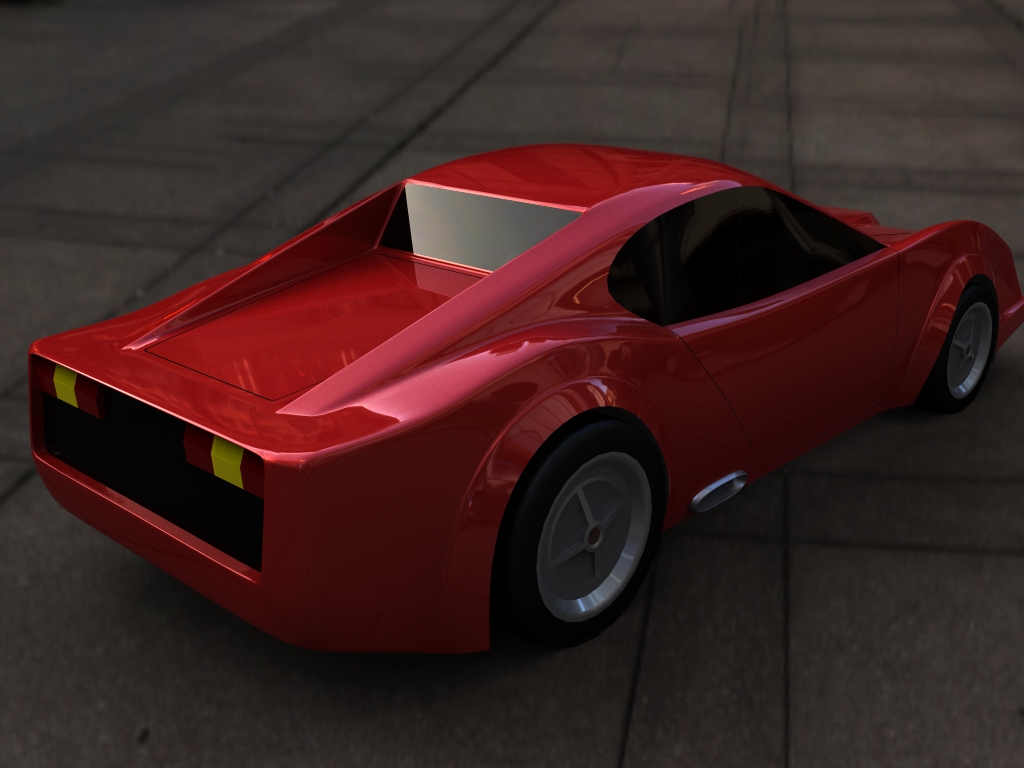
Today we'll be addressing the issue of how to keep edges square on ducts, inlets, concave openings etc.
In the example I used I made opening in the back of the car. The first steps are similar to how we "doubled" the lines. Select/group/move lines/ungroup and stitch. Also remember that if you want crisp edges you'll have to double the outside and inside ones.
In some places doubling is not enough to keep the corners crisp, or the shape square. To fix this you have to cut the corners like in my pics below. Imagine that you take a square and cut its corners and make it into a hexagon, that the process here. You'll also have to tweak, fiddle and delete some lines around the corners in order for the shape to smooth correctly. You can control how crisp those corners become after smooth by bringing the lines in the corner close together.
That holds true in most all cases of doubling, the closer the lines are the sharper the smoothed outcome.
-
Marian,
Thanks for your tutorial! I'm following along. How do you create your double lines? Do you use a front and rear imgage as well?
-
@marian said:
Select the geometry along the line you wish to double make it into a group, then select only the lines and move them to the side a bit or up or down depending on the mesh. After doing this you can explode the group and start stitching the gap.
-
@lapx said:
Do you use a front and rear imgage as well?
Sorry I didn't answer this one until now, I was in hurry last time.
Simply put, no, I don't use anyother pictures for the front and back. That's because using this method you are not making an accurate representation of an existing car. It is meant to make it easier to start modeling a car, but nobody says you can't do it differently. This is the way it works for me but I encourage you to experiment or use other methods.
-
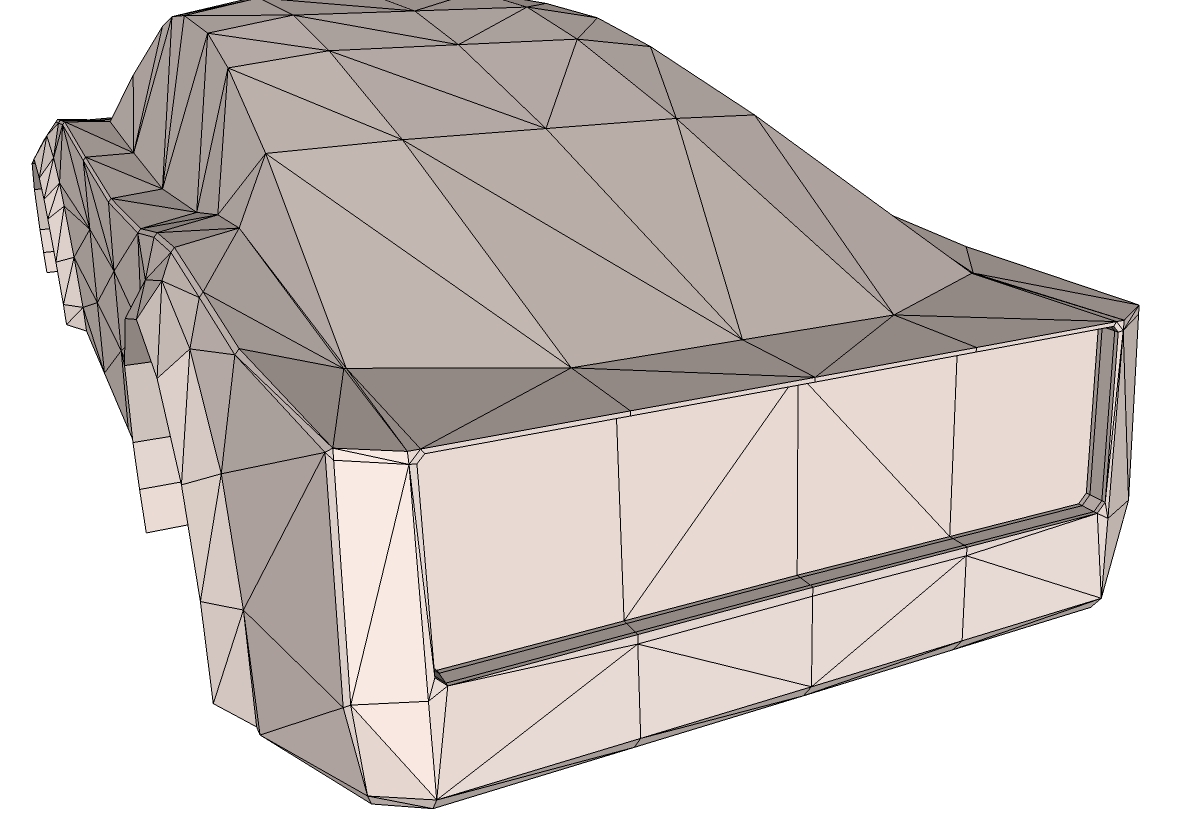
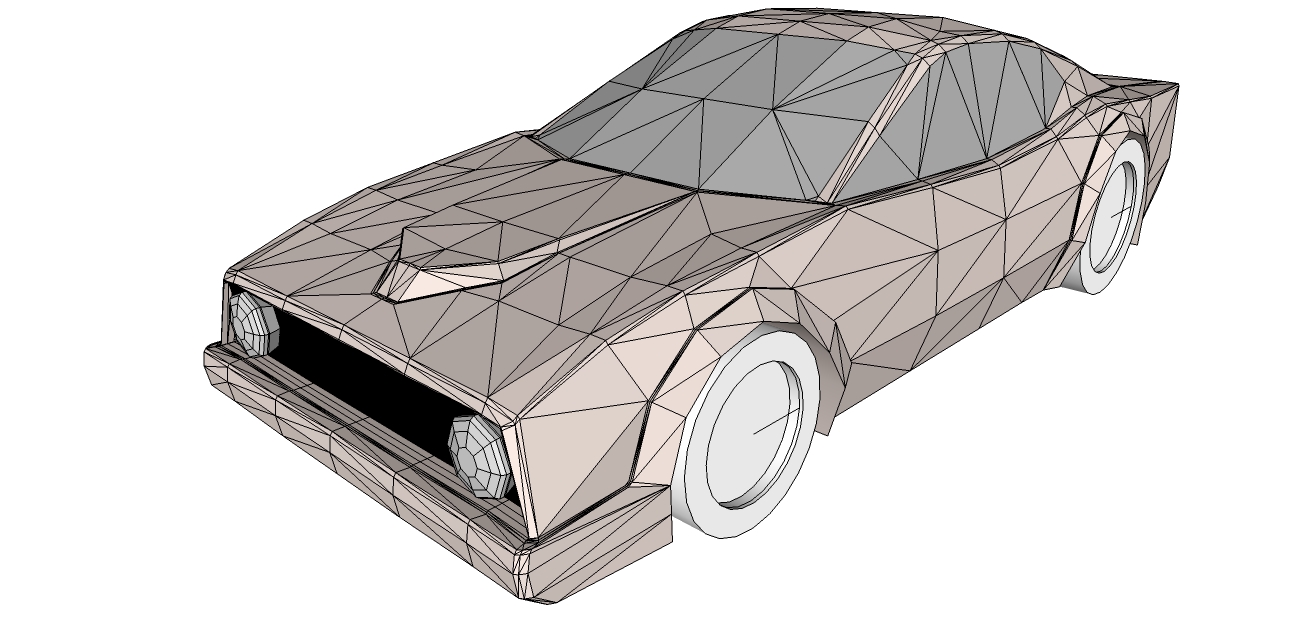
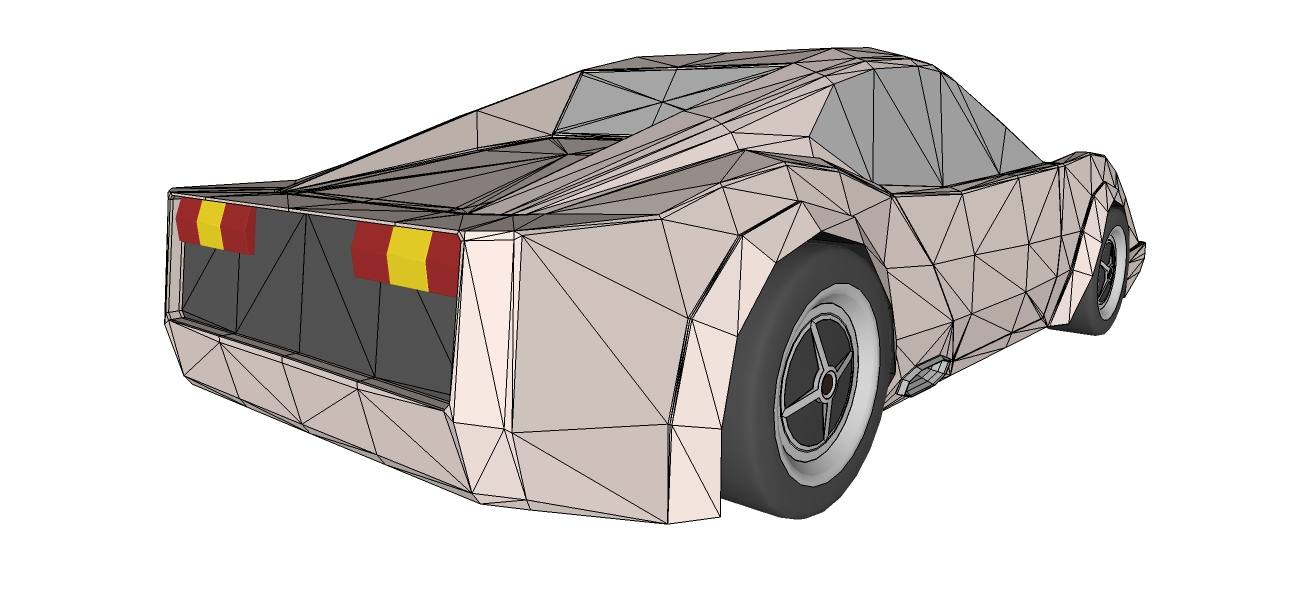
Some more progress. Not much to explain here. I just doubled the lines more so the shapes make more sense.
-
-
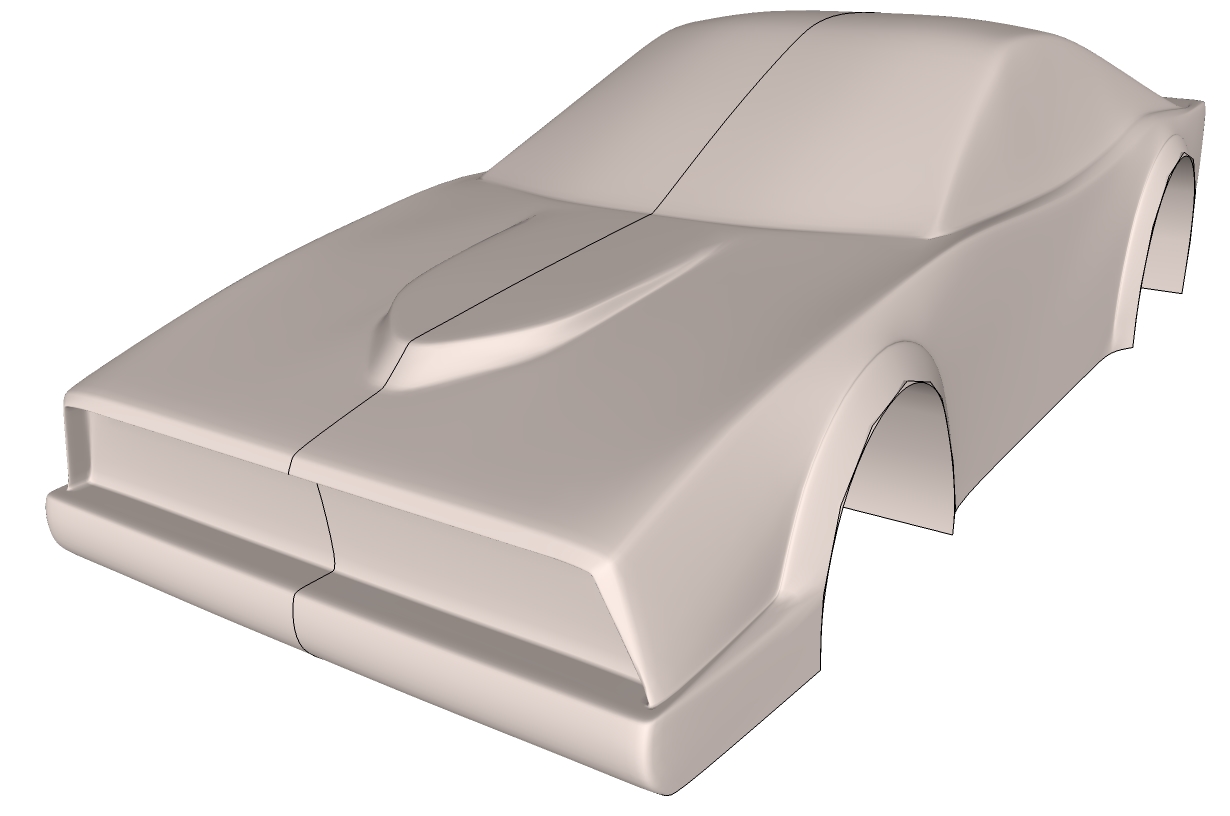
Some more progess.
I'm not sure if all of you who watch this thread understand what and how I do stuff, so please ask any questions you may have.

-
-
-
how do you make the windows so that they are colored differently??? thanks for this btw its awesome
-
@rappsnitches said:
how do you make the windows so that they are colored differently??? thanks for this btw its awesome
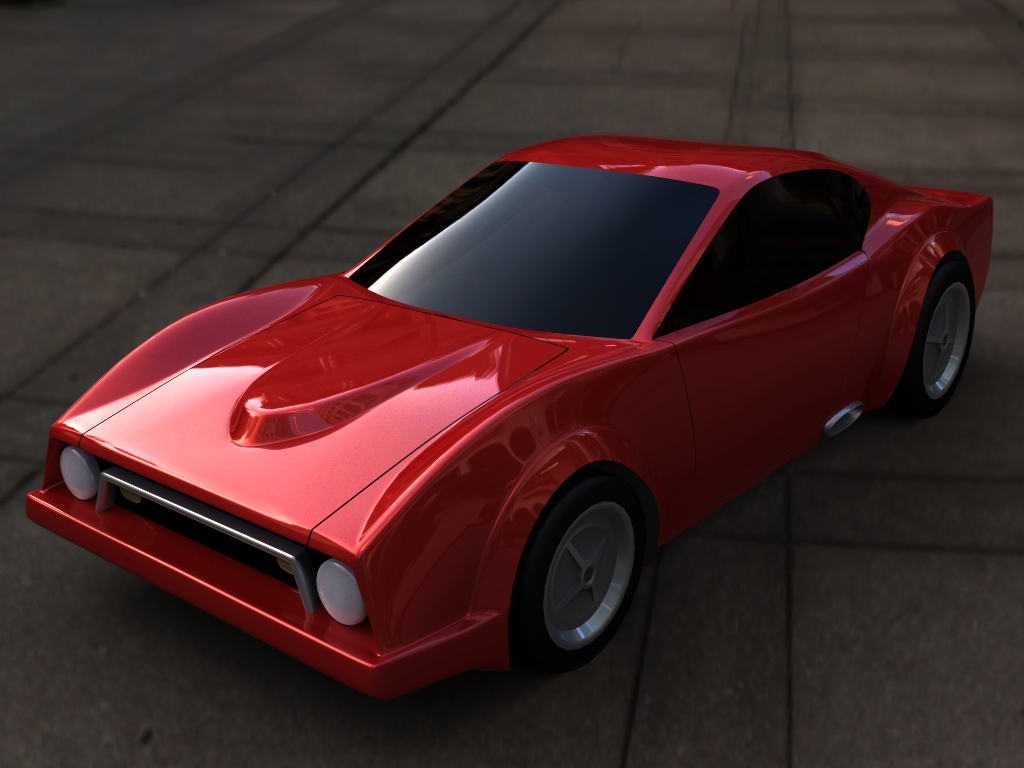
You select the paint tool, choose a color and then just clik on the surfaces you want to be colored.
-
But make sure you have 'Show Hidden' turned on.
-
I don't have the new artisan, i have the old one....do you know how to do it then?
-
@rappsnitches said:
I don't have the new artisan, i have the old one....do you know how to do it then?
The old one is as good as the new one for this tutorial. The new one has a few more tools but are not used here.
-
Where can i find show unhidden?
Hello! It looks like you're interested in this conversation, but you don't have an account yet.
Getting fed up of having to scroll through the same posts each visit? When you register for an account, you'll always come back to exactly where you were before, and choose to be notified of new replies (either via email, or push notification). You'll also be able to save bookmarks and upvote posts to show your appreciation to other community members.
With your input, this post could be even better 💗
Register Login


Advertisement