Interior Lounge Tips Please
-
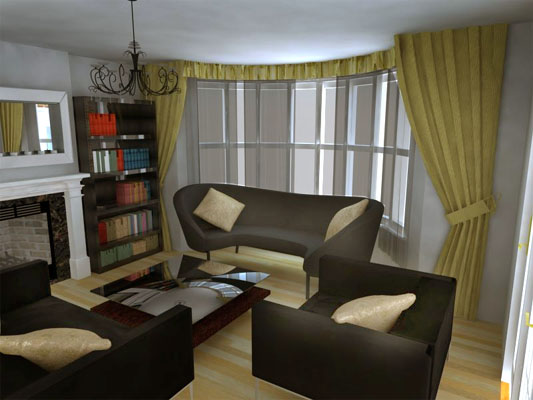
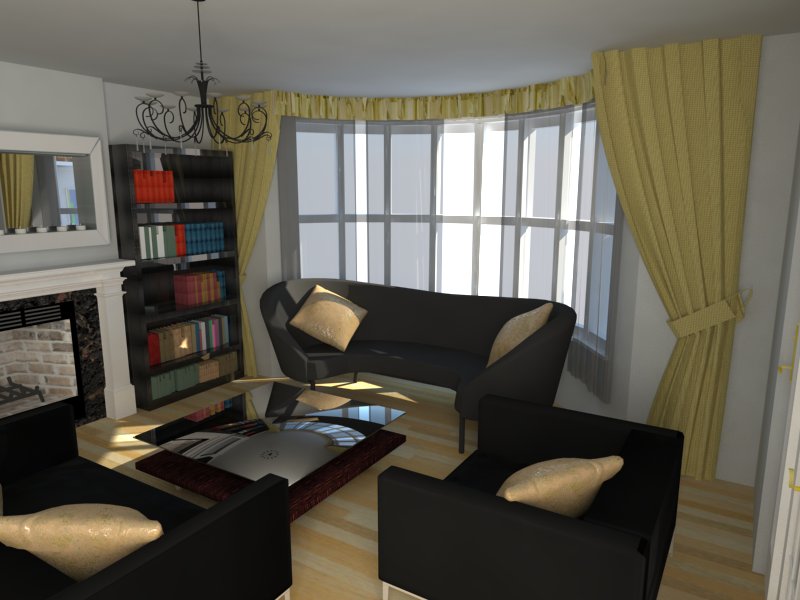
Thanks mate but im trying to avoid indoor lighting for this image as i intend to add indoor lighting for the evening indoor image.
-
How do you have your GI lighting set up? One tip would be to change the GI material from sun/sky to "none" and increase the multiplier some more. Make sure "default lights" in your general options is checked. Fernando Rentas has some good tutorials on this.
-
Even when arch photogs shoot a space, they bring fill lights with them. I would at a bare minimum add a planar light right behind the camera and set it to shoot off a slightly warm color. This will help balance the bluish color of the sky. It will really help the interior and will take 10 seconds to setup. Most folks setup planar lights at all of their windows because Vray is not going to toss enough light into the room by itself.
-

Do a couple of minutes of post pro.
-
@ Andybot - Ive just tried your technique but the GI WITH sky came out with more clarity and depth. Thank you for your advice though and il have a look at Fernando Rentas tutorials also.
@ valerostudio - I have added a large planar light to the window however this just blocked off the suns light and i was left with less sunlight on the floor and was a not as realistic as without a large planar light. I have also tried adding a light behind the camera and this worked very well with a Planar light warm colour. Thanks mate!
@ Roger - Nice one mate i will be touching up my render on photoshop once im done and post it up so you guys can have a look at the final outcome.
Thanks again all!
-
[quote="junior_architect"]@ valerostudio - I have added a large planar light to the window however this just blocked off the suns light and i was left with less sunlight on the floor and was a not as realistic as without a large planar light[quote]
Did you have it set to invisible? It shouldnt block any light because it should not cast shadows.
-
@ valerostudio - Yes i did set it to invisible but i just realised "Show GI only" was selected also...silly mistake...
-
Junior,use this visopt. I know, it's not constructive, but, look at some settings, identify the major differences.
What I find amazing about it, is that there are no major tweaks comparing to the default settings. Most important it seams to be color mapping, and camera settings.
Cheers!
-
Never bother changing the gi from 1 and use standard vray sky.
Camera set between 30 and 60
No lights used in this scene, just make sure you get the sun coming through the window.
hope this helps
Matthew

-
@ stefanq - could you send it again please...im getting a corrupt file - thanks
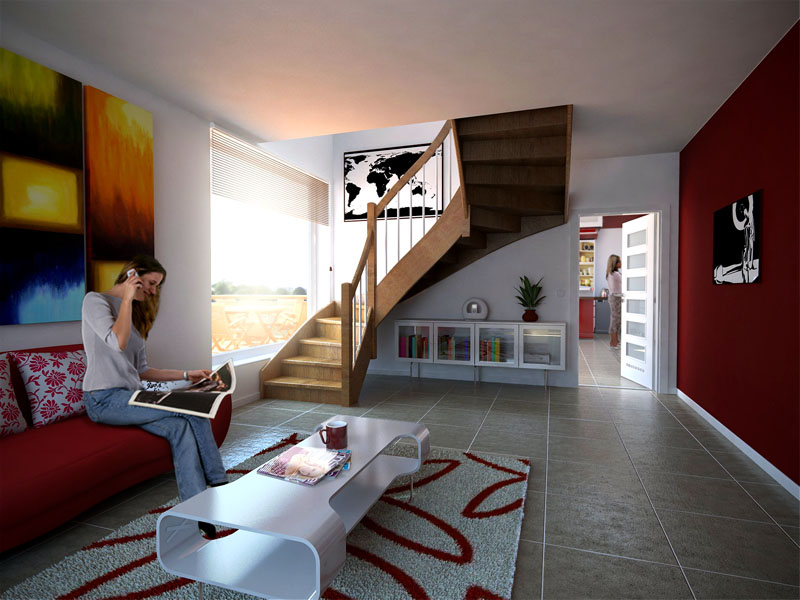
@ bhbarchitects - WOW thats the type of render i am looking to achieve! Is the furniture rendered in VRay or Added via Photoshop? Oh and excuse my basic knowledge, on the camera drop-down which do i change to between 30-60?
-
We should note that @bhbarchitects rendering is fantastic and is so because it follows the 3 rules of a good rendering 1. Detailed model 2. correct materials 3. good lighting
Now I am all for natural lighting, but from the looks of the model, I think @bhbarchitects has a lot more openings letting light into his view. @ bhbarchitects,are there windows behind the camera? A room can be lit solely with GI, but only if the model and room setupo allow for it. -
@unknownuser said:
We should note that @bhbarchitects rendering is fantastic and is so because it follows the 3 rules of a good rendering 1. Detailed model 2. correct materials 3. good lighting
If I may add to this....
-
Good model, not necessarily detailed, as one can get away with extreme detail with clever texturing and UV mapping.
-
Textures/materials, this can make and break a render, no point in a good model without good textures, correct UV's, right reflections, subtle bumps, etc.
-
Lighting, faked lighting is the first thing that makes a render look like a render and not a photo, IMO less is more, not saying less light, but less light sources. I shake my head when I see a great render ruined by too much lighting, day time renders with lights on inside, not every light in the house needs to be on, let there be some dark areas.
-
Composition, a great render can be ruined by a stupid camera position or extreme FOV.
-
Talent...you either got it or not.
-
-
These may come in handy: http://www.youtube.com/results?search_query=%22The+Complete+V-Ray+Rendering+Process+%22&aq=f
-
Solo is 110% correct. There is a huge difference between a rendering and a great visualization.
-
@valerostudio said:
bhbarchitects,are there windows behind the camera? A room can be lit solely with GI, but only if the model and room setupo allow for it.
The scene is only lit by the natural doors and windows in the scene, there is a door behind the camera and bi-fold doors in the kitchen/diner.
Most of my work has to be more photoreal than overly artistic (booo!!!) I have to work with the building i am supplied so no false openings or missing walls.
junior-architect shutter speed is 30-60, 90% of the time i try and keep the default on all the other camera settings.
Thanks all for the nice comments, it's only through feedback and advice from you that i have progressed.
Keep up the good work
Matthew
-
@junior-architect if it's not too late, post the model or section you want to render on the site and maybe some of us can have a look and try and give some tips.
Matthew
-
Thanks for all your help here is my latest render...what do you all think? be as honest as possible please, constructive criticism welcomed!

-
@unknownuser said:
@junior-architect if it's not too late, post the model or section you want to render on the site and maybe some of us can have a look and try and give some tips.
Matthew
My model is about 90 mb lol! how do i decrease the fil size...Rendering Time is taking ages (about 30 mins per render) most times it takes ages to respond of even rotate when not rendering.
Here are the details under Model info - Statistics -
Edges----------------------1715497
Faces----------------------717820
Component Instances--------37201
Guide Points---------------31
Groups---------------------37141
Component Definitions------165
Layers----------------------27
Materials-------------------345Im guessing I have to decrease Edges and Faces to increase the Rendering speed.
Is there a way to do this?
-
WTF, over 37000 component instances. Are we counting every stitch in the fabric or what? Is there a whole house connected to this room?
If you are dealing with the whole house, you might want to copy the file, rename it living room and the knock out everything but the one room. If you have 37000 components in that room alone, then something is wrong. Have you purged unused components?
-
Yes actually it was the whole house I was referring to. I have purged unused components....just found out a few of tips which were to :
- Use wire frame mode when rotating/editing a large object as this works much quicker.
- Use smaller bitmaps/jpegs for materials when rendering.
- Use classes (cant believe I didnt use this before!).
Hello! It looks like you're interested in this conversation, but you don't have an account yet.
Getting fed up of having to scroll through the same posts each visit? When you register for an account, you'll always come back to exactly where you were before, and choose to be notified of new replies (either via email, or push notification). You'll also be able to save bookmarks and upvote posts to show your appreciation to other community members.
With your input, this post could be even better 💗
Register LoginAdvertisement


