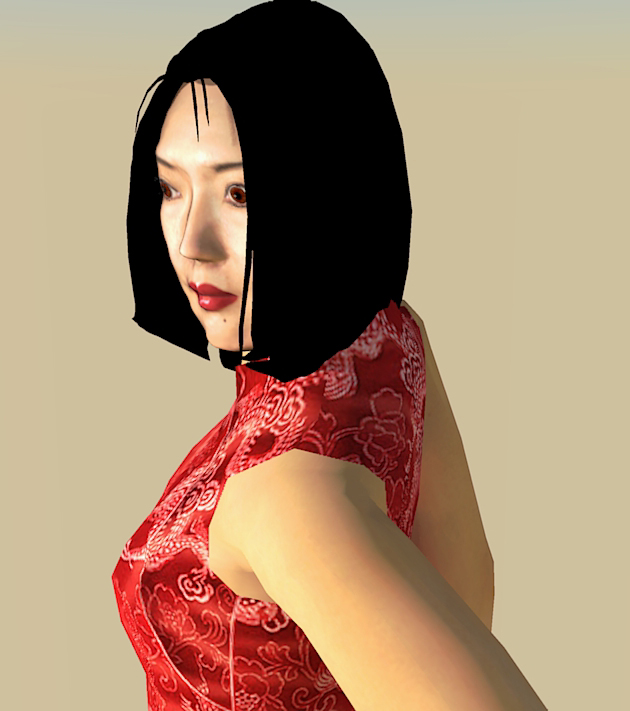
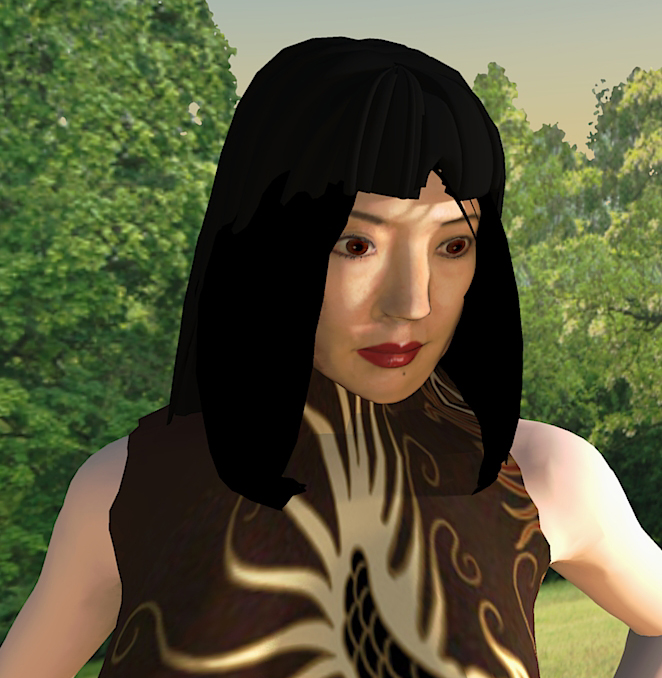
3D Scanning on the cheap
-
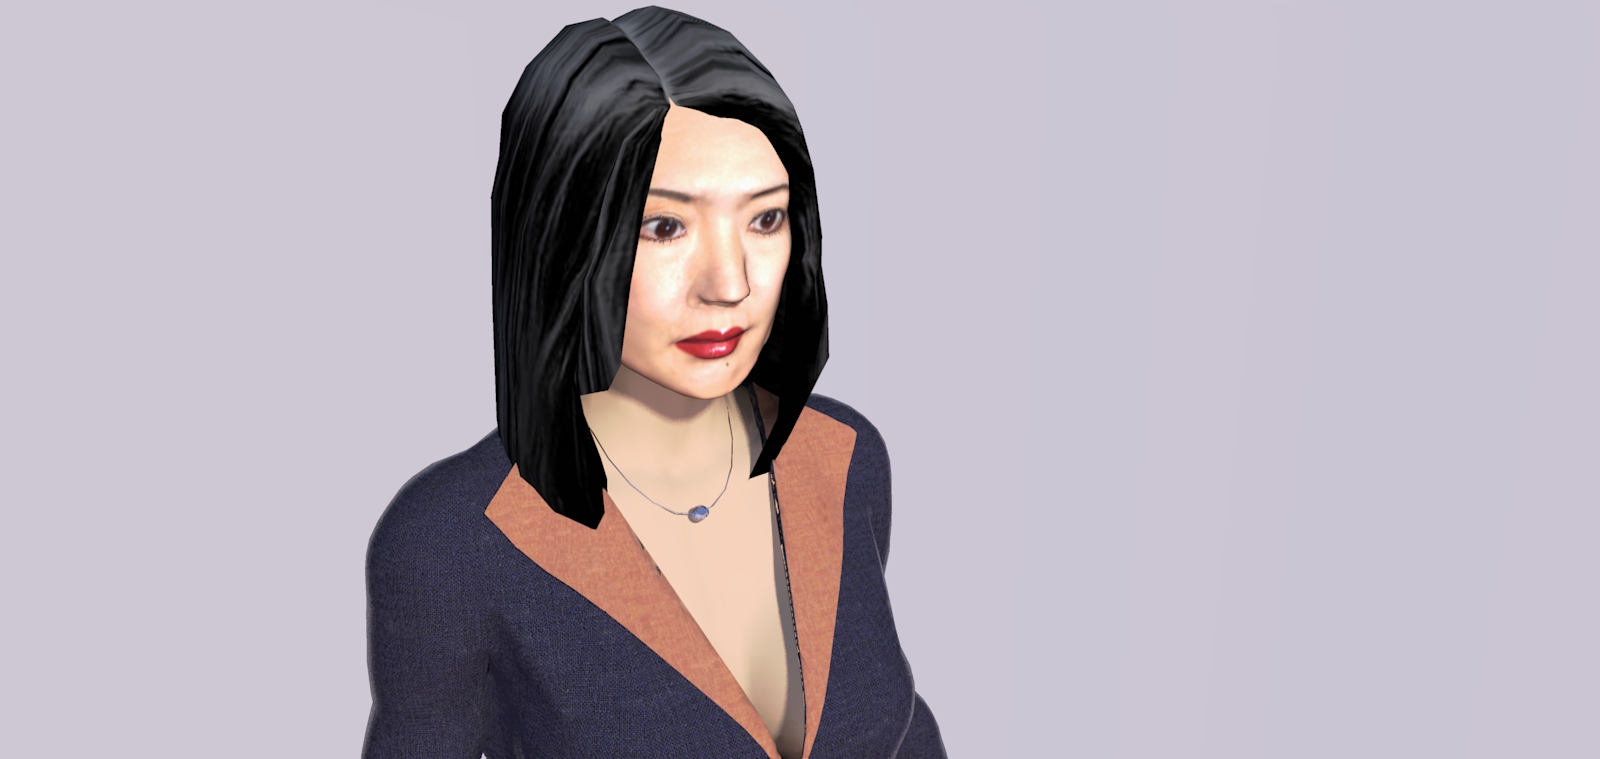
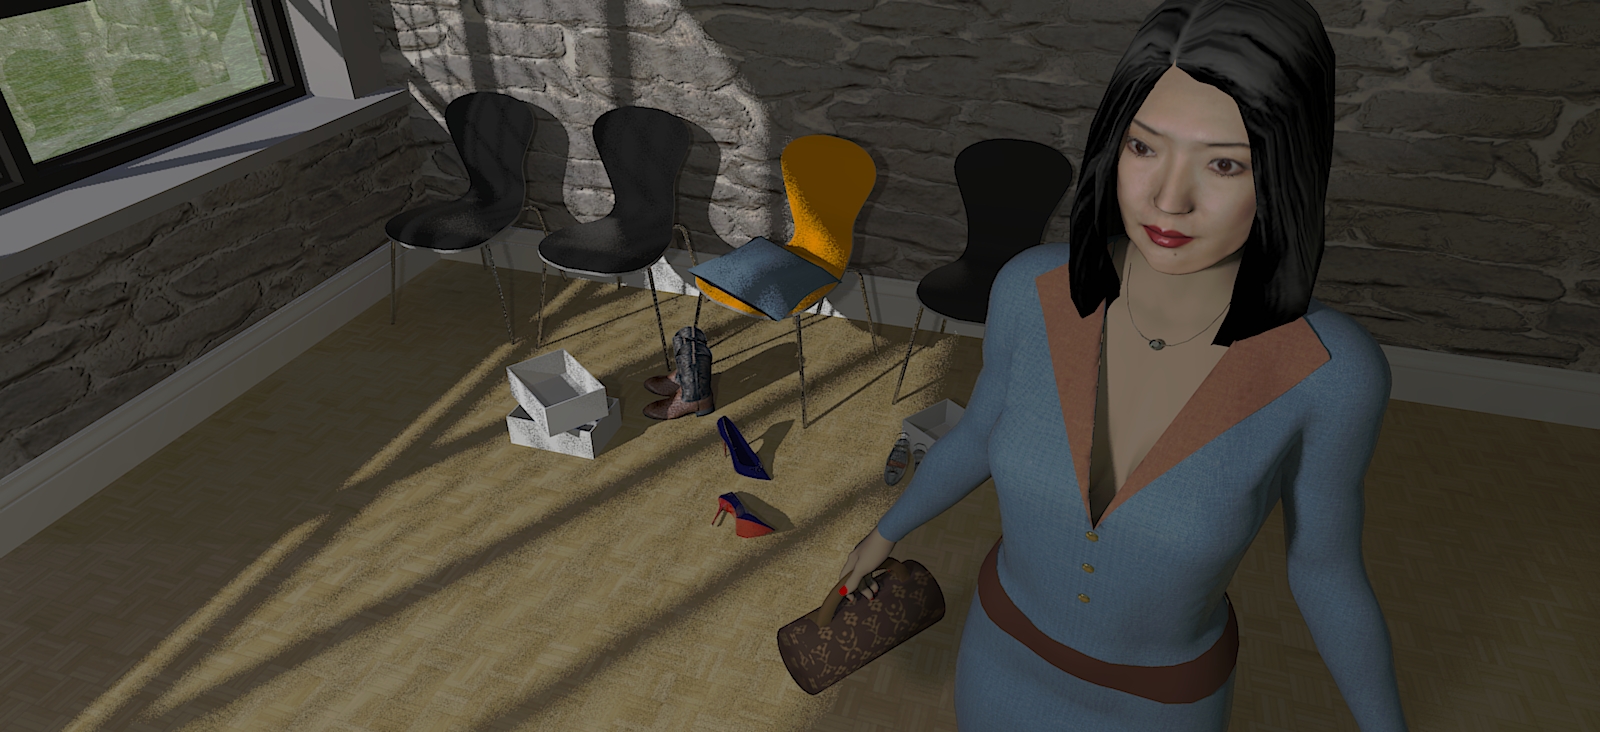
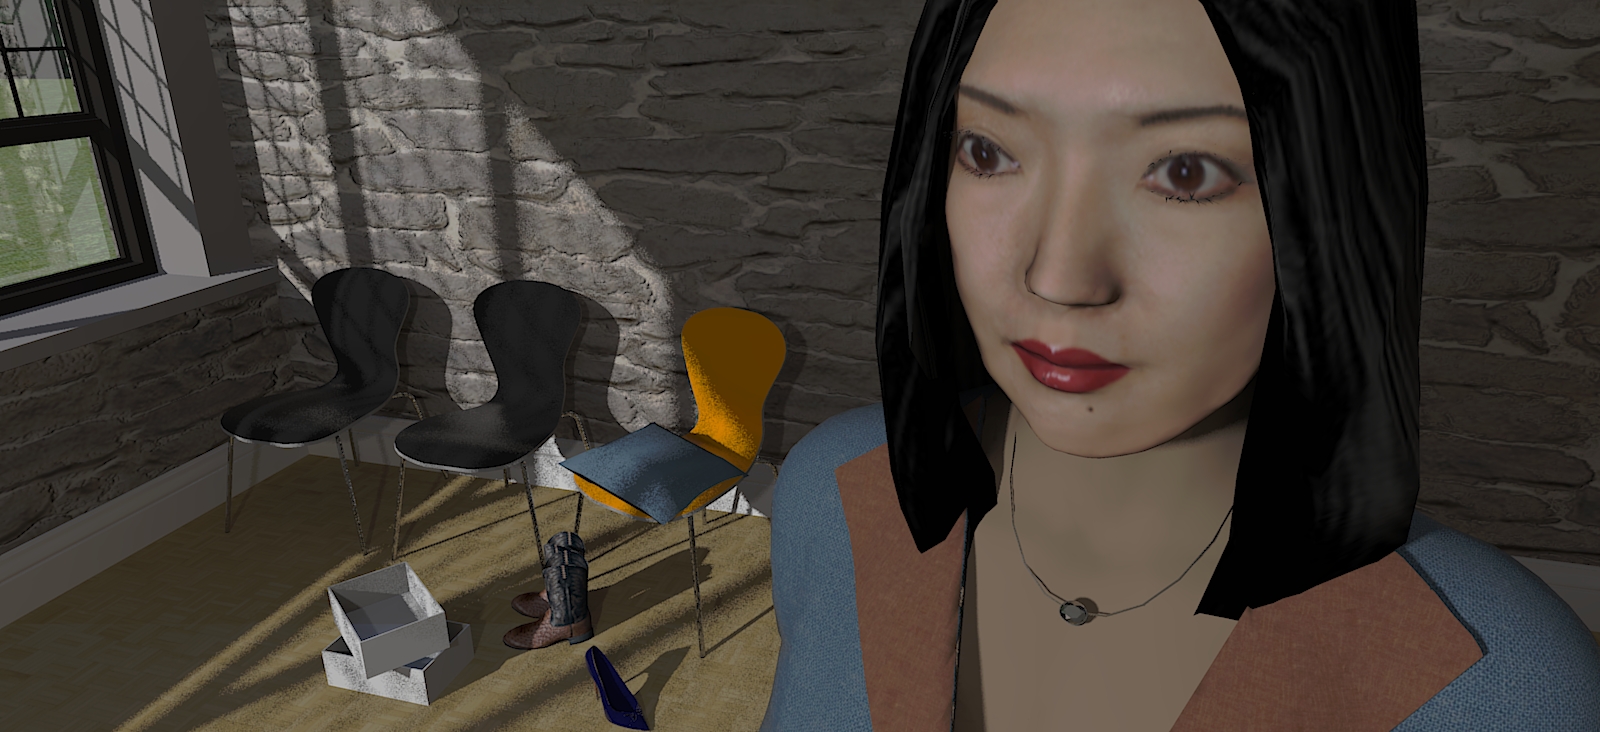
so, time to render with twilightrender and have some fun...
-
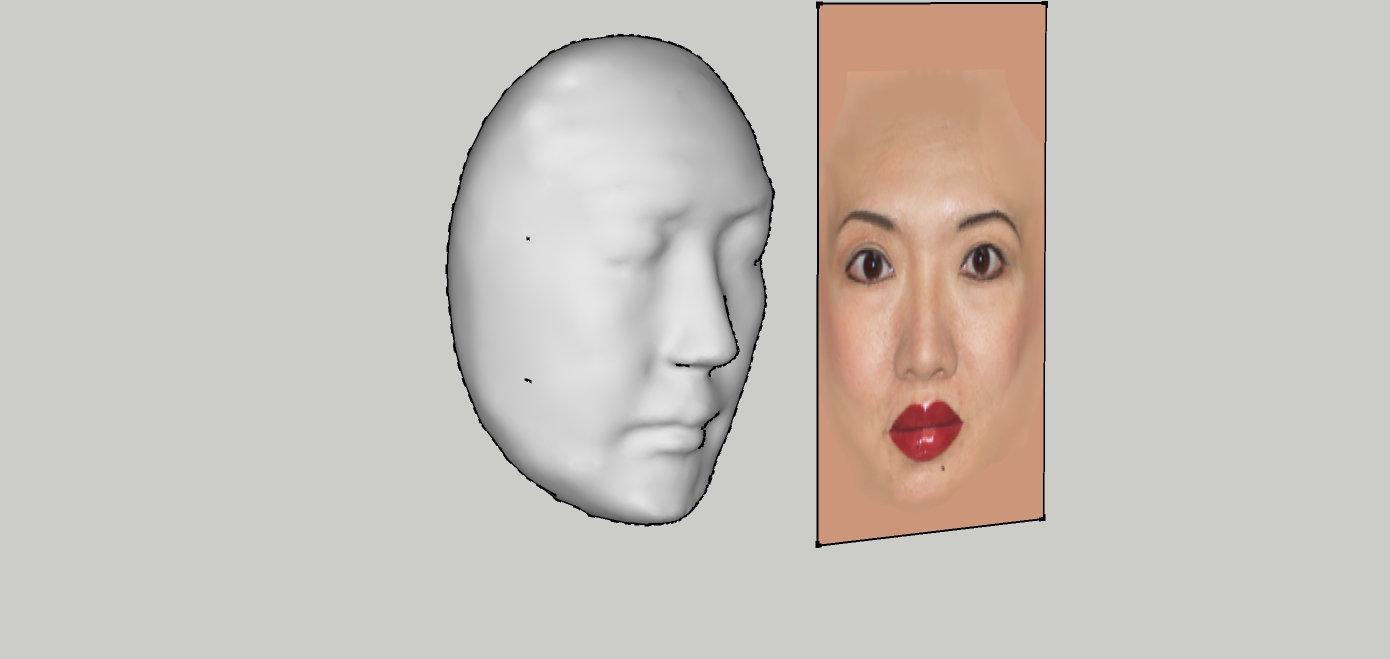
I prepared a face- texture and applied it as a projection to the mesh.
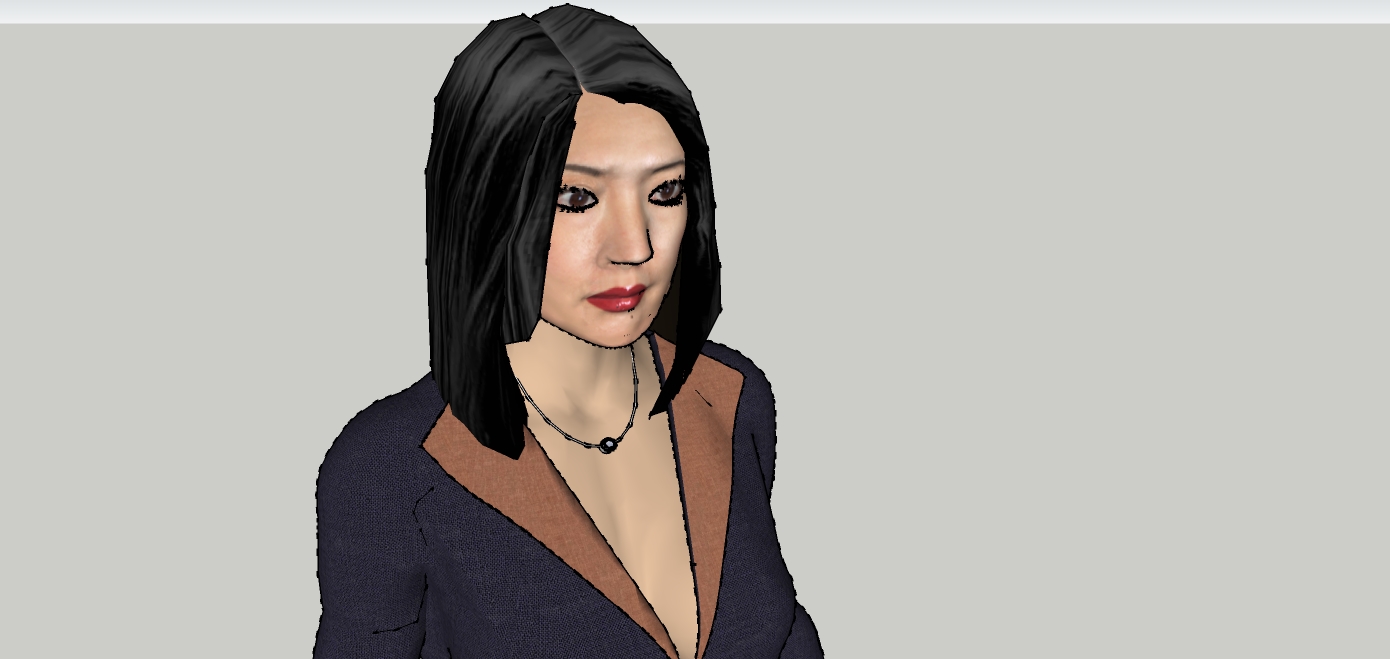
I found some nice bodys at the warehouse and I took these things together
-
and another one...
-
Great stuff jo-ke!

I need to have a go at this too.
-
the second avatar is finished.
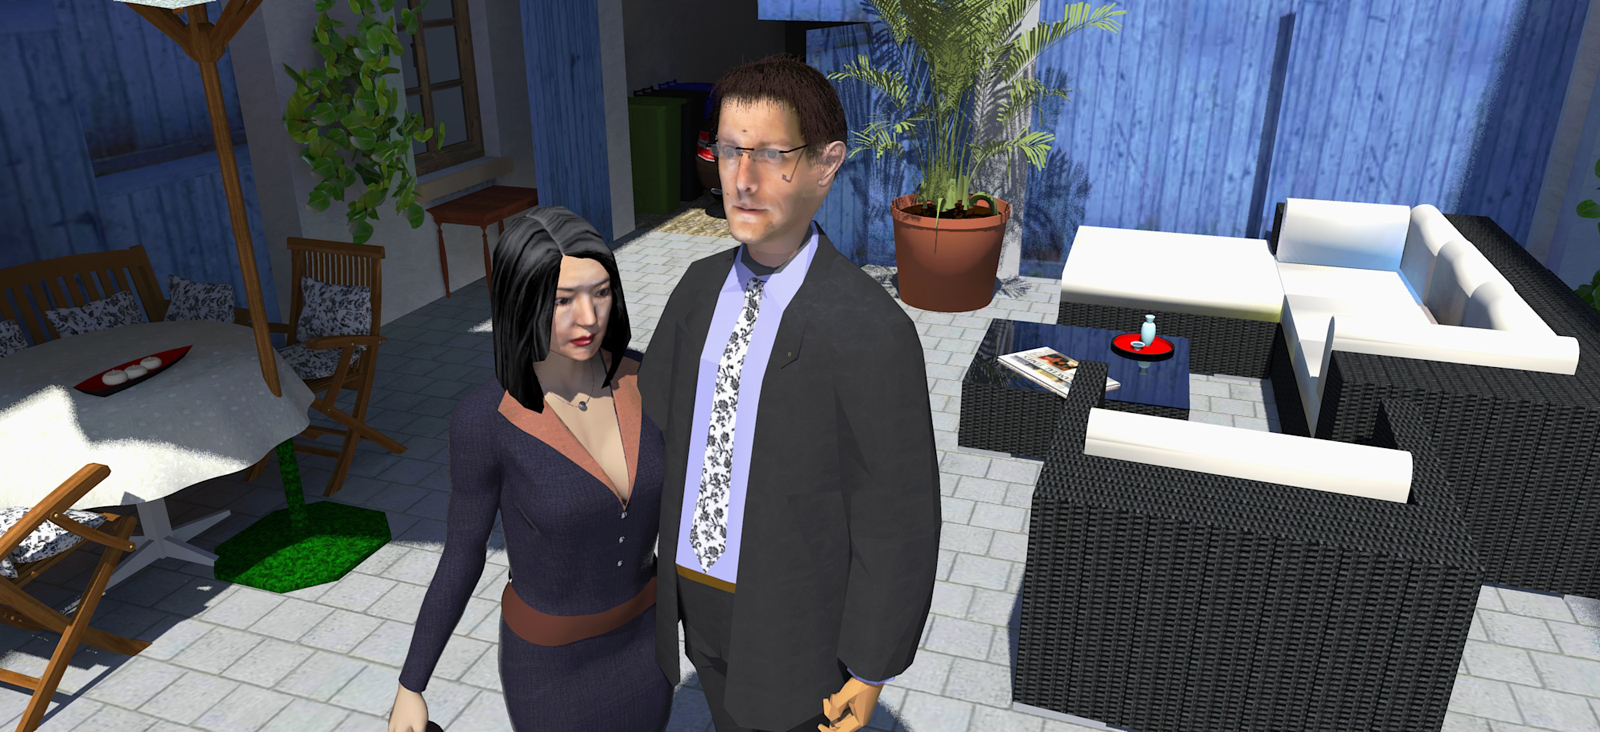
A shot with me and my wife at our court
-
Modelling the hair was tricky, then I used the fur plugin
-
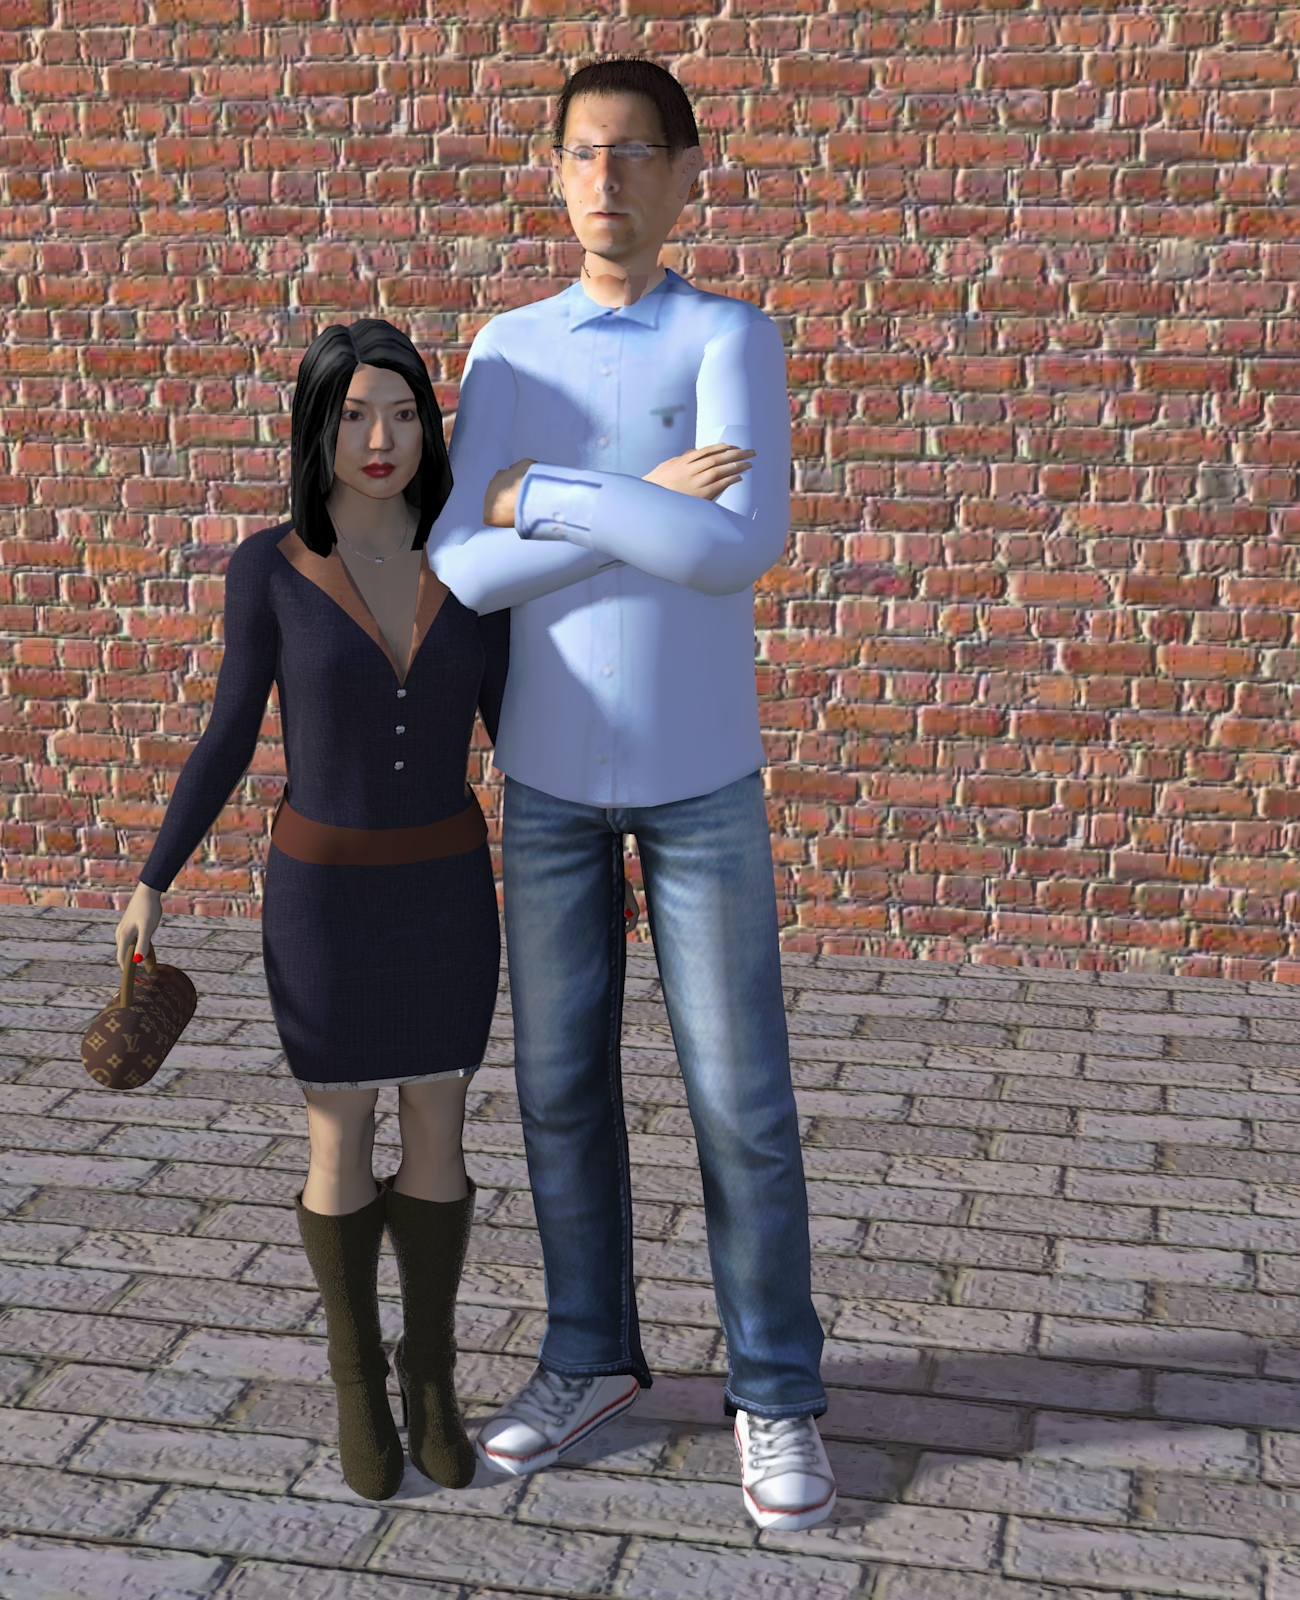
OK here's the another result
-
Are you really that tall? You look a bit too scaled up.
-
Jo-Ke,
I liked your old (forum) avatar better.
The scanning results are great, don't get me wrong, but now you look so severe while in the old one you smiled.

-
I hope that's your wife's hand dangling there!

-
-
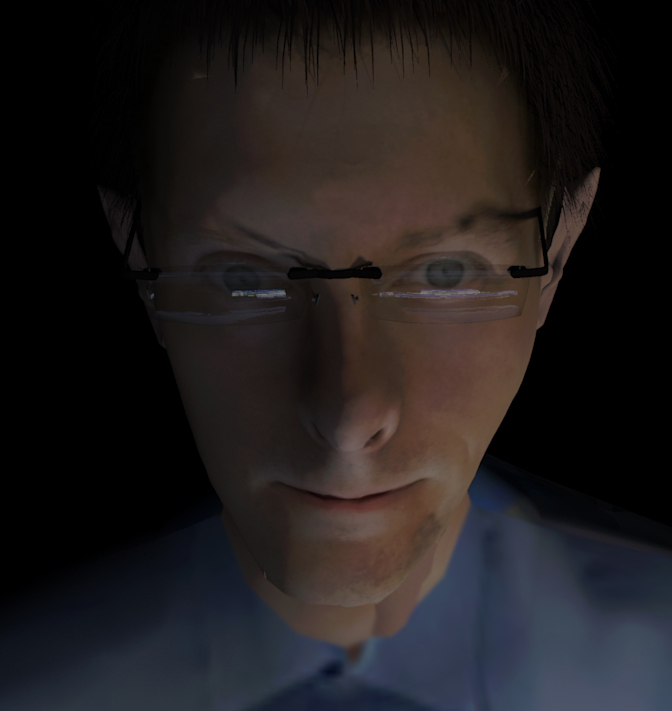
OK, a new one..
-
How do you manage not to blind yourself with the laser?
-
@jo-ke said:
@Marian: Don't worry, these are our real sizes

@Gaieus: me too, I have to scan us, while we are smiling

@rclub24: Hmm, I have to ask her, what she's doing there

here are some new versions of my wife (with Oli's treeline):
Really fun to play arroundHallo jo-ke ,
Meine komplimente.

Ich glaube du wirst nie ,auch nur anneherend ,an die schönheid des orginals herankommen
Bep
-
I just close my eyes and repair that later with sculptris
-
This is fascinating. Thanks for putting me onto the 3D scanning technology. I have a vehicle modification project to do and I want a scan of the interior space to fit some specialized equipment into. And like the video you posted I have to go cheap the first time around so I can buy the high end equipment for future projects.
As to doing 3D heads, let me recommend the head tool in POSER. I have done one so far and was impressed with the possibilities. The results could have been better because the software wants a full frontal head shot and a profile headshot and I only had a frontal photo of the persons head. Fitst of all the software has a generalized reference of what a head looks like. Then you put markers on the photos showing certain key reference points like the center of the eyes, the end of the nose, corners of the mouth etc. The software then stretches the generalized model of the head to fit the reference you mark on the photographs. Then it maps the photo textures onto the generalized model. However this is only the starting point. The feature by feature you open a menu of sliders and check boxes for each feature (examples of features might be nose, mouth, cheek bones, ears, chin, brow ridge etc.)Then you select race, skin tone, and then use the sliders to widen, narrow, fatten, lengthen, twist, pitch, yaw each feature. It is a long process, but structured and logical. When done you have a fairly accurate 3D mesh with a photo texture draped over it.
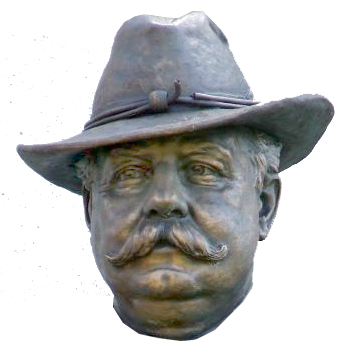
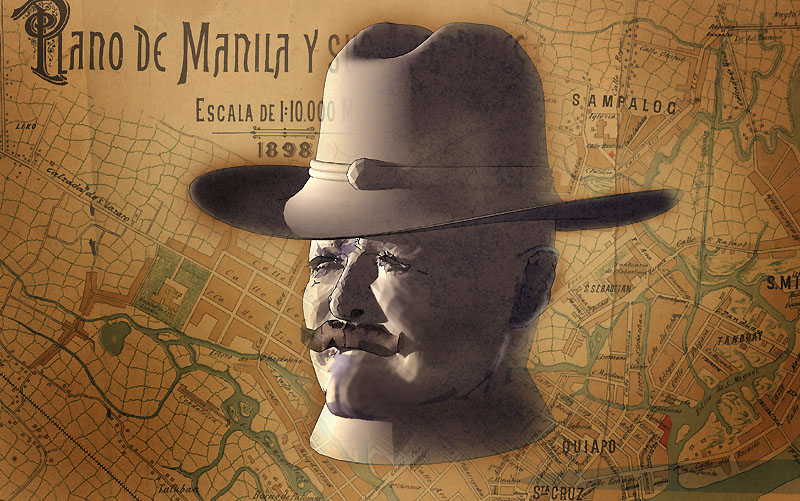
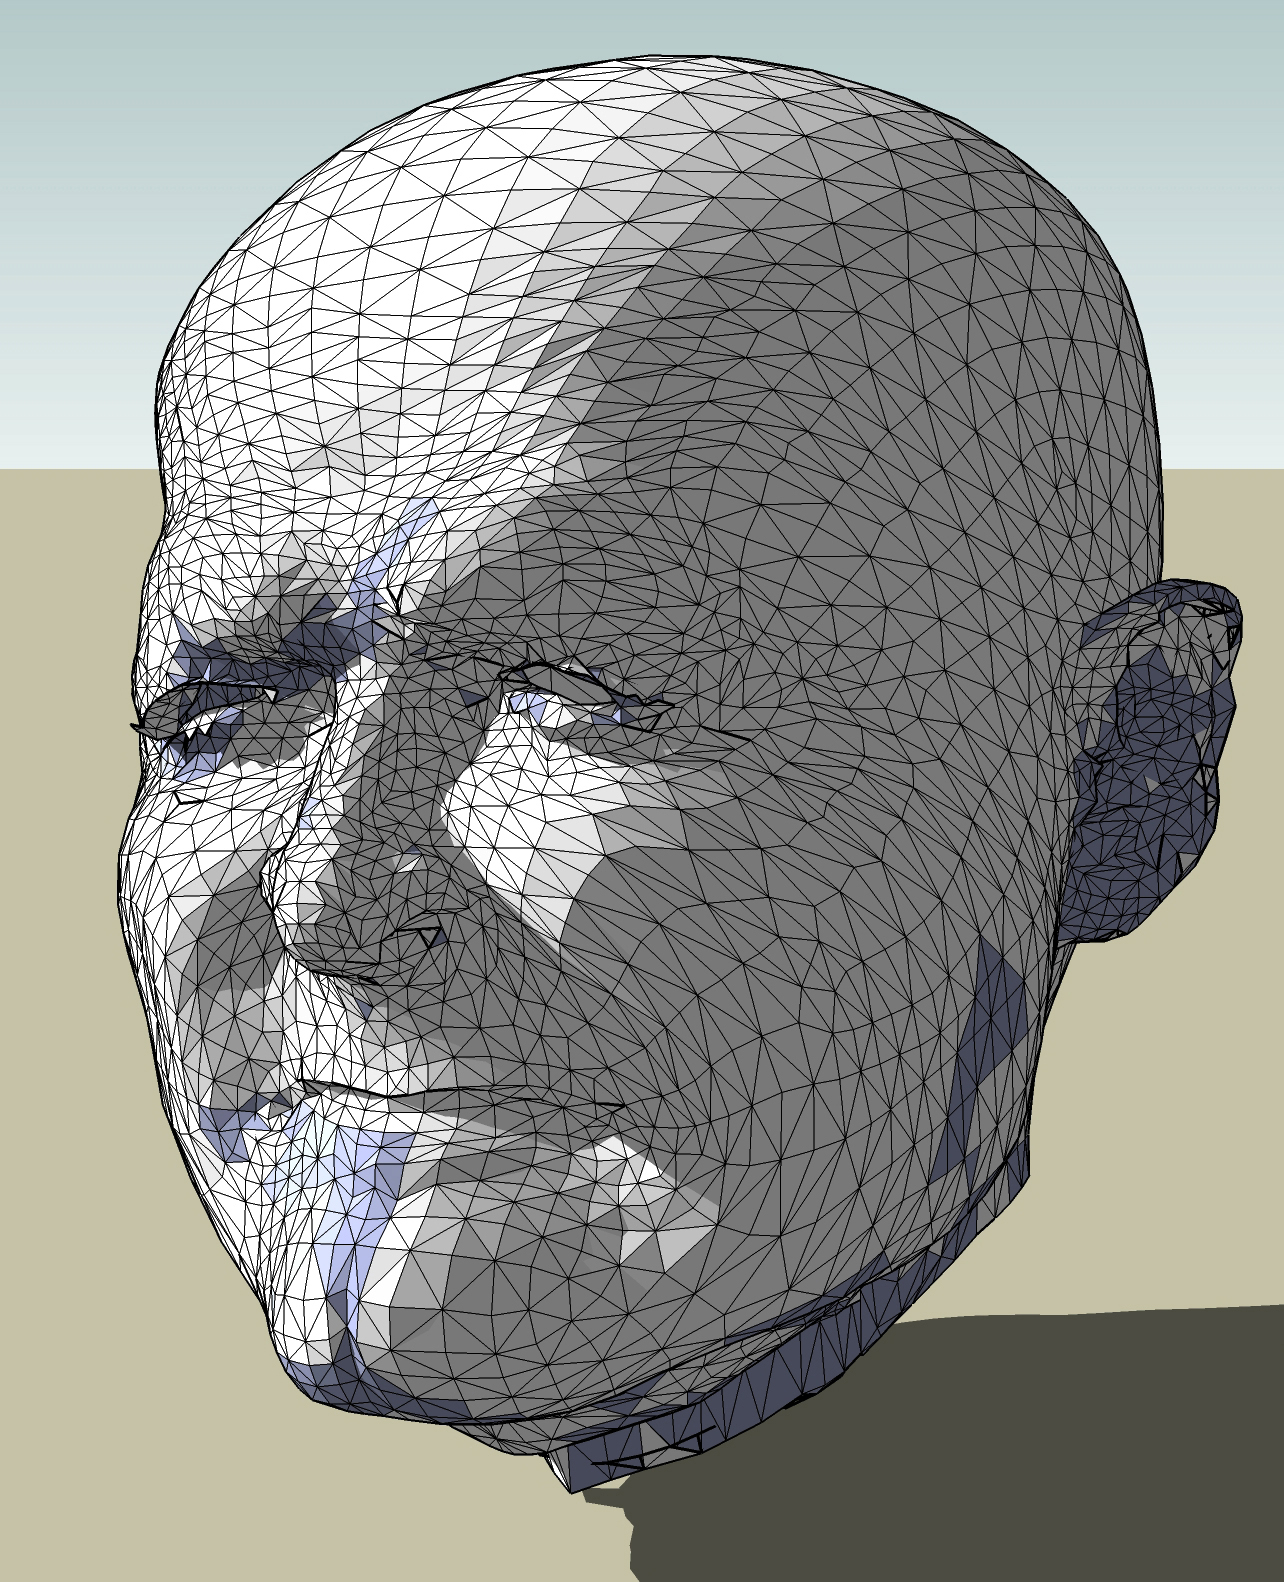
Keep in mind this was a first try and done with half the photo reference missing.
Hope this can be of some use/interest to you.
-
very interessting! What fileformet is the output and how did you get the textured mesh into sketchup?
-
I exported a 3DS file to SU. There was no texturing exported although there is a jpeg file created in Poser that can be mapped to the sketchup model.
-
is the head tool only pro version or is it included at the version 8?
-
It is in Poser 7. I suspect it is in both pro and non pro versions.
Hello! It looks like you're interested in this conversation, but you don't have an account yet.
Getting fed up of having to scroll through the same posts each visit? When you register for an account, you'll always come back to exactly where you were before, and choose to be notified of new replies (either via email, or push notification). You'll also be able to save bookmarks and upvote posts to show your appreciation to other community members.
With your input, this post could be even better 💗
Register LoginAdvertisement
