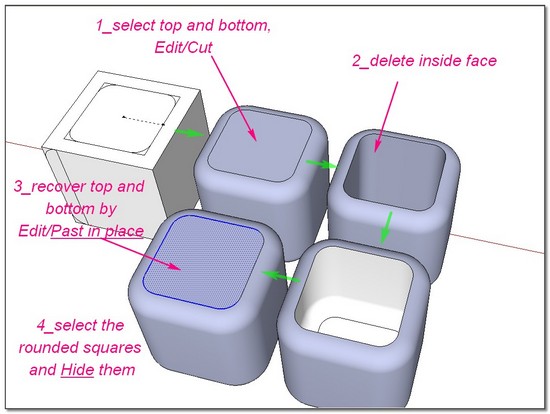
Rounded Cubes
-
Here's a video tutorial I made that shows a way to make rounded cubes:
-
Cool tutorial and obviously you are along the right ideas.

Certainly however, a couple of steps could be made easier. Just a tip (as an example); you seem to have problems with aligning things when moving them around the place (you also "mentioned" this in the video). When starting to move something, hit the left/right/up(or down) arrow keys on your keypad to lock the movement along a specific axis.
OR when you finally succeed to get the movement along any desired direction (this doesn't have to be an axis), use the Shift key to lock the movement. -
Hi pcberdwin,
As usual with SketchUp, plenty of different solutions. (Dave one is really cool!!)
This one, but i can tell others:
(Re the Center square is for nothing here. It was for another purpose when I made those screenshots)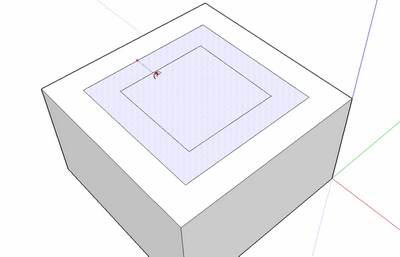
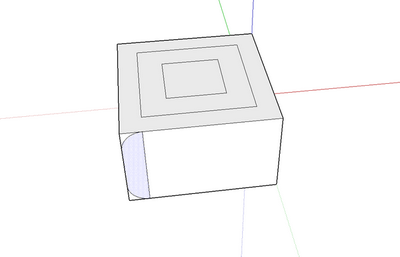
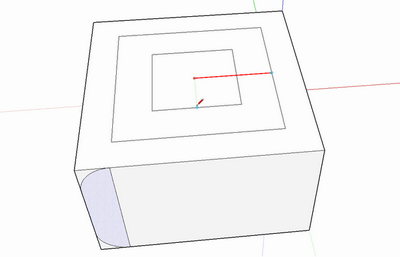
Rotate+Copy(Ctrl) x3
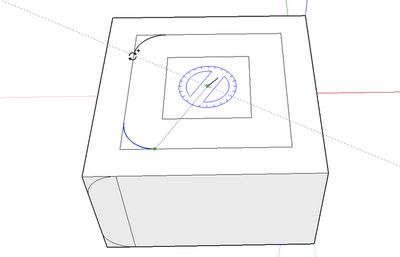
Select, Move a Copy (Ctrl)
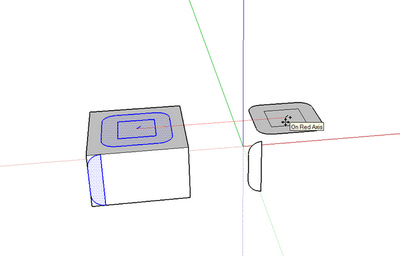
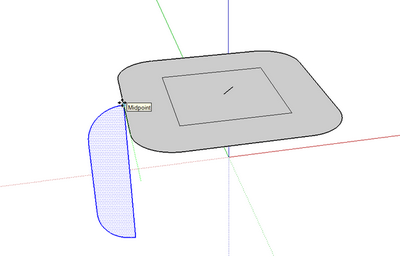
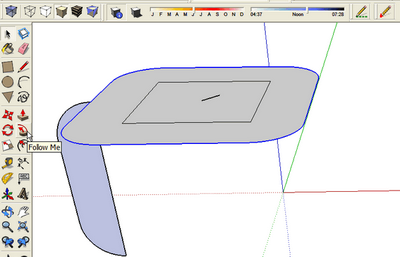
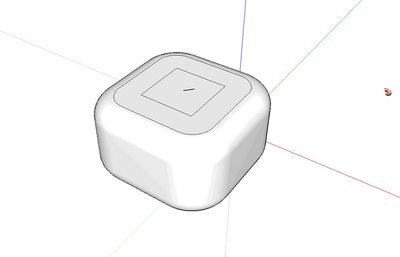
 simon
simonPS: and just like this to take a look: [Tutorial] Rounded Rectangle
-
Interesting method. As Gai mentions, locking Move and Line directions will make things much easier.
It does seem like a hard way to achieve a simple cube with rounded edges. You might also find the copy function of the Move tool interesting. It makes it easier to accurately place copies of a selection.
Here's an alternative way.

Draw a square to the finished size of the cube. Add a guideline (or even a guide point) to help set the corner radii.

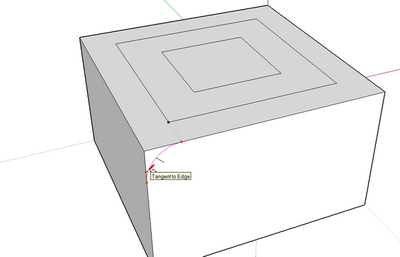
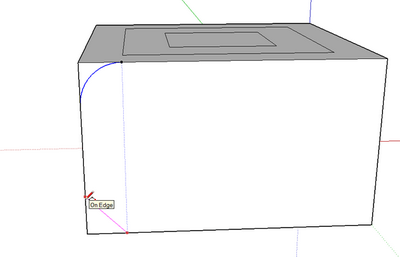
Use the Arc tool to draw the rounded corners. Start at the intersection of the guideline and the edge. Drag along the adjoing edge until the line turns magenta. Click and drag back along the edge toward the corner until the arc turns magenta. Click.

The other two corners can be done by inferencing off the first. Hover over the end point of the arc and slide the tool to the opposite side. Note the black dot at the end of the arc on the upper left corner.

After completing the corner arcs, delete the unwanted part and the guideline.

Select the rounded square and its edges (double click of selection tool) and get the Move tool. Hit Ctrl (Option on Mac) and copy the rounded square straight up.

Get the Rotate tool and rotate the copy into the vertical position. Orbit low if needed to get the required orientation. Note the red protractor color.

Make sure the rotated shape doesn't intersect with the original. Get the Move tool.

Move the vertical face and its edges to the center of the horizontal face's edge. Once you start the move, in the green direction in this example, hold the Shift key to lock the direction. Or use the cursor keys to do that.
Note: If I had moved the copy far enough up, I could have rotated it to the vertical position about the center of the edge. This would have eliminated the need to Move the face after rotating it.

Get the selection tool and double click on the horizontal face. then get the Follow Me tool and click on the vertical face.

Correct the face orientation if needed and delete the horizontal face. Done!
With this method there are no edges to soften because the arcs were never exploded nor are there extraneous lines to remove.
Of course now there's a plugin that can do this automatically after you've made a simple cube.
-
-
There's a ruby that does all of this automatically. you can get it here.
Hope this helps.
-
I also alluded to a plugin that does it. You can get it here on SCF.
-
Good tips. Thank you.


-
There is Fredos RoundCorner universal plugin for filleting edges...
http://forums.sketchucation.com/viewtopic.php?f=180&t=20485&st=0&sk=t&sd=a&hilit=roundcorner
-
Thanks Starling. It's the same as my link a couple of posts up. Very handy plugin, isn't it?
-
@dave r said:
Thanks Starling. It's the same as my link a couple of posts up. Very handy plugin, isn't it?
Yes, very handy indeed. Fredos plugins are jewels.
-
wow! very helpful!
Advertisement
 ). Because in mine you have to do cleaning work for unwanted inside faces and hide unwanted rounded square lines!!
