South wind #2
-
Thanks remon. On a mac pro (2 nehalem xeon, 8 cores 16 threads 2.26 GHz, 6GB RAM)
Another two just for fun.
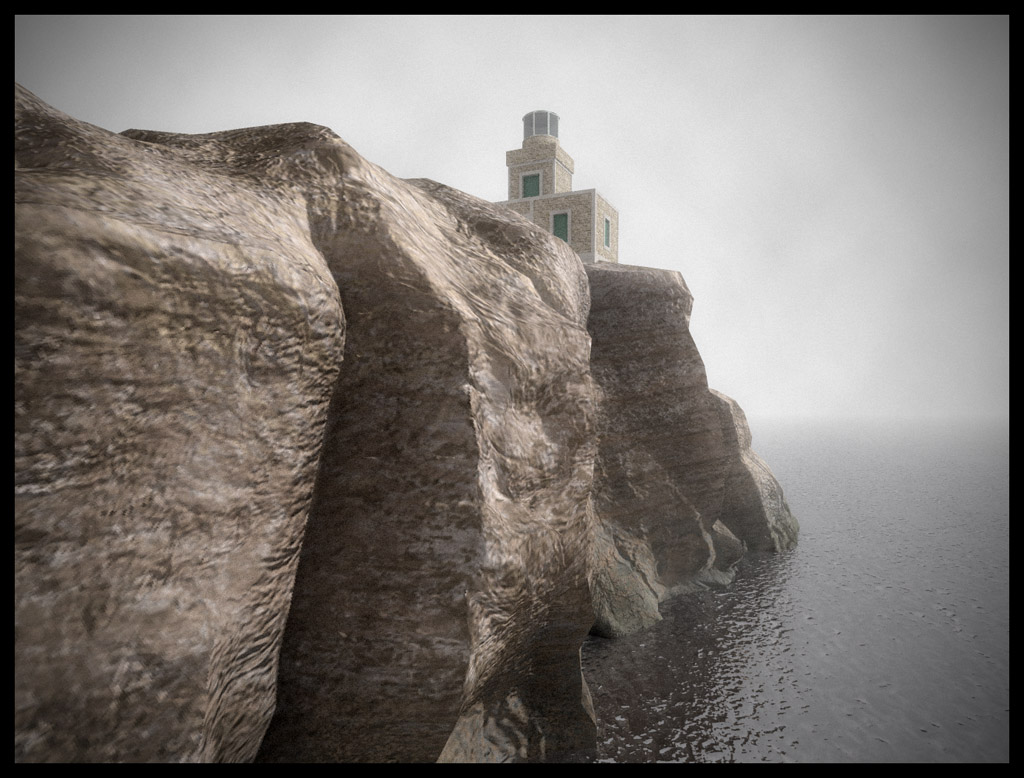
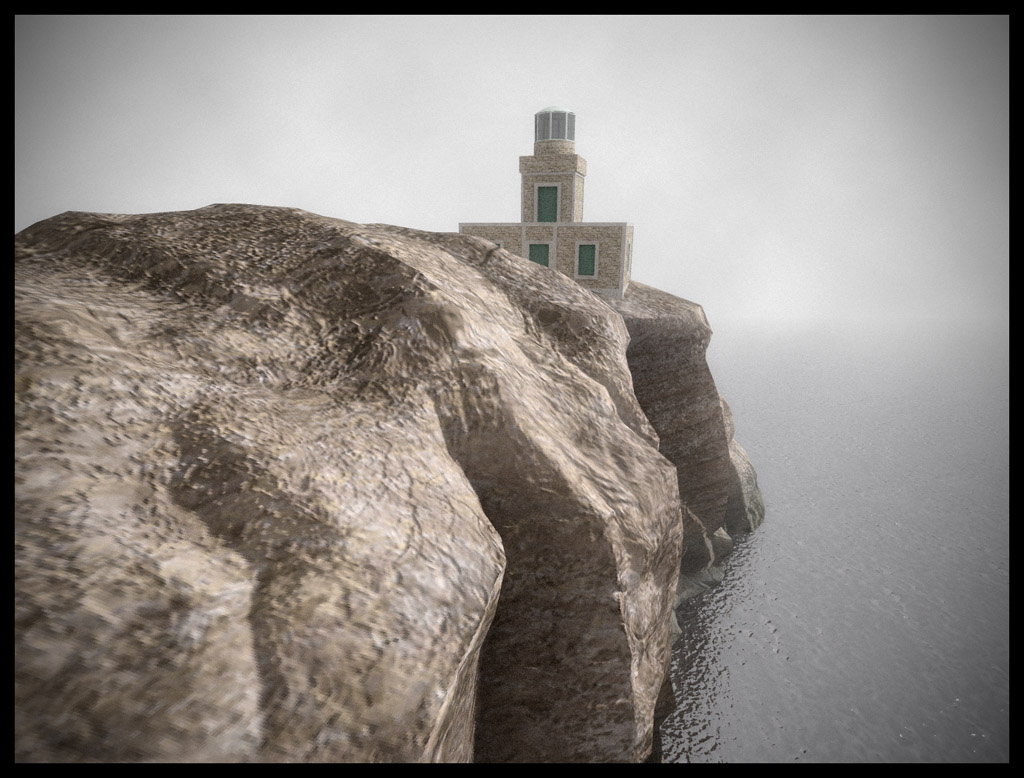
-
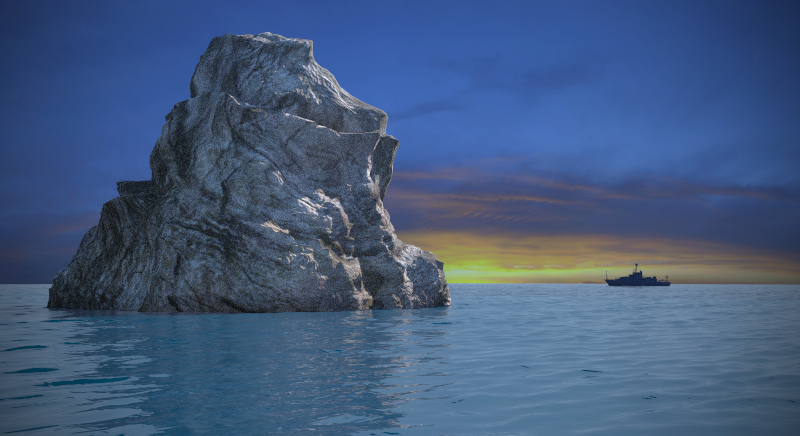
here's my effort. It's not as nice as Michalis' and solos effort. Rendered with vray and a little ps. Suggestions and C%C's are welcome. BTW took me 20 min and 10 s to render with an amd phenom X4 940, 4 gig of ram.
-
IMO remon, this background sky is a wrong choice. Doesn't work with the sea (reflections?), it doesn't "explain" the light on the rock either.
-
Those pics are fabulous Michalis.
Texture baking is working a treat. You'd never know they were low poly. -
this is just becoming a great exercise again. nice model and nice water surface. the sceond image of solo looks realistic.
micha... the 20 sec render is my favorite....
-
You're right Michalis... I did see it also, tried to fix it in PS but didn't come out nice.
Ok I did some more testing... Trying to fix the reflections and reducing the rendertime. I setup a billboard at the back. I gave the ship a dark blue (nearly black) texture I put an omni light in front of the sun and removed the "sketchup sunlight". So here it is: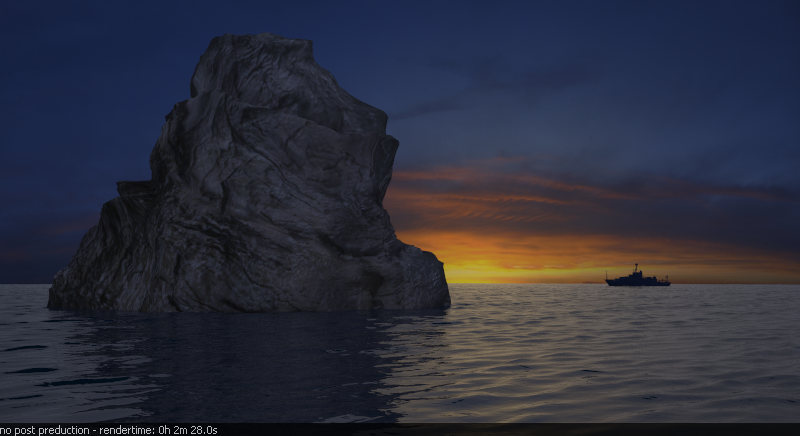
as you can see reduced the time alot

-
Thats better remon. More reflections are needed though, or maybe try a simpler sky.
Thanks nomer.
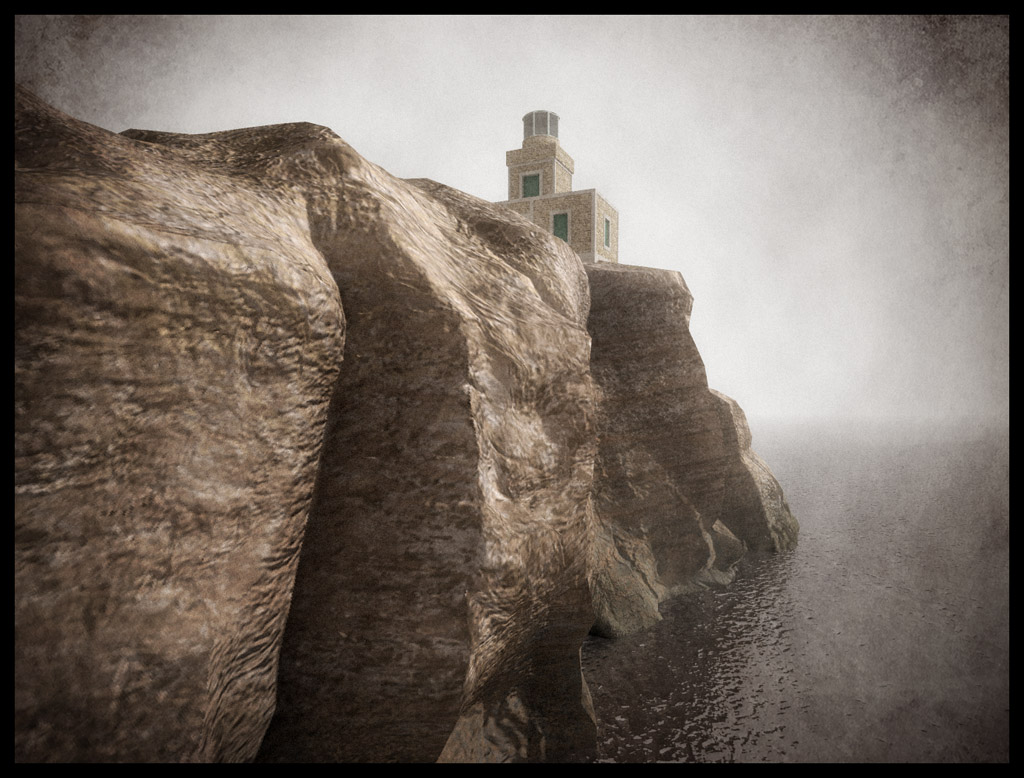
Here's a heavier PP.
BTW did you know that Victor Hugo was a great artist too? Do some search in google and I'm sure you wont be disappointed.
-
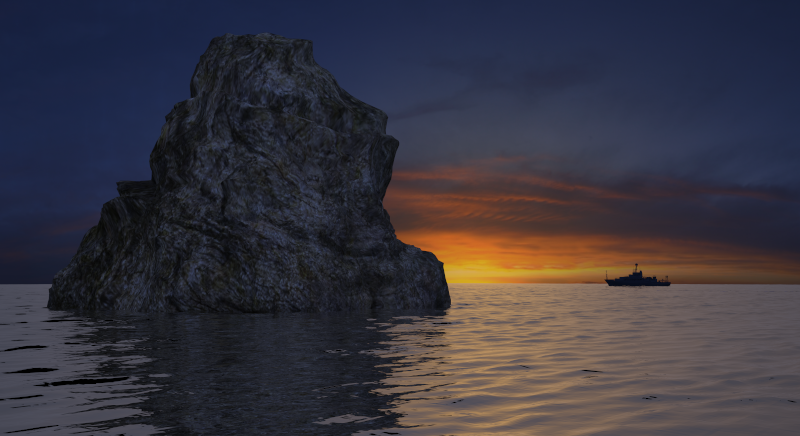
nice Michalis... I did some other tests. The water is more reflective and I also edited the rock texture a bit. here it is:
-
Better now remon but I have my doubts about this sky.
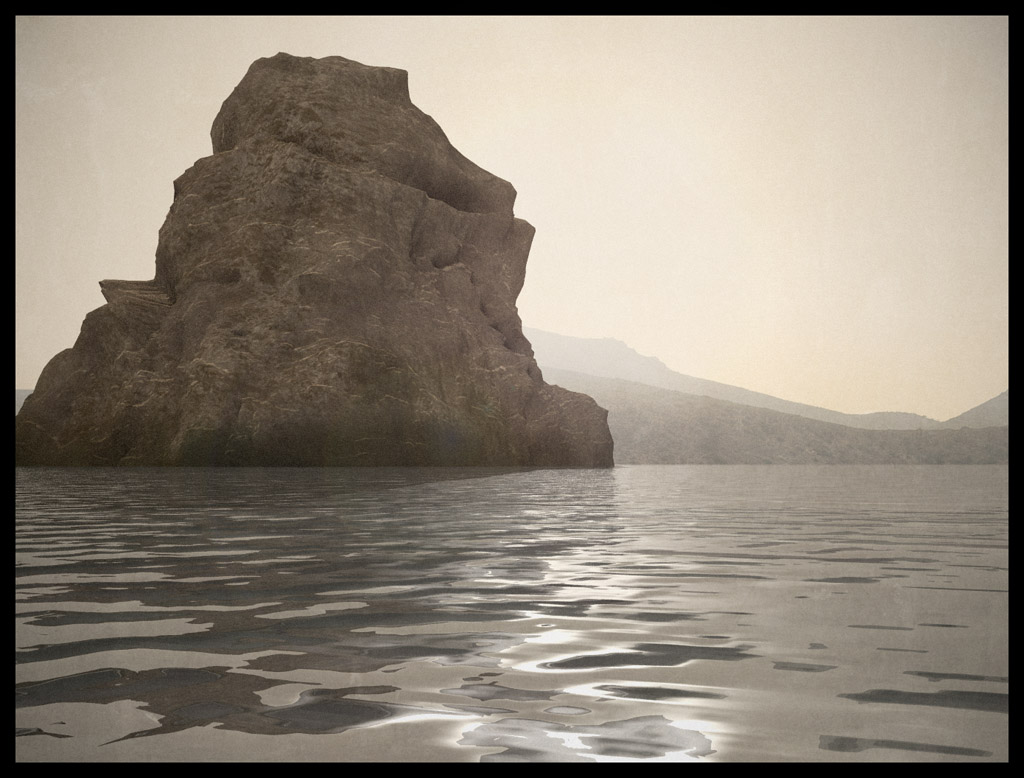
I tried to do something similar here. Heavier PP this time.
-
very nice and realistic... I'll try one with another sky soon
-
@michaliszissiou said:
Baked in blender > rendered with podium.
Very nice images, michaliszissiou...Could you please explain what "baked textures" are?
-
Beautiful. This last one is better, some of the others look like procedural clouds and not natural looking. It would be nice if someone would give you an old ship model for this last shot.
-
Thanks for these kind comments.
d12dozr: See in the first page of this post, solo is asking if he could edit etc. There's the tex file. Looks almost rendered from top view. It is rendered in blender into UV map (baked). Consider this processing as having a nice front view house photo and starting push-pull in SU. Or a nice bumped wall texture ect. What about working with apps like zbrush (you can paint textures on your sculptures there), importing them in blender, bake them, export as 3ds to SU? The idea is almost the same. But benefits are clear. The use of a high polys model to bake a low poly model. (In this post I've posted a zbrush render too, 2 000 000 polys!, so you can see the deference).
High polys vs low polys baked models. I could say "fair enough".Update:
The color of a sea texture should be dark grey in most cases. Or less dark for more ambience. Ultra reflective though. Its the sky that gives the color, should not forget this. -
Thanks for the explanation, Michalis!!
-
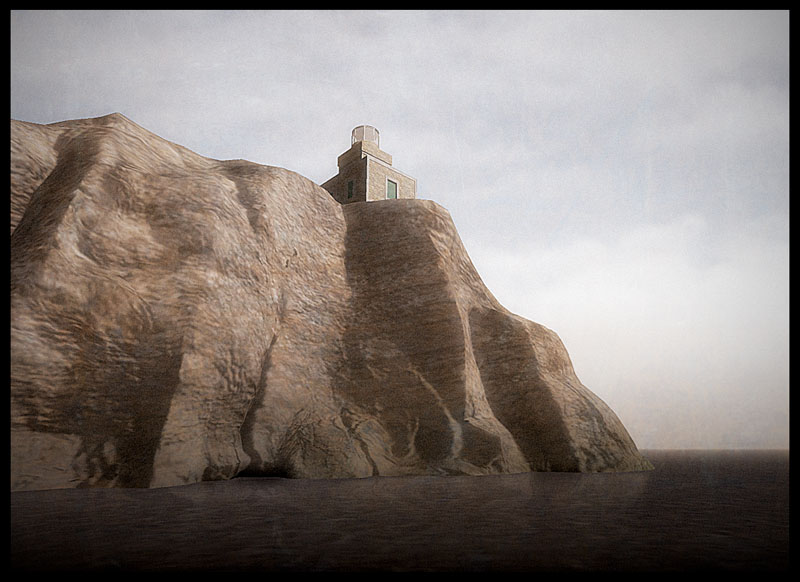
This one is a native SU raw render. Some PP for reflections and atmo. The benefits of baked textures are clear.
-
This post is for all of you who can't understand how easy you can navigate into a baked model. Easy for low fi machines.
-
nice and thnx for the tutorial

-
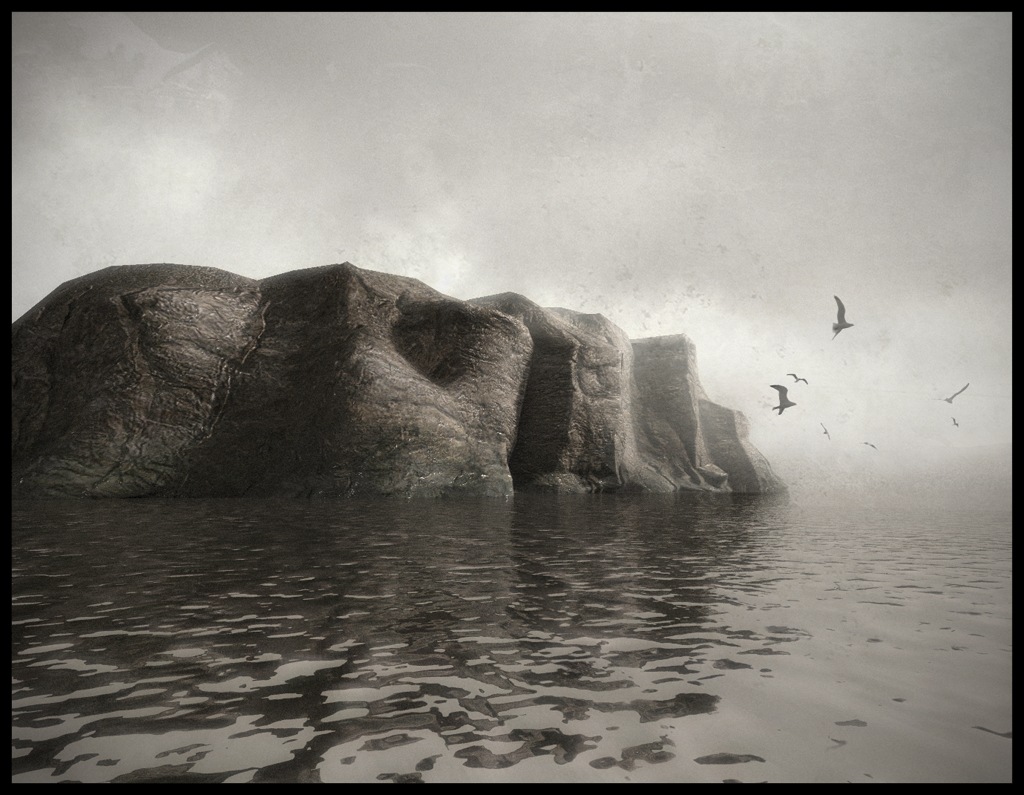
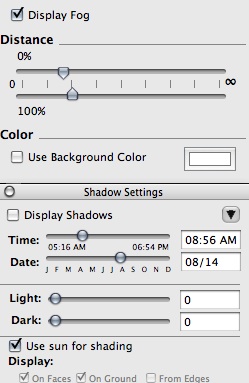
This 'LoResRock.skp' is an updated version (better bumps). Some PP (birds, fog, frame). And some screen shots - the way I use fog for depth field. IMO this is the only way, this supports transparent pngs. A well known SU 'official' tutorial about depth field via fog, is a big mistake.
fog color = white
render with textures ON
inverted SU raw output, used for alpha mask in PP.

-
This WIP is coming to an end. Some work to do, I'm not sure what is missing. No trees, no electric power, but something, I don't know.
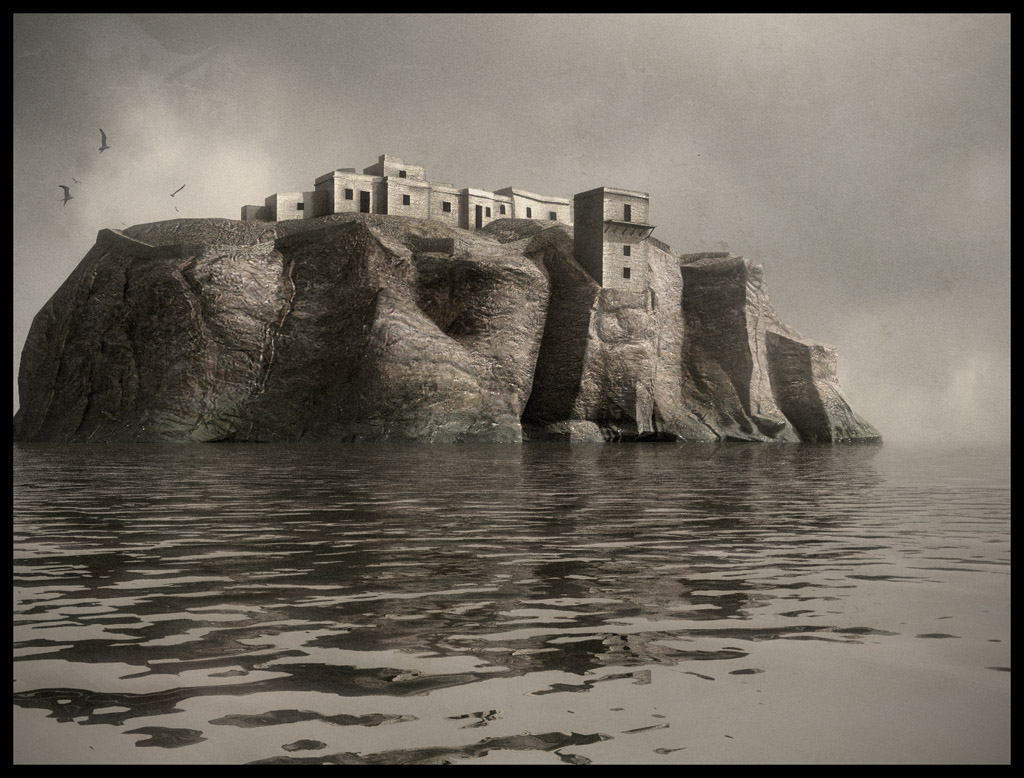
-
Another one, PP just for the background sky, fog.
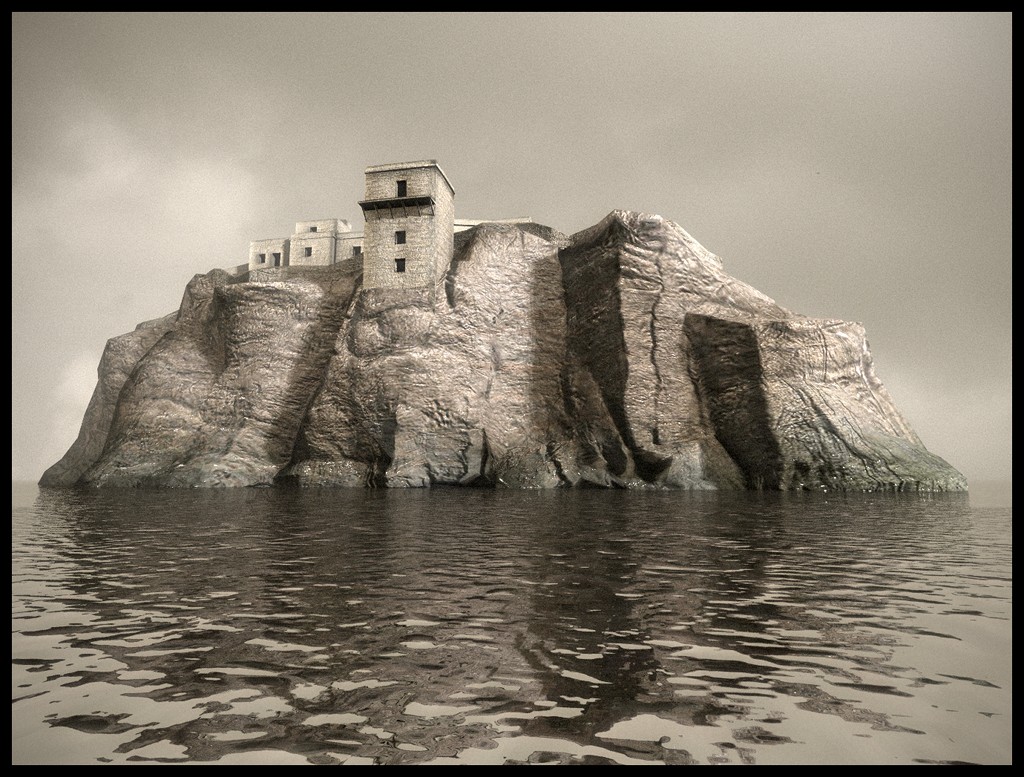
Hello! It looks like you're interested in this conversation, but you don't have an account yet.
Getting fed up of having to scroll through the same posts each visit? When you register for an account, you'll always come back to exactly where you were before, and choose to be notified of new replies (either via email, or push notification). You'll also be able to save bookmarks and upvote posts to show your appreciation to other community members.
With your input, this post could be even better 💗
Register LoginAdvertisement


