V-Ray SketchUp texture question
-
I guess that's what I'm asking - can I use two different bitmaps. I'm away for the holiday weekend and I don't have V-Ray on my laptop so I can't do it here to see what happens. If I wanted to add nicks and scratches to a wood surface in a 2D image editing program, I might choose to do it as a separate layer. I'm curious if there's any way to do that in SK/Vray.
TIA
-
Yes, using a blend map should work.
In the blend map, you can stack two different bitmaps. Changing the 'ratio' value will give more/less priority to each bitmap.It should even be possible to put a blend map within a blend map etc...
-
As true as that may be, it's also limited to ratio blending. In other words what one really needs is to be able to blend accuratly like say you want an aged and distressed wood texture for a table, you could find a texture and map it in SU but that does not look realistic as the wear and tear should be in areas where the table gets used most, it's never even accross the table. So having a way of painting on a second blended texture to certain areas of a model surface would be the best solution.
But this is not the question, I'm off topic. -
You're right. Therefore a 'weightmap' could be used.
One could for instance use a 'wear and tear' bitmap and put a black & white 'clipping' image in the transparency slot, so the texture would only be visible in the parts you want.
But indeed, you can't really map that clipping image well with the current SU paint tools, as SU only allows one uv-set per object...
-
exactly. This is one thing Artlantis does really well, more so because every change is visual and in real time. I really like Artlantis, when I get to texturing

-
You can also add multiple diffuse layers. But you can not put any new diffuse layers over the default one, as that will cause a crash.
-
This thing is driving me insane...
I know that in artlantis u can change the material size and angle in a very user friendly way....
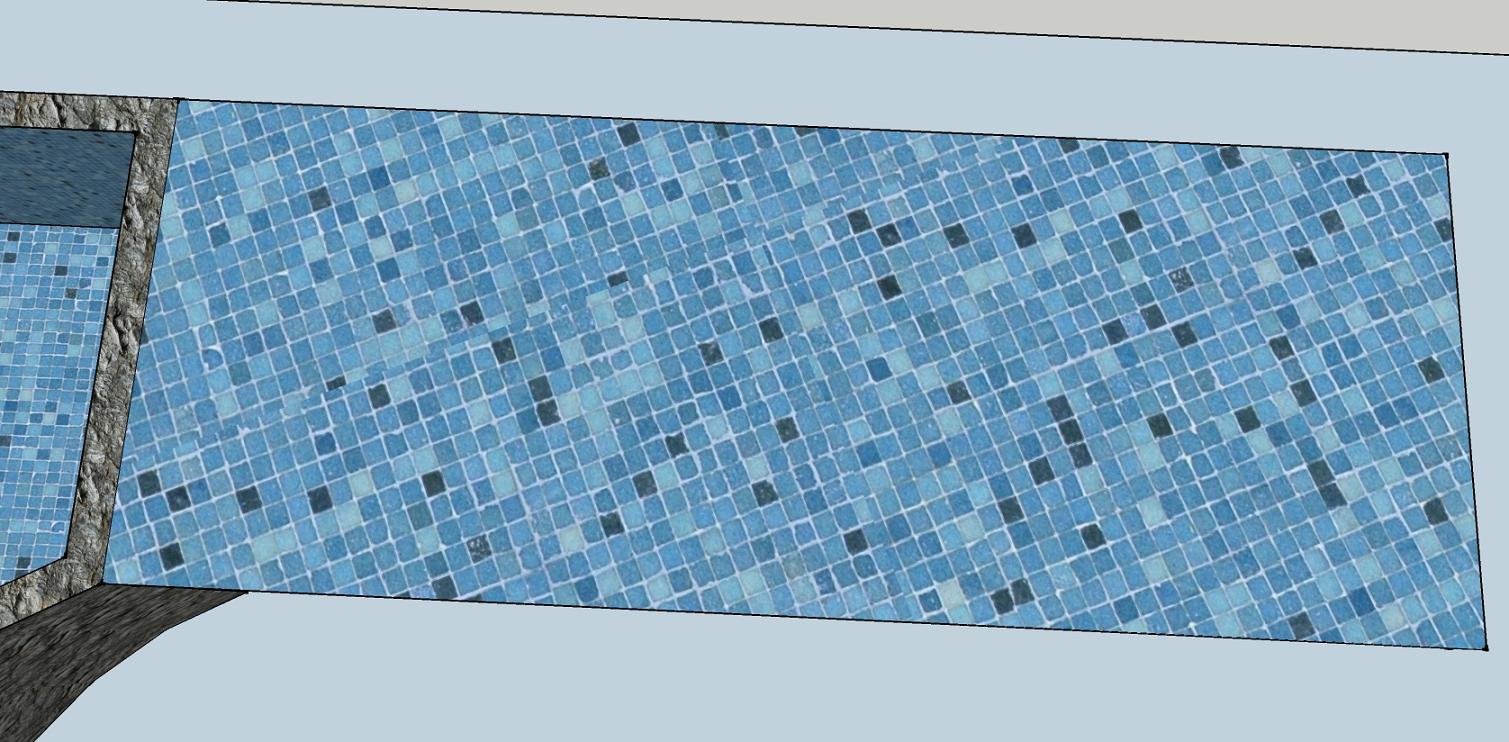
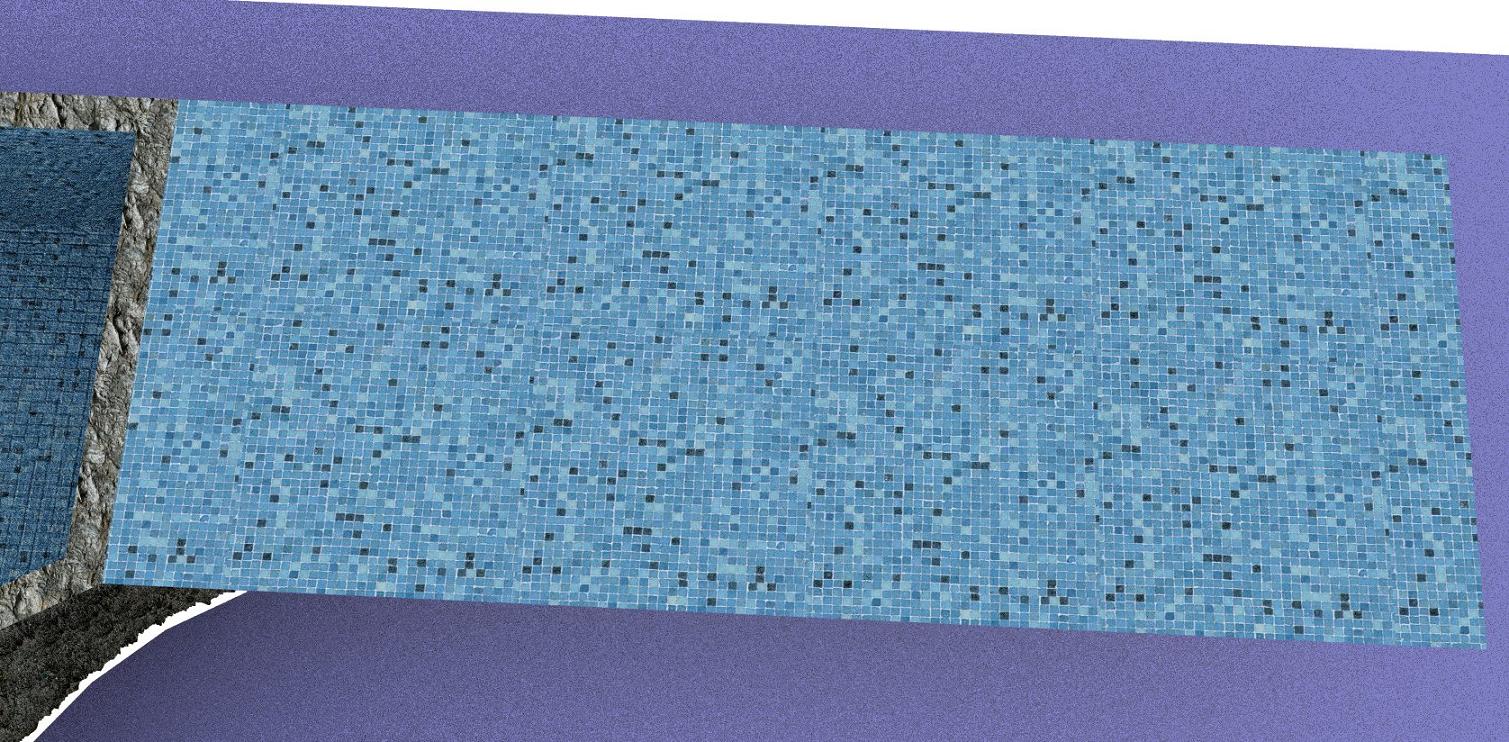
What i want to know is HOW do i do that in vray, ive been reading about the inches and the mm in other posts and ive been changing the UVW transform with no good results.... my material gets render in a tiny little size...the material im using is a .vismat thingie... but ita happens the same even when i do the mat from scratch with bitmaps for diffuse bump etc...
so basically my question is HOW can i resize the material im aplying?
-
Use Sketchup to position and scale your textures. Then what you see is what you get.
-
All other maps are relative to the diffuse map.
If your diffuse map is mapped to 2000x2000mm in SU, ALL other maps will be this big.
That assumes you have not touched the UV Repeat values in the V-Ray material editor. If you set the bump map UV values to 0.5, 0.5 then the bump map will be 4000x4000mm.
If you do not have any diffuse map in your material, a UV value of 1.0, 1.0 will be 1"x1". You'll have to calculate in relationship to inches to get the size correct then.
But an easer method would be to add a texture in your diffuse map with the colour of what you want the diffuse to be. Then it's easier to set the size and scale. -
@thomthom said:
Use Sketchup to position and scale your textures. Then what you see is what you get.
Thank you for answearing so fast!!!
but maybe im missing something, it appears to work with a material with only the diffuse bitmap... bump and something else and they stop reacting to the texture position in SU


-
Since beginning this thread I've purchased a license for modo. I never got to try out the Vray suggestions that were so helpfully offered because my trial period came to an end and I had to choose between modo or Vray. Not enough $$$ for both.
I chose modo. modo has what it calls a Shader Tree which is essentially a layering system. You can stack multiple layers on top of one another - displacement maps, bumps, diffuse maps, image maps, noise maps, process maps, etc. to get what you want. I'm just scratching the surface but it's very exciting what it can do in this particular area.
This link is to a thread on the modo gallery forum of someone who modeled some industrial nuts and posted at the bottom a screen grab of his Shader Tree showing the layers.
-
@unknownuser said:
thanks for showing us your nuts.

This tree-like solution (and layered materials) is similar to that of Kerkythea however.
-
My knowledge is limited to AutoCADLT, SketchUp and modo so I'm not at all surprised that some of the features I find unique to modo are not unique at all. I'm a furniture maker and a stair builder. I recently purchased, from a junkyard, a pile of old wood painted signs that were destined to be burned. I'm going to cut them up and make cabinets out of them. I was faced with the question of how to render wildly irregular surfaces - some shiny, some dull, many different colors, different degrees of surface distress, etc. I think modo, especially considering it's Painting feature, might be able to do that for me.
Of course I've spent so much time working my way through modo tutorials I haven't been in the shop in three weeks!
Hello! It looks like you're interested in this conversation, but you don't have an account yet.
Getting fed up of having to scroll through the same posts each visit? When you register for an account, you'll always come back to exactly where you were before, and choose to be notified of new replies (either via email, or push notification). You'll also be able to save bookmarks and upvote posts to show your appreciation to other community members.
With your input, this post could be even better 💗
Register LoginAdvertisement


