Hey Didec, no problem. Just hoping to help.
Yeah, that watermark technique works pretty well and generally use it more than I do PM (unless I need the photo for texturing). I actually had to used it about a week ago when a client sent me a camera photo that I needed to integrate a rendering into. (Here's that image: http://www.thepixelartist.com/c2006008/p2010011/20100709/p2010011-20100709-view1-1600.jpg )
But, it's a bit of an inaccurate and tedious process to get right. Which is a shame, because that's the whole point of having PM. Plus you lose the option to use the photo as a texture. What's strange is that PM seemed to work better back in V6 when it first came out and has seemed more glitchy since V7. For example, here's an animation I did back in V6 where I used PM to model a very complicated existing building. Used a lot of photos, wide angles and mixed orientations. I haven't had nearly as much success with PM since then (LINK: http://www.thepixelartist.com/c2006001/p2007011/20070525/test1.html )
V8 has made things worse by adding the front image option, but then removing the ability to use display controls, forcing you to go into the style manager to change the opacity settings. It's really pain in the ass now! All they had to do was add those controls to the PM dialog box (opacity sliders for both front and back image, plus keeping the display controls). Frankly, PM was just very poorly implemented in the first place and just needs a major overhaul with a far more accurate/precise tools... and could be made far more intuitive at the same time (like most of SU really... but don't get me started!  )
)
Anyhow, to offer a bit of advice on how I usually handle a photo integration project (if it needs to be fairly accurate), I usually start off with an aerial print of the site (obviously off google or bing), pre planning my photo location as best possible, then accurately mark the actual photo location out on the site (along with tripod height per photo). If needed, I'll even measure to the center of the tripod location with a 100' tape to the two nearest objects most visible in the aerial. Also note your focal length/aperture (or just get it from the image EXIF data). If possible, I try to set my camera perfectly level so I don't have to worry about pitch and roll later (I actually use a bubble level attachment on my cameras hotshoe mount).
From there I'll bring the aerial data into SU (or ACAD). This is one area that V8 will certainly be helpful since we can now bring in much higher res, color aerial data. Before I would have to export the lower res, B&W aerial texture from SU into photoshop and update the texture with highres color data manually.
Using the "Film & Stage" plugin (which I think is just built in now) I will make a camera object and manually place it on the aerial at the correct location and height. I'll use the "Edit Camera" option later to change the cameras focal length and aspect ratio (typically 1.5, like your camera, or 1.3333).
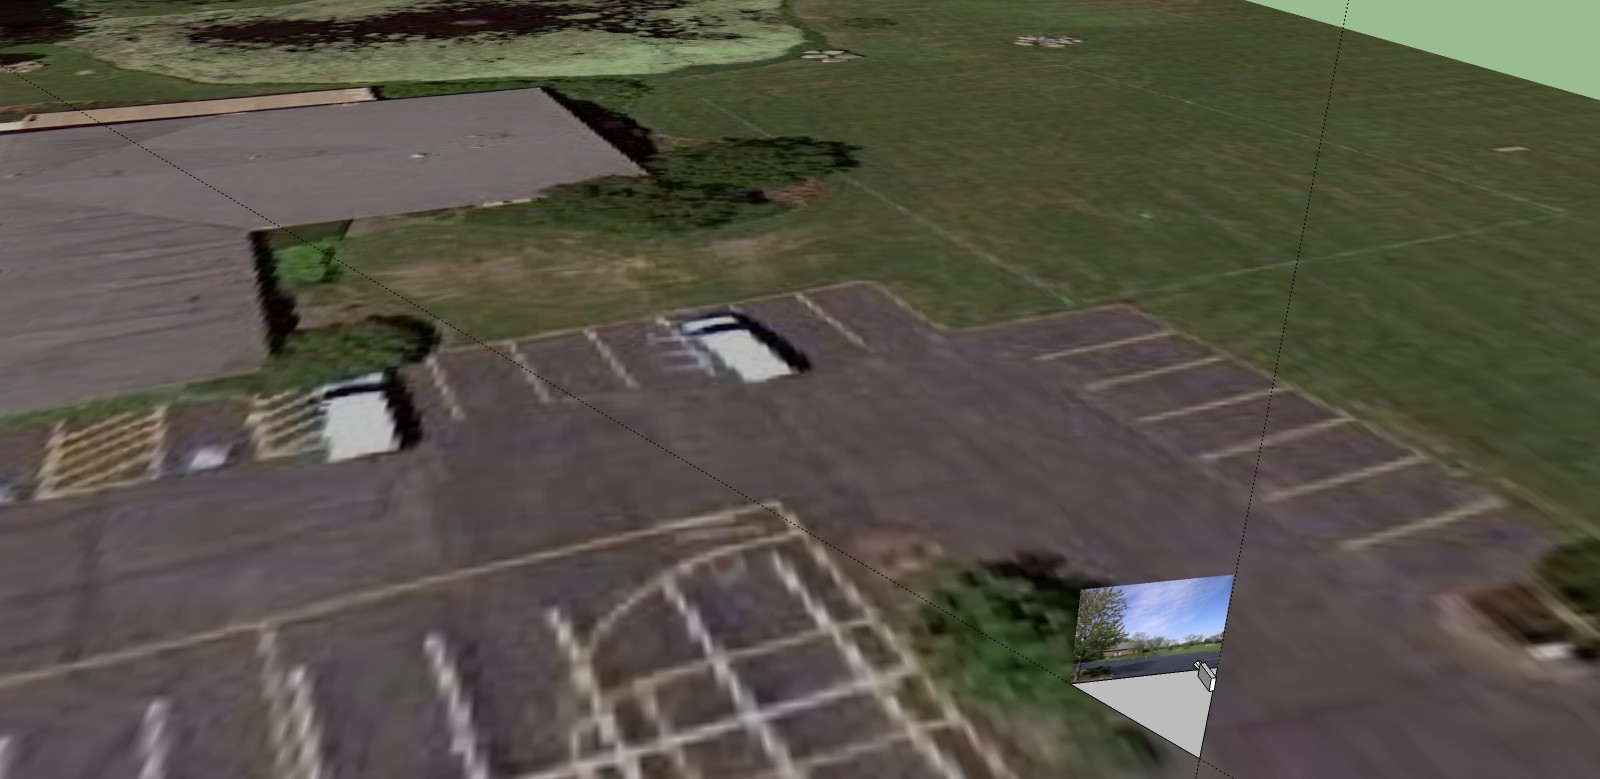
Now, this part is a little hard to explain. I will build a triangle (around 10') from the center of the camera location, flat to the aerial, with its main angle to match the "horizontal field of view" of the photo. For example, a 28mm FL would have a horz. field of view of 65.5deg (Didec, your 17mm EOS 550D would be 67). Here's a great online calculator I use, use "Angular Field of View" link: http://www.tawbaware.com/maxlyons/calc.htm. I add construction lines to the main angle edges and rotate the camera to bisect the angle. You can make a group of the whole thing, then rotate it (around the location center) to match the view in the match photo (align to the objects at the edges of the photo). There's a couple more accurate ways to align the angle, but you can usually just eyeball it. I've attached an image to hopefully show this step a bit better.
Add the photo as a background image (again, make sure your aspect ratio is correct) and it should be pretty close. You can tweak the camera location manually if needed. I usaully use the "Walk" tool to keep the camera location set.
Here's a couple images I've done using this technique.
Before: http://www.thepixelartist.com/c2007002/p2007013/20070625/p2007013_20070622_view1-1000-exst.jpg
After: http://www.thepixelartist.com/c2007002/p2007013/20070625/p2007013_20070622_view1-1000wm.jpg
Before: http://www.thepixelartist.com/c2007002/p2007013/20070625/p2007013_20070622_view2-1000-exst.jpg
After: http://www.thepixelartist.com/c2007002/p2007013/20070625/p2007013_20070622_view2-1000wm.jpg
Hope this helps. Best of luck!
Adrian Alan Brown


 )
)