

Terry,
These tools (and your metalwork) look very interesting. I hope you will add to the gallery on your site, and share your work here in the future. Looking forward to experimenting with the plugins. Thanks so much for sharing!
Fred
Pete,
Those are very cool. The first one looks a bit like an explosion involving the liquid metal terminator (T2) and the condiment section of a hot dog stand. The second one is enchantingly beautiful. Wow! Thanks for sharing.
Re David_H's question. The model was made with standard SketchUp tools except SdS.
Fred
Mike and Boo,
Thanks for the feedback.
A little less non-representational than my usual stuff. A good direction to explore perhaps.
Fred
Jakob,
Thanks so much for taking the time and effort to render this! It is awakening my eyes to the sweet possibilities.
With much appreciation.
Fred
Kwist,
Thanks again for the feedback.
Plastic is cheap... make that "inexpensive"... so it's much more viable for the home crackpot inventor. All the materials I've used for these experiments have cost less than $200.
Regarding the PU foam. The structure I built using low-density foam had virtually no integrity under load. Since I'm interested in a roof structure that would need to hold quite a bit of load the only way forward, using these materials, is to use higher-density foam.
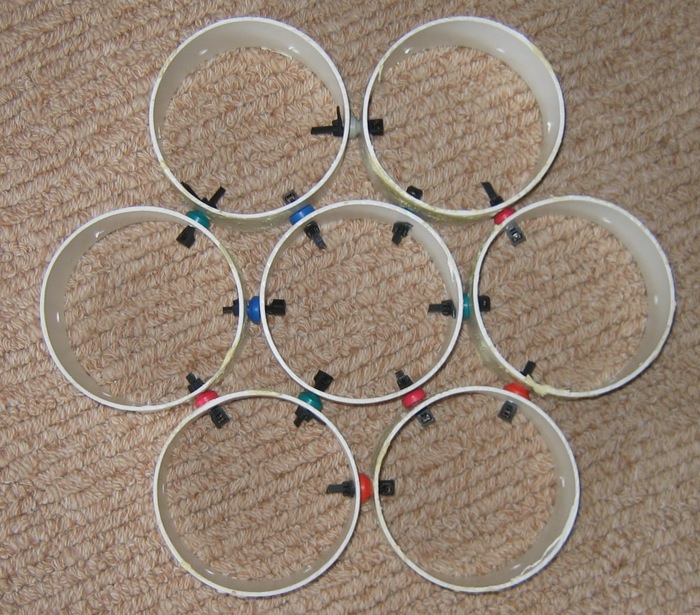
The wire ties ARE the weak links in the structure. However, there are a lot of options in wire ties. Take a look at this site (http://www.buycableties.com/). There are even stainless steel versions.
@unknownuser said:
You are actually re-inventing steel framework, a thing that is documented to extent in structural engineering courses....but in plastic.
Stinkie... so plastic + bucky ... could be shortened to "plucky". 
Fred
Jakob and Pete,
Loving your dream descriptions. Delightful writing. Given how much time I spend with SketchUp I damn well should be having some good SU related dreams, but if so I can't remember any. I'm going to pay more attention now.
Fred
Thought I'd update this thread with the various experiments I've tried over the past few months.
(The first thread on this subject is located here.)

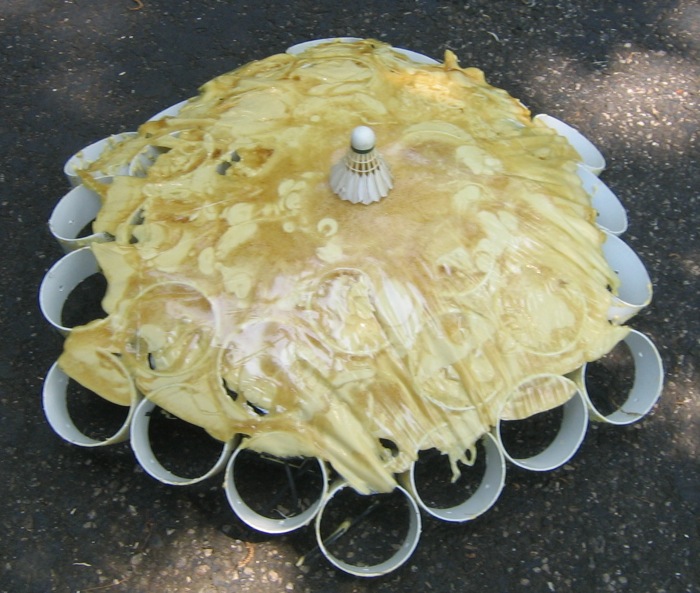
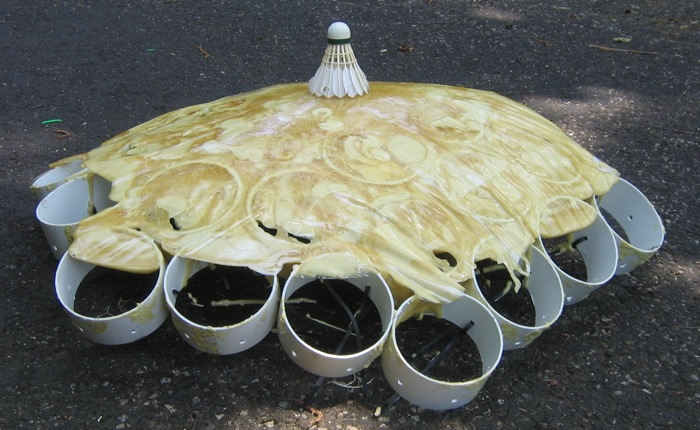
I made up the object in the two images below to test this idea. It has a nice feel to it and I'll use this approach in future experiments.
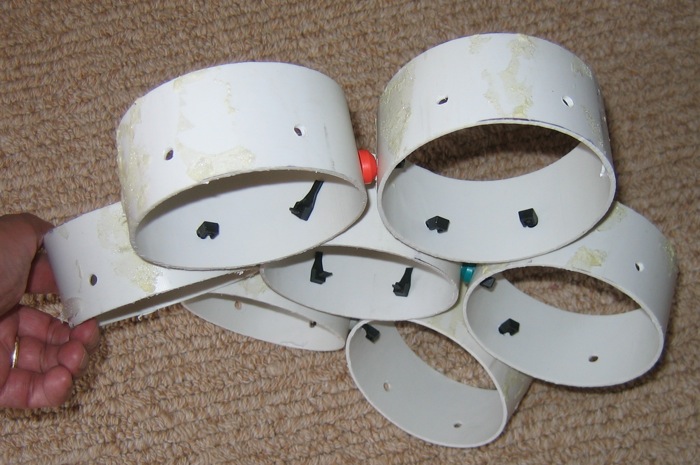


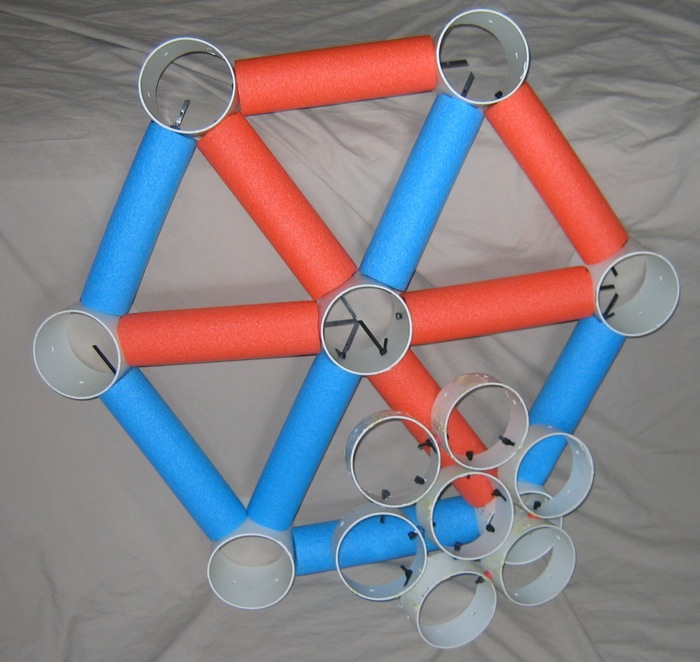
I just started working on this object and am still ironing out the kinks. The key kink being that some sort of joint object is needed between an edge piece and hub. I've tried 1" rubber balls, split in half, and they work well but the rubber tends to fall apart when drilled. (It's amazing what you have lying around a house where two boys have grown up.) You can just see these in the second image below. I've ordered some wood half-spheres and I think they will work well for this purpose. The structure is on hold till those arrive.

If anyone has ideas/suggestions I'd be happy to hear them.
Fred
Kwist,
Thanks for the feedback. Much appreciated.
Many of your questions were brought up in a another previous thread on this subject.
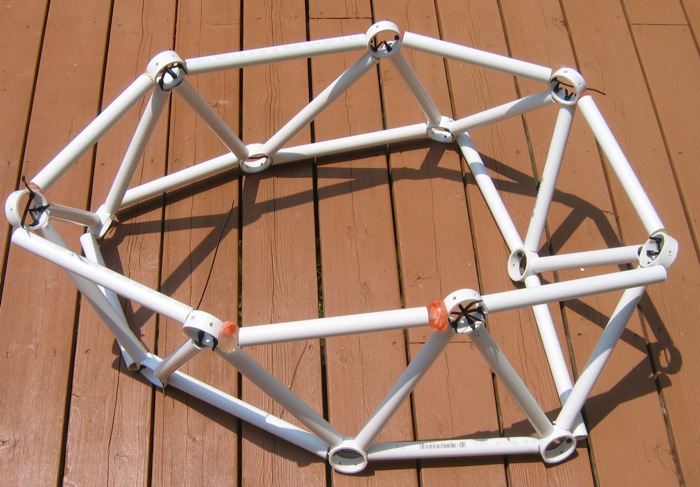
To make a larger test structure spray foam is essential. The highest density spray foam I've found has 2lb per cubic foot density. Unfortunately, the smallest unit of this material that's available costs over $400, this is where the wife (and common sense) comes into play to prevent additional research.
I've ordered some 2lb pour-in-place foam and will do some testing with that next week. The foam in the images above is 8lb per cubic foot density.
Fred
@kwistenbiebel said:
@fbartels said:
They just need to get that roof curving in multiple directions ...
FredBuilding cost X 2. (+ a damn good structural engineer)
Kwist,
Probably but perhaps not, although I have a bunch of work ahead of me to prove that.
I've been plugging away on experiments with PVC pipe structures and although the progress has been slow I've been reasonably pleased with the results. I'd make faster progress with a bigger research budget but that might jeopardize my marriage. 
Fred
Inspired by the mating games being carried out by birds observed from our deck. That, and just playing with SdS and FFD. (apologies to those who thought the title would lead to something a little more risqué...)
with shadows

w/o shadows


Hey Jim,
Thanks for sharing. They just need to get that roof curving in multiple directions and it would be right up my alley.
Fred
Dave,
Thanks for sharing. A nice clear explanation. The result looks terrific.
Fred
Definitely neat Dave! Can you elaborate on your process/technique?
Fred
Thanks for the feedback guys.
Regarding rendering. I'm on a Mac so Indigo is out. I'm patiently waiting for Podium for the Mac... one of these years.
The proxy is attached for anyone who wants to take a stab at rendering. You will need SdS. The model on which SdS has done its magical work is 25.5 mb, the textured version is 66 mb.
Pilou, I really like that Tanguy painting. How do you suppose he figured out his shadows without SU? Did he build models or just work it out in his head? Anyway, cool stuff.
Fred
p-p and kb, thanks for the comments
p-p, i also like the proxy itself, cubism vs surrealism perhaps
kb, i first drew three colored coded sets of rectangles on a surface, then extruded these and did some adjustments of these "anchors" so they would support what looked to be an interesting weave... then I used a combination of push/pull, move, rotate and scale to build out geometry between the anchors... when two 'tentacles' approached each other I'd join them by putting in the connecting faces... it was tedious but in some cases a fun challenge to pull geometry through tight spaces ... the biggest pain is checking for and removing the unwanted interior faces
fred
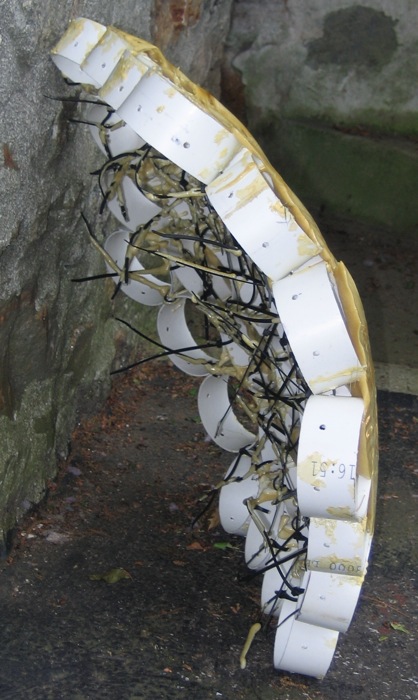
Getting Subdivide and Smooth out of my system. (Like that's going to happen.) BTW, this is the back side.


