Display Case WIP
-
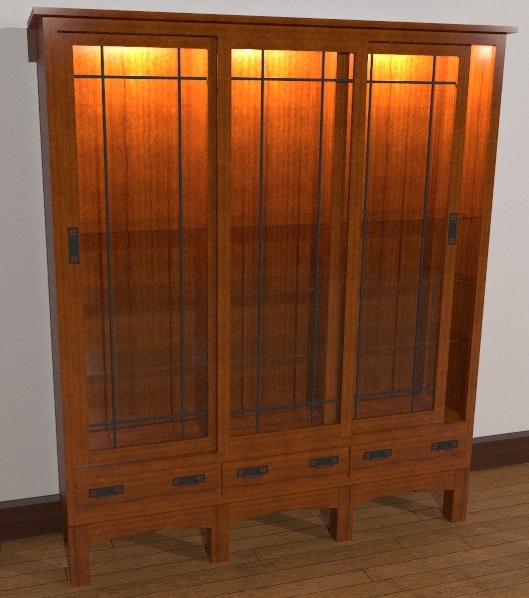
Here's a display case I designed. It is a modification of a china cabinet design I came up with for a client a few months ago. A different client wants a similar but taller case to display plaques and trophys in. It needs to fit in with some Arts & Crafts period furniture. I need a good quarter sawn oak texture though.
Rendered in Kerkythea. MLT-368 passes overnight.
Also needs some goods to fill the case.

-
Dave I really like the way the rendering "glows" on the upper shelf. Although it makes me wonder how items on the lower shelves will display. The shelves look like they are in the dark compared to the upper shelf

BTW, Great design!
-
Tinanne, thank you. You're right about the imbalance in lighting in the case. I expect that in reality, the difference would be less noticeable. I could probably turn down the point light sources a bit.
Modelhead, thanks to you as well. Quareter sawn refers to a method for cutting wood so that you have very straight grain--not the flames or cathedral grain one typically thinks of as wood grain. In oak, especially white oak, quaretersawn lumber displays ray flecks along with the straight grain. Here's a photo I found in a Google search. http://www.thecountrywoodshop.com/images/P4010008.JPG
-
Wow! That Looks great! I'll see if I can play with that tonight and make it work. I'll let you know. Thank you.
-
Hey Modelhead! I had a bit of a chance to play with that texture. It works pretty well. See this link: http://www.sketchucation.com/forums/scf/viewtopic.php?f=41&t=3953
Thank you very much. I wish I understood how to do what you did. I imagine I could find some additional quarter sawn oak textures that could be handled the same way and they could be used together to create some variation.
Thanks again.
Dave
-
Looks good. Haven't seen you around on the Indigo forum since that little flame war.
 Don't give up on Indigo just yet, it's darn good (and easy to use, thanks to SkIndigo).
 -
I would also be very interested in how you do that. I'm very new to PS, just got my copy a couple of months ago, spent my Christmas break trying to make a few usable textures without much luck. I was taking photos of actual materials that are used on the jobsite and trying to use the offset filter to make them tilable. Didn't make much progress, so would appreciate any advice, tips, or tricks from taking the photo, best size to use for a texture, to making a it a seamless texture. Thanks.
Mike
-
Bruce this is quite useful. Thank you.
-
modelhead,
I checked out your tutorial, but it wasn't clear top me what software you were using to create the wood image with.

-
modelhead, thanks very much for the tut. This is exactly what I was trying to do with a piece of PTL and a piece of Trex. There were quite a few steps that I was missing before trying to make a texture tilable. Looking forward to part 2, thanks again.
Mike
-
Your rndering of the display case looks great, Dave. When it first popped up I thought it was a photograph.
-
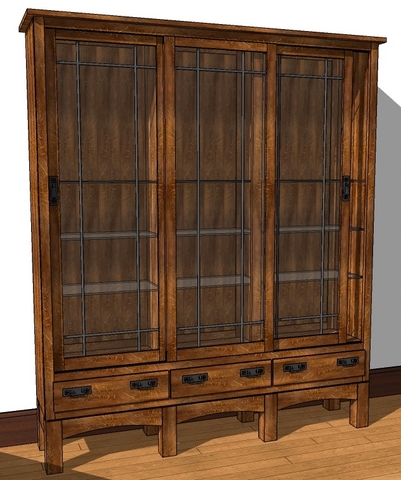
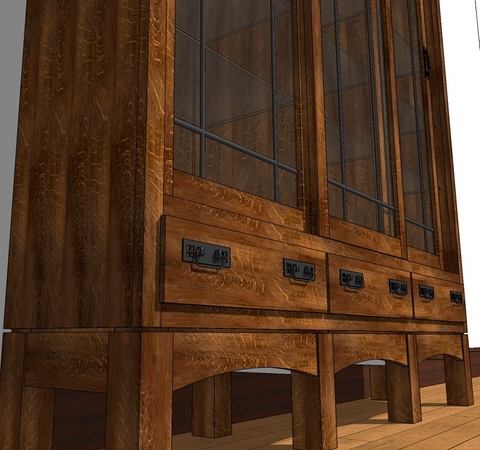
FWIW, here's the cabinet with the QSWO texture applied. I only made sure the grain orientation was correct but it is clear I need to find some additional textures for this.


-
Dave, from this material you could create beautiful specular maps (with those light grain threads or what running the same direction). Just imagine that they appear more shiny than the rest of the wood with certain light angles. Would be beautiful!
-
Sorry to dredge this up again. It had almost fallen off the bottom where it likely belongs.

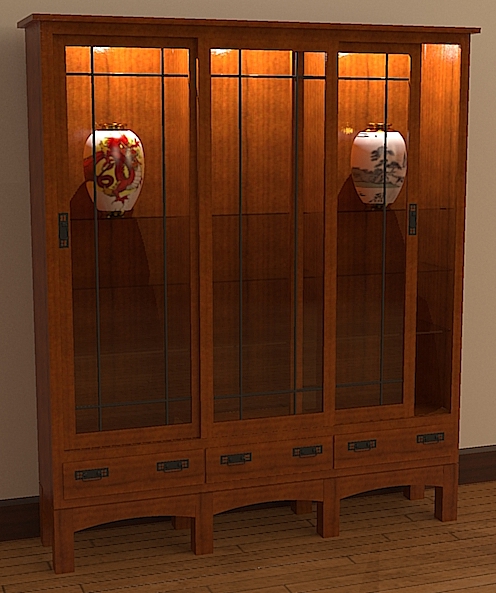
Anyway, after a suggestion from Frederick and Fletch, I rendered this in a lower preset in KT. This time 07. PhotonMap - High + AA 0.3. Although it took a little over 7 1/2 hours (I was asleep so I didn't care) to complete, I think it is better than the 10 hour MLT renders. This was done at 800x600 and cropped afterward. I did increase the radius of the spotlights to soften the shadows and I added a little bump to the wood texture for the case.

Gai, I need to play with your idea about the quartersaw grain. I have to learn what most of your words meant, first.

-
OK, I only know these things "theoretically", too.
See a modified version of your wood texture that could be used as a specular or shininess map (use it at the appropriate slots in KT).The lighter areas will reflect more than the darker ones. Since those "scratches" (I know they are not) are way lighter than the others, they will reflect more light. This is often the case with finished wood - those "golden" marks just reflect beautifully.
Try to test it with over exagerrated settings to explore the differences first.

-
Thank you. I'll give this a try.
Advertisement


