Texture - projected question
-
Hi the lovely SketchUp community,
I am trying to project leather texture on 3 sides of my sofa. I am projecting the texture downwards and it is working. However when I apply the same texture on the other sides of the sofa, it keeps screwing up the textures that I had just applied to the other sides. I have tried to rotate the sofa to have each surface at 90 degree angle for the downwards application. I have tried a helper object at the desired angle. Every time, the projection works but it interferes with the textures on the surfaces located at different angles. Can I keep the desired textures on all three surfaces (x,y,z)? Or I have to pick only one?
Thank you very much!
Lena -
Hi - yes, your observation is correct and drove me to despair at that time

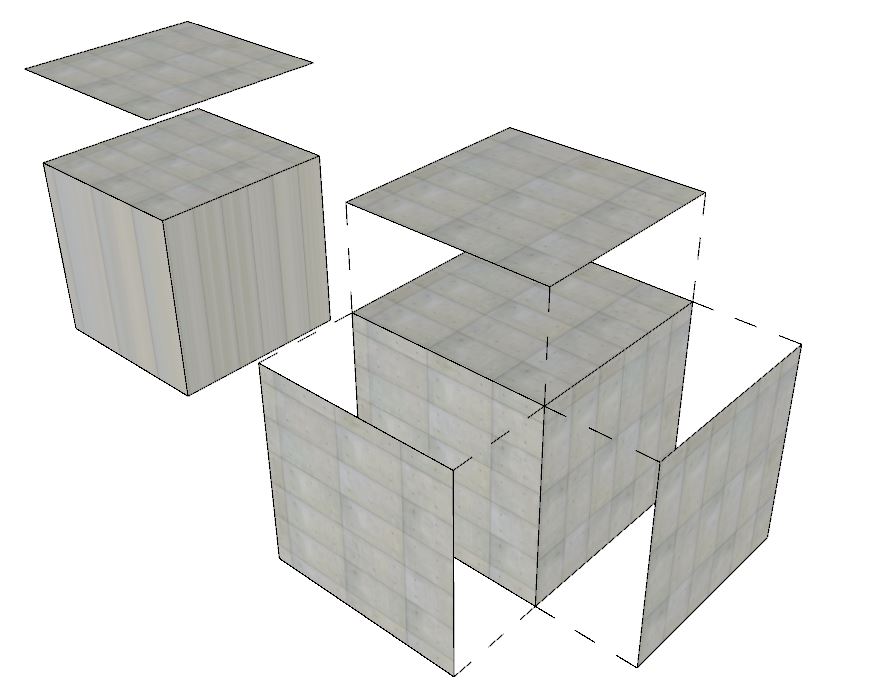
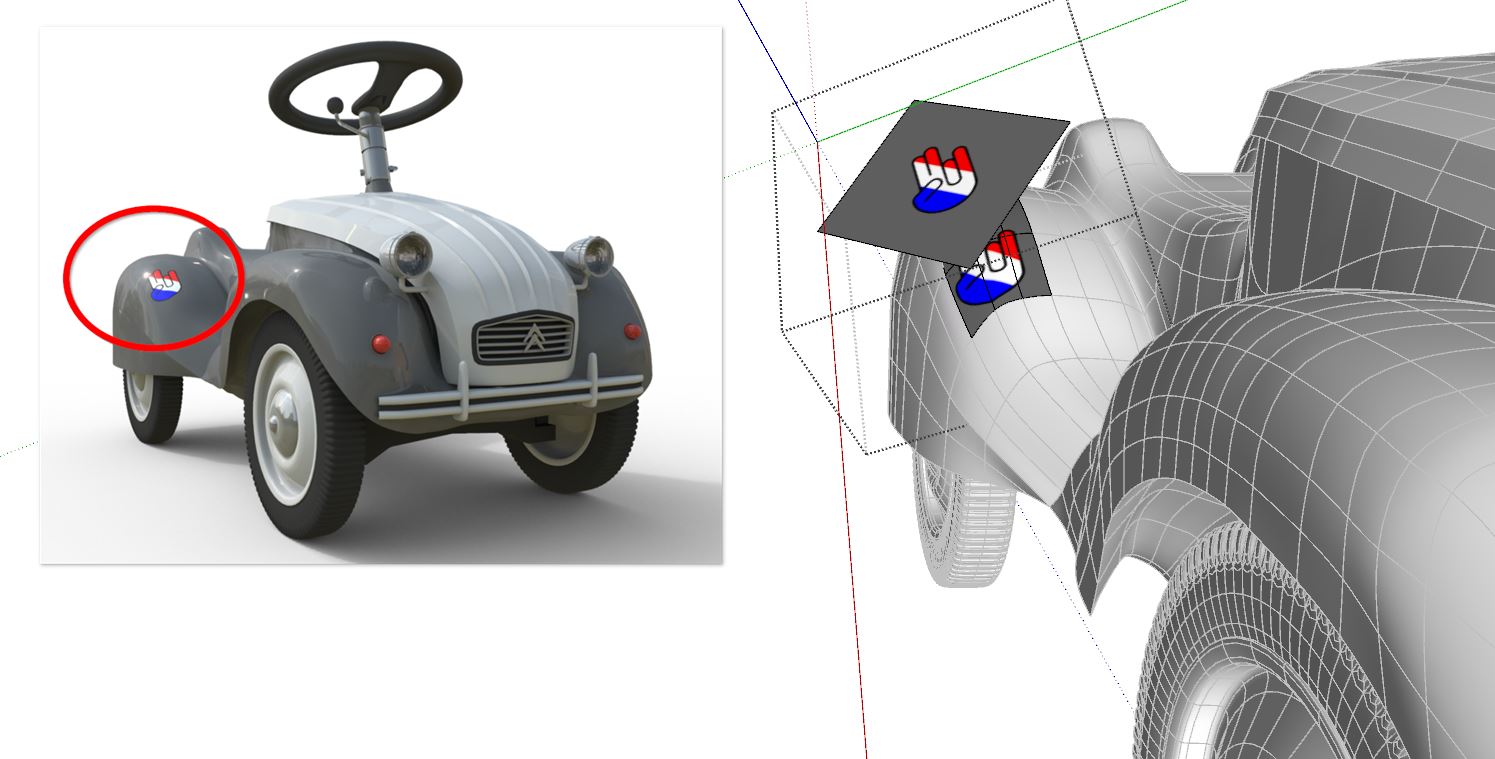
In fact, texture projection behaves a bit like an old slide projector or beamer. What has worked for the projection of the top face does not work so for the side face.
So you can "set up" your projector again with one (or more) further suitable texture-image projections which you then pick up individually with the material pipette and assign them to the corresponding faces of your model then...
Even if this method seems a bit "dusty" at first sight, it is still my preferred texturing method, as it is sufficient for most texturing tasks, at least for me
(I´ll add a schematic sketch and an example below)


-
Hi dear Sketchup community member,
Yes, I have done exactly the same: I created three helper rectangular objects facing x,y,z. I then projected the texture on them. All worked well until... I started applying those textures on my sofa. I then because three sides of the sofa do not have definite separation in sides, the texture from each x,y,z kept bleeding onto each other.
Your advice works well on geometric shapes and figures. But what about organic shapes, like a sofa?Thank you,
E

-
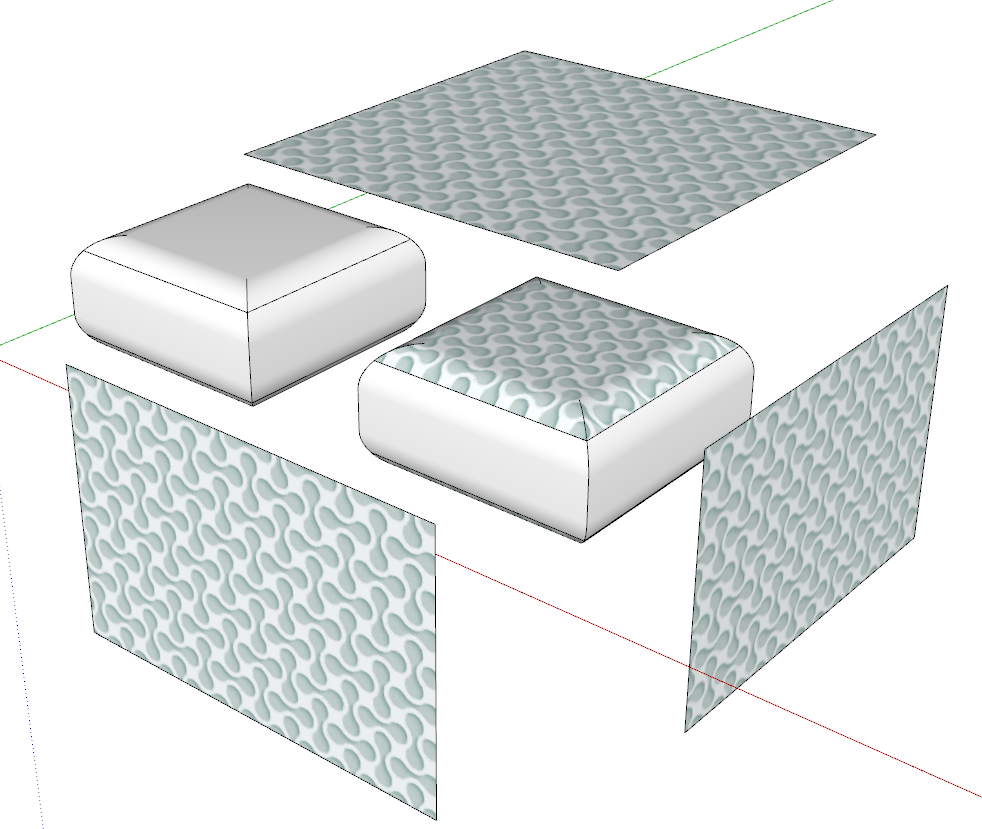
Presumably you are describing furniture with curved surfaces. If you are going to use the projected texture method you need to create some visible edges to limit where the texture will get applied. Here's a quick example with visible edges about halfway up the radius corners.

After you've applied the textures you can hide those edges.
Advertisement


