Created faces from arcs
-
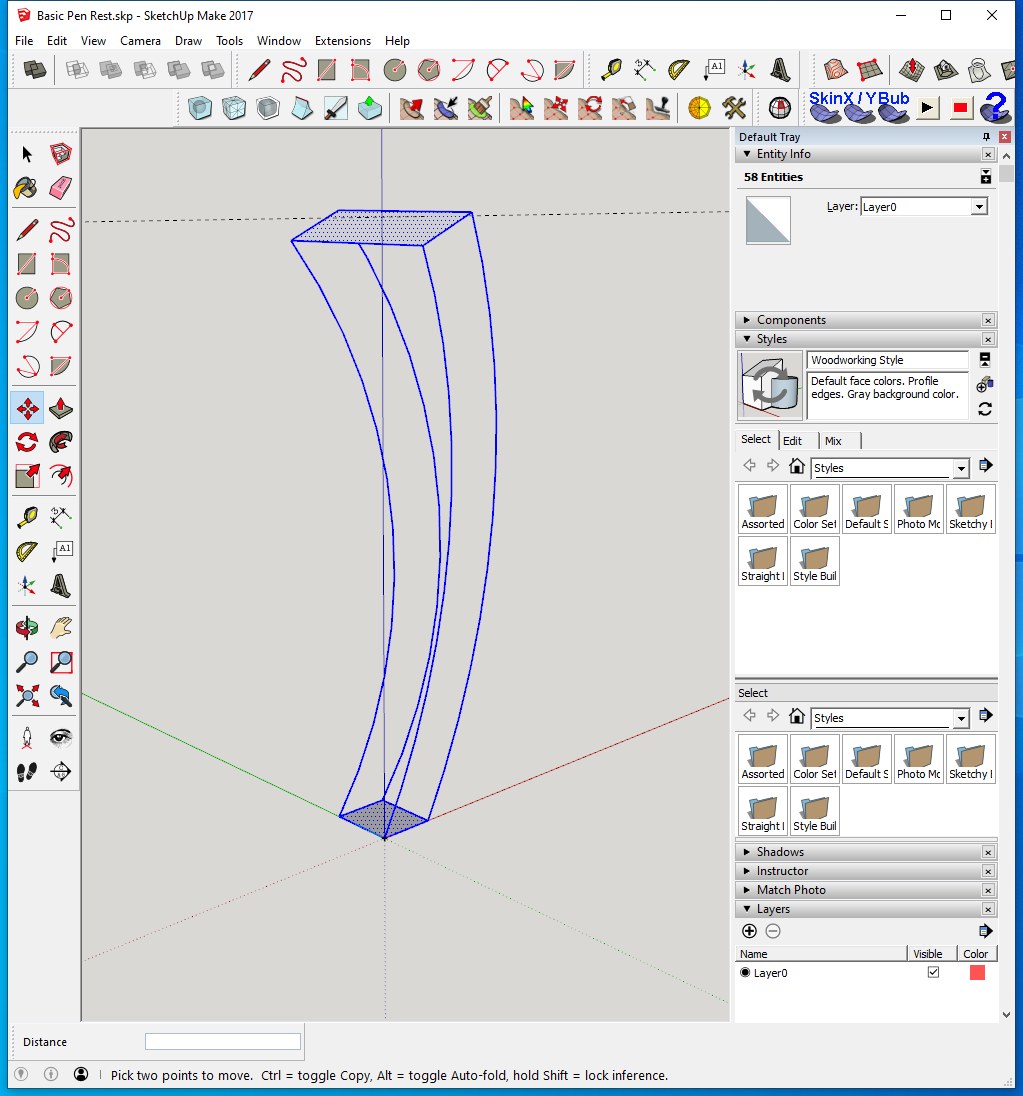
I'm working on modeling what I thought was a very simple form. I started with a cube, created arcs and now I am trying to create faces so that I can inset those and add texture. I'm stuck with a wireframe form that I don't know how to proceed with.
Any advice, suggestions, critiques?
Thanks,
Brady...
-
I would suggest the plugin Curviloft for this task...
-
Curviloft is great, can't draw anything without it.
But it has a serious drawback if used to create printable surfaces. It does not join up opposing vertices if they are not of equal number of segments in the bounding curves, and even then not quite, You get a lot of extra lines on the curved surface, where I would spend a lot of time cleaning up, just to reduce my drawings line count. The curved surface looks just as good.
To combat that with some reasonably good success with Curviloft, make sure the long curves have an equal number of segments. If they are curves made up from more than one arc make sure the total segment count is the same for the curves. Do this in Entity Info. Providing the arc is pristine just change the segment count. Otherwise draw the arcs with a preset segment count that is consistent curve to curve.
Segment length also factors in to how well Curviloft makes a printable surface. Make sure all your line segments are greater in length than your print nozzle size, usually .4mm
Otherwise explode the curves and join vertices by hand making triangles.
For printing, preview the model with smoothing off, showing all hidden and smoothed lines before you export the STL file.
-
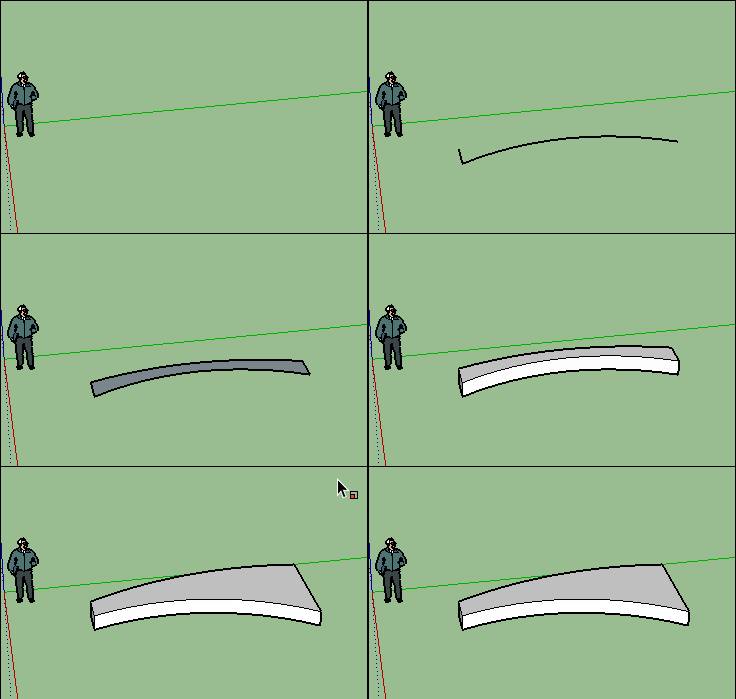
A simple Push Pull then a Size of the Top Face size is not sufficient ?
And use Thrupaint for any Texturing...
-
First, if it is a symmetrical object. Try to model half of it (then mirror a copy later) if you think it will take too long.
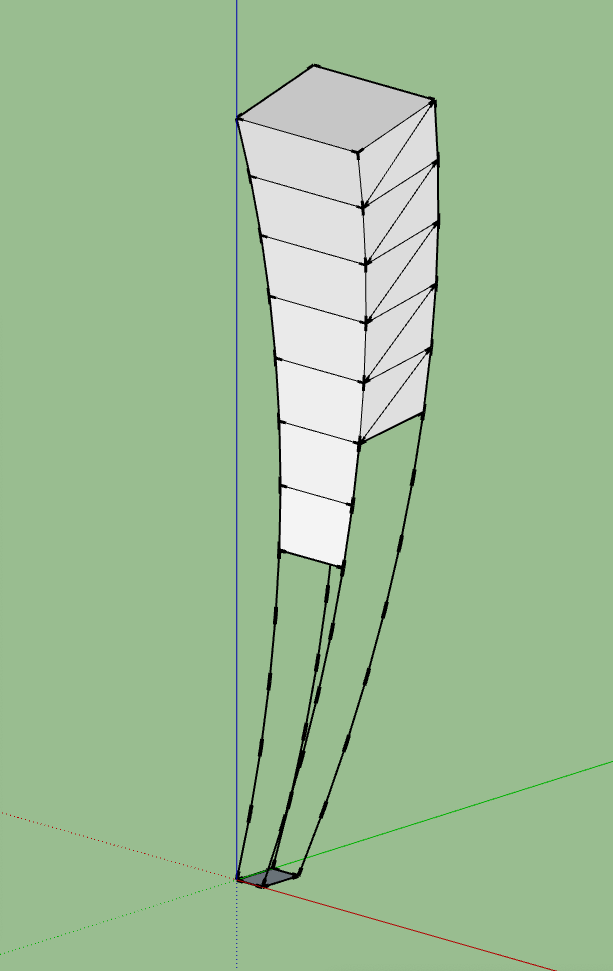
Explode the curves, turn on endpoints in the styles dialog and draw edges between the endpoints to make faces. Sometimes a diagonal is needed. Sometimes drawing edges on axis (here the red axis), a diagonal is needed to make the face, but can be erased afterwards. When done, use the Soften/smooth dialog.
-
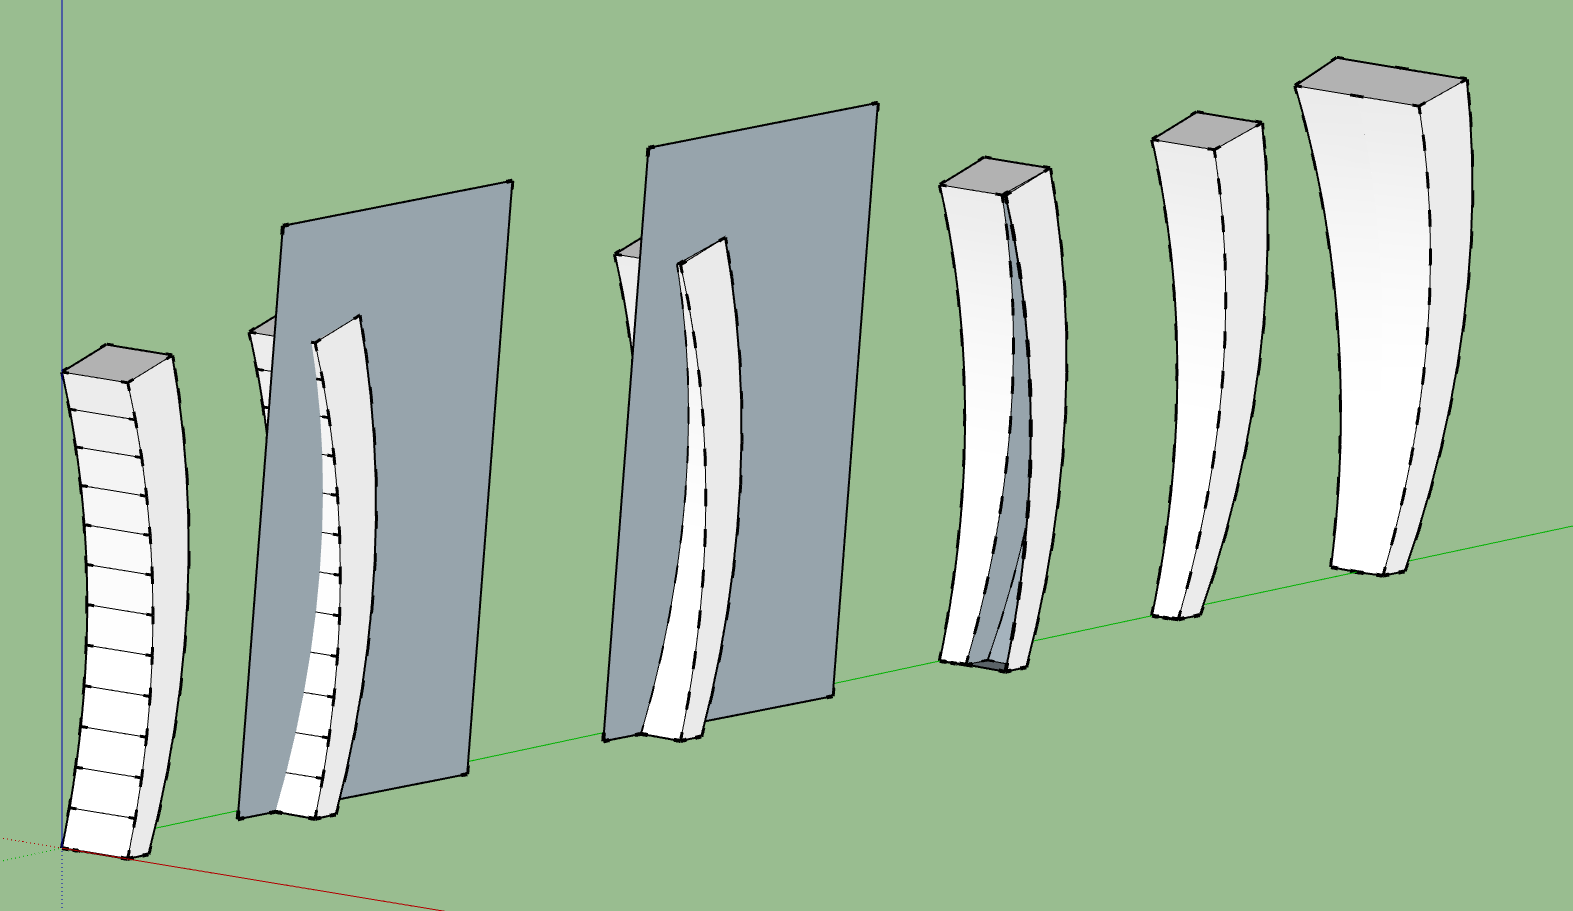
Follow up on Pilou's answer. But the upper face is wider than the lower. Perhaps using push pull and cutting with an inclined face will work (intersect faces). Smooth result and erase the unwanted faces.
-
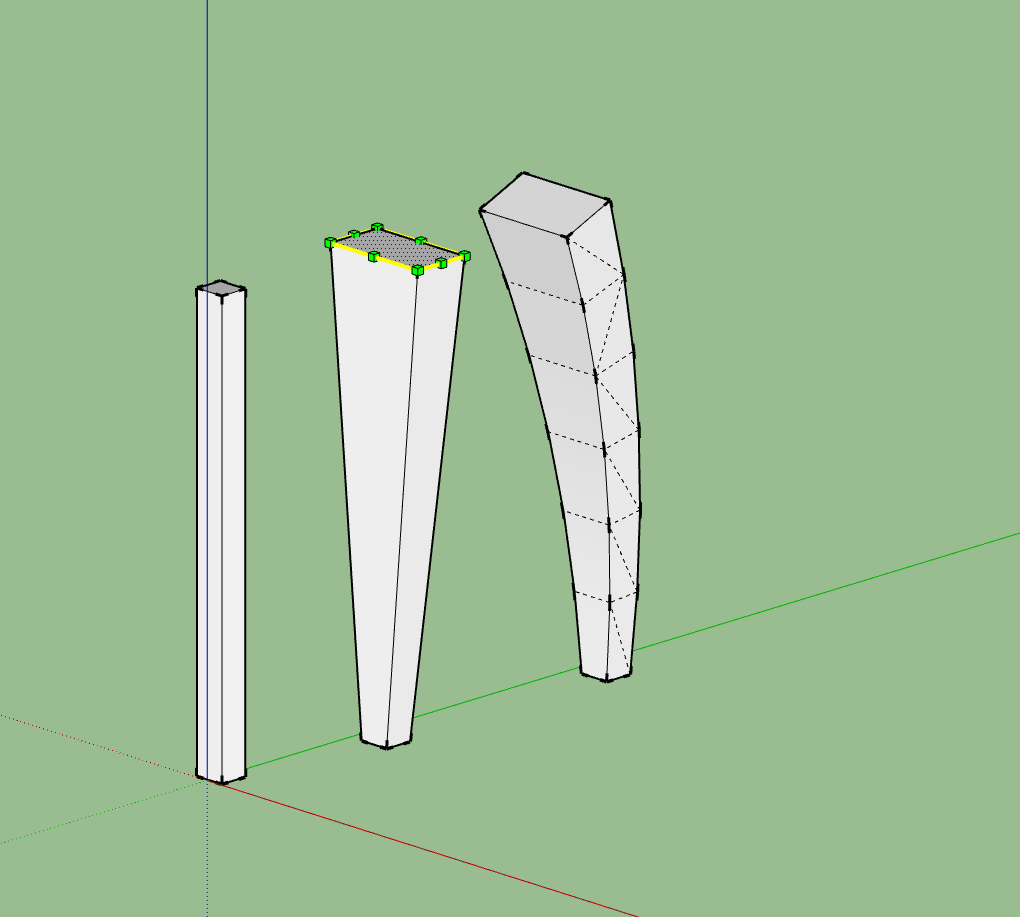
There are also plugins that will bend your shape afterwards. Here the top face of a rectangular prism, made with pushpull, is scaled to the larger size, then using Fredoscale, Radial Bending, the top is bent over.
-
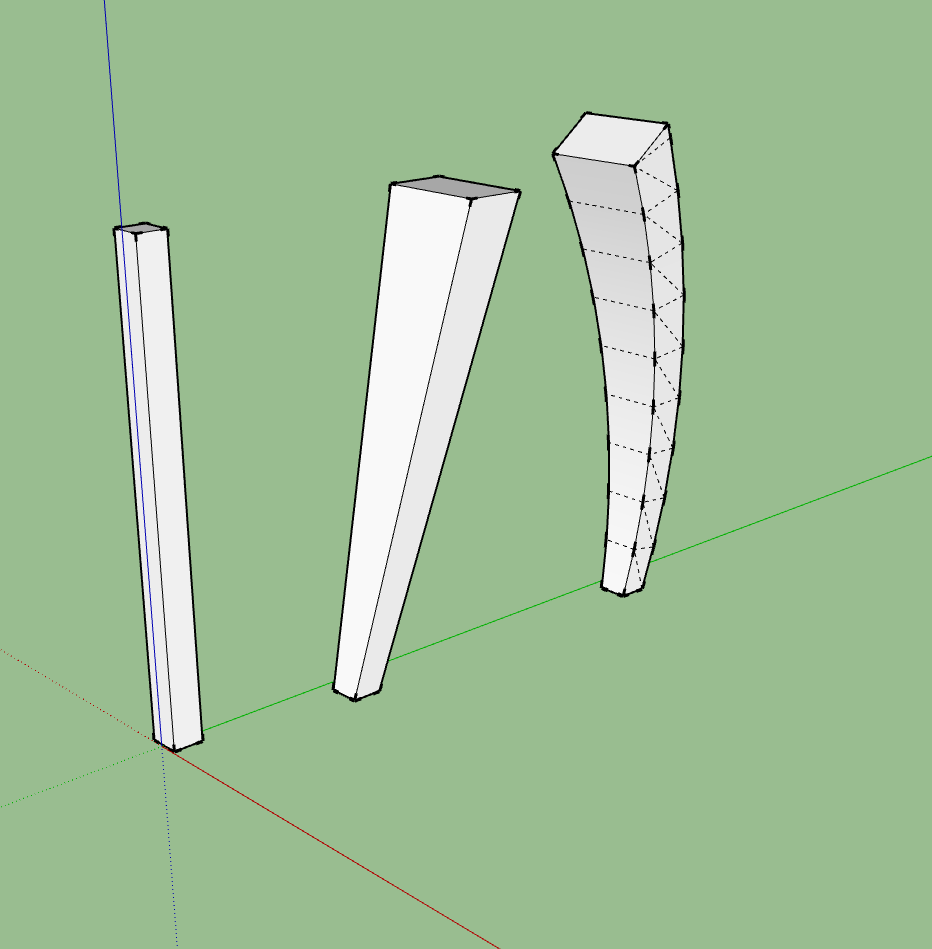
A little more accurately, move the top face to set the beginning tangent of the curve, like you've shown.
Advertisement


