Some tips and tricks from out of the Box
-
Which do you mean by the first circle, the very first is drawn on the blue axis and is orientated that way as the camera is looking more down than horizontal. The second is the beginning of the array and is drawn on the green, once again due to the camera angle.
Both could be forced on axis by the arrow keys, up for blue, left for green, right for red. -
OK - I just watched the video again, and I was wrong. For some reason I missed that you drew two circles. DUH.....
One other thing though, I see the axis showing up in different places at different times (at least that is what I think I see). Am I delusional? Is that an option to make the axis show oriented to the object you are drawing?
Are there other keyboard tricks (like the shift double click) that you can share as well?
-
@ntxdave said:
One other thing though, I see the axis showing up in different places at different times (at least that is what I think I see). Am I delusional? Is that an option to make the axis show oriented to the object you are drawing?
I can only imagine you are seeing the axis for the component and group when they are open for editing. There really is nothing magical going on in the gif, all just straight sketchup.
-
I went back and watched the first gif again and have made a mess of it. I have not used SU much lately so I need some refreshing. Can someone point me to some documentation or tutorials for using both the radial bend and thrupaint extensions? I tried to find some but have not been successful in finding anything worthwhile yet.
This is another case where I wish you could pause a gif. Some of the text in the gif goes by too quickly and I cannot read. It.
Once again Box, I think this is a wonderful thread and greatly appreciate it.

-
@ntxdave said:
or tutorials for using both the radial bend
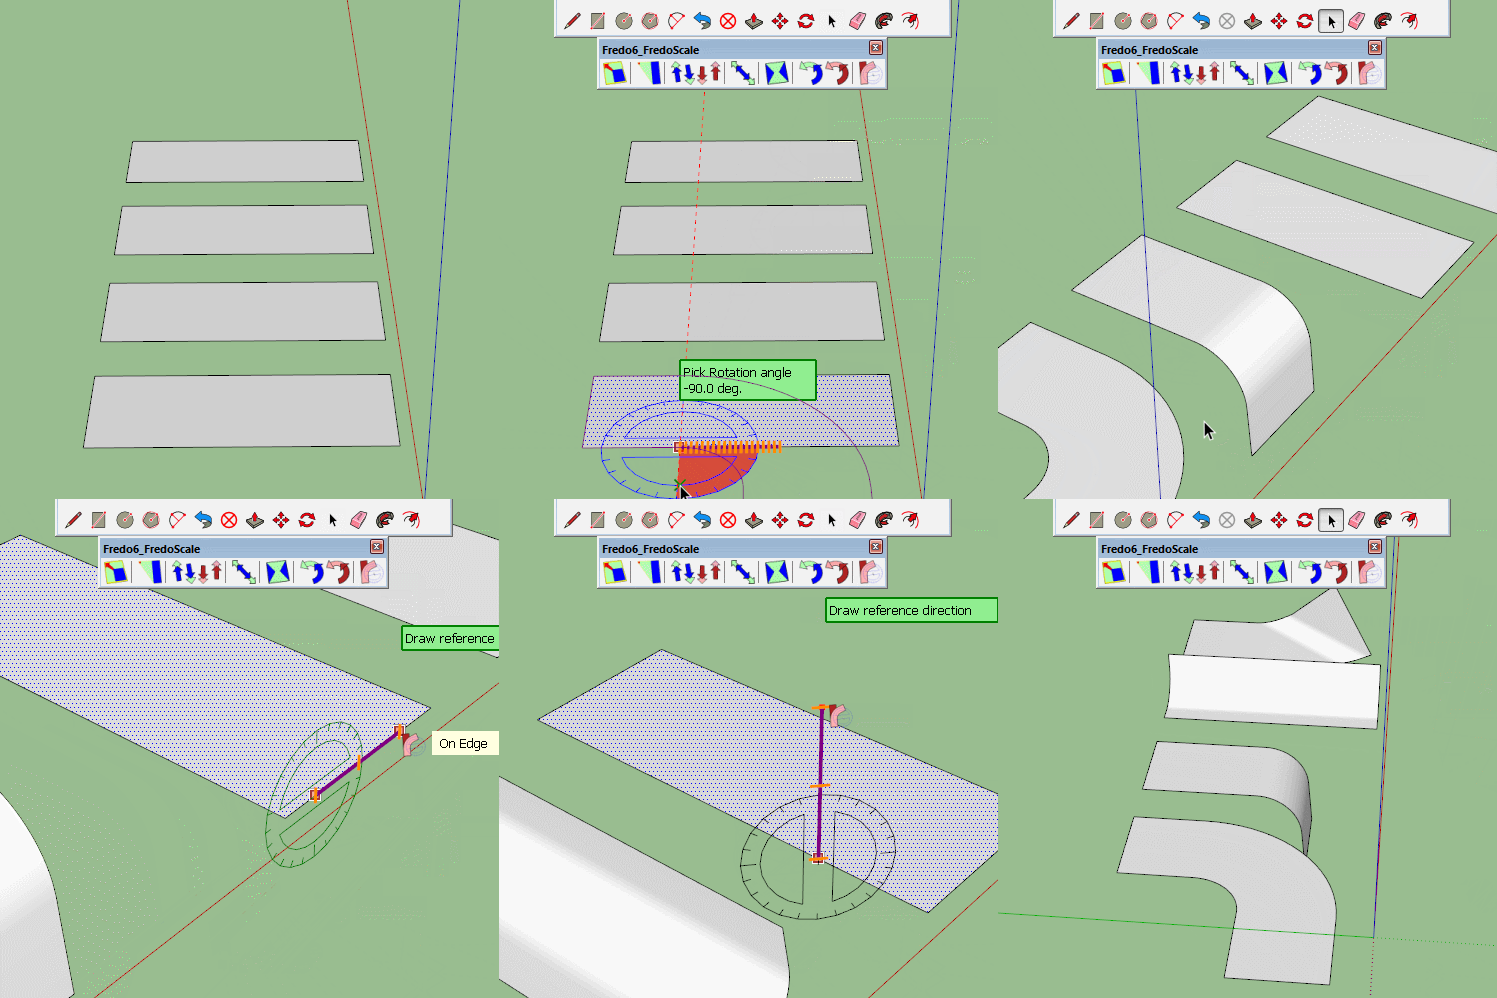
Here's the very basics of Radial bend.
You choose the direction, then the extent, then you bend it.
So click to set the protractor (click drag release if needed, or arrow keys),
Click to set the length of the bend area
then click to start the bend and click to finish the bend.

-
Once again, thanks for the reply.
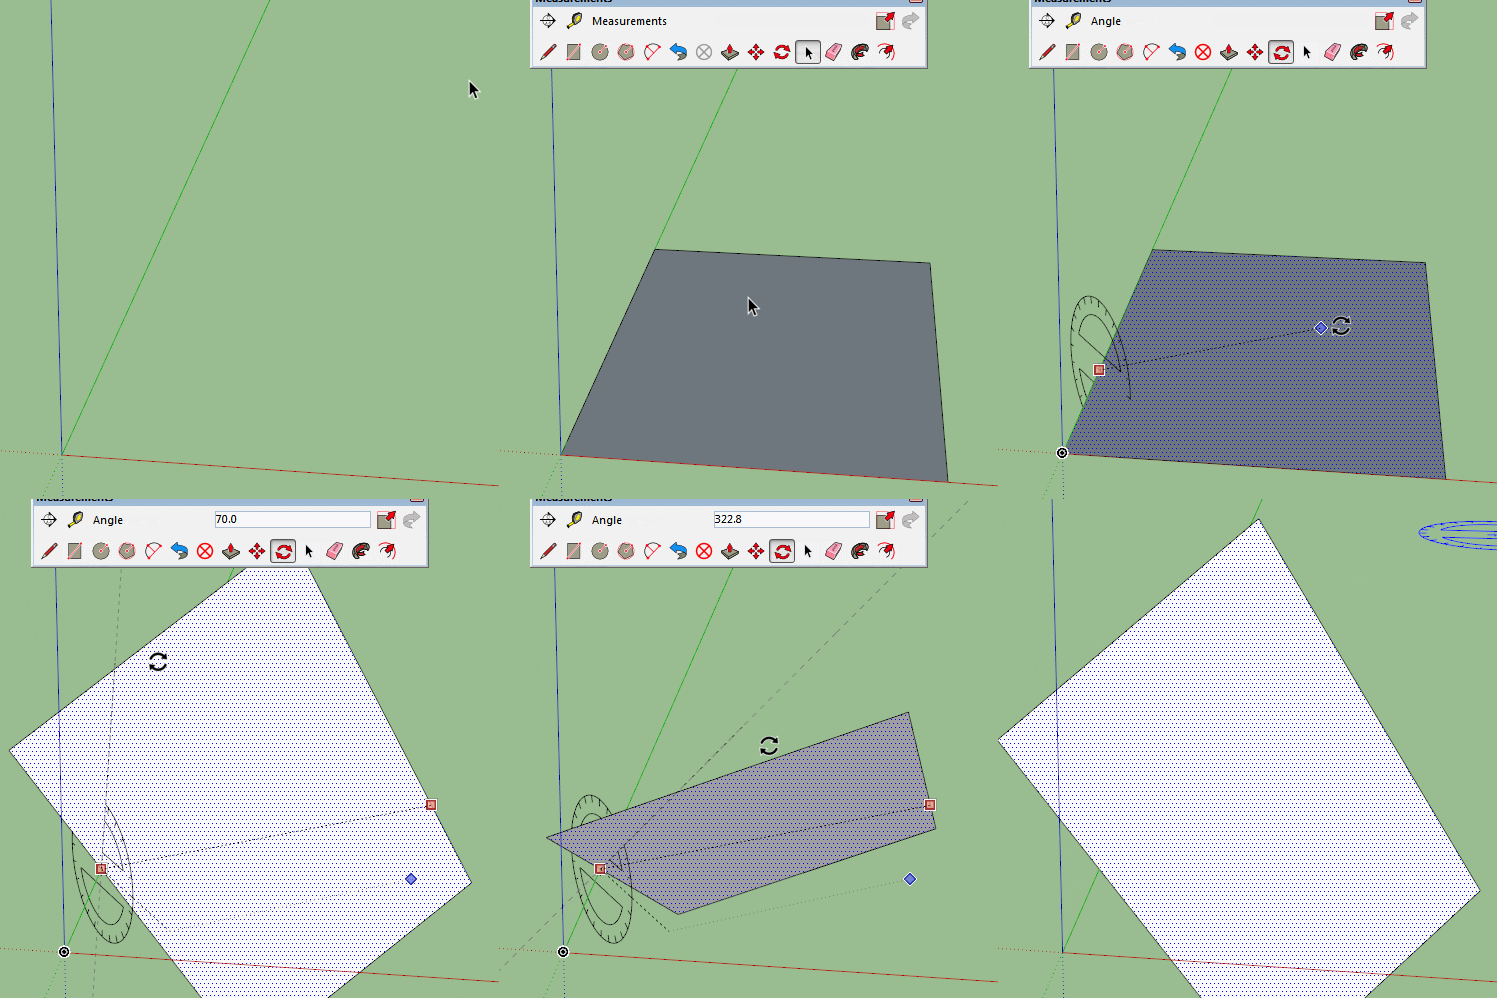
The first 3 are pretty straight forward but I am really doing something wrong on the fourth one (like when you bent the paper page in the original post). I am feeling really stupid here. It is not like I have not been using SU for a good while but I am missing something curtail to the process. In particular, I think I am not getting the reference points and orientation of the bend correct.
-
@box said:
So click to set the protractor (click drag release if needed, or arrow keys),
I have to go to bed, but it sounds like this is your issue. All four examples set the axis. The forth is setting the axis Off Axis, Click drag release to set the axis.
-
@box said:
@box said:
So click to set the protractor (click drag release if needed, or arrow keys),
I have to go to bed, but it sounds like this is your issue. All four examples set the axis. The forth is setting the axis Off Axis, Click drag release to set the axis.
I am obviously missing something very key to controlling how to accomplish this (and feeling dumber by the minute).
First of all, what keys are you using to set the various points and what do you mean by "Off Axis"? In several of your steps in the four drawings I see some dashed lines. What keys are you hitting to make that show up.
My real goal here is, of course, to learn how to use the tool correctly but in particular, I want to be able to reproduce your first video in this thread with some accuracy.

-
I'm not hitting any keys, nothing is happening that you can't see.
I'm sorry, I'm not sure how to show it more plainly.
Off axis means it isn't on the green red or blue axis.
Click drag release is how you set the axis of rotation, for both the normal rotation tool and in this case fredo's.
The dotted line is a guide that appears as you use the tool, it isn't a magic wand that I'm waving. -
It is just that fourth method that I am having a problem with. Bending the "page" at an angle with it winding up with one corner bent up at an angle. The other methods are pretty straight forward.
-
Can you rotate a single face off axis?

It is the same process, set the angle of rotation then bend it along that angle.
But I'm to bed now. -
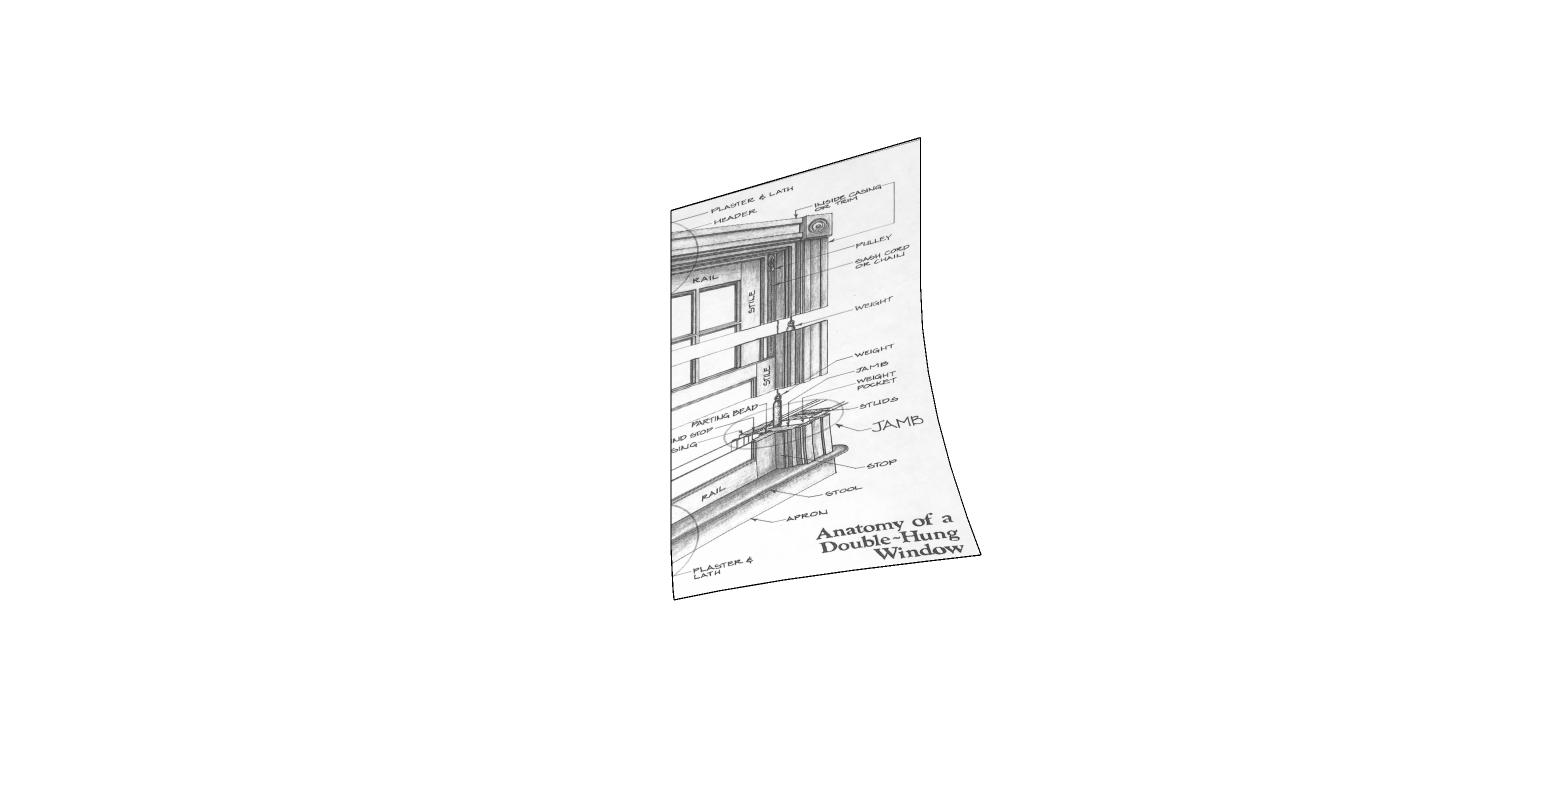
Thanks for your patience Box. I finally got it to work. Yes, I need some additional practice to learn how to control it more accurately but here is a sample I finally created.

-
Well done, glad to see you got there.
-
Ok, here's another one to drive you mad.
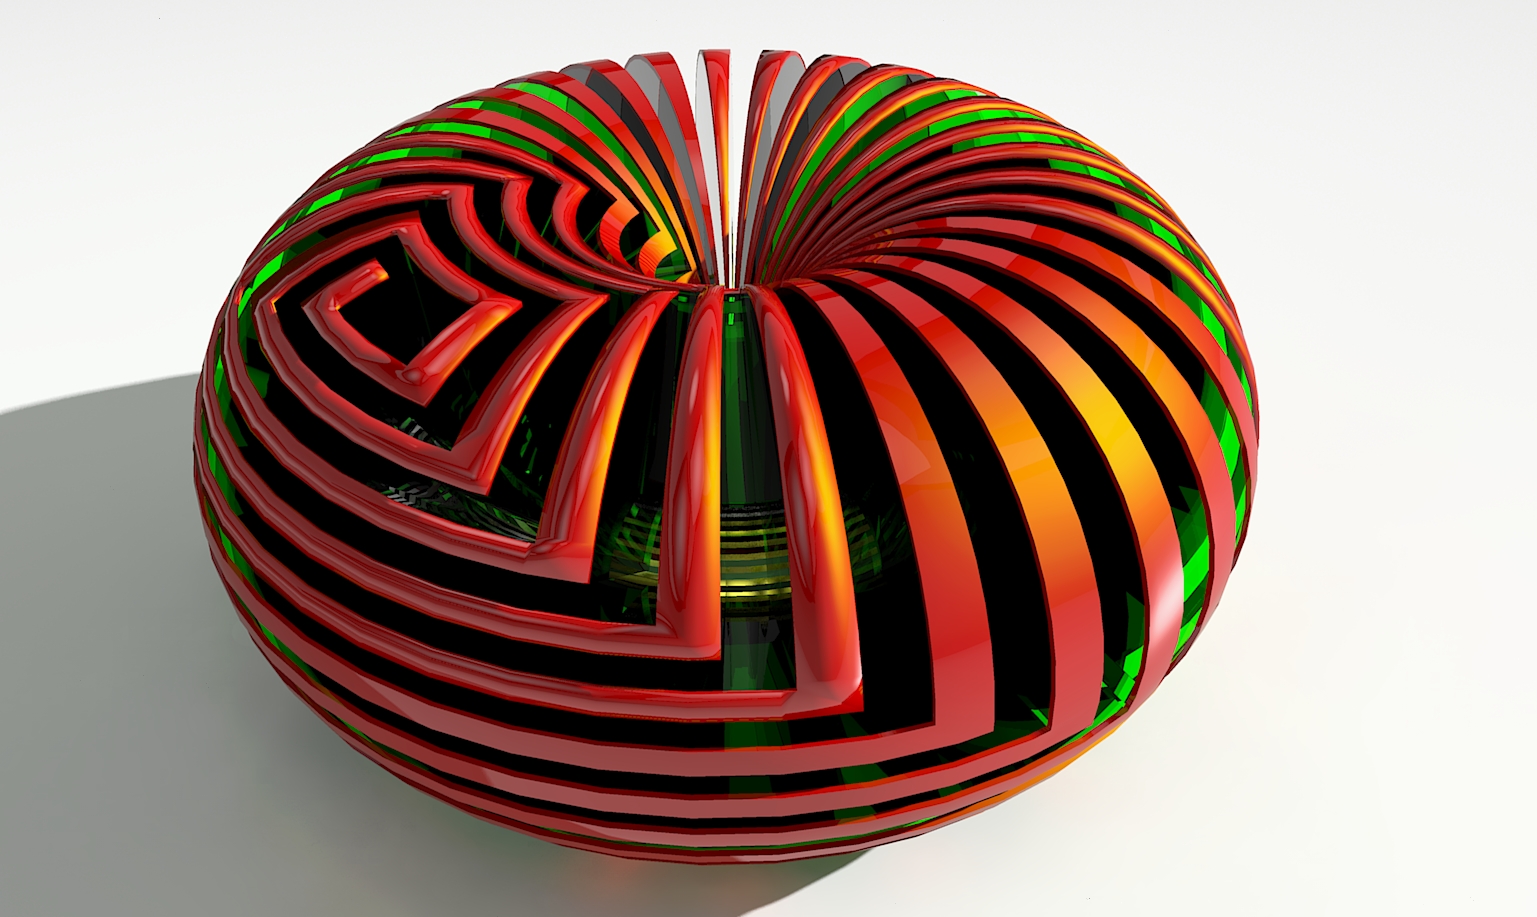
How do you make a hollow torus from a spiral that is one continuous solid sausage.

Truebend by Thomthom

-
All I can say is WOW!


That one will really take some studying and a WHOLE LOT of practice.
-
The right tools in the right hands...
-

 how is it possible to think that before even?!?? - even before you start thinking about the necessary tools for the imagined ?!
  I love this spiral thing !!!!
again so much more than the cool model idea itself

-
@ntxdave said:
All I can say is WOW!


That one will really take some studying and a WHOLE LOT of practice.
Good. And hopefully you recognise that this thread is not meant to be a one on one tutorial.
What I think it is, is Box putting his slightly insane sketchup imagination out there.
And you are bogging him down.But. About your questions...How about a new post.EG: 'Boxions No1'?
I"ll follow...
not a trump fan. xx
-
@baz said:
@ntxdave said:
All I can say is WOW!


That one will really take some studying and a WHOLE LOT of practice.
Good. And hopefully you recognise that this thread is not meant to be a one on one tutorial.
What I think it is, is Box putting his slightly insane sketchup imagination out there.
And you are bogging him down.But. About your questions...How about a new post.EG: 'Boxions No1'?
I"ll follow...
not a trump fan. xx
SORRY!
Maybe someone can remove my posts or move them to a discussion thread.
Perhaps we could get Box to add a tip numer or name to each and then we could have a discussion thread for exact of the tip names/numbers. If that is done, maybe a monitor can move my posts/questions to the appropriate thread.
-
Just repost the gif as a post and give it a name...'How does this Box gif work' would do it...
Hello! It looks like you're interested in this conversation, but you don't have an account yet.
Getting fed up of having to scroll through the same posts each visit? When you register for an account, you'll always come back to exactly where you were before, and choose to be notified of new replies (either via email, or push notification). You'll also be able to save bookmarks and upvote posts to show your appreciation to other community members.
With your input, this post could be even better 💗
Register LoginAdvertisement


