Challenge - Model this unique chair
-
Hi all, I've been AWOL for awhile, busy with geodesic consults, but I've had a bit of free time, recently, to play with non-geodesic modeling. I stumbled upon this chair, designed by Robert van Embricqs

Now then, how would YOU approach modeling this in SketchUp?
I've got mine done (and will show my results at a later date.) How about your technique(s) and results?
(You can find additional imagery of the "Rising" chair, with an online search.)
-Taff
-
Very nice and super realistic rendering. Is every angle different (besides mirroring)?
-
Of course it looks realistic -- It's a photograph of the actual chair!
(pbacot, I had to laugh. Sorry.)
And yes, multiple angles, of unspecified degree.
-Taff
-
I didn't read down far enough. Figured you already knocked it out. Now you really have to make it just as realistic.
-
My approach for this nice chair...
- one component
- arc tool
- scale tool
- circle tool
- rotation tool
- mirror plugin
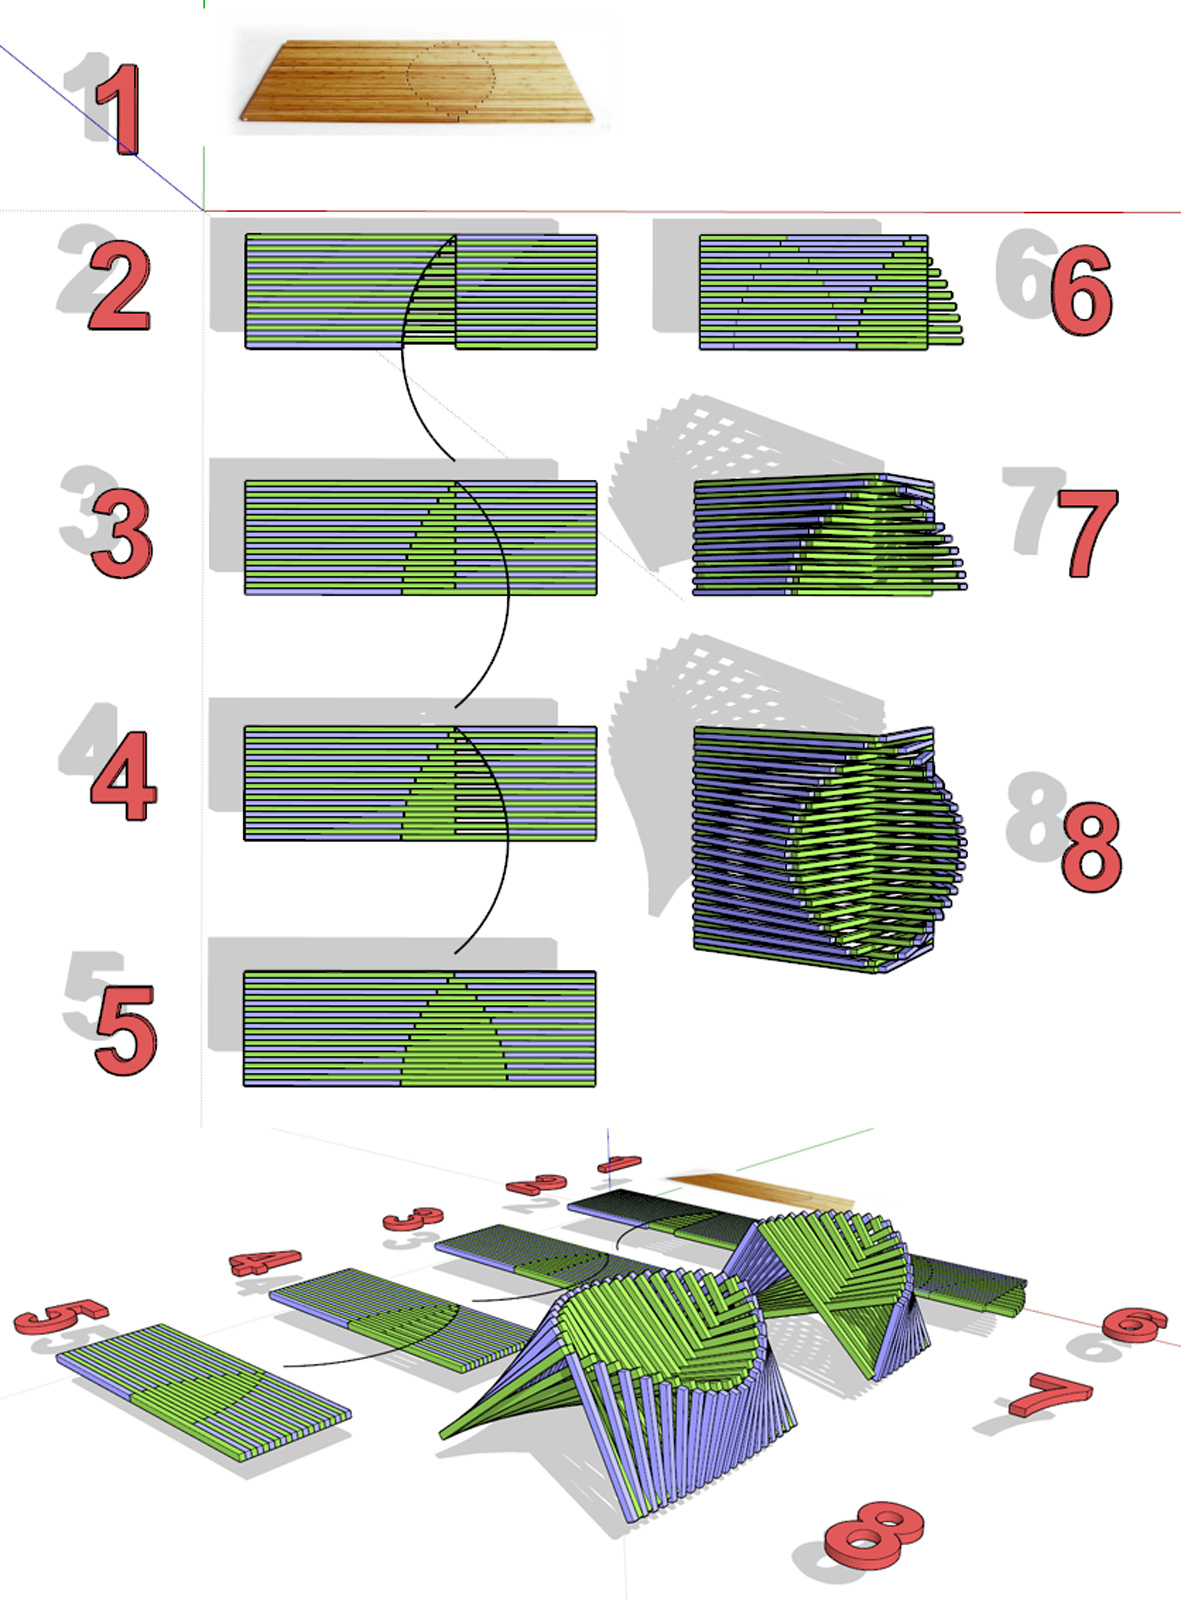
The rotational part was done with some helping circles like this...
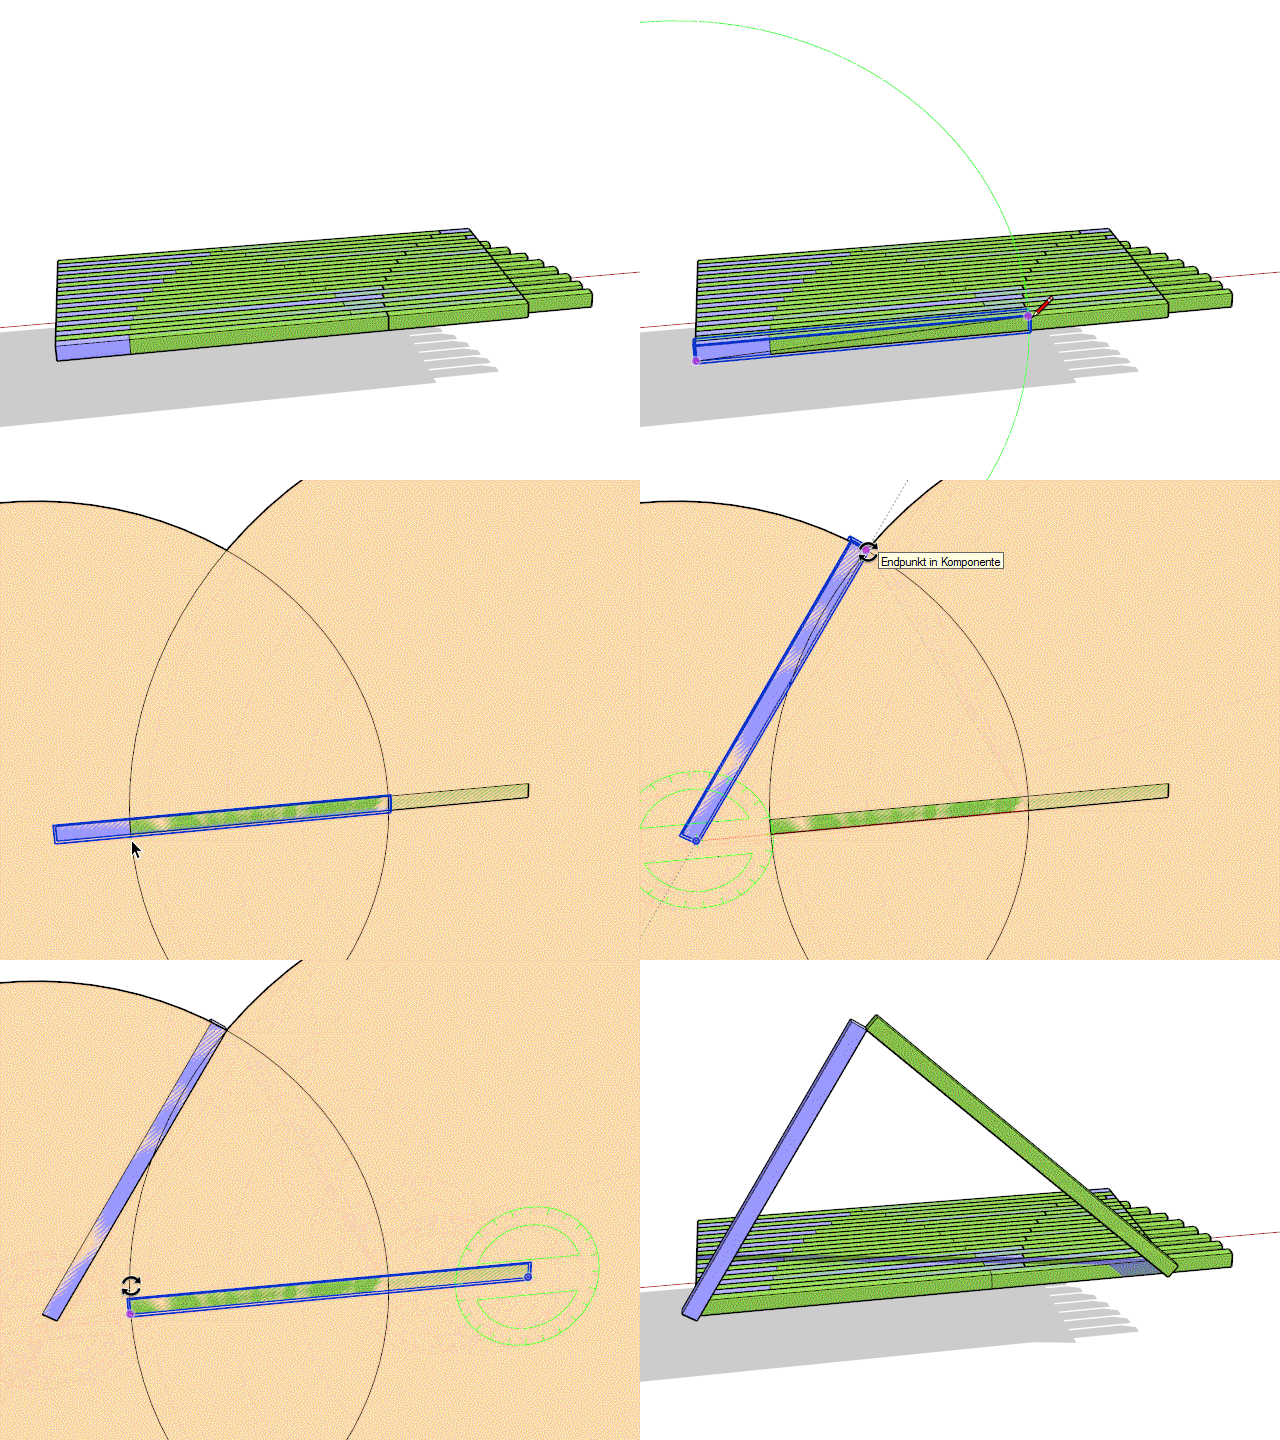
(After it was finished, I've realized that another rotation point in the center of the boards would have been better...)
-
Taff, that´s a great task!
I also thought at first, that´s a rendering :- ))Cotty - your presentation is overwhelming!

-
-
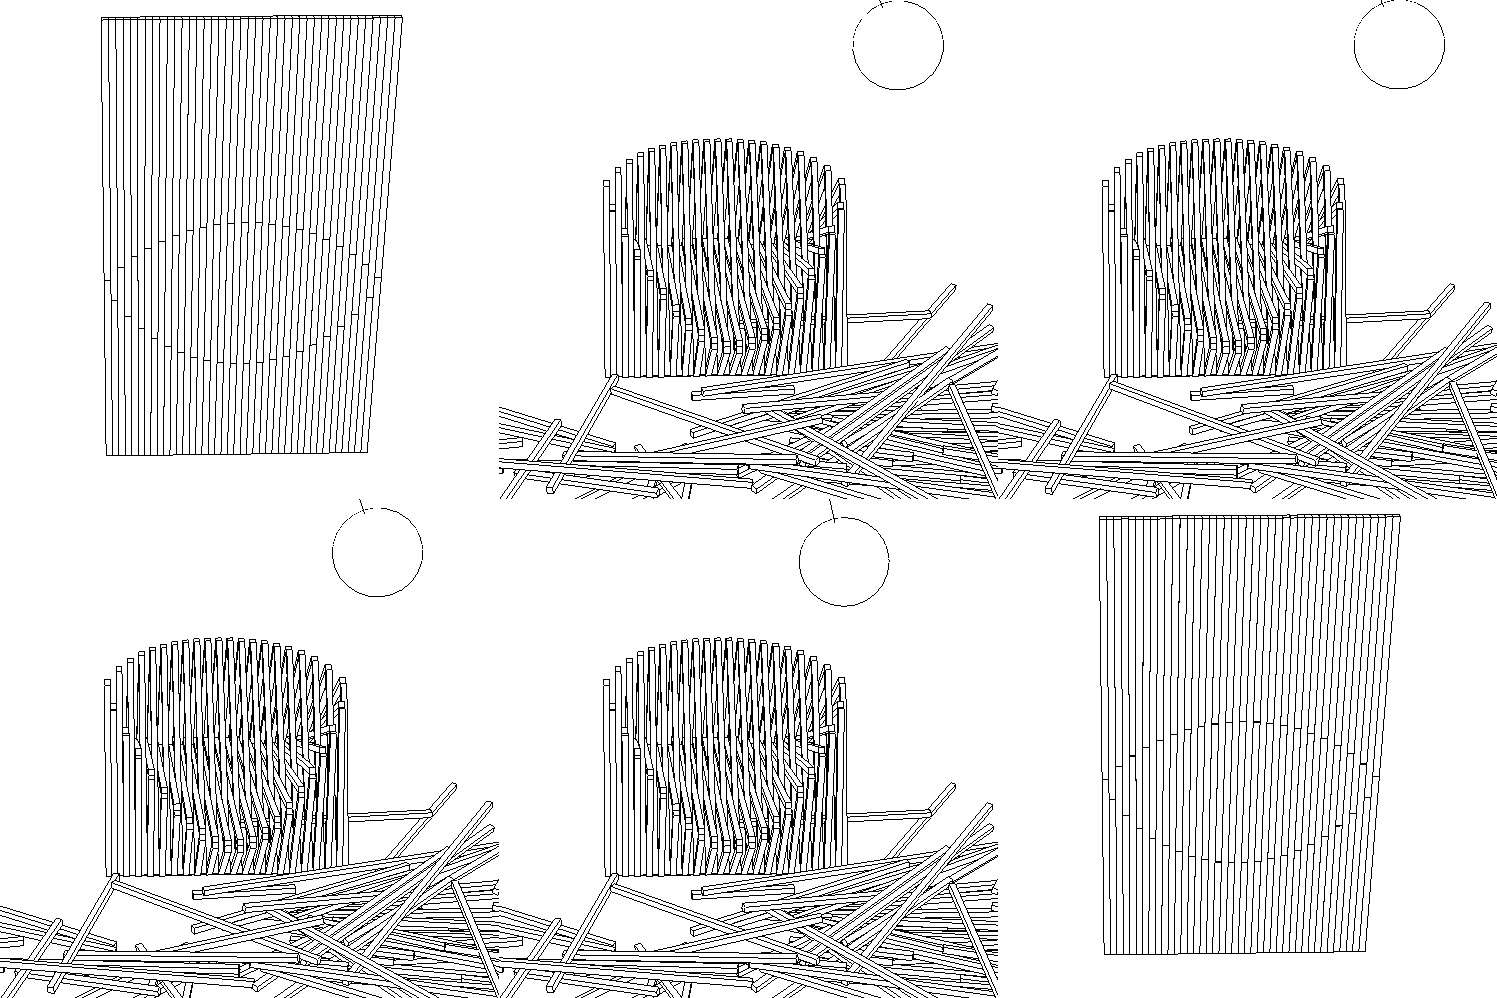
Thank you. I've thought about a SketchyPhsics solution which allows the animation of the movement, but I haven't enough time for this...
I would love to see other (faster?) attempts here too!
-
Couldn't agree with you more Cotty on the Sketchy Physics idea, hit me as soon as I looked at it. If I can get off this phone and Win8 tablet back to an old laptop that still has 2014 I'll knock one up. I can already picture a flat wall of slats falling into a chair position.
-
I like the concept and will make a model when I get a moment [or many...]
in the meanwhile I did a Visualizer run on Cotty's version...
came out nice so thought I'd post it...
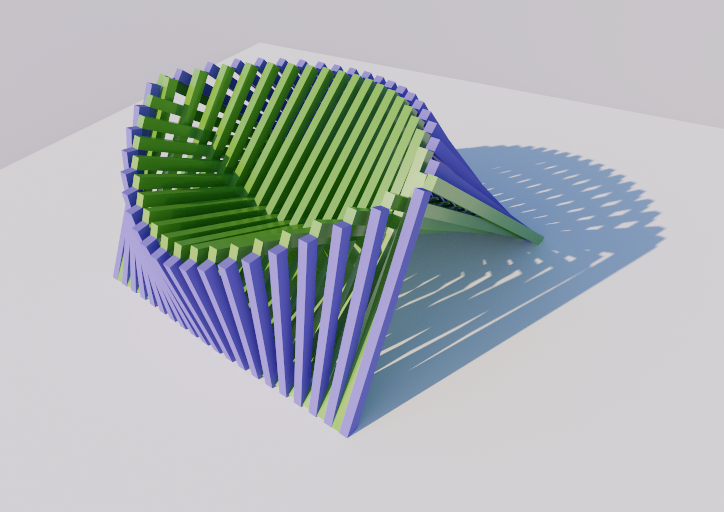
john -
Nice, John!
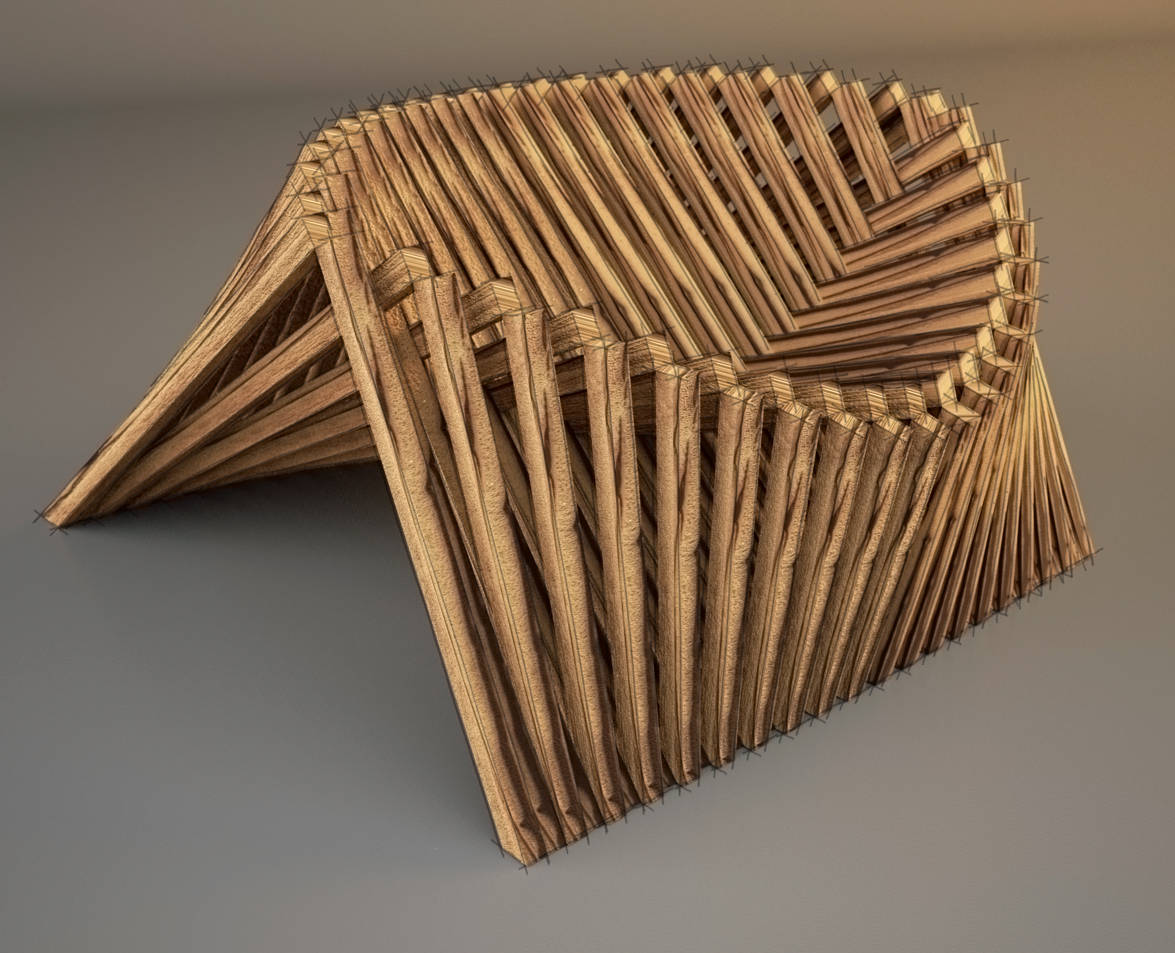
A version with texture (same for all component copies, a little bit repetitive
 )...
)...
-
@cotty said:
My approach for this nice chair...
- one component
- arc tool
- scale tool
- circle tool
- rotation tool
- mirror plugin
Commendations, cotty! Your method is precisely the approach that I took. (Nice, concise presentation, by the way.)
For the confused, the "trick" was to look for additional online photos, to find the "slab" mounted on the wall (or lying on the floor.) I imported a "slab" photo, as a texture, which I formatted to correct the perspective distortion. That one image provides the relative lengths of all the parts.

Getting the footprint "spread" (distance, front-to-back) is, then, the only factor requiring some trial-and-error. Even then, there is a clue in the first photo. (Look for the two front stiles that are near vertical.)
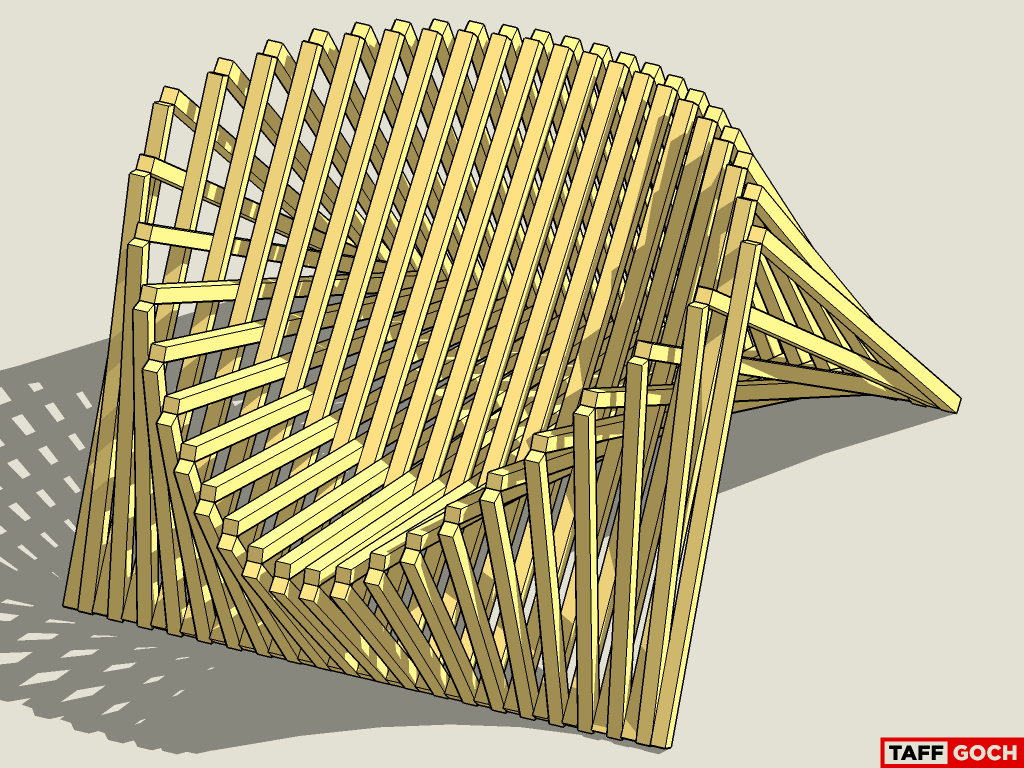
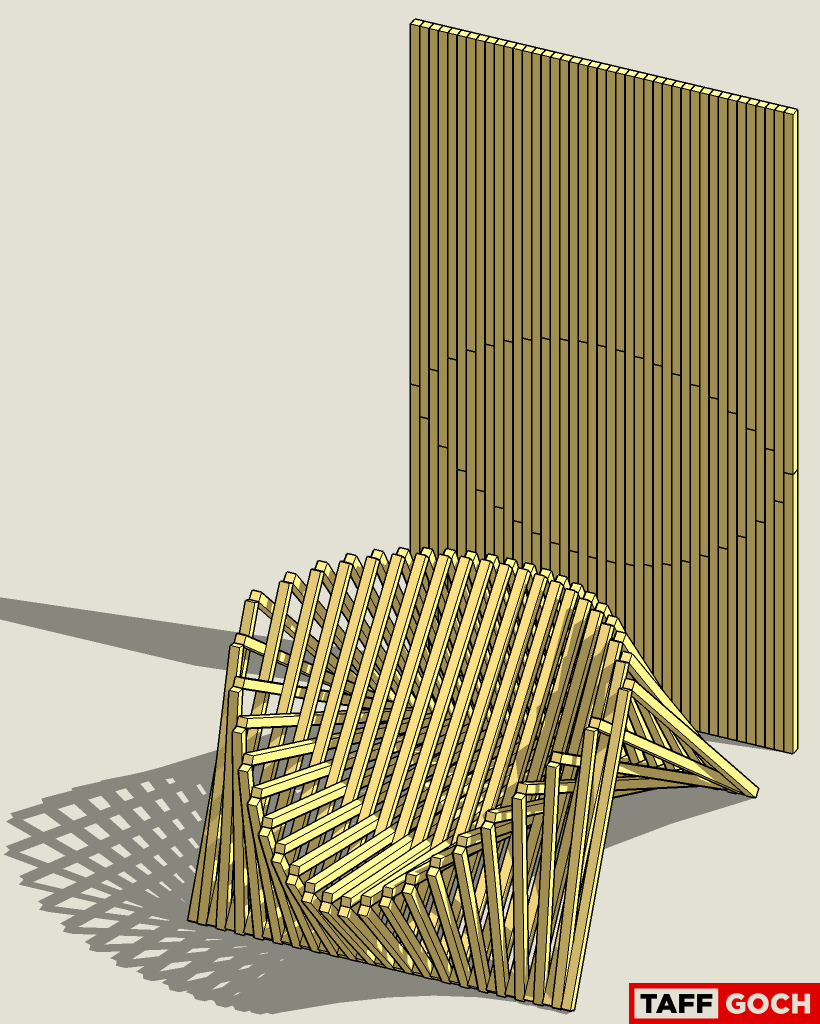
Well, I have to say that, apparently, the challenge wasn't much of a skills test, for you insightful sketchUcation members. Regardless, I hope that, if you haven't yet given it a try, that you will -- adding something of value to your skill set.(I agree with other participants, that an animated depiction would be nice to see.)
-Taff
-
Thank you. Your smaller (drawn to scale) wooden slats looks much nicer and the sitting angle seems to be more comfortable.
Thank you again for this challenge.
-
Nicely done Taff, thanks for making the model available to us. Very generous.
-
As promised,
How to make a slab of timber batons into a nice chair, the Sketchy Physics method.
-


-
THX to Taff Goch!

Any idea of the real articulation on the Up part moving corner ?
Pasted scotch, velchro double face, hinge, ... ?
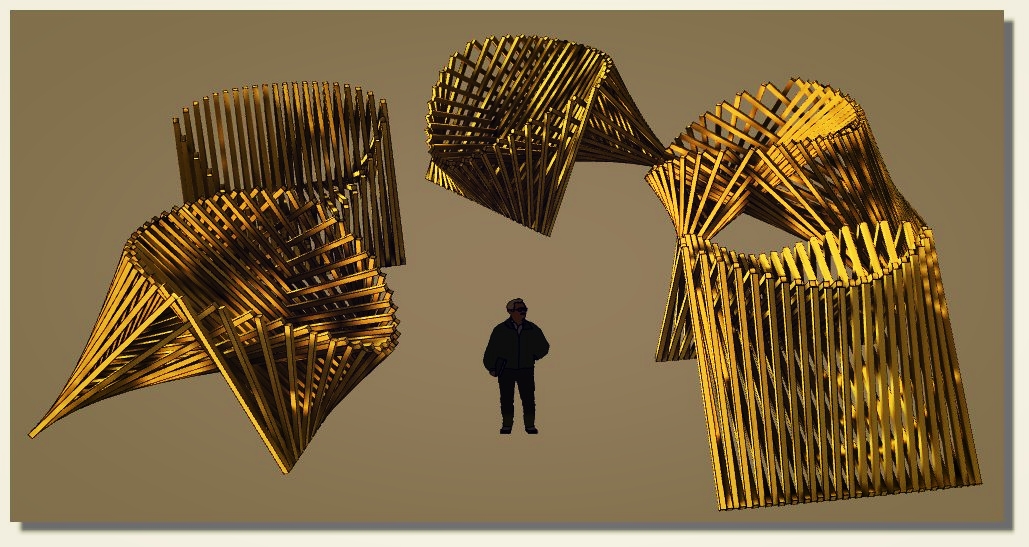
Ps Funny: materials seems French fries!

-
'Pilou
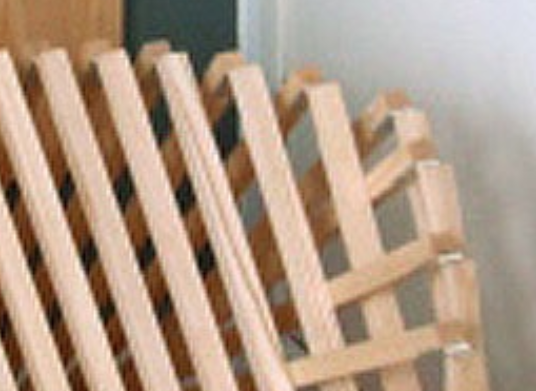
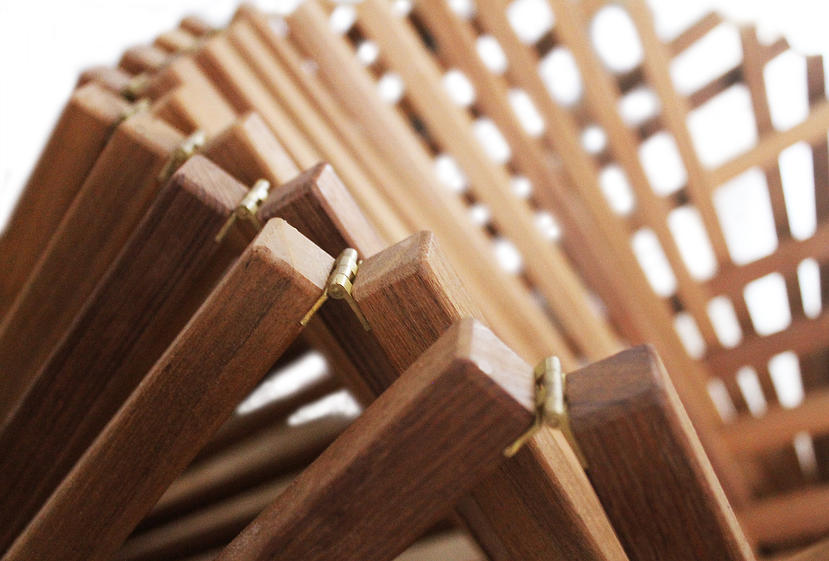
It's hinged.
The metal [stainless-steel?] hinges are set flush into the wood.
They are on the back-side of the folded-flat version - you do not see them unless it's assembled, and even then they are underneath the wooden pieces.
-
-
Thx for the info!

Seems a dangerous chair for hands' children or old person!

Advertisement


