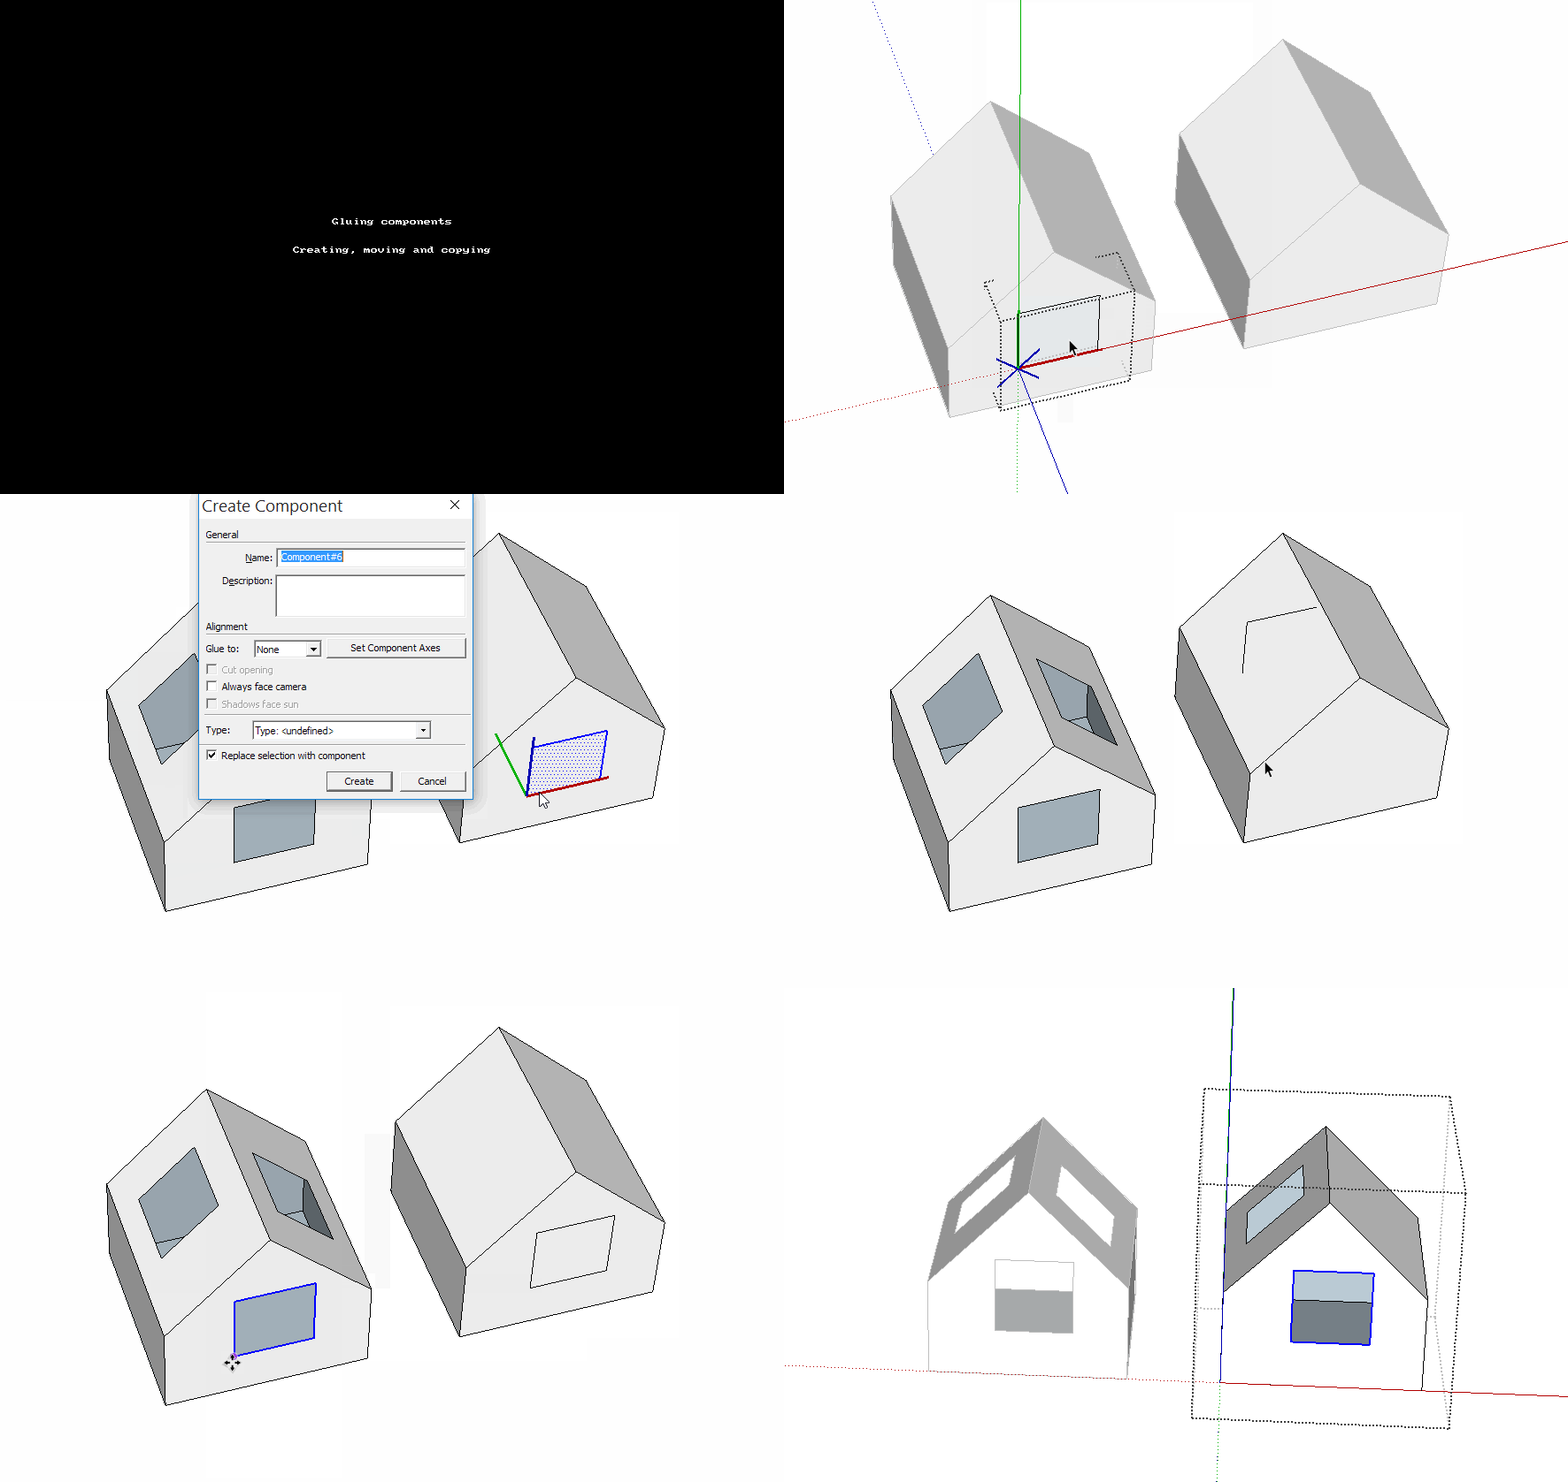
Copied components automatically tilted to remain flat on sur
-
I use gluing all the time with stuff like windows. The trick is, you can copy it from one face to another and keep the "glue" behavior, but it can be kind of hit or miss. If you are snapping to an edge, most often, it will NOT glue. If you just move "by eye" from one face to another, then it does most often glue. That's the way I usually do it, and then I go back and align by moving to relative alignment points (like I have to move a window up slightly to match the previous window heat height.) If I have time, I could do a quick video.
The other thing, stuff becomes automatically a glued component if you draw it on a face then make a group out of it. No need to use component browser at all for either of my points of advice.

Andy
-
@dave r said:
It seems to me someone (probably TIG) wrote a plugin a long time ago that obviates the need to go back to the component browser each time. It would certainly be useful for placing your rivets.
Dave, I have tried to locate the plugin you mentioned, but no luck. I stopped visiting the plugin thread a loooonnnngggg time ago, just got too frustrating with all the plugins that sounded so fantastic but knowing that I probably wouldn't be able to use the dang things right. The thread has changed a lot since then.
I did come across a few that sounded promising, I'll check them out later.
Anyhow, any idea how I might find that plugin?
I ask because I've not had a whole lot of luck with gluing my rivets and I'm working on several models that have approximately a bazillion of them.
Thanks in advance for any help you can provide. -
The fastest way to create one is drawing a closed shape in a face, without touching any edge.
(Design on Face and not on Group/Component)The fastest way to copy one around is using the face where it is glued as reference for the copy.
(Reference the point from the face outside the Gluing Component, and never from a point inside of the component)This is because the reference point you pick for copying the component MUST be in the same plane that it's glued into.
(sometimes this plan is easy to find even inside the component, most times it's better to find it in the face it's glued to.)Take a look at the gif:

Last but not least Superglue plugin is a Must have plugin for a Gluing and ungluing sets of components.
-
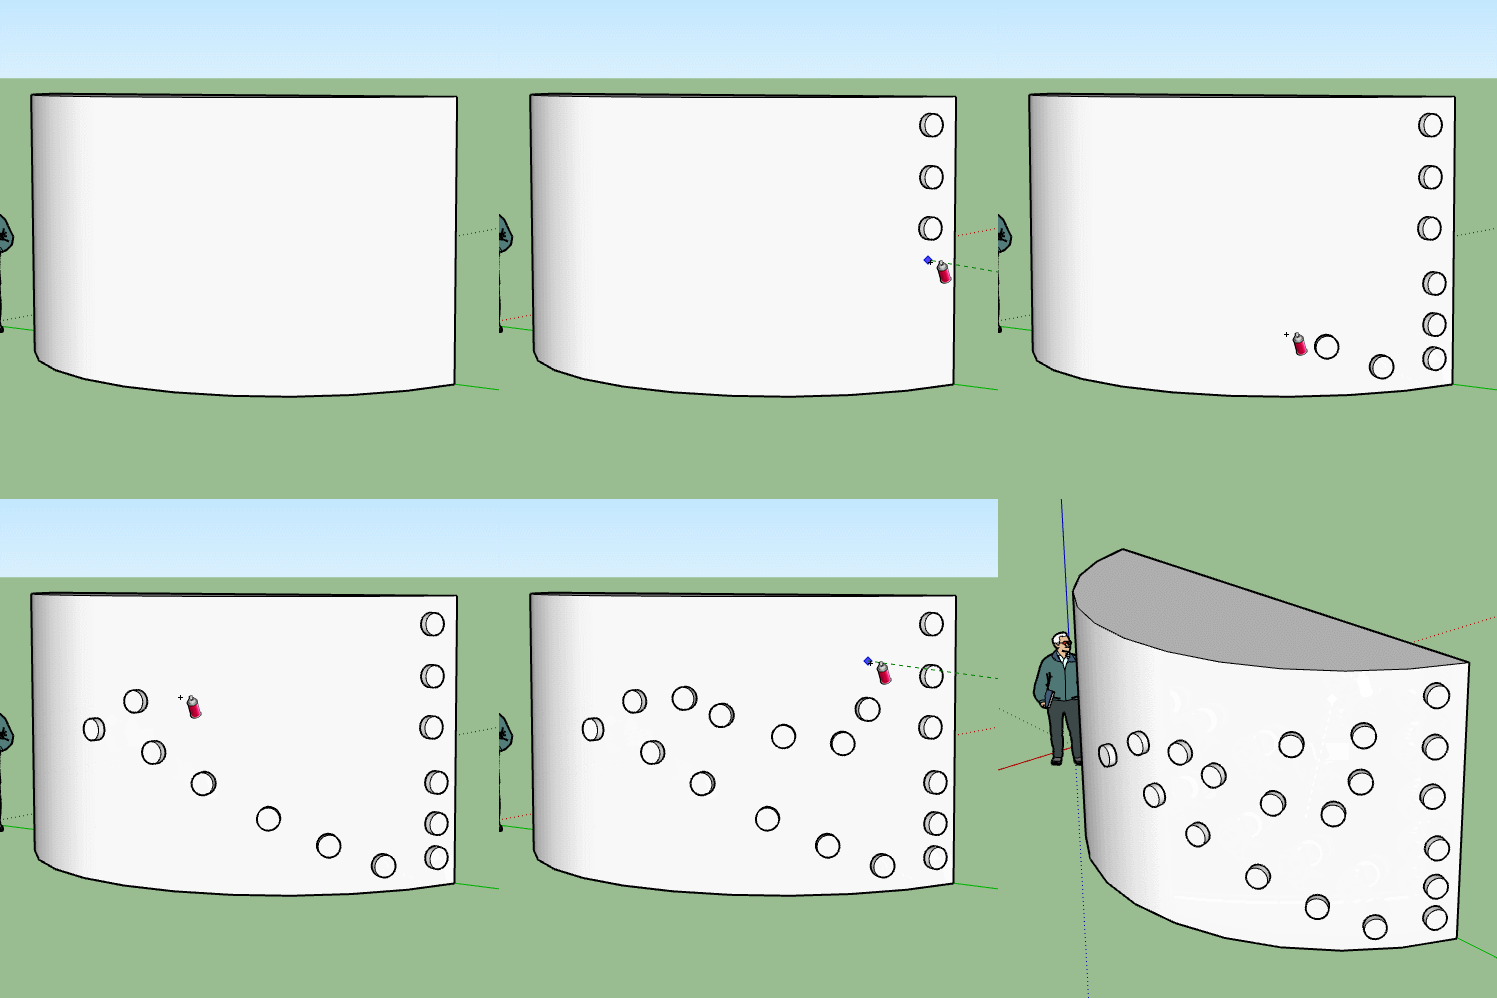
Have a look at Compo Spray
http://sketchucation.com/pluginstore?pln=compoSpray
With right settings it could be just the thing you want.
There are other, but this one popped into my head.

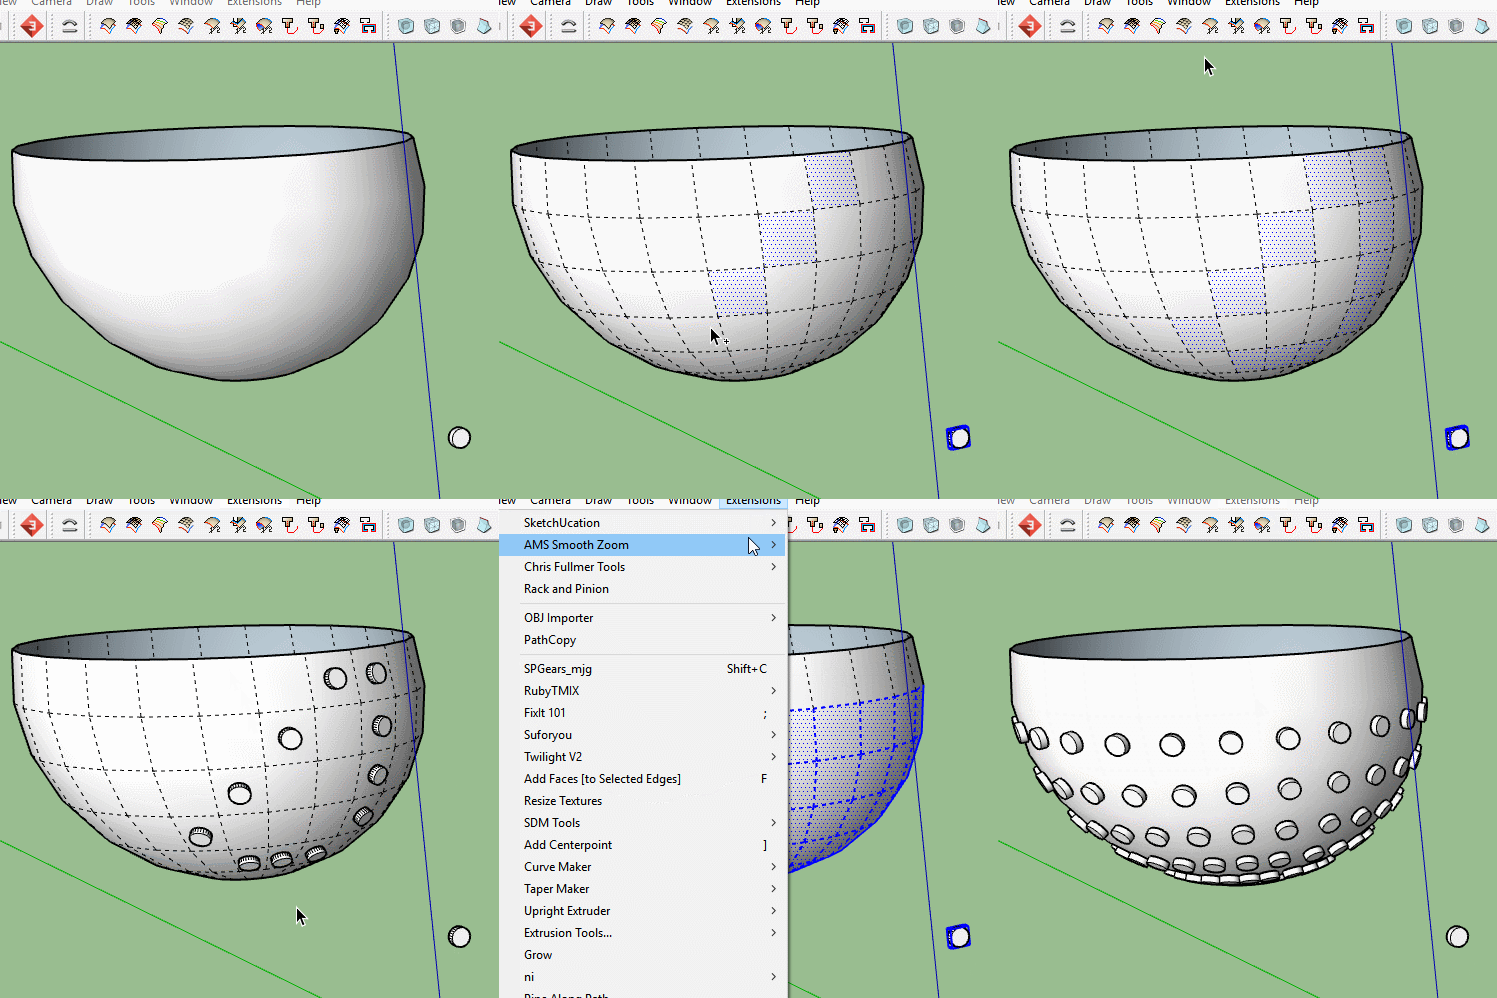
Another possibility depending on your structure, Chris Fullmers Component onto faces.
Please forgive the selection box graphic glitch.

-
Cool usage of both tools. However I don't insert windows as you insert rivets!
 move tool suits me fine!
 -
Thanks JQL,
I followed your instructions and it seems to be working fine now. Not sure why it stopped working before. Although I suspect your advice about designing the component on a face and not on a group or component may have something to do with it.
I was also pleasantly surprised to see that I no longer need to get the component from the component browser, I can just copy and place as needed. Much easier.
Box,
Compo Spray sounds interesting, I've installed it but have not had a chance to play with it yet. Checked out it's thread, looks like it is going to be fairly complicated and has a real learning curve (for me, at least).
Thanks
Now maybe I can finish these dang models and move on with my life

Steve
-
@hellnbak said:
I followed your instructions and it seems to be working fine now. Not sure why it stopped working before. Although I suspect your advice about designing the component on a face and not on a group or component may have something to do with it.
When you create a component, pay attention to the various option boxes in the dialog. If you created the component geometry inset on an adjacent face, the "glue to" behavior will get automatically set to "any" unless you set it to "none". Conversely, if you draw on a group or component, the glue to will be set to "none" unless you change it.
Advertisement


