Problems with a half-torus
-
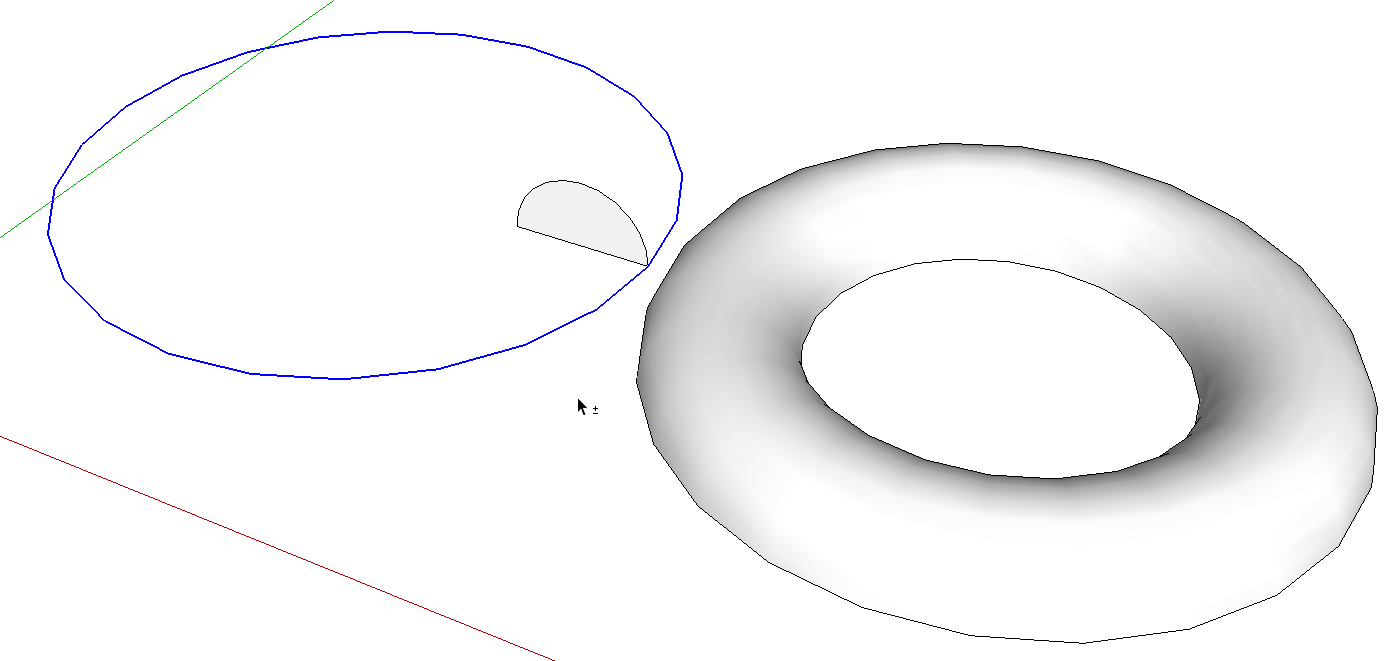
Hi all, I'm very new to SU and am having some problems with a component I'm try to design.
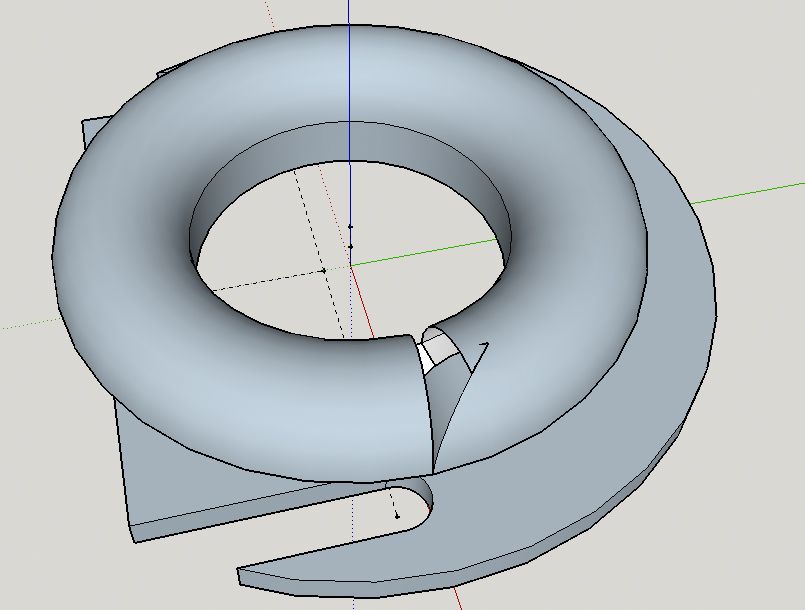
I have drawn this shape many times but recently have been having the above problem crop up. Sometimes this aberration is inside, sometimes outside. I spent 4 hours last night trying to figure this out. Sorry, I don't know how to post the .skp file
-
What you show in your screen shot is that the Follow Me path makes a turn where you don't want it. It would probably be easiest if you draw the half torus slightly away from the rest of the geometry and combine them after. Make sure you are only using a circle for the Follow Me path. If you aren't doing so, preselect the path, get Follow Me and click on the face of the profile.

-

-
Extra tips:
Model so the faces' fronts are 'outwards' - context-menu 'reverse'...
Depending on the Style settings the front color is generally 'off-white' and the back color 'bluish' - your faces look like 'backs'...Model at a 'reasonable size' - geometry [edges and facets] <= ~1/1000" cannot be created [because SketchUp's tolerance thinks that the two almost coincident points forming the ends of an edgs are coincident and they don't get made so the related geometry fails to be created]: if your object is likely to make that issue, then you'll get holes with followme, intersect and similar tools - to avoid it Scale up x100, create geometry and then Scale down again - the tiny geometry can exist after the shrinking - but it cannot be created initially...
-
@dave r said:
What you show in your screen shot is that the Follow Me path makes a turn where you don't want it. It would probably be easiest if you draw the half torus slightly away from the rest of the geometry and combine them after. Make sure you are only using a circle for the Follow Me path. If you aren't doing so, preselect the path, get Follow Me and click on the face of the profile.
[attachment=0:2g9ixz64]<!-- ia0 -->Screenshot - 12_27_2014 , 5_56_01 AM.png<!-- ia0 -->[/attachment:2g9ixz64]You know I tried that a hundred times (only a mild exaggeration
 ) I guessed it might be something interacting and making the Follow Me turn on a strange tanget.
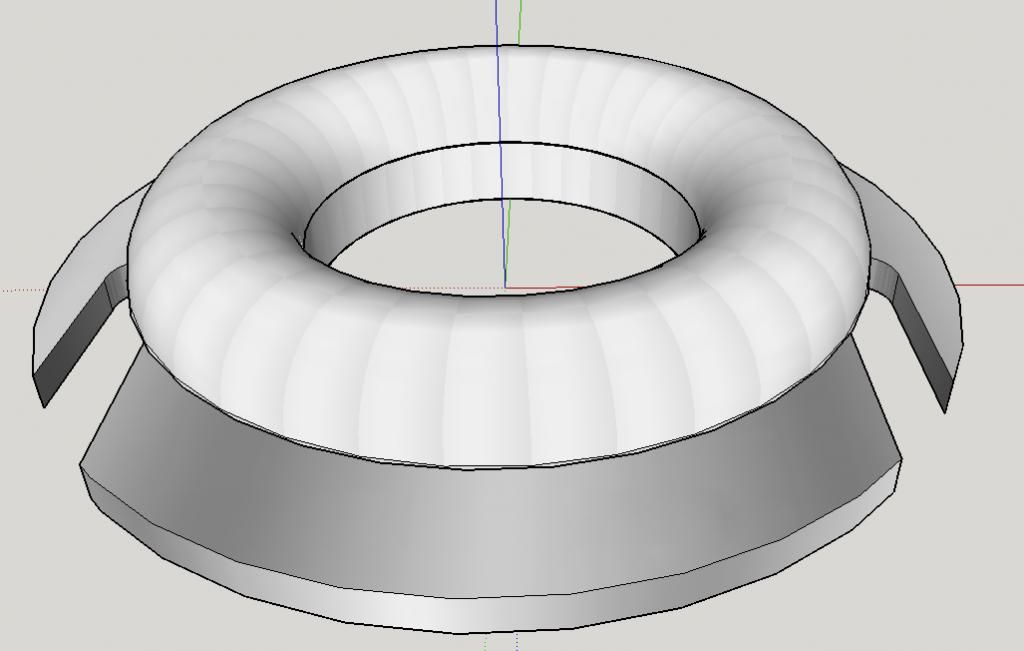
Thanks Dave, whatever magic you worked from the other side of the world has solved it and I now have my component:
Very happy, only another 4 or 5 versions of my component to design before I go off to the shed

-
@tig said:
Extra tips:
Model so the faces' fronts are 'outwards' - context-menu 'reverse'...
Depending on the Style settings the front color is generally 'off-white' and the back color 'bluish' - your faces look like 'backs'...Model at a 'reasonable size' - geometry [edges and facets] <= ~1/1000" cannot be created [because SketchUp's tolerance thinks that the two almost coincident points forming the ends of an edgs are coincident and they don't get made so the related geometry fails to be created]: if your object is likely to make that issue, then you'll get holes with followme, intersect and similar tools - to avoid it Scale up x100, create geometry and then Scale down again - the tiny geometry can exist after the shrinking - but it cannot be created initially...
Thanks TIG, What is a "reasonable size"? My component is 80mm across, is that too small for SU?
-
Very good. I wish I could make these things look harder to do than they are so those who've been struggling for hours wouldn't feel like they'd wasted a bunch of time.
 Last Saturday, late in the afternoon, I showed a fellow how to do something he'd been struggling with since about 6 that morning. He hadn't even gotten dressed at the point I spoke to him. It took less than 30 seconds to draw what he wanted. I couldn't figure out how to make it go slower.
It looks like you've got something weird going on with your torus. Maybe an extra circle drawn slightly off axis. It may not cause problems for your application but it isn't very clean the way it is.
-
If you didn't wind up with any holes after running Follow Me, it isn't too small. Until you get used really familiar with SketchUp's handling of tiny edges and faces, the best thing is to try it and see what happens. You can always use Undo and then scale up to try again. With time you'll be able to anticipate that and be proactive.
When I am drawing small items and expect holes, I make a component of all the involved geometry--Follow Me path and profile, for example--and make a copy which I scale up. Then I edit the scaled up copy and run Follow Me or make intersections or whatever. When I'm finished, I exit the component, delete the big one and return to the original one which is sitting where I left it.
-
I was putting some measurements on and the 'Spinning Beachball of Death' appeared, my component has disappeared from my computer
 I have sent an error report.
 -
I wonder why that happened.
-
Well it's back and better than ever
 And when it cropped up in conversation yesterday my friend told me his brother has a 3D printer, so he can print it - perfect. Just need to figure out how to make the stl file converter plugin work now.
It came to me, you just attach the .skp file...
 If anyone wants to run an eye over it for errors at the 3D printing stage I'd be much obliged
 -
@tig said:
Extra tips:
Model so the faces' fronts are 'outwards' - context-menu 'reverse'...
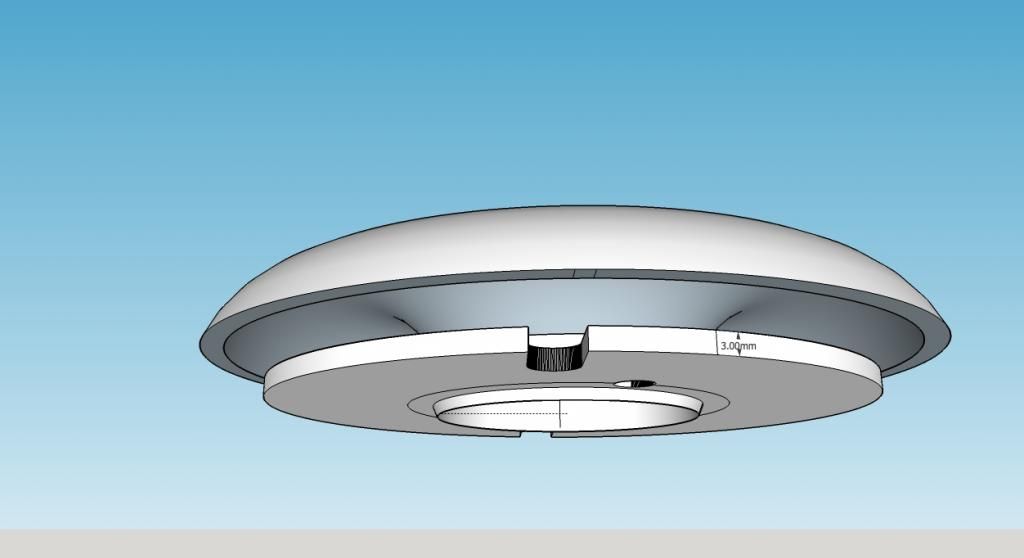
Depending on the Style settings the front color is generally 'off-white' and the back color 'bluish' - your faces look like 'backs'...I have reversed the face of the bell if that's what you mean TIG:
-
It's not a solid (no thickness , internal faces, ...) so you will not be able to print it with a 3d printer.
-
@teig said:
If anyone wants to run an eye over it for errors at the 3D printing stage I'd be much obliged
I had a quick look...your model needs to be "Solid" to be 3D printable. Right now, you have a bunch of single-face walls with no thickness that will not print. You have to actually create the desired wall thickness for it to print properly.
See this link and my attachment for more details: http://www.dummies.com/how-to/content/understanding-solid-objects-in-google-sketchup-8.html
-
@d12dozr said:
@teig said:
If anyone wants to run an eye over it for errors at the 3D printing stage I'd be much obliged
I had a quick look...your model needs to be "Solid" to be 3D printable. Right now, you have a bunch of single-face walls with no thickness that will not print. You have to actually create the desired wall thickness for it to print properly.
See this link and my attachment for more details: http://www.dummies.com/how-to/content/understanding-solid-objects-in-google-sketchup-8.html
I see what you mean. Sort of. Until you pointed it out I thought the area under the bellmouth was solid: how can I make it solid? I just know the push/pull of Follow tool will be a nightmare...
I don't/ can't see what the internal face is that I need to delete?
-
Teig, the bottom of the bell was likely not formed when performing the follow me operation at too small of a scale.
Does the center have a hole like a donut? Assuming so, here's how I'd make the overall shape:
After you run the follow me tool, you're left with a solid that you can add the bottom holes to.
-
Aaaah, you have saved as 2015!

So owners of other versions can't reload your file!
It's so easy to save as V6 for a more large audience!
-
Gotcha! I think! Draw the profile at the very start. I've been trying for three hours now to put an arc under the bellmouth!

-
@pilou said:
Aaaah, you have saved as 2015!

So owners of other versions can't reload your file!
It's so easy to save as V6 for a more large audience!
Oops!
 I'll try again with an older version.
 -
Pilou,it's long past time for you to catch up to the rest of the world.

Hello! It looks like you're interested in this conversation, but you don't have an account yet.
Getting fed up of having to scroll through the same posts each visit? When you register for an account, you'll always come back to exactly where you were before, and choose to be notified of new replies (either via email, or push notification). You'll also be able to save bookmarks and upvote posts to show your appreciation to other community members.
With your input, this post could be even better 💗
Register LoginAdvertisement


