Model for Rendering Samples - Green Dragon
-
We received an email from a SketchUp user who wanted to render a better "studio" image.
We thought this might be a good time to get some sample studio renderings, and tips from users of various SketchUp rendering packages.
For a typical studio rendering, we did not want a fancy model, but rather one which might provide some interesting reflections and shading. Lets use this model, originally uploaded by Solo in a "Render This SSS" Thread
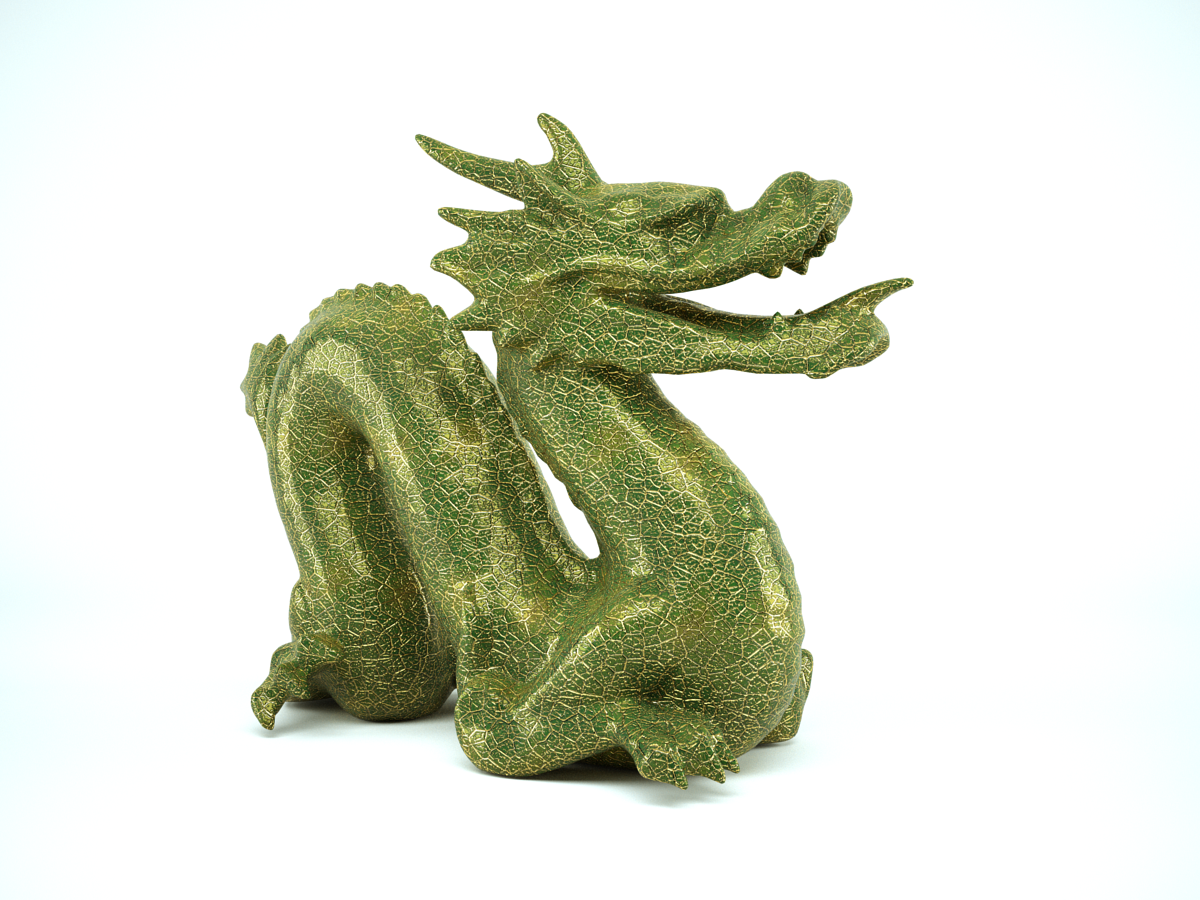
Green Dragon for Studio Rendering Sample
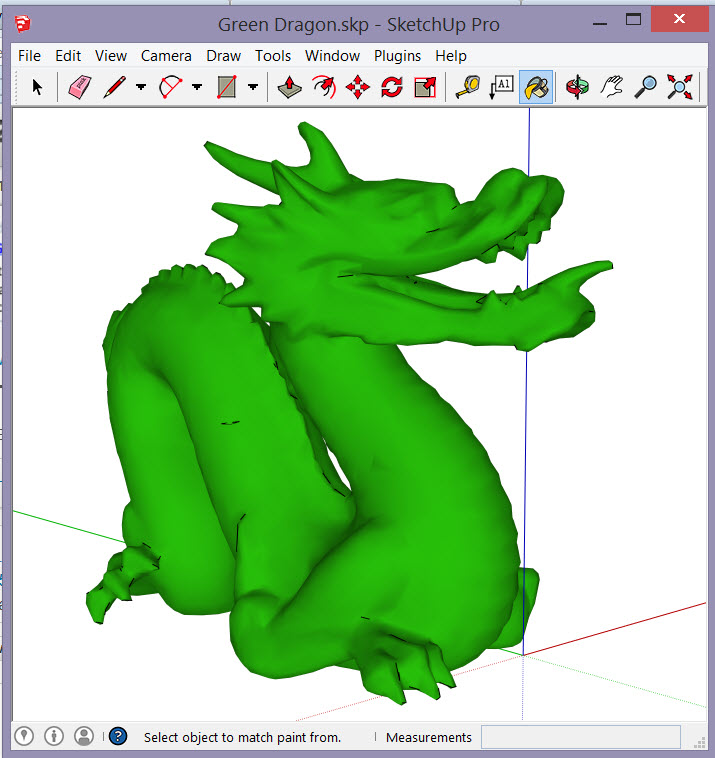
Here is a sample Studio Rendering Solo posted to the original thread
Put something behind it or in the sky for lighting and reflection and see what you can do.
It is OK to add rendering settings to the materials and add backgrounds, lights, and other rendering settings – but do not change the geometry of the model and I think it would be best if everyone used the same "Dragon Green" color - RGB(33,160,8). Go ahead and add reflection, or other rendering features to the material.
You could leave the dragon on the ground, float it in space, or put it on a pedestal of some sort. Whatever you think would work well for a studios rendering.
Upload your image, (max width 1200 pixels), identify the rendering package you used, some comments on what you used for rendering settings, times, background, lighting, etc. to help readers learn more about studio rendering.
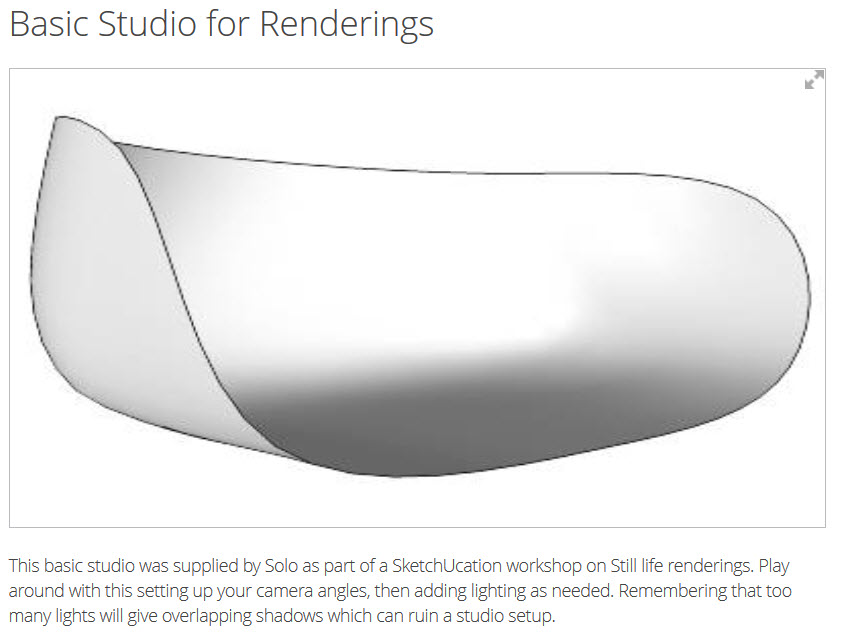
Here is an example of a studio rendering from a 3D Max rendering. Note the subtle shadows, etc. but no harsh background or other geometry to take away from the idea of focusing on the model itself. Even though this is just a Dragon, pretend it is a new product you are pitching to a client, and you want to present it in the best "light" (Excuse the pun)

Render it with your favorite rendering package, post the results here, and I will place them in the Sample Renderings section of SketchUpRendering.com.
Besides seeing samples of various rendering packages, the purpose of this thread and the SketchUpRendering.com site, where we will post these images, is to show SketchUp users the value of using add-on rendering packages to improve the quality and value of SketchUp models and images for internal or client presentations.
Also, check out these similar Sample Rendering Threads if you want to see what people have done for other sample renderings.
Sample model for Rendering - Ferrari
Sample model for Rendering - Exterior at Night
-
I cannot find the thread but can say this was done about 4 years ago
-
@solo said:
I cannot find the thread but can say this was done about 4 years ago
Really?
http://sketchucation.com/forums/viewtopic.php?f=81%26amp;t=23498%26amp;p=516973#p516973 -
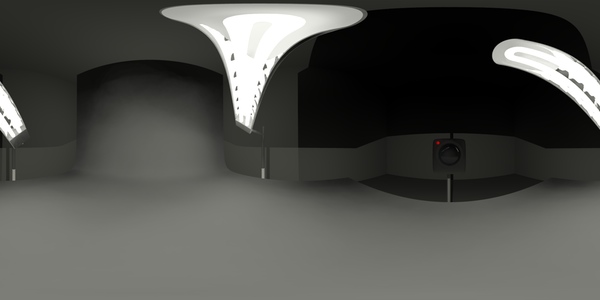
a super quick/simple setup using Indigo Renderer.. the material preset 'shiny plastic' was assigned to the green then a studio .exr was used for the lighting/environment.. i could probably come up with something more dramatic (or whatever) but just showing an example of a 30second studio setup

(~32 minute render time)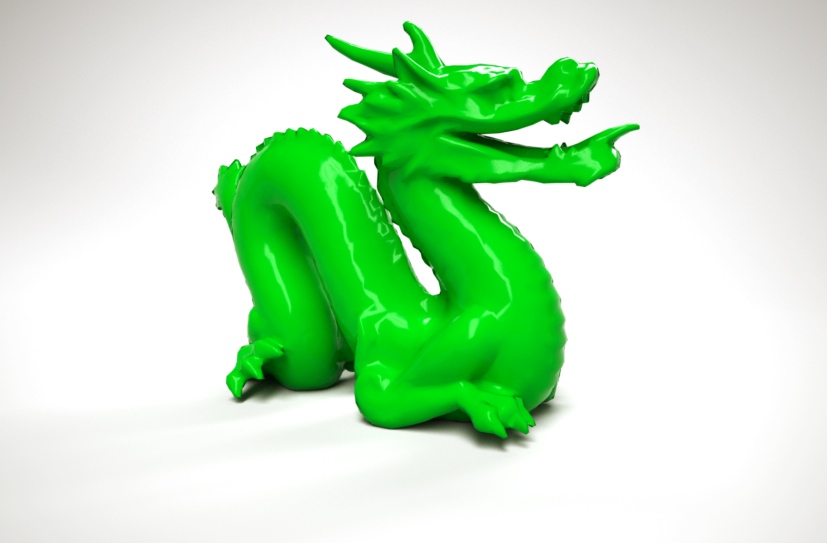
the .exr i used looks like this:
-
@box said:
@solo said:
I cannot find the thread but can say this was done about 4 years ago
Really?
http://sketchucation.com/forums/viewtopic.php?f=81%26amp;t=23498%26amp;p=516973#p516973I should read before posting

-
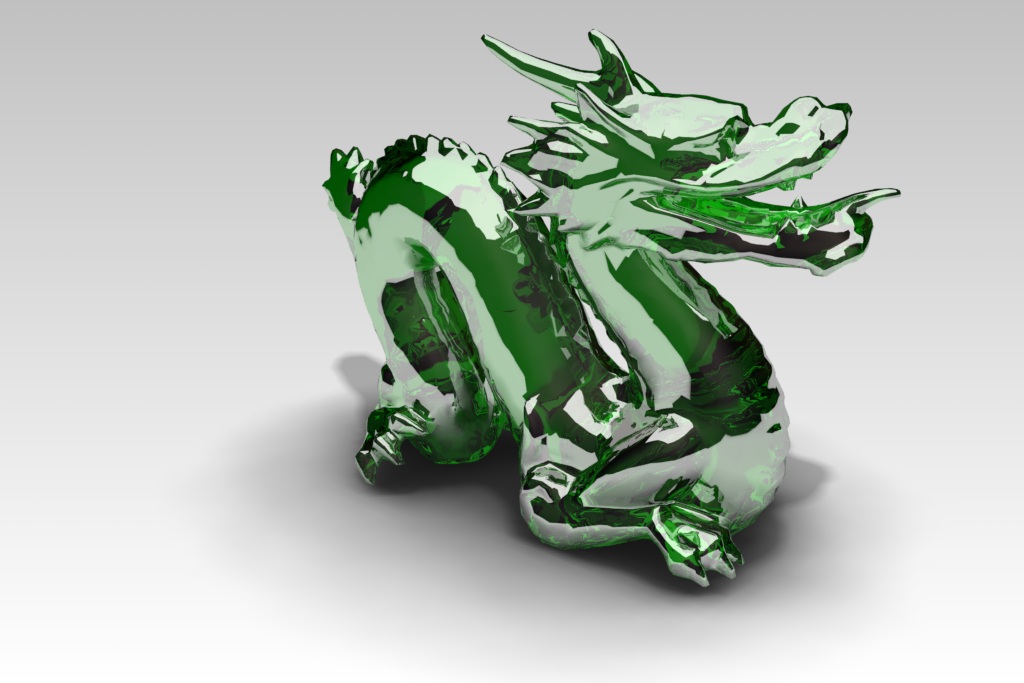
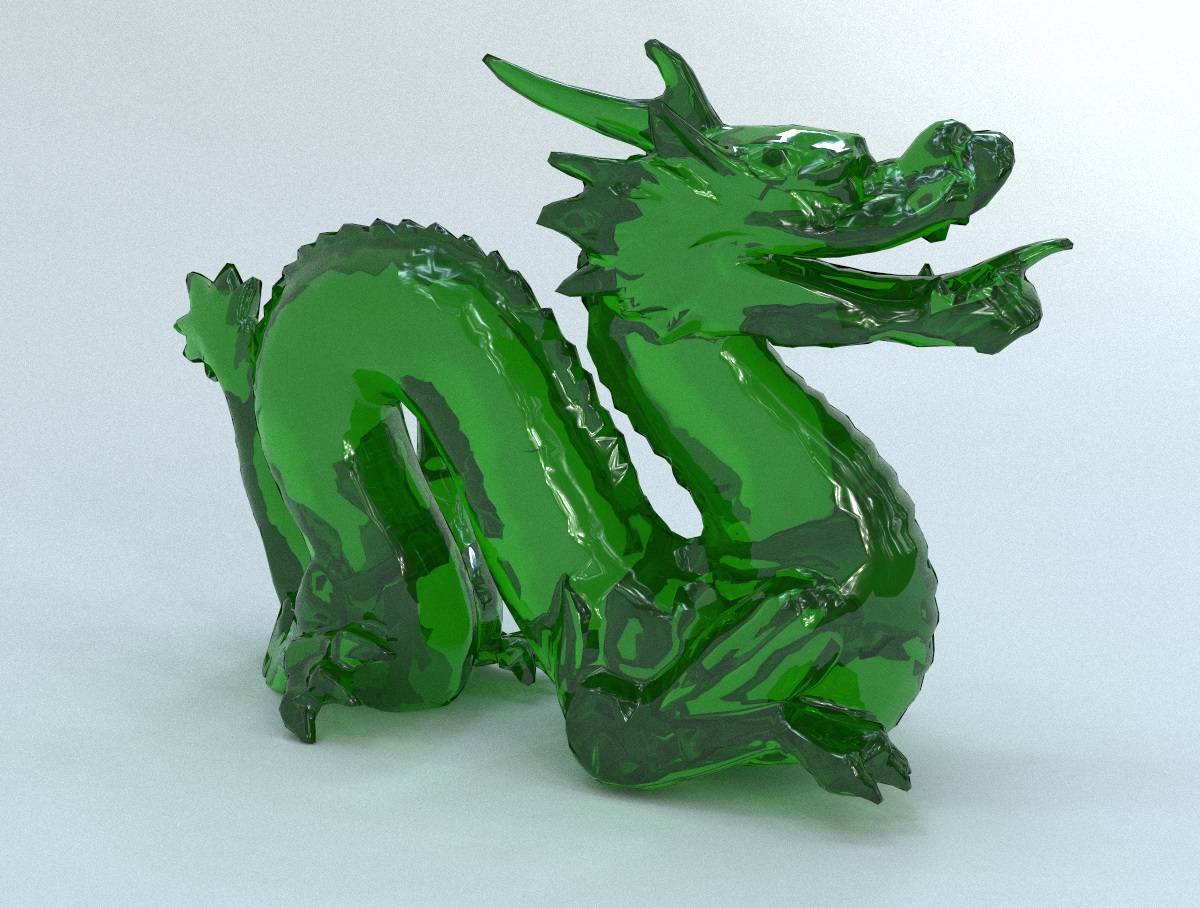
Finishing assigned :"glass"
Lighting: HDRI (similar to the attached picture).
Image resolution: High
Rendering time: half a minute.Renditioner v.3
-
Jeff and micione,
Thanks,
Both of these show how easy it is to create a Studio Rendering.
I have posted these two to the SketchUp Rendering site.
Hopefully we will get some more samples as well.
-
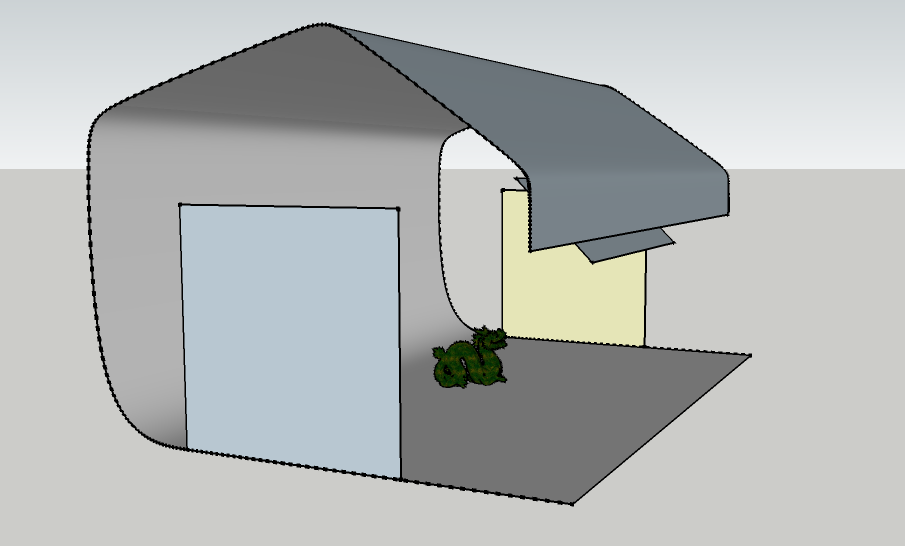
I rendered this one with IRender nXt. I made the Dragon translucent, and used a studio background geometry from the 3D Warehouse provided by Solo a few years ago, and the Studio rendering lighting default setting in IRender nXt. I let this rendering "cook" for about 2 hours.
3D Warehouse
3D Warehouse is a website of searchable, pre-made 3D models that works seamlessly with SketchUp.
(3dwarehouse.sketchup.com)
-
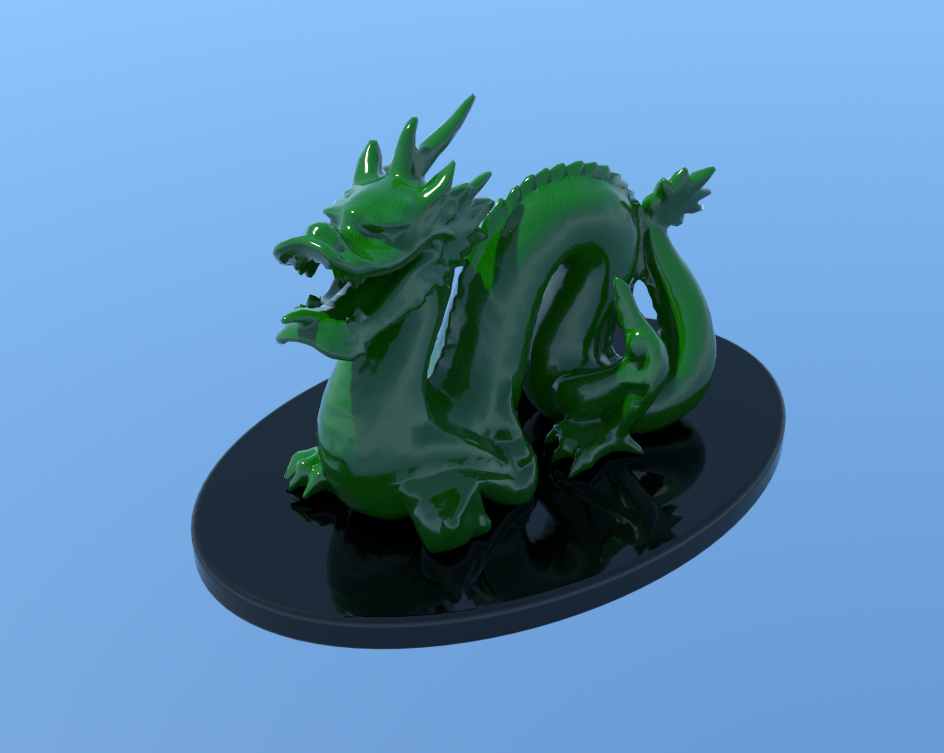
Surface: "coating"
Base: "reflection"
Lighting: preset
Render time: 4 minutesRendering engine: Thea Presto
-
Dragon with skin
Thea Presto AO CPU
20 min.
-
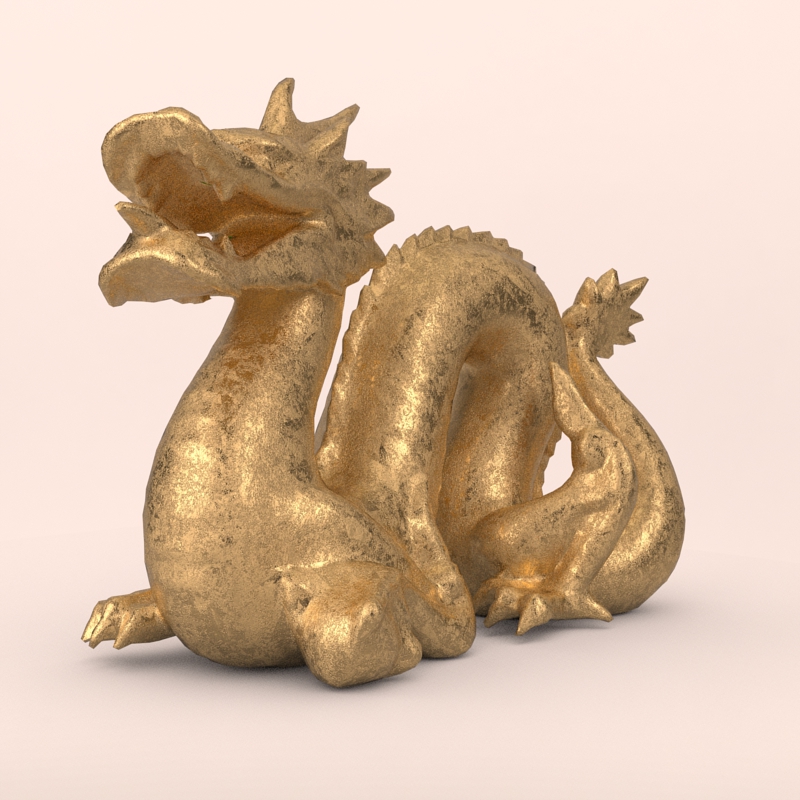
Thea Render TR1
Render time: 4 minutes
Raw render...
-
@box said:
I'm not a fan of Green....
Twilight Render, medium preset.
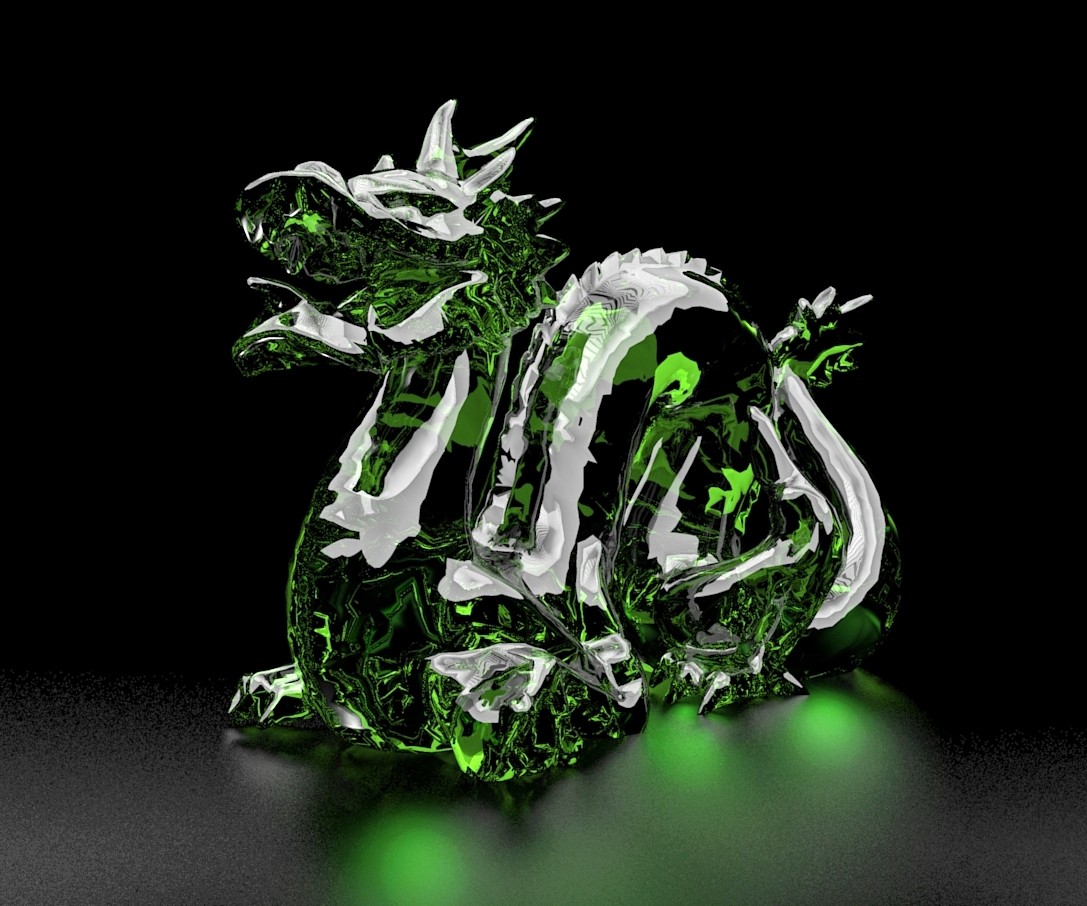
Default Realistic Glass material
HDRI from the Sketucation Store Studio pack.Nice. May I ask your TW settins?
Never can get SSS correct -
@jpalm32 said:
Nice. May I ask your TW settins?
Never can get SSS correctAs I said, default Realistic glass(diamond) and easy preset medium.
Perhaps the trick I used was scaling a copy of the dragon to fit inside and give that a lampshade material. That adds some density to the whole thing.
You can see the difference in this one, it is the same settings without the inner lampshade. and a different colour.
-
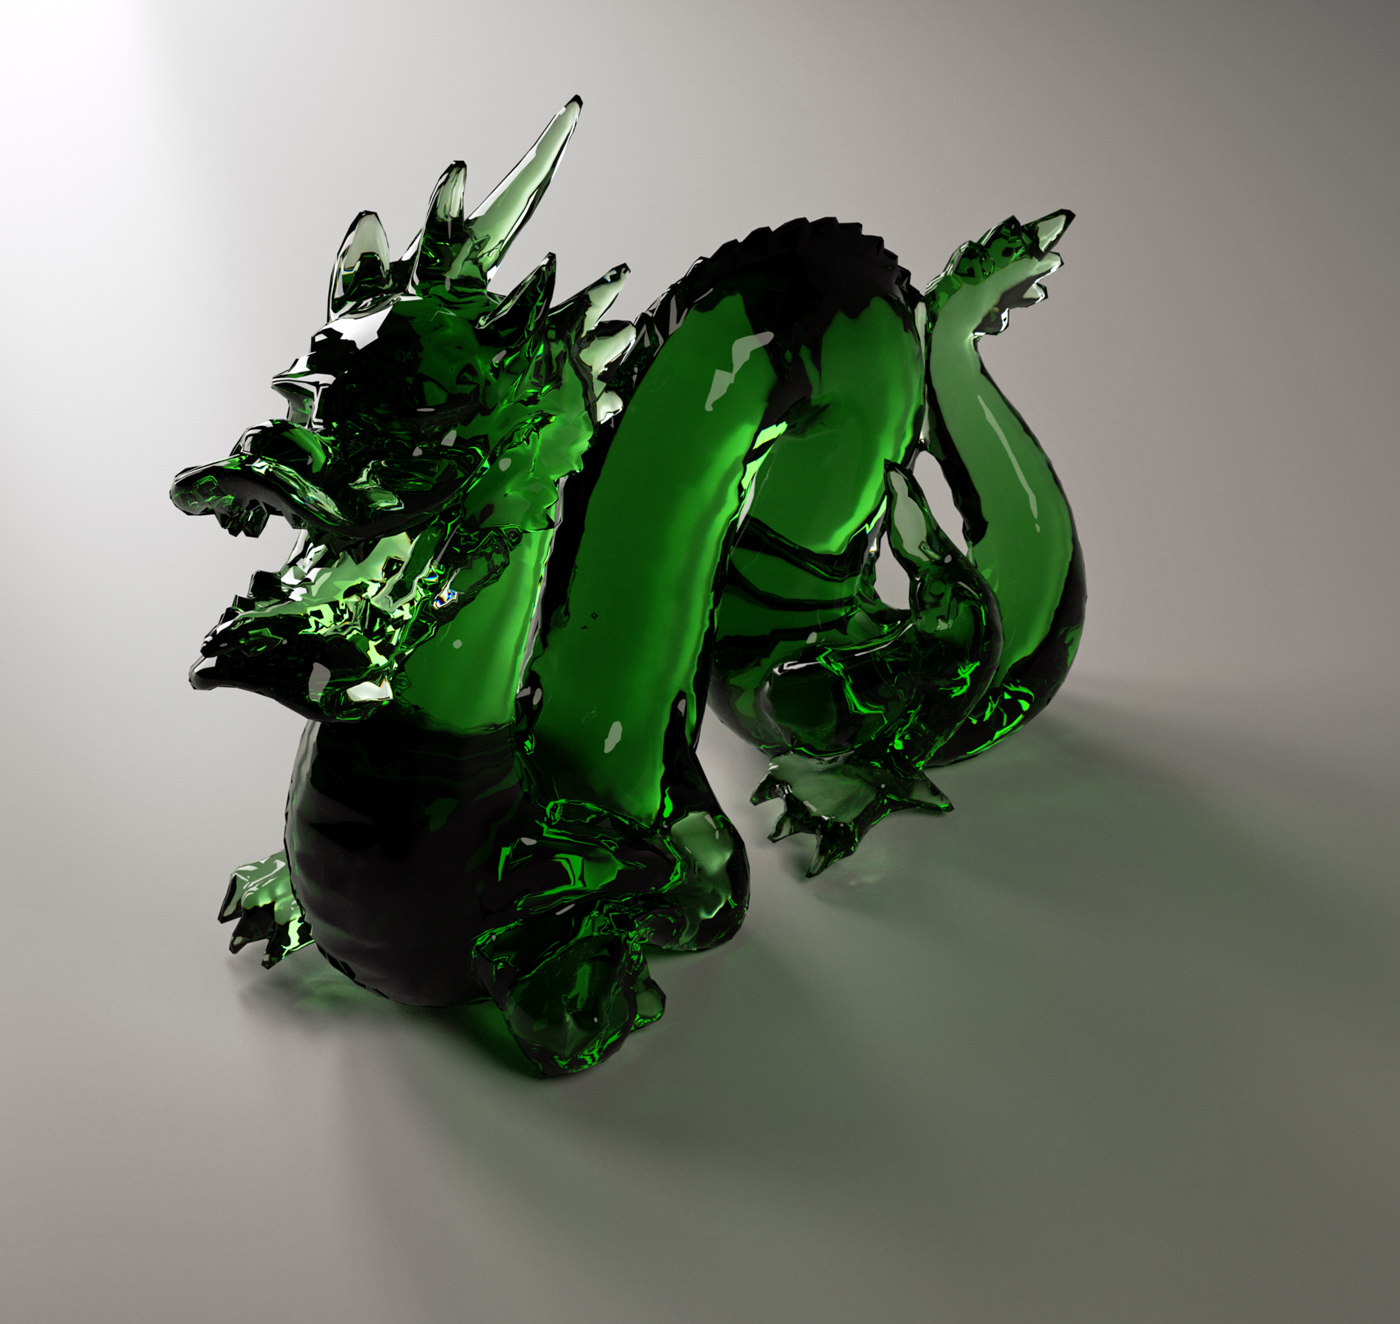
Another one with Indigo...
-
Wow I really 1ike the last two. When I get home I may join in.
EB

-
As a side note. If jumping into "dragon" studio, one might be interested to look on Henrik Wann Jensen's iconic A dragon made of frosted glass. That inspired some years ago a Frosted Glass Challenge (Any Render Engine) (http://www.atillaakin.com/maxwell/dragonmatrix.png).
-
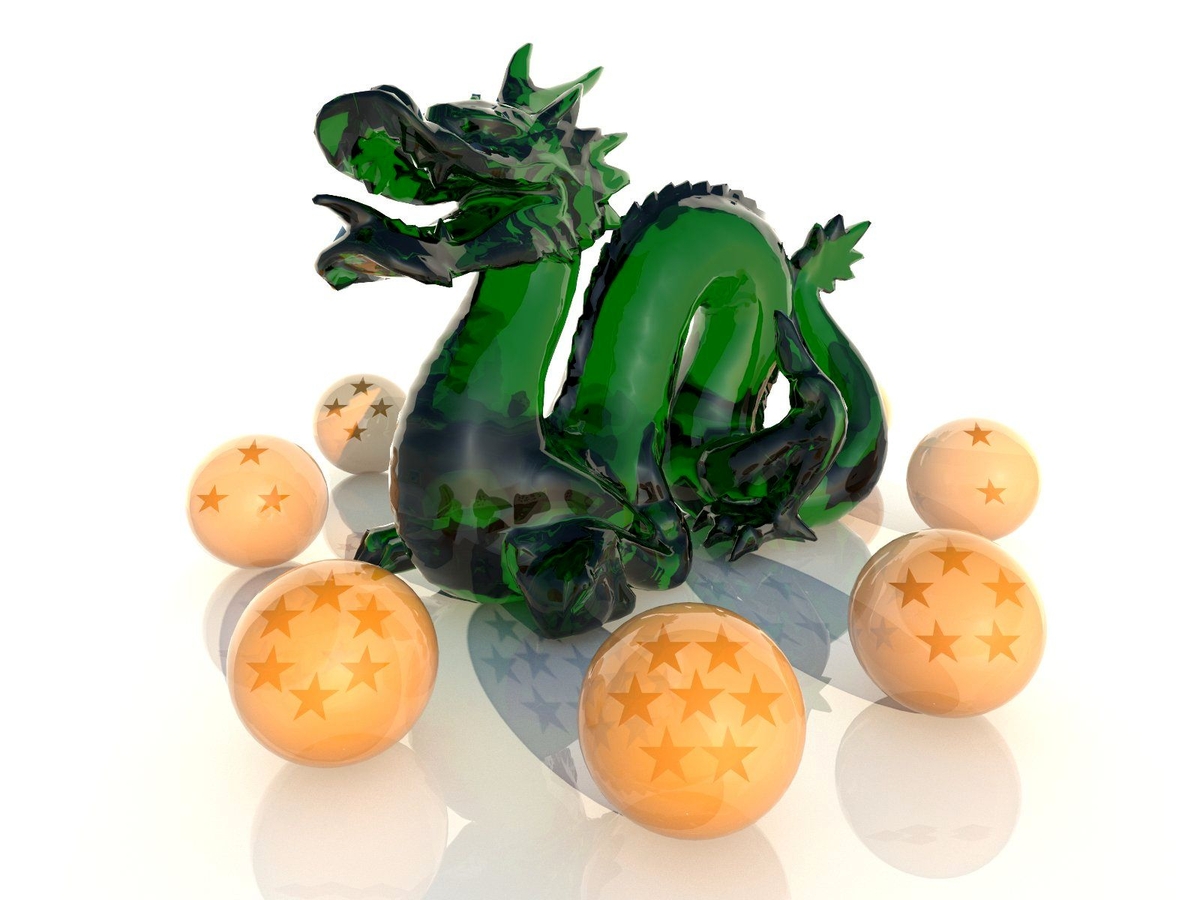
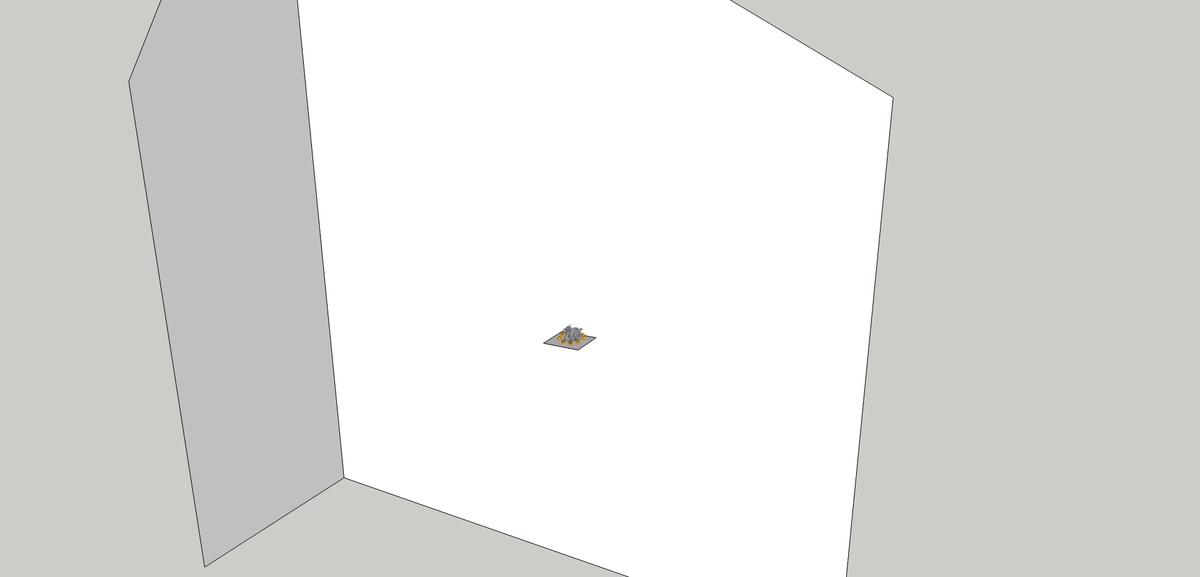
hi, im not very good at rendering, mainly because its not my primary focus, but i had to do this one
VRay 2.0, rendered at 1600x1200, high exterior preset with ambient occlusion
Dragon material is a glass bottle vismat, changed the RGB to 33,160,8
Dragon Balls downloaded from wharehouse and just added reflection
-
Studio and product rendering is a very simple task but can be a pain in the ass if you do not have the right tools.
In the past as illustrated above I used a studio setup model on which I could pose my model and that worked fine at the time however the problem with such a setup is there is no balanced lighting from behind so one could only light from sides and front or use an HDR image which again would not project from behind as there is a model of a studio blocking it.
The whole point of Prodviz is to show the item in best lighting and minimal or soft shadows it is not to set up an elaborate scene as the emphasis is on the product.
I have a 2 minute setup solution using Thea render.
What you need:
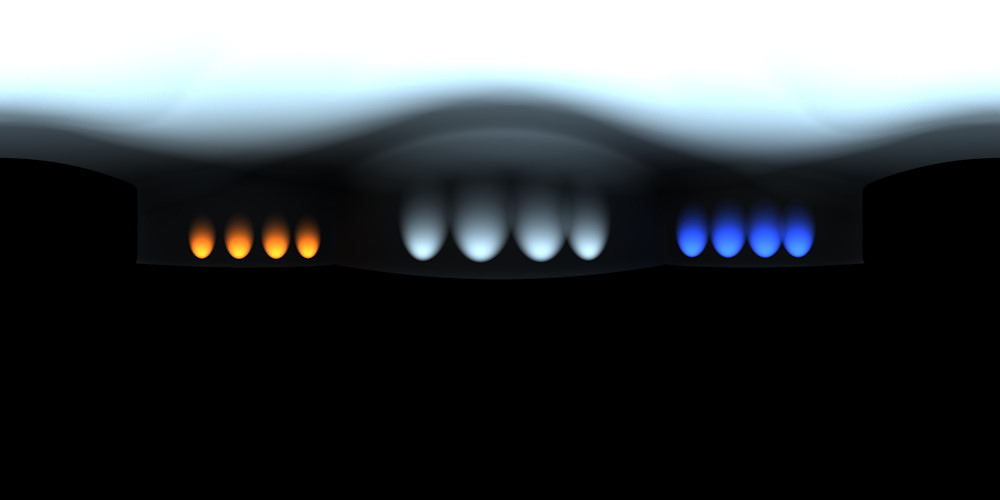
A good HDRI (here is a jpg of what I will use for this example)
Then you need another map, this time a pure white image:

The method here is you put the HDRI in the IBL slot (Image based lighting) and you put the pure white image in the background slot.
Now you create a ground plane and remove all materials and create a shadow catcher in Thea materials.
Done, now UV map and add material to model and render with Presto MC less than 2 minutes each.
Raw renders.
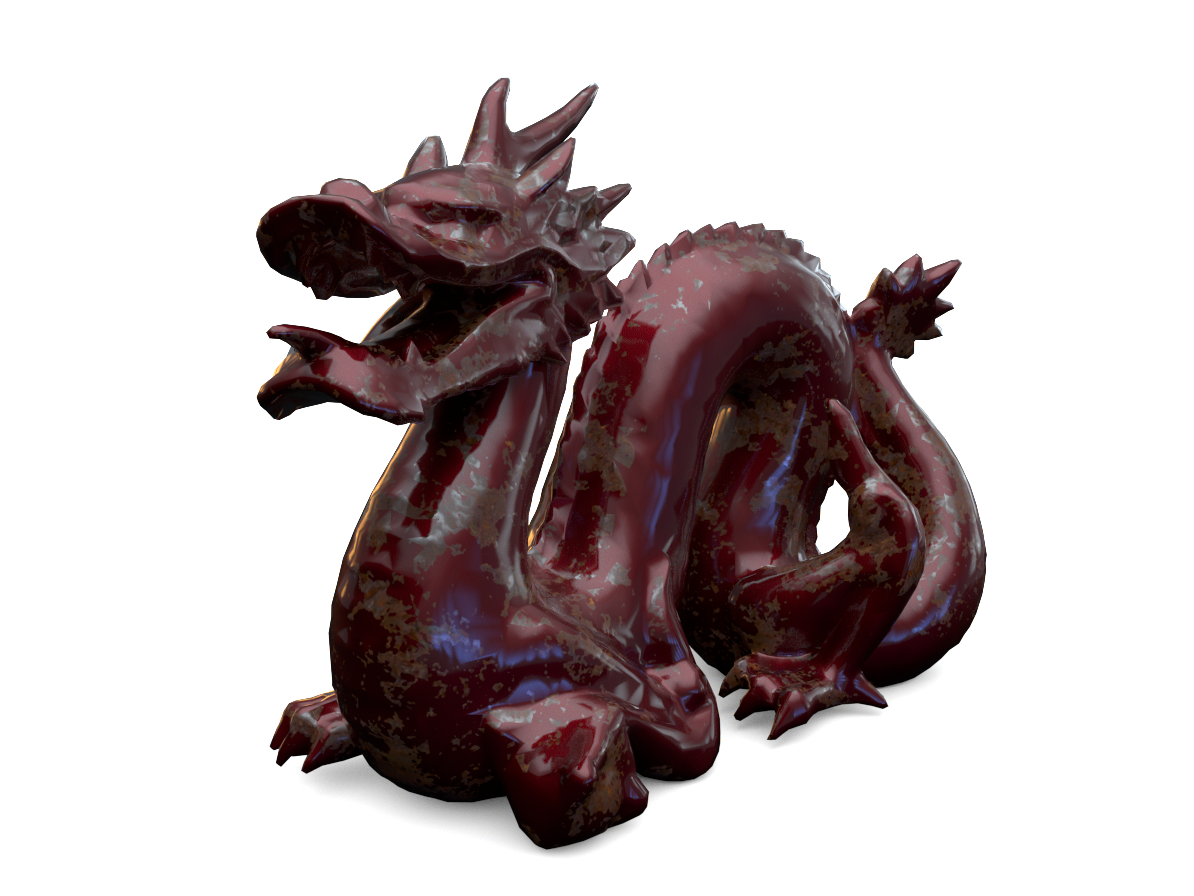
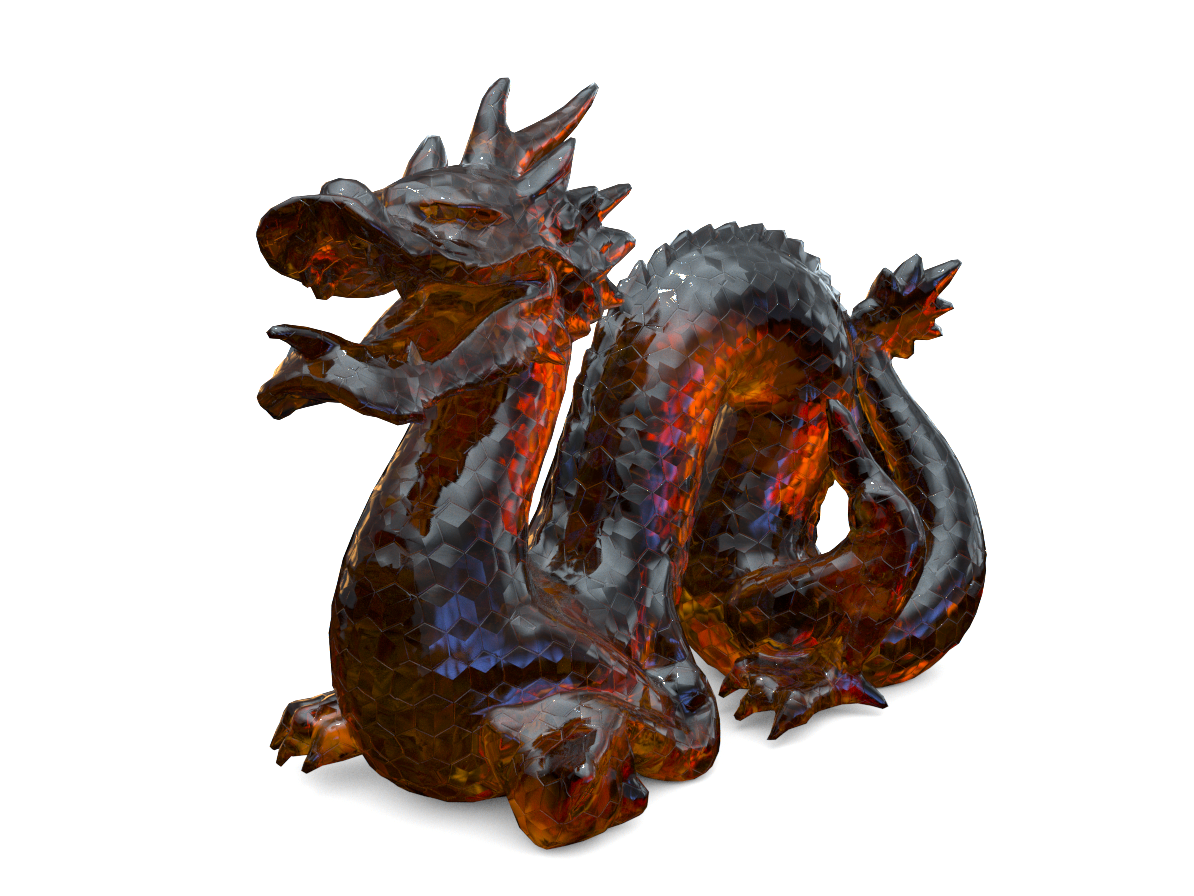

-
what's a render?
-
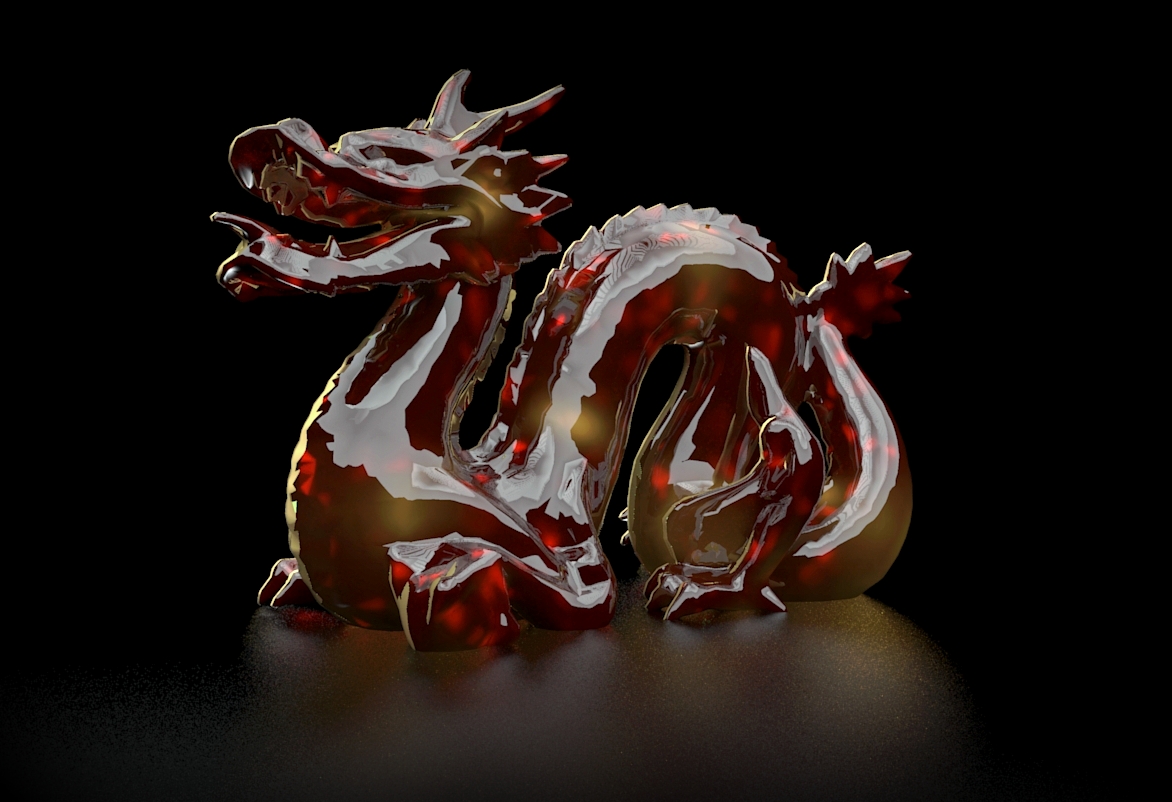
I'm not a fan of Green....Edit; sorry I only just noticed that you wanted everyone to use the same colour.
Twilight Render, medium preset.
Default Realistic Glass material
HDRI from the Sketucation Store Studio pack.
Hello! It looks like you're interested in this conversation, but you don't have an account yet.
Getting fed up of having to scroll through the same posts each visit? When you register for an account, you'll always come back to exactly where you were before, and choose to be notified of new replies (either via email, or push notification). You'll also be able to save bookmarks and upvote posts to show your appreciation to other community members.
With your input, this post could be even better 💗
Register LoginAdvertisement


