Apply Transparency to part of an object
-
I have an object in my model that I have colored with a material. Now I want to make the material on a section of the object partially transparent. If I select the material that I used and adjust the transparency, it does it for the entire object. I only want a section of the object to be somewhat (not entirely) transparent.
There must be a way to make a copy of the material and then adjust the transparency of the copied material and then just apply that material to the selected area. I so not want it to be 100% transparent or I would just delete the face for that give area. I want the use to be able to "see through" the selected area because there are items that I want them to see but I want them to understand that they are "inside" the selected area.
In this case, I have a piece of equipment that is buried in the ground but has a piece that goes from the buried object to the surface. I want them to be able to "see through" the ground and see the part that comes up to the surface.
Hope that makes sense to everyone.
-
One simple way is to use, 'Make Unique Texture'.
You can paint your whole concrete slab with whatever material you want. Then right click on the top surface and select make unique texture and click ok. This gives you a new material in the in model section of the material browser that you can edit.
So everything has the same colour/texture etc but just the top surface is see through. -
@box said:
One simple way is to use, 'Make Unique Texture'.
You can paint your whole concrete slab with whatever material you want. Then right click on the top surface and select make unique texture and click ok. This gives you a new material in the in model section of the material browser that you can edit.
So everything has the same colour/texture etc but just the top surface is see through.Thanks Box, that gave me exactly what I was trying to do. One of these days, I am going to learn how to do this stuff so I can start giving back to the forum.
Now if I could just find some nice easy way to make some connecting pieces for some of the pipes. I have looked at a couple of plugins but seems like the only ones that have the capability I am looking for are a little on the pricy side but I will keep looking

Once again, thanks for giving me those instructions.
-
Show us an image of what you want and I'm sure we can tell you how.
-
@box said:
Show us an image of what you want and I'm sure we can tell you how.
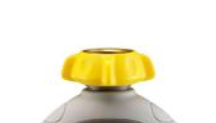
Something similar to this.........
-
That's not the greatest image in the world to get the full picture. Can you give something with more of an overview to understand better what it is, or something with more detail. I'm guessing it's a pipe fitting with a tap but I'm somewhat worse for the whiskey just now, been a long day.
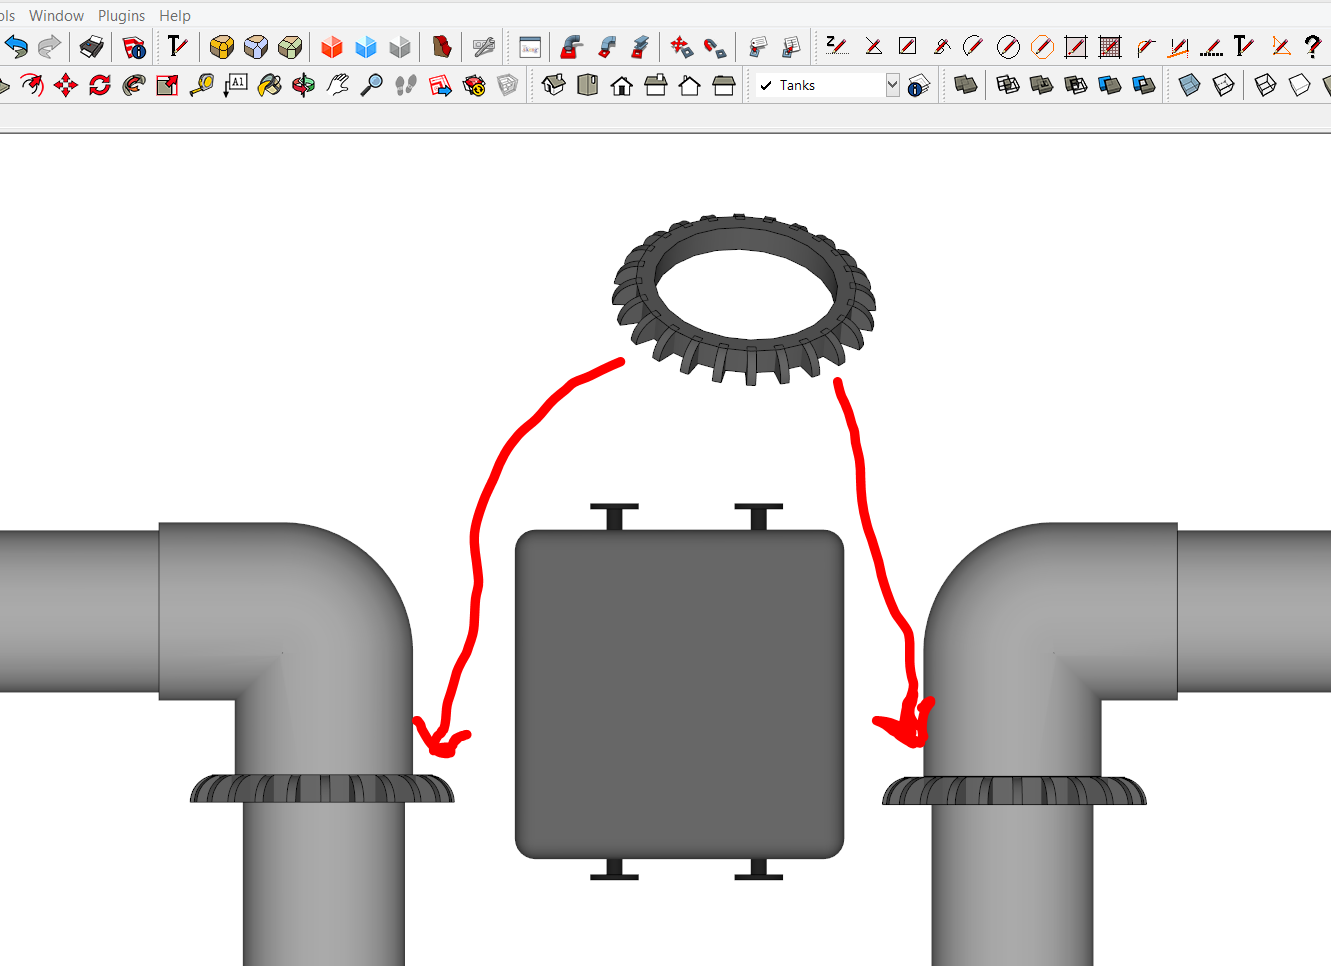
As a quick rough I knocked this together just to show the concept. If you model the pipe fitting, which no doubt can be done without any expensive plugins, and make it a component, you can use it time and time again or scale it to fit etc
Just look at the reality of what you need to model and you'll probably find it's not that complex. Different pipe sizes and angles usually just mean an adjustment in the collar.
A couple of well built components with appropriate insertion points and you can built a pipeline to Kazakhstan in minutes.
-
@box said:
That's not the greatest image in the world to get the full picture. Can you give something with more of an overview to understand better what it is, or something with more detail. I'm guessing it's a pipe fitting with a tap but I'm somewhat worse for the whiskey just now, been a long day.
Yes, it is not a good image. The yellow part at the top of the picture is where the lower part of the coupler screws on the faucet. It goes around the pipe "sot to speak" You gave me a good enough idea though that I think I can go draw what I need.
If I am brave enough, I will post some of this stuff when I am done (give you a good chuckle for the day).
-
We never chuckle, we say things like "well done that man, keep up the good work" while rolling around on the floor in private laughing our fat arses off.
-
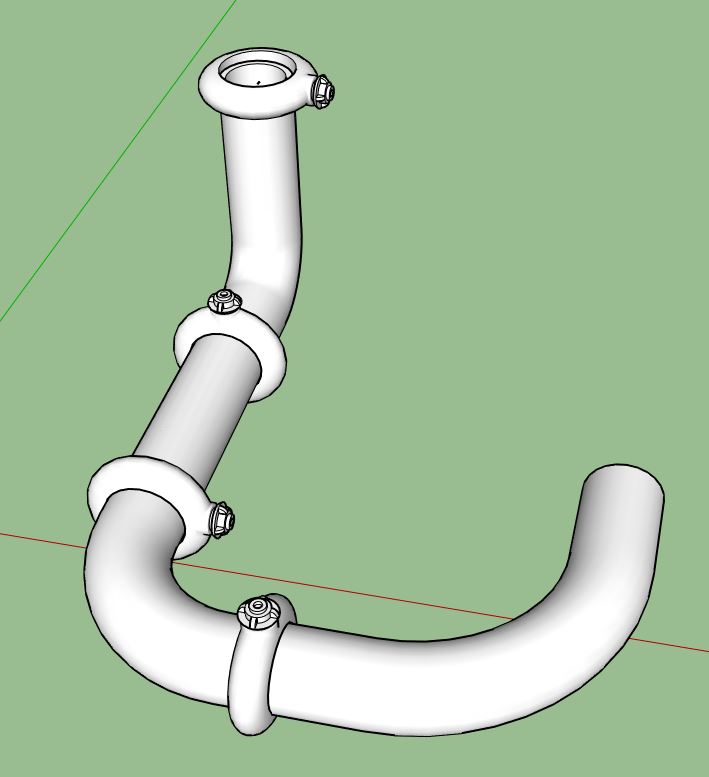
@ntxdave said:
If I am brave enough, I will post some of this stuff when I am done (give you a good chuckle for the day).
OK, here is what I wound up with.
Hello! It looks like you're interested in this conversation, but you don't have an account yet.
Getting fed up of having to scroll through the same posts each visit? When you register for an account, you'll always come back to exactly where you were before, and choose to be notified of new replies (either via email, or push notification). You'll also be able to save bookmarks and upvote posts to show your appreciation to other community members.
With your input, this post could be even better 💗
Register Login


Advertisement