Help with Follow-Me
-
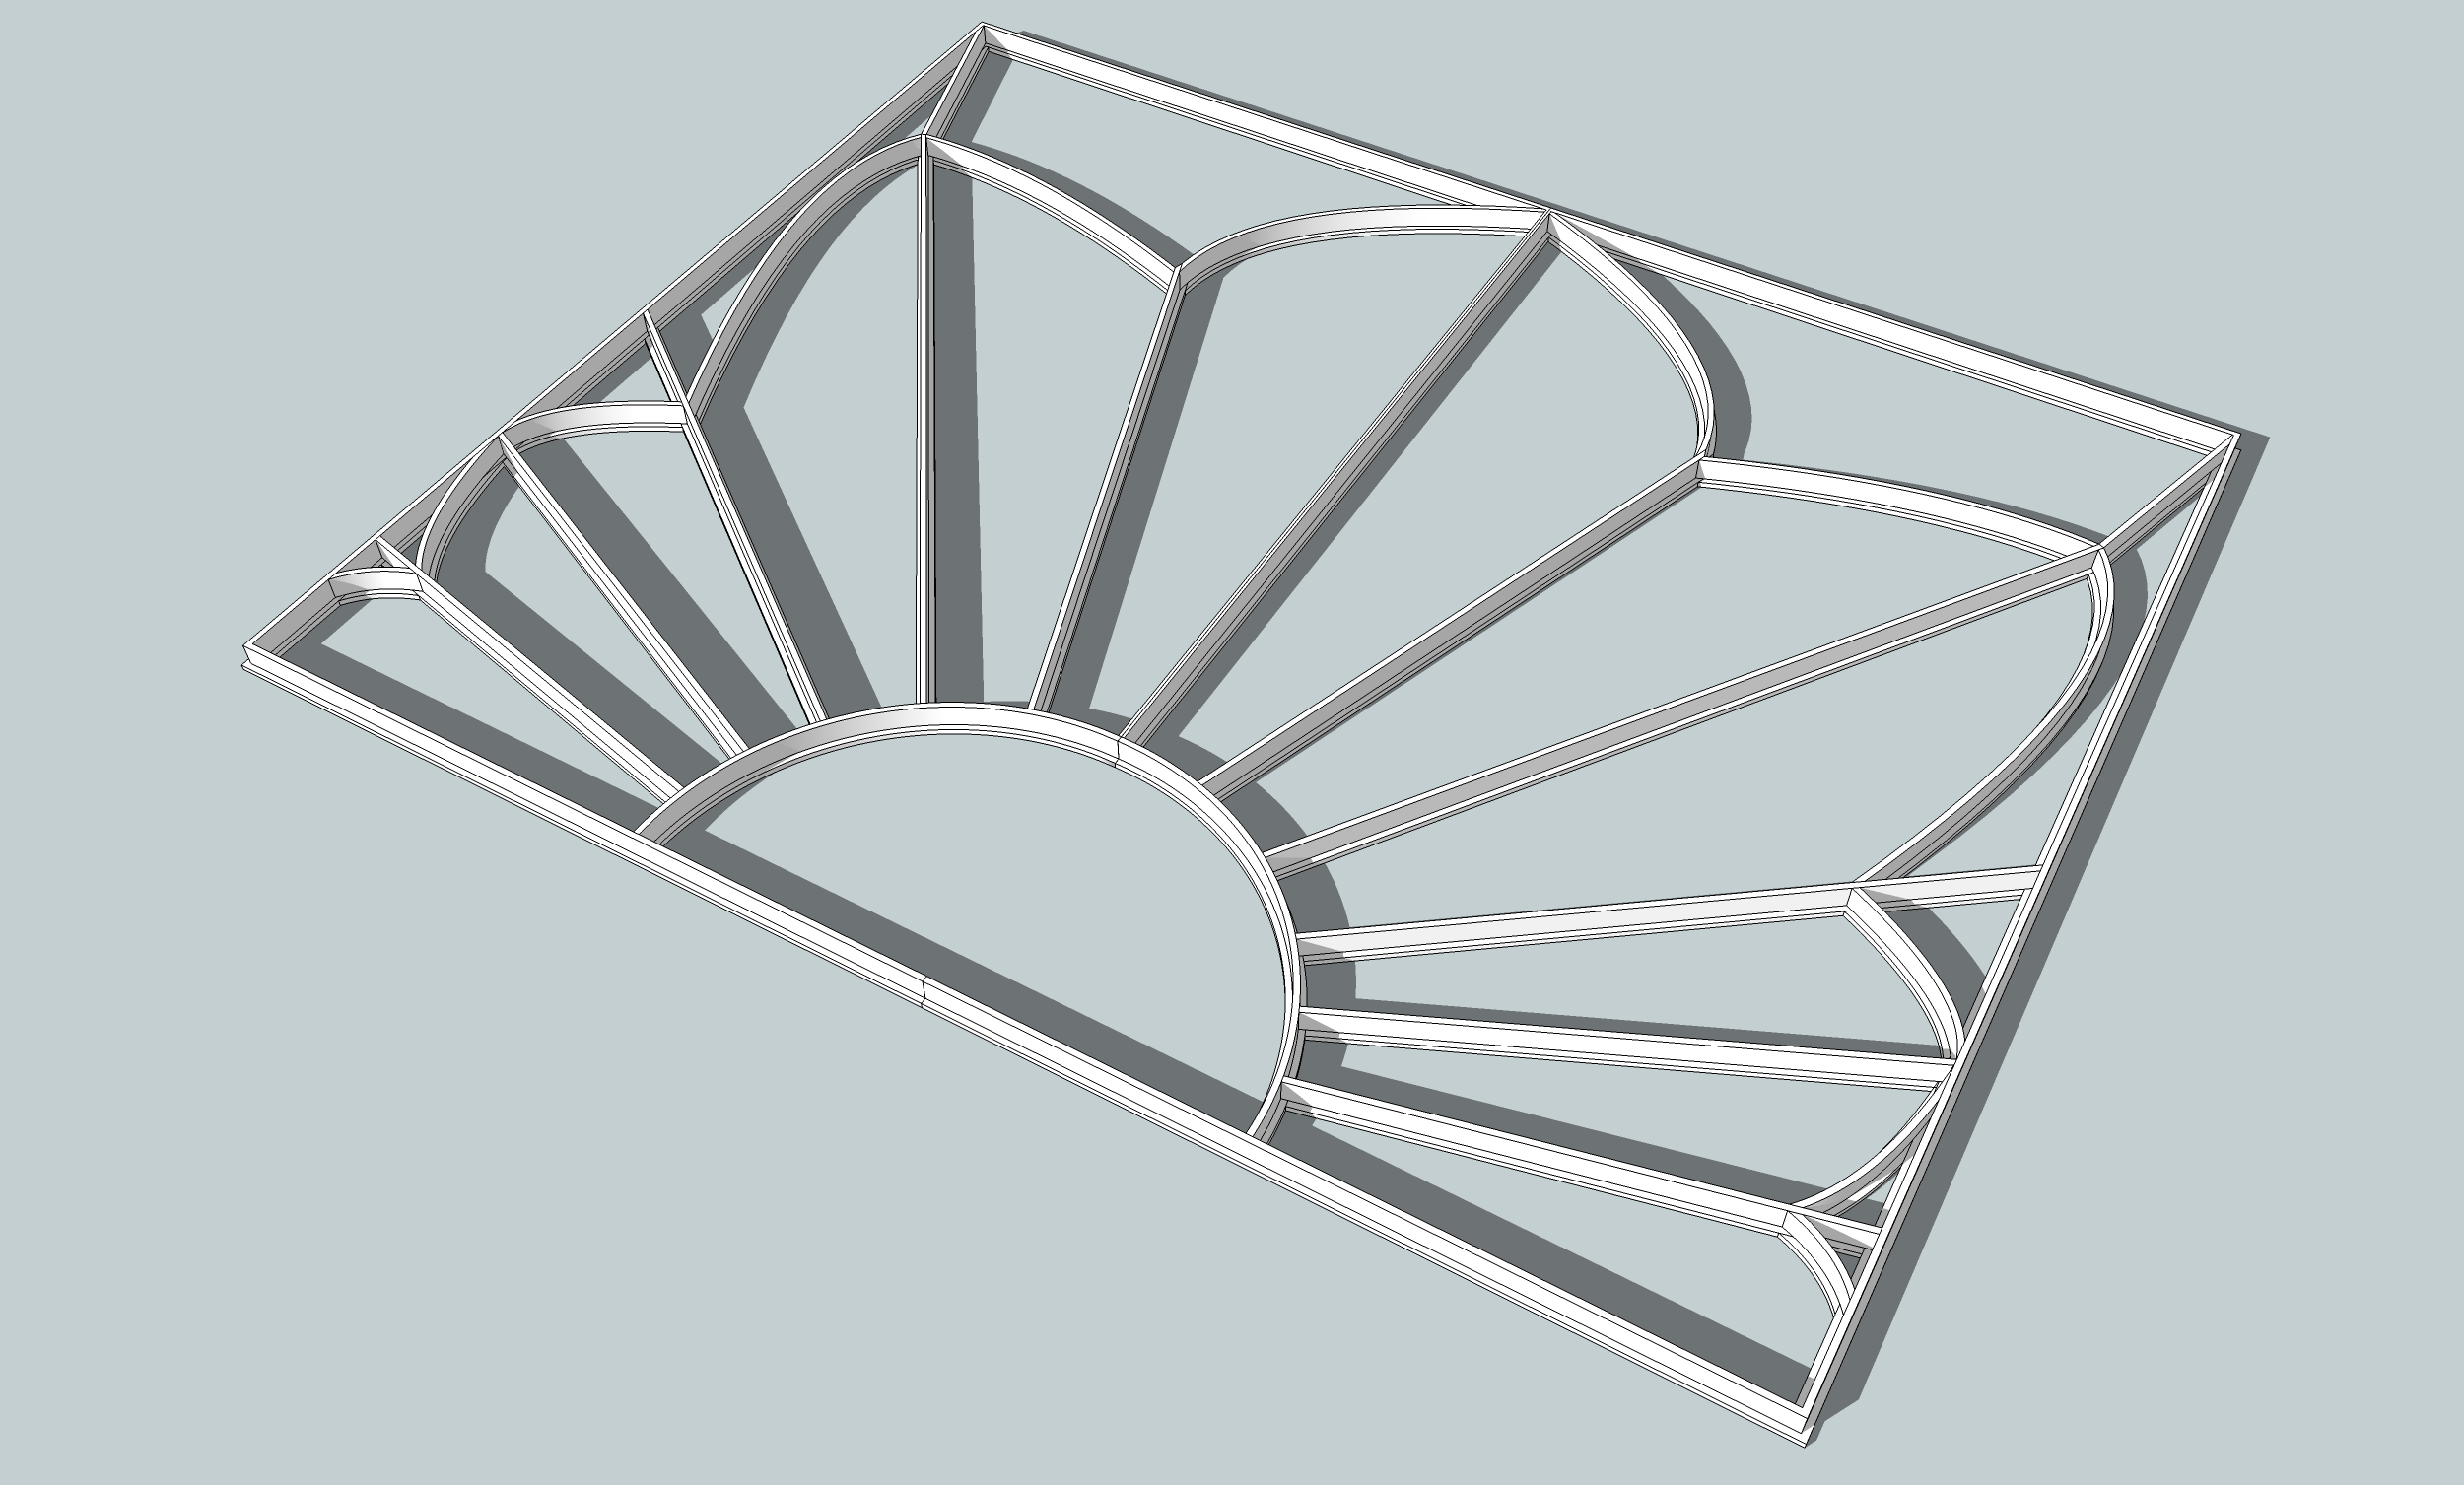
Hey guys i'm having trouble making a solid object out of this design. I want the shape in the bottom left corner to follow all of the paths and create one solid. The follow me tool works for some parts but it wont do it in one step. If I do it in multiple sections, I have trouble combining them all into one object. Any advice?
Using Sketchup 8 free with SuSolid and BoolTools.
-
Follow Me won't extrude and follow branching paths so you'll have to split it up. Think about how it would be made in reality and draw each part. Scale it up by a factor of 100 or 1000 to make the intersections work cleanly.
-
I'm having real trouble when it comes to the intersecting parts. Willing to pay someone a reasonable rate to get this done, just PM me. Have another similar project that i'd need doing as well.
-
I was able to do it with separate parts by scaling up first.

Since your profile is so simple, you could do this with a couple of Offset options. I have to go deal with some life support equipment but I'll try to get back to you on it soon.
-
Hmm and this will turn into one solid object? My goal is to have it 3d printed, thats why I need it as one "solid"
Also, on the curves it seems the width of the object is distorted (or perhaps that is just the angle of this snapshot?)
-
They are shadows.
As Dave says, you can use the offset tool and a bit of adjustment then the pushpull tool to make your shape.
-
Box is correct. The width of the profiles is not distorted but it might look that way. This could be made into a solid but now that you've indicated you're planning to 3D print it, I think the Offset option would be a better one. When I get some time I'll try to make up an example. You'll have to be patient, though.
-
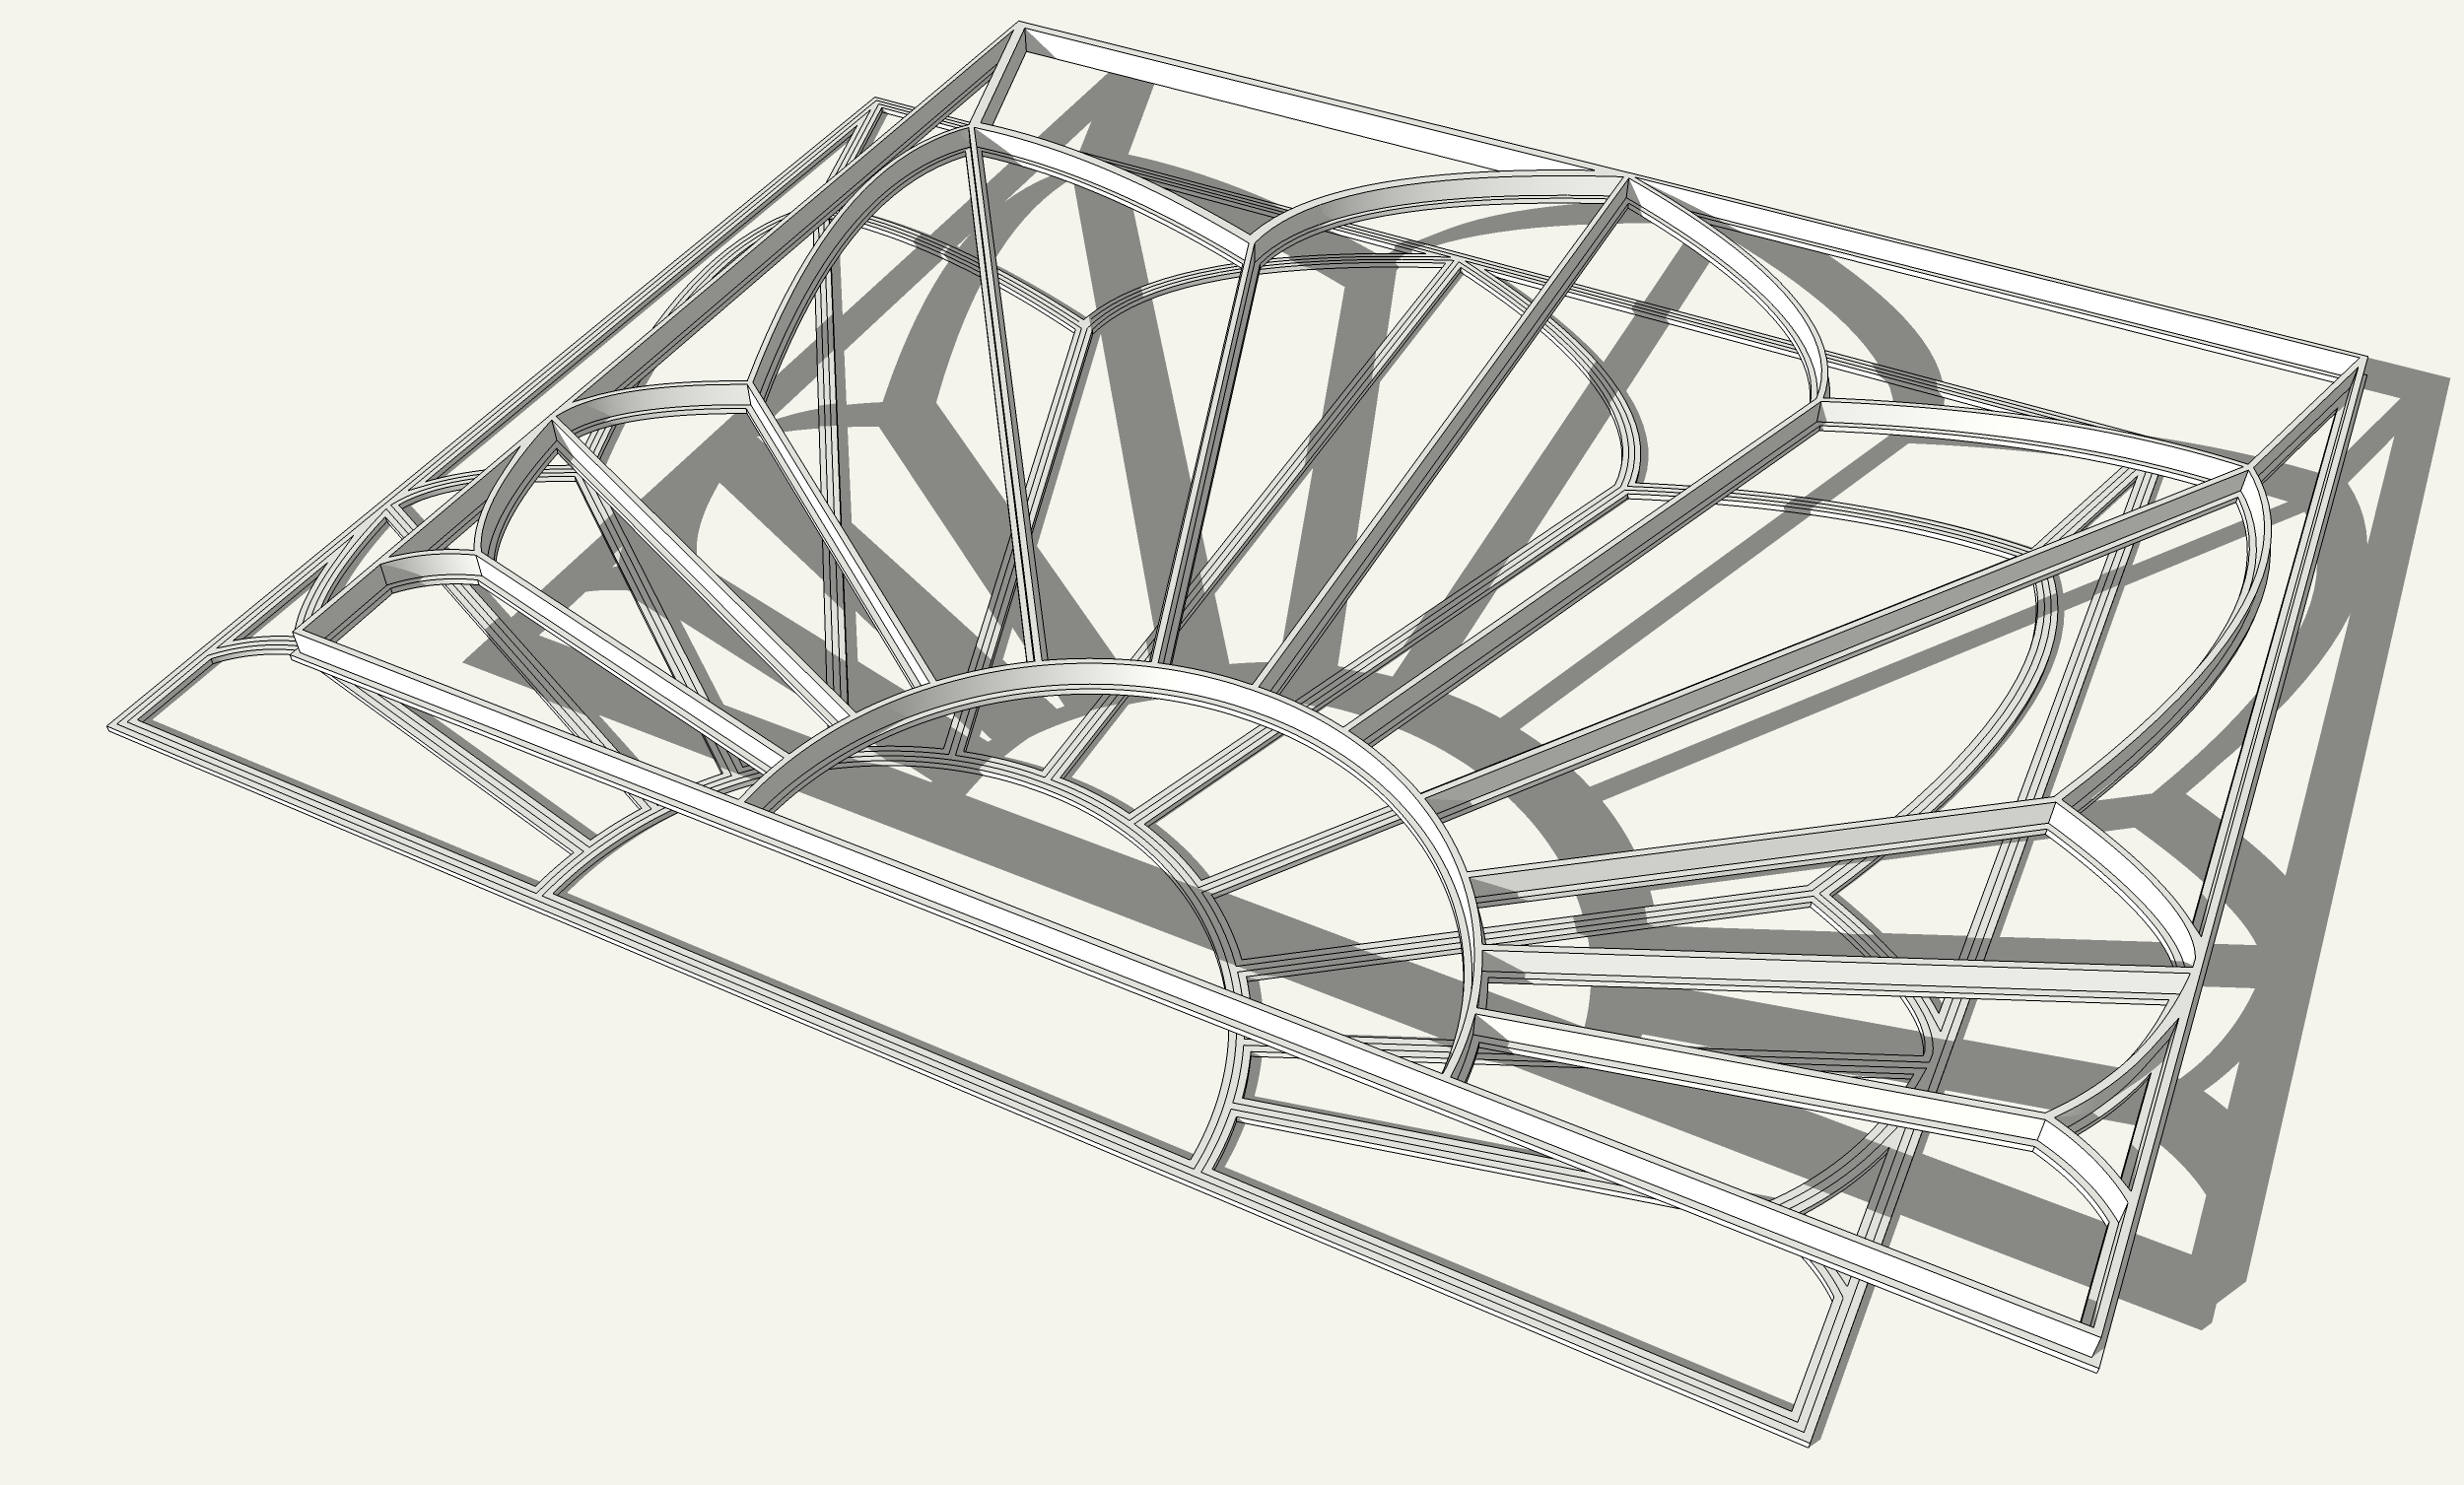
Here we go.
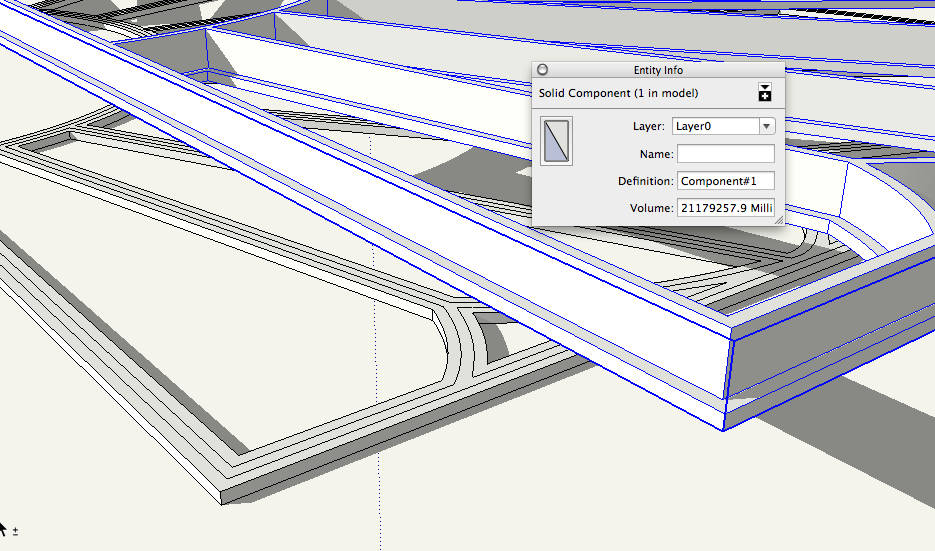
I assumed your lines were the centerlines and used Offset on both sides of them. Then I deleted the centerlines and the faces in the cut out areas. Push/Pull made quick work of adding thickness. I then repeated the Offset and Push/Pull operations to create the narrow raised area. Notice after making it a component, Entity info reports it as "solid" which is important in your application.


For a symmetrical thing like this, you could draw only half of it and then copy and flip to make the opposite half.
-
Good thinking with the offset ! It worked pretty fast ! I used for the inner offset the offset from the Tools on surface, I thought it won't be capable of doing it, but it worked !
I want to compare the offsets now to see if they are the same
 !
! -
When you made the component, was yours solid?
-
Nope ! It had two small opened triangles in two corners, somehow they were curves or circles, cause I had to run explode curves to be able to move the edges in one single edge !
-
I just used the native Offset tool and although on a few corners I had a bit of cleanup to do, i didn't end up with any open faces. I was actually a bit surprised that it reported as solid immediately after I made the component.
-
Great advice Dave, really appreciate the help! That is a much cleaner +faster way to achieve what i'm after

-
Dave, a nice example that there are many ways to achieve a goal in SketchUp and the first thought might not always be the simplest

Hello! It looks like you're interested in this conversation, but you don't have an account yet.
Getting fed up of having to scroll through the same posts each visit? When you register for an account, you'll always come back to exactly where you were before, and choose to be notified of new replies (either via email, or push notification). You'll also be able to save bookmarks and upvote posts to show your appreciation to other community members.
With your input, this post could be even better 💗
Register LoginAdvertisement


