Rolleiflex Automat [Model Progression Thread]
-
Update:
Recreating logo.
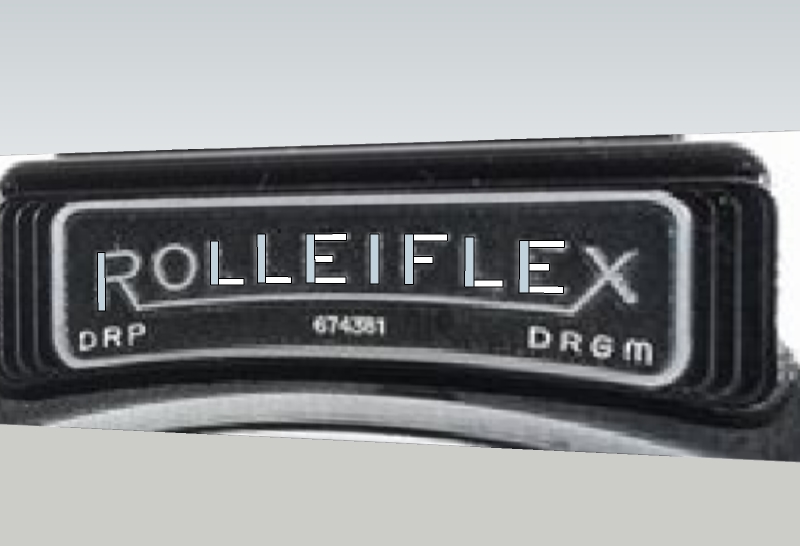
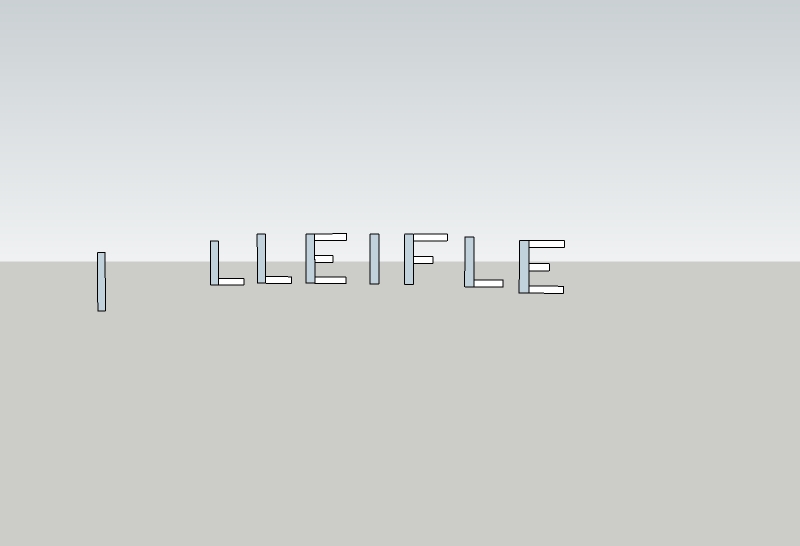
-
Logo complete.
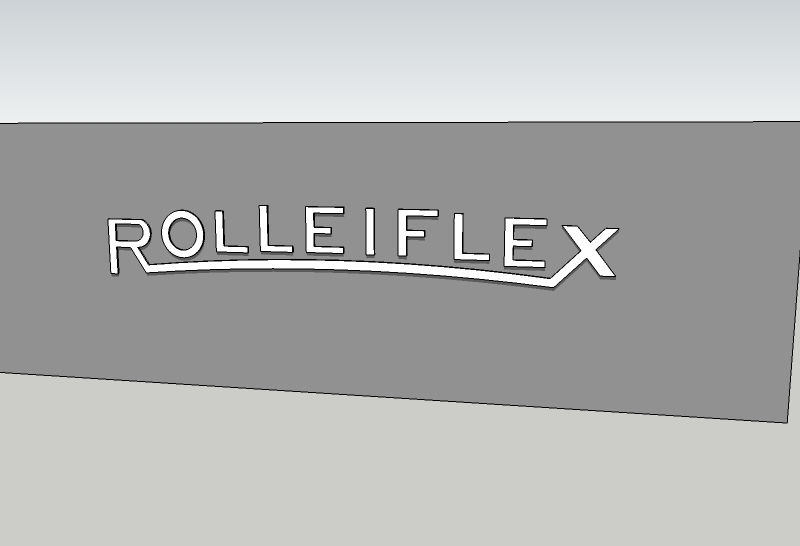
-
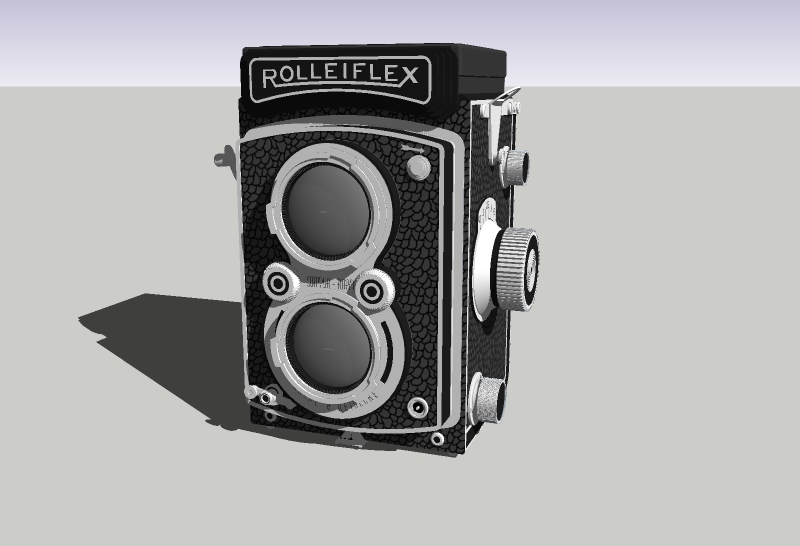
Logo added to camera.
This just leaves the numbers on the focus wheel.

-
Minor adjustment to logo. It was too big.
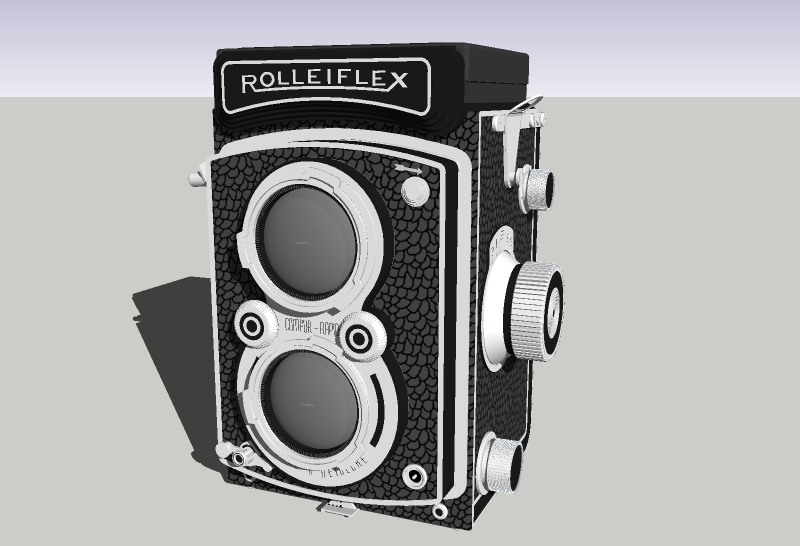
-
Very nice!
-
@cotty said:
Very nice!
Thanks Carsten!
I've decided against the lettering on the lens. SU has given me serious grief regarding very tiny radii, especially on lettering.
I just need to add "Made in Germany" to the focus knob and it's done, then render!
-
Focus knob numbers complete. Adjusted the logo again. Added film counter number. Colored the film winder handle hub.
Still need to add lettering to lens, but I'm beginning to wonder if that will even show.
Still had some trouble with the numbers on the cone of the focus knob. Most worked fine using Box's technique, but 2 had geometry problems and had to be "fiddled" with to make work. Thanks again to Box.
Click on second picture for larger image than previously posted ones.
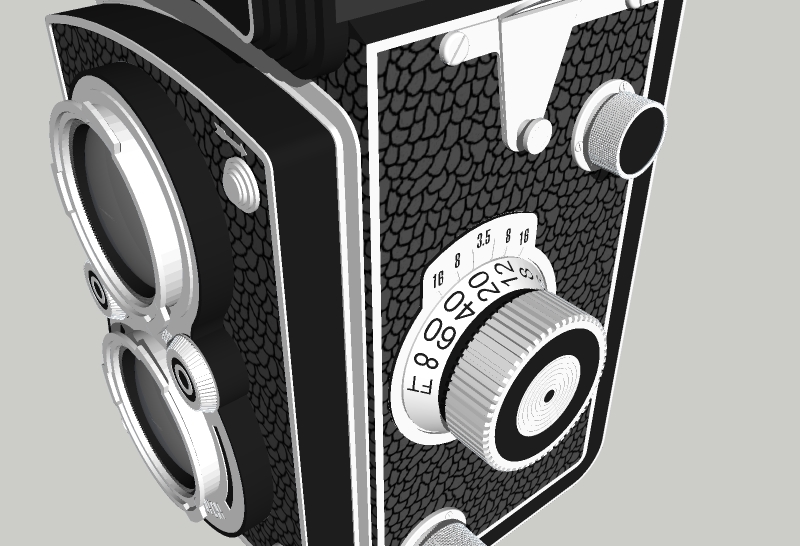
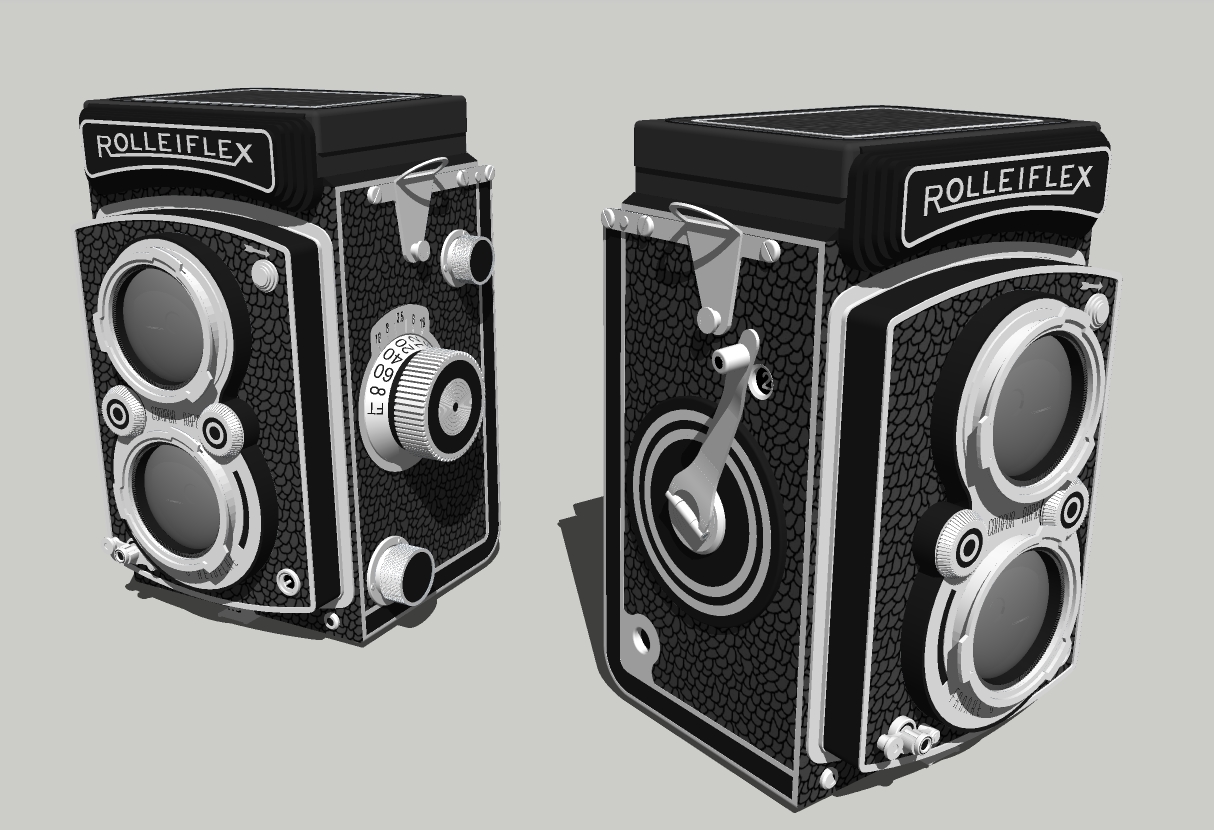
-
Completed.

Moving on to rendering, where you will see the texturing that John was kind enough to send me.
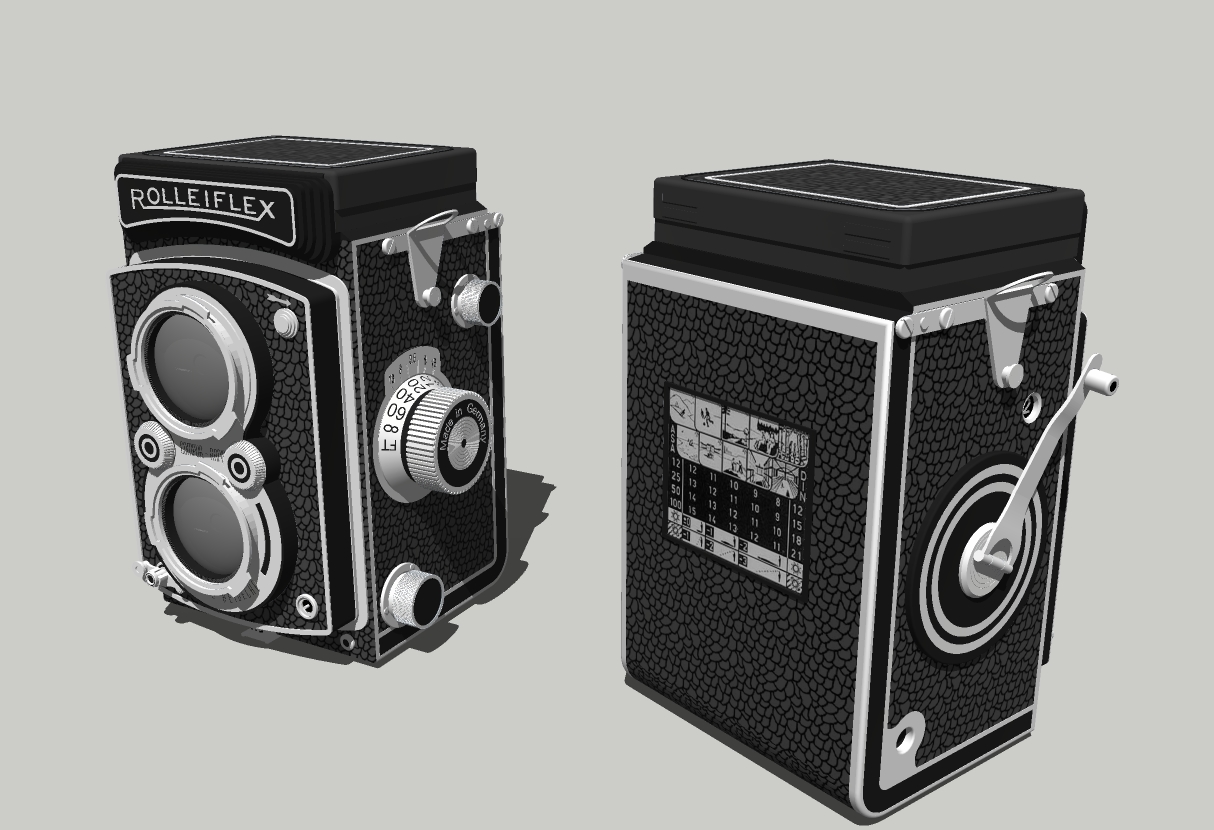
-
Bryan K, really good job!!! it is looking fantastic, looking forward for some nice renders...
best
V -
Wow, just wow,
-
Love to see the model progressions...thanks!!
-
@jpalm32 said:
How long did it take?
Looks very complex.

5, maybe 10 seconds. The hard part was switching to metric.
I had to take a break.

Seriously, I am starting a model of a real Rollieflex Automat. I hope to make it as detailed as the Nagra tape deck and the radio (see main gallery) that were posted here in the past.
(the Nagra can be found with a board search or google search)
What you see right now are the accurate overall dimensions. Took me 3 days to find those using Google as well as the correct model reference pictures. Rollie made a lot of cameras and of those, it seems dozens of different models of the Rollieflex Automat.
I'm going to model the Automat from the 1940s.
-
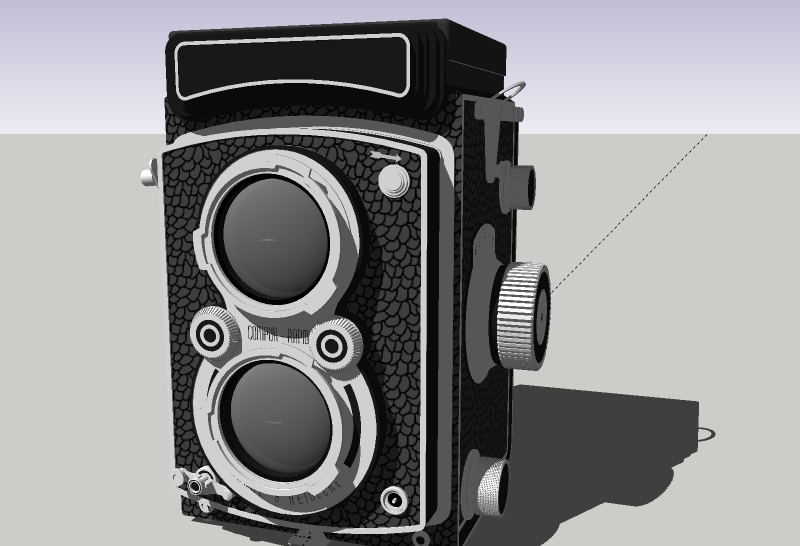
Lens locking ring complete. Arrow added over self-timer release button.
I do believe I have only one more thing left! (oh wait, 2. Still 2 more things)
-
May I ask, when you do your spheres do you preselect the path then use follow me. Or do you try to drag the sphere using follow me?
Best way, select the first circle with the normal select tool, then activate the follow me tool and just click on the second circle.
-
@box said:
May I ask, when you do your spheres do you preselect the path then use follow me. Or do you try to drag the sphere using follow me?
Best way, select the first circle with the normal select tool, then activate the follow me tool and just click on the second circle.
I think that's exactly what I'm doing wrong. I also think I may be trying to do it too fast.
Thanks!
-
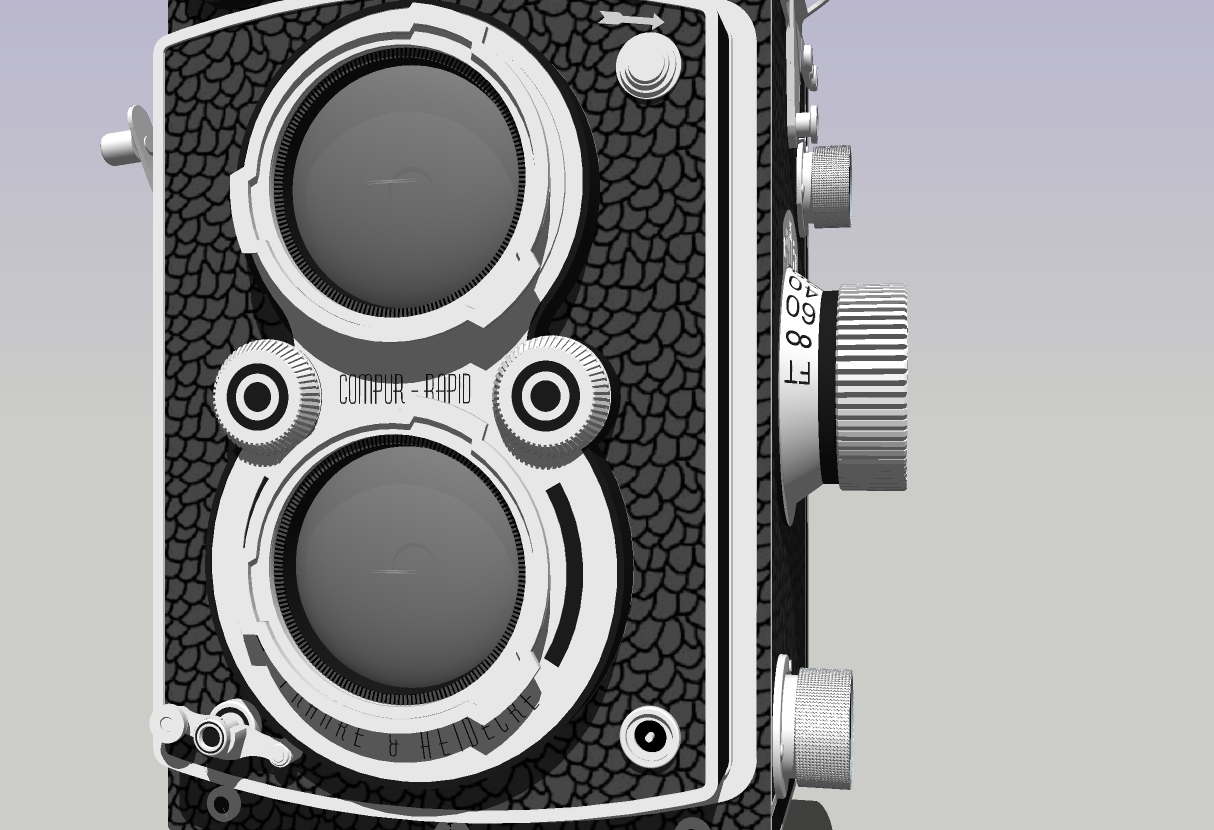
Oh ho! Found another mistake. Right (facing camera) front adjustment knob was off-center. Oops.

-
Thanks Victor, Mike and Roland. And thanks to everyone else who followed and provided great advice and help.
I still love the model progression threads as I am also still learning. I wish there were more of them. SketchUp has such a variety of ways to accomplish things that it is always interesting to see the different solutions each person uses to accomplish the same result. I also encourage everyone to check out the "Books" offered on this site. Some truly master class tutorials and you can't beat the price.
A few technical notes:
- The only plug-in used was Round/Bevel Corners
The winding handle was created by making the overall side and top outlines and then doing an Intersect Model... which didn't work perfectly. Many of the faces in the wishbone/yoke curve face had to be closed by hand. - Almost every step had to be repeated at LEAST 3 times to get the result I wanted. (hey I said I'm still learning
 ) More often than not, I had to rework each step 5-8 times. This was actually mostly due to conflicting reference pictures. It seems Rolleiflex changes the model slightly each year.
 - For some reason, I'm still having trouble making spheres. I use the "2 circles, rotate one 90 and then follow me" method, but it always seems to not close properly. I seem to have to try several times before it closes right.
- I made a huge workflow mistake on the lens. I can't stress enough that grouping, layers and making components of each piece are essential at every step... as I have learned again the hard way.

And finally, this model was another big stretch for me. Something I try to do with almost all my models. I can only teach myself as time permits, so I try to make each project slightly more complicated each time. There are some incredible artists here and their help, encouragement and examples have helped me over the years. (yeah, I said years. I'm a slow learner sometimes
 )
)If anyone has any questions, please feel free to ask. It will be a few days before I complete the rendering.
- The only plug-in used was Round/Bevel Corners
-
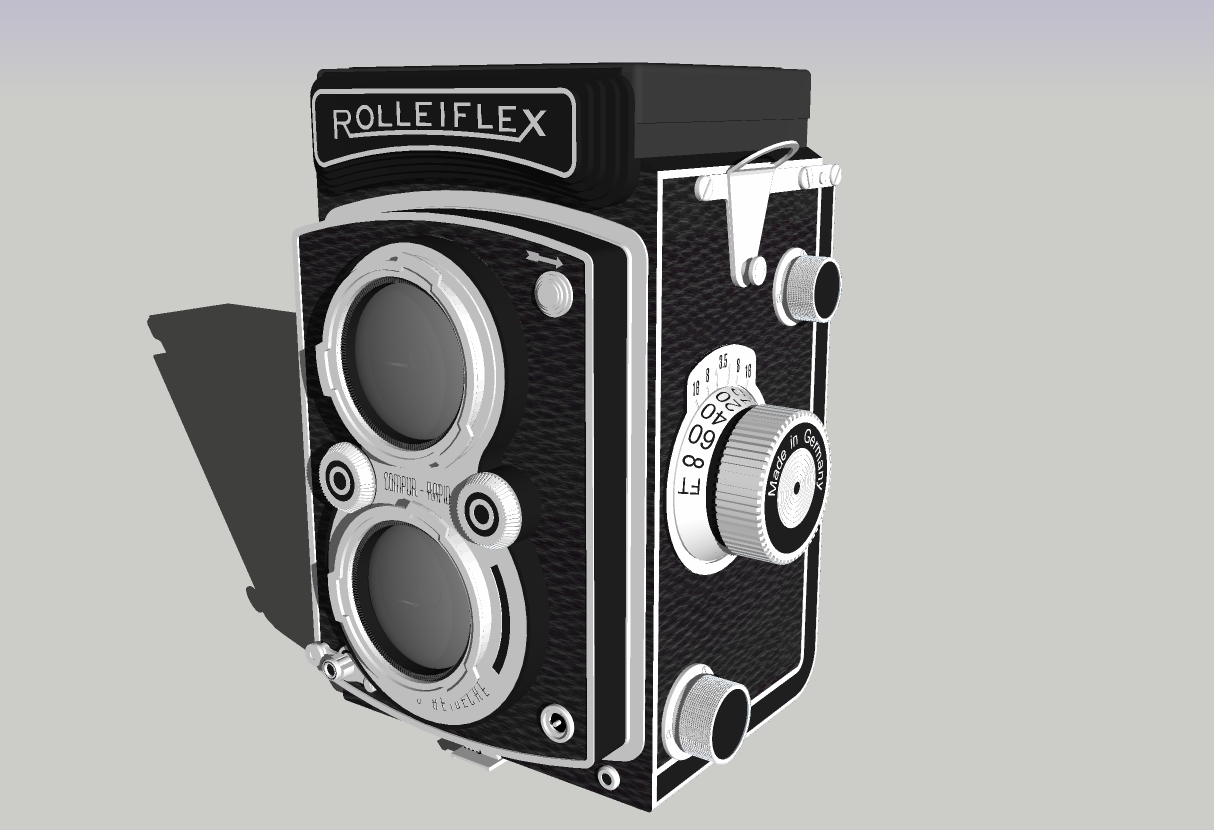
John's material added.
-
Because of the name people often make the mistake of thinking it follows the mouse.
The name can be confusing, it should really be called, Follow the Path. -
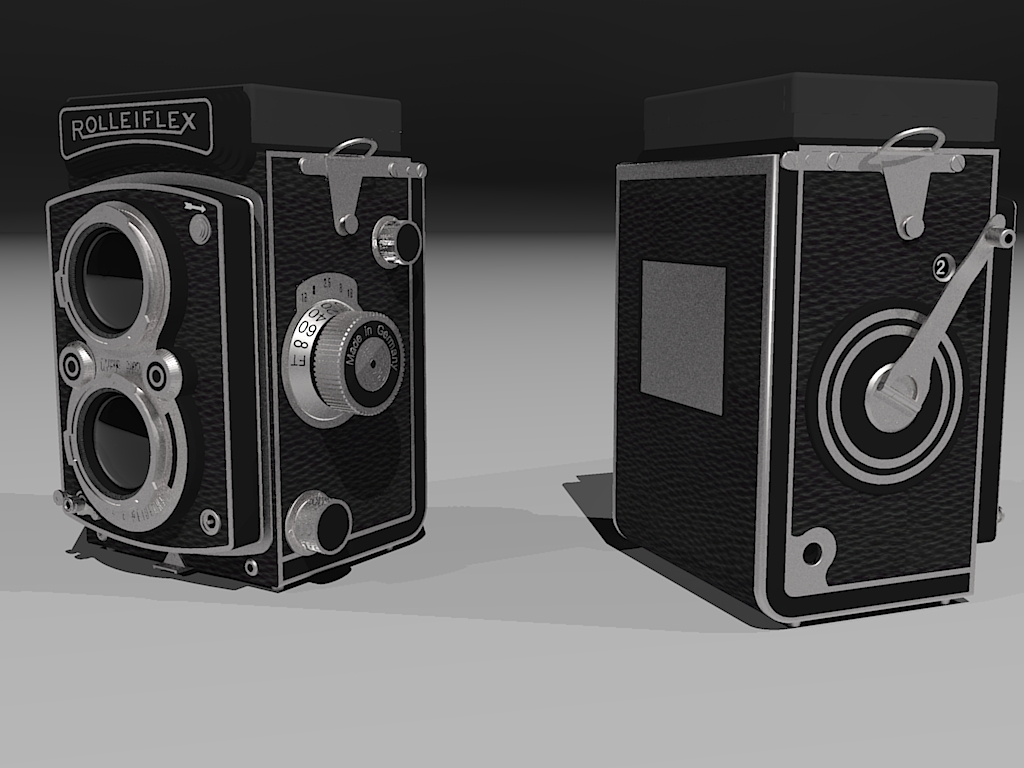
First render test. Got a long ways to go yet. I still see model flaws that need to be fixed.
Hello! It looks like you're interested in this conversation, but you don't have an account yet.
Getting fed up of having to scroll through the same posts each visit? When you register for an account, you'll always come back to exactly where you were before, and choose to be notified of new replies (either via email, or push notification). You'll also be able to save bookmarks and upvote posts to show your appreciation to other community members.
With your input, this post could be even better 💗
Register LoginAdvertisement


