Remembering dimension input
-
Does SU "remember" the most recent dimension keyin to the VCB?
I'm learning SU by way of a set of learning videos for woodworkers from Popular Woodworking Magazine. The instructor is showing how to layout guidelines with the Tape Measure tool. He mentions that after keying in, say, 1.5" for the first guideline SU will offer to rememberwhen starting to lay down the next guideline from the next reference.
In the video, you can tell by the action of his mousing the Tape that SU is offering a soft snap to the 1.5" position.
For me, SU is not offering the soft snap. I've searched the Net for half a day trying to find some reference to this and can't find anything. I'm planning to send the PWW folks a Q&A on this, but their web site is having an issue with letting me post; waiting on webmaster response.
Is there some setting in SU I'm not seeing for this?
Thanks,
delaing -
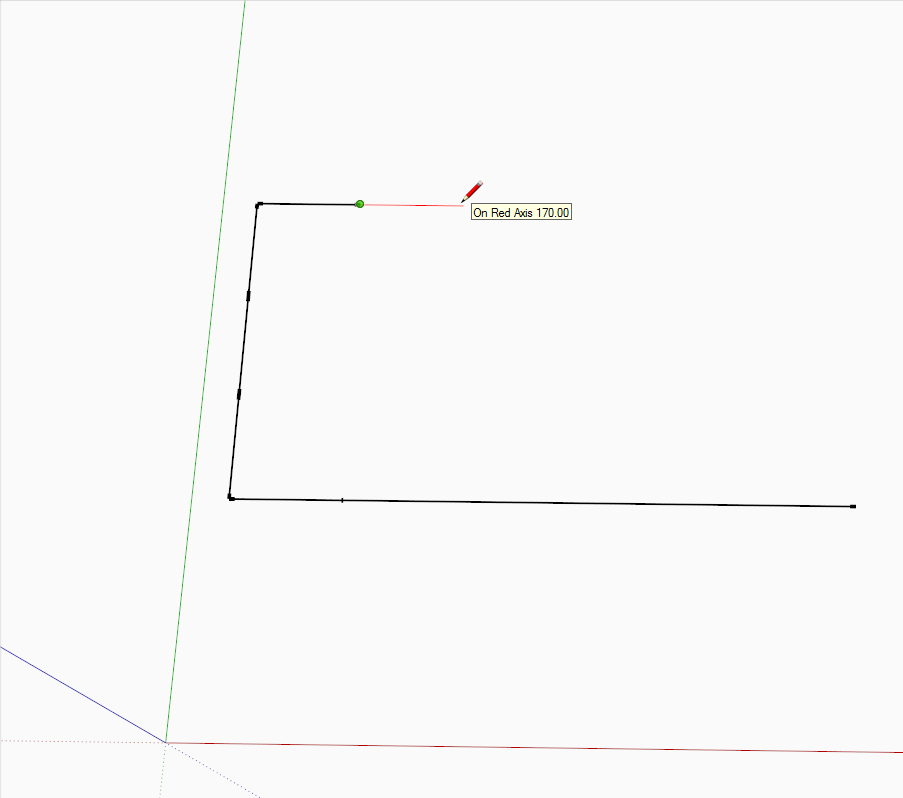
There are a couple of tools that "remember" the last input. The line tool for instance (and the move tool, rotate tool) offer a "soft snap" (as you call it) with the last value (in my case in the below example, 170 cm).

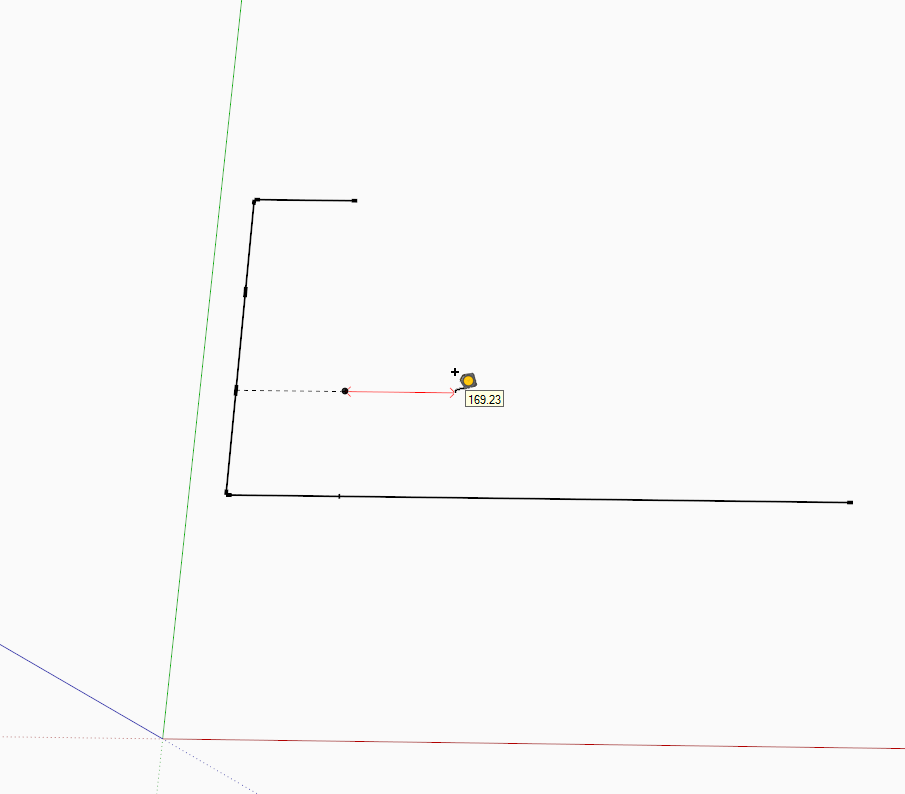
The Tape measure tool does not do this unfortunately - see that no matter how close to 170 I am trying to get it, it would not snap to 170 but only display the distance continuously.
Other tools even work with double clicking an they remember the last input - the PudhPull and Offset tools work this way; once you PP a faec, you can keep double clicking on other faces and it will PP tzhem with the exact same amount. -
@unknownuser said:
The Tape measure tool does not do this unfortunately...
You can activate snap for tracing construction lines also with tape measure tool. Here is a way:
-pick the tool, click on a point in the workspace, press ctrl an move along a direction. Type a measure and press enter;
-click again, move the cursor along the same direction, type the same measure and press enter.Now, starting on a axis, construction line or edge, the tool will "remember" that distance with a snap.

-
@massimo said:
-pick the tool, click on a point in the workspace, press ctrl an move along a direction. Type a measure and press enter;
-click again, move the cursor along the same direction, type the same measure and press enter.Thanks Massimo - another "doh moment". That Ctrl trick did it.

-
We're very close here, but I'm still missing something.
The only way I can get it to work is to first click in mid-air, not an object or the design area axes, then drag the tape over, enter a dimension (4"). Then, it will remember the 4" when laying guidelines off of the axes and other guidelines. Similar to missimo's explanation, but with only one 'loading' of the dimension.cotty, I'm not catching your very first step in the video. seems that you're clicking on the green axes, dragging, keying '1' and it lays down the guide. From then on it remembers.
It won't work that way for me. I have to start by sorta 'setting' the 4" from a point off an axes or object. It's as if I'm having to 'load' the 4" into memory for Tape to have something to remember.I've gone back and viewed the instructional video I'm learning from and he doesn't do any type of pre-loading. Simply clicks on a guideline, drags, keyin 1.5", click on another guide, drag, and Tape offers to snap to the 1.5" from then on.
Really appreciate all the input here.
Let me know what I may be missing.
Delain
-
@gaieus said:
The Tape measure tool does not do this unfortunately
It does it for parallel clines, see screencast...
-
I received a reply from the 'teacher' in the video I'm using and he explained enough so that I was able to essentially reproduce what he is doing.
The solution to Tape remembering seems to rely on clicking to set the destination of the guide, then key-in the precision distance you're wanting.
Activate Tape, Click on a reference (guide or axes or object), drag out, click again, . . . THEN key-in the desired position of the guide if I want it to hold on to that for other guide placements. Tape: click, drag out, click, key-in 1.5". Guide is set regardless of where your second click lands.
If you lay down a subsequent guide and key-in say 4.5″, it will place it at the 4.5″, but won’t remember it. Tape still has 1.5″ locked in its register(?). You have to key-in the 1.5" (or whatever distance) AFTERyou click the 2nd end point.
cotty's screencast is showing this, but is difficult to catch unless you know what to expect; happens right after cotty clicks to set the first guide; keys-in "1" to re-set the first guide back to 1mm(?); from then on Tape has the "1" in its register.
The 2nd thing I learned through this is: I did not know you could key-in the precision dimension AFTERyou place the second click or destination point. Tried it with Move also. As long as the item is selected you can continue to key-in alternate destination points until you’re satisfied with the location or fix your mistype, perhaps. Very cool!!
Yep, I'm a newbie so the 2nd thing may be something everyone else already knows, but it is key to having Tape recall a key-in.
Thanks for your help.
-
@delaing said:
cotty's screencast is showing this, but is difficult to catch unless you know what to expect; happens right after cotty clicks to set the first guide; keys-in "1" to re-set the first guide back to 1mm(?); from then on Tape has the "1" in its register.
The input was "1m" for 1 meter and is displayed as 1000mm later in the video because of the standard dimension of my model.
The VCB is more powerful than you might think, some ideas are in the help...
-
Now that you've got the hang of that try using the VCB twice.
Place a guide line, then use the Move tool to make a second one (ctrl click move) type 1.5m enter, then 10x enter. This will place another 10 guide lines 1.5 metres apart. This works with most tools.
Advertisement


