How to model a cornice
-
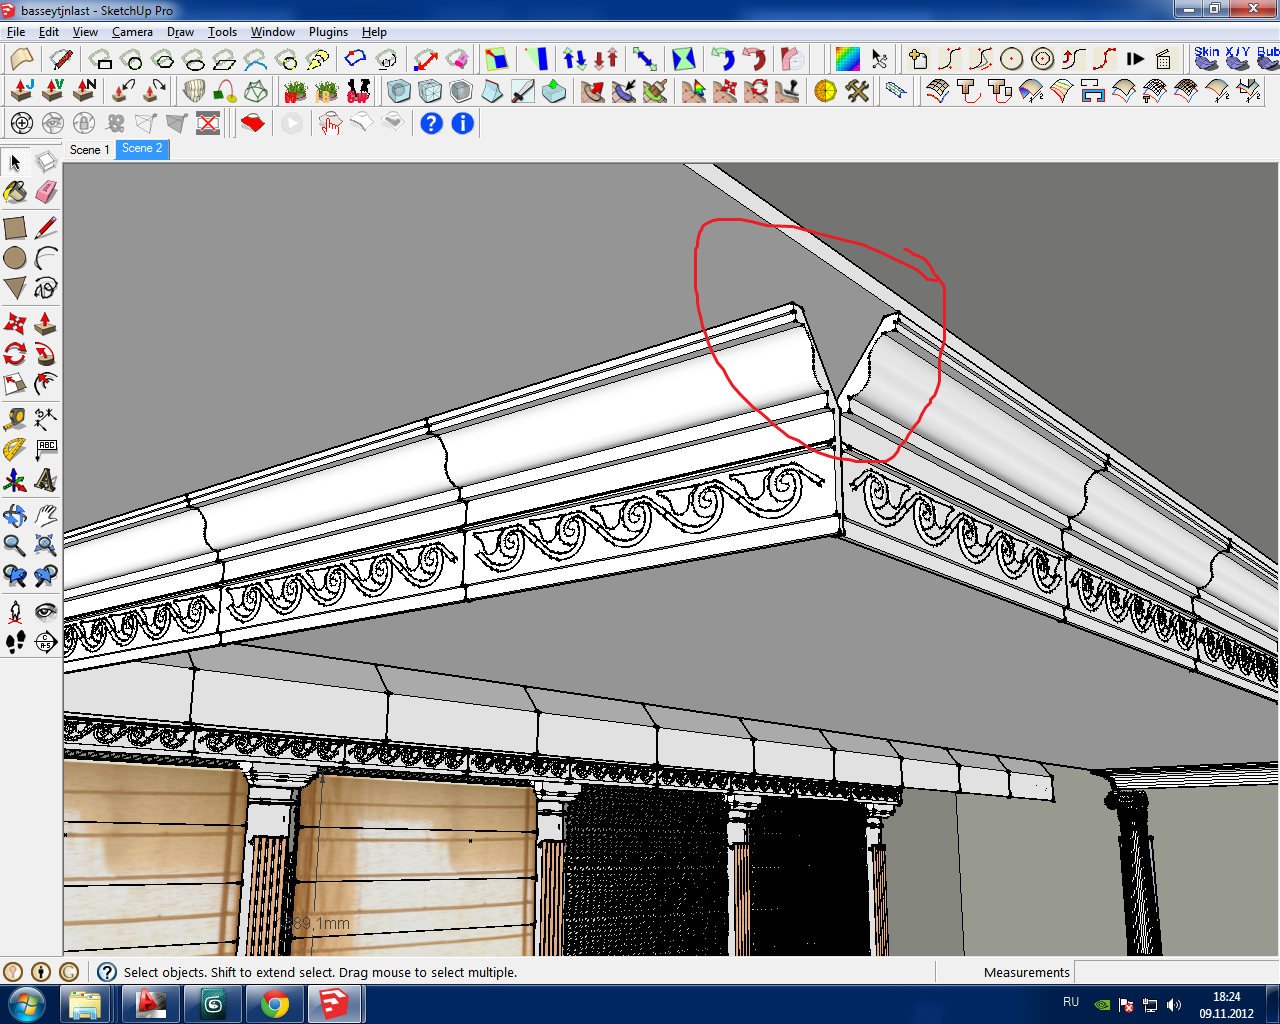 hi guys. trying to model a cornice. How to connect the edges? thanks
 -
The easiest way would be to use the Follow-me tool on a 90 degree corner path.
-
Because you have fancy applied moldings along each section then follow-me isn't going to work!

Place an instance of the cornice component in empty space.
Use make_unique on it.
Rename it '...#extl-miter'.
Create a vertical rectangle that's bigger than the cornice cross-section, rotate it about the vertical 45 degrees, so it mimics the desired miter line, adjust its location so that it intersects the instance you want to miter just near the end.
Edit the to-be-mitered instance and 'select all'.
View > Component Edit > Hide rest of model 'ON'.
Context-menu > Intersect [with model]
A line will appear around the geometry following the rectangle [which is currently not visible].
Erase the unwanted parts of the mitered form to leave the raking cut.
Exit the edit.
Erase the unwanted rectangle/edges.
Place or exchange the corner pieces for the mitered ones.
You might need to rotate or 'flip' them to be arranged as desired.
snap the 'points' together and them locate the intermediate parts off from those.
You will also need an internal '...#intl-miter' version, but with the cut-plane at 90 degrees to the one you used for the 'external' version....
If you have pieces that are non-standard lengths you can use make_unique on an intermediate standard part and rename it '...#cut1' etc. This time just leave the 'cut-plane' square to the cornice, located along it as needed, and 'chop' off the unwanted part. You might need to make several custom 'cuts'. IF the cornice had been a 'plain' design 'Scale' would have been the easy way to size these pieces, but because there are fancy molding along its base the 'chop' is needed. -
Is there any reason you are putting the whole cornice around together from pieces? As Marcus says, the easiest would be to use the Follow me tool and then you would not have issues at the corners nor at sections where the site of the blocks is not reaching the end (or overlaps).
@Tig: the molding could even be applied later - even as a series of components.
-
In fact the 'applied molding' could be represented as a [tiling] texture along the bottom faces.
Then a follow-me of the simplifies cross-section would be by far the best solution.
It'd also have much less geometry etc... ho is ever going to look closely at the finer details... -
Thank you very much for you quick replies. Done it with follow me tool, removed moldings. Will apply them as texture.
-
@tig said:
In fact the 'applied molding' could be represented as a [tiling] texture along the bottom faces...
True.
-
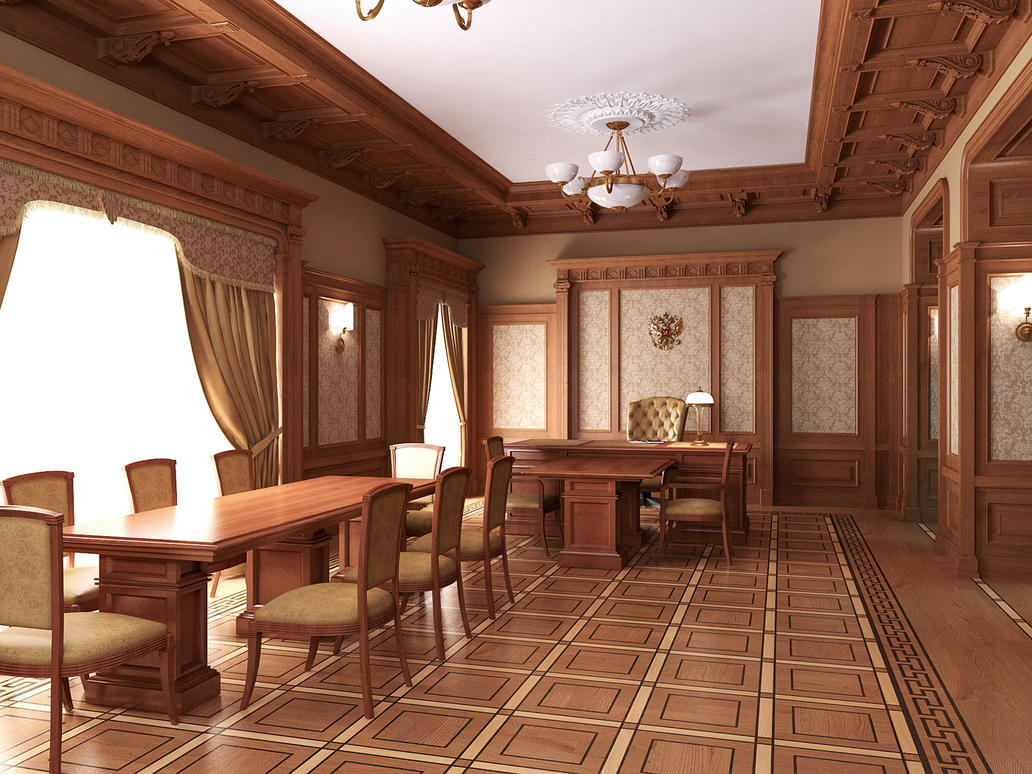
Getting into some fancy work there. I hope you post finished work sometime.
For inspiration (or not--depending how you look at it) see this thread:
-
Radbagaliyev, have you tried the Profile Builder plugin? It makes short work of mouldings.
Look here - http://sketchucation.com/forums/viewtopic.php?t=44237#p394530
Hello! It looks like you're interested in this conversation, but you don't have an account yet.
Getting fed up of having to scroll through the same posts each visit? When you register for an account, you'll always come back to exactly where you were before, and choose to be notified of new replies (either via email, or push notification). You'll also be able to save bookmarks and upvote posts to show your appreciation to other community members.
With your input, this post could be even better 💗
Register Login


Advertisement