How to add specularity map in Vray materials option ?
-
Thank you Stefan,
This is an issue I have often wondered about.
And now I know!
Thanks again. -
another great tutorial here...

http://sketchupvrayresources.blogspot.in/2012/03/basic-vray-sketchup-tutorial-series-4.html
-
@stefanq said:
John, 50% means 0,5. Default is 1. So if u use a map in reflection glossiness, use 0,5 glossiness, NOT texture multiplier.
Since I jumped into this, I did some experiments based on my experience, so that doesn't mean that are 100% correct.
I'm using HDRI map in both GI Color and BG Color , IM and DMC,physical camera disabled .
I have bump map with 0,01 multiplier. Reflection glossiness and highlight glossiness always set to 1.
Image 1
I just added reflection layer to the material, with 1,55 Fresnel.
Image 2
I added the specular map to the perpendicular slot of the Fresnel. Note how nice the bump of the material is now defined (the bump is the same, 0,01)
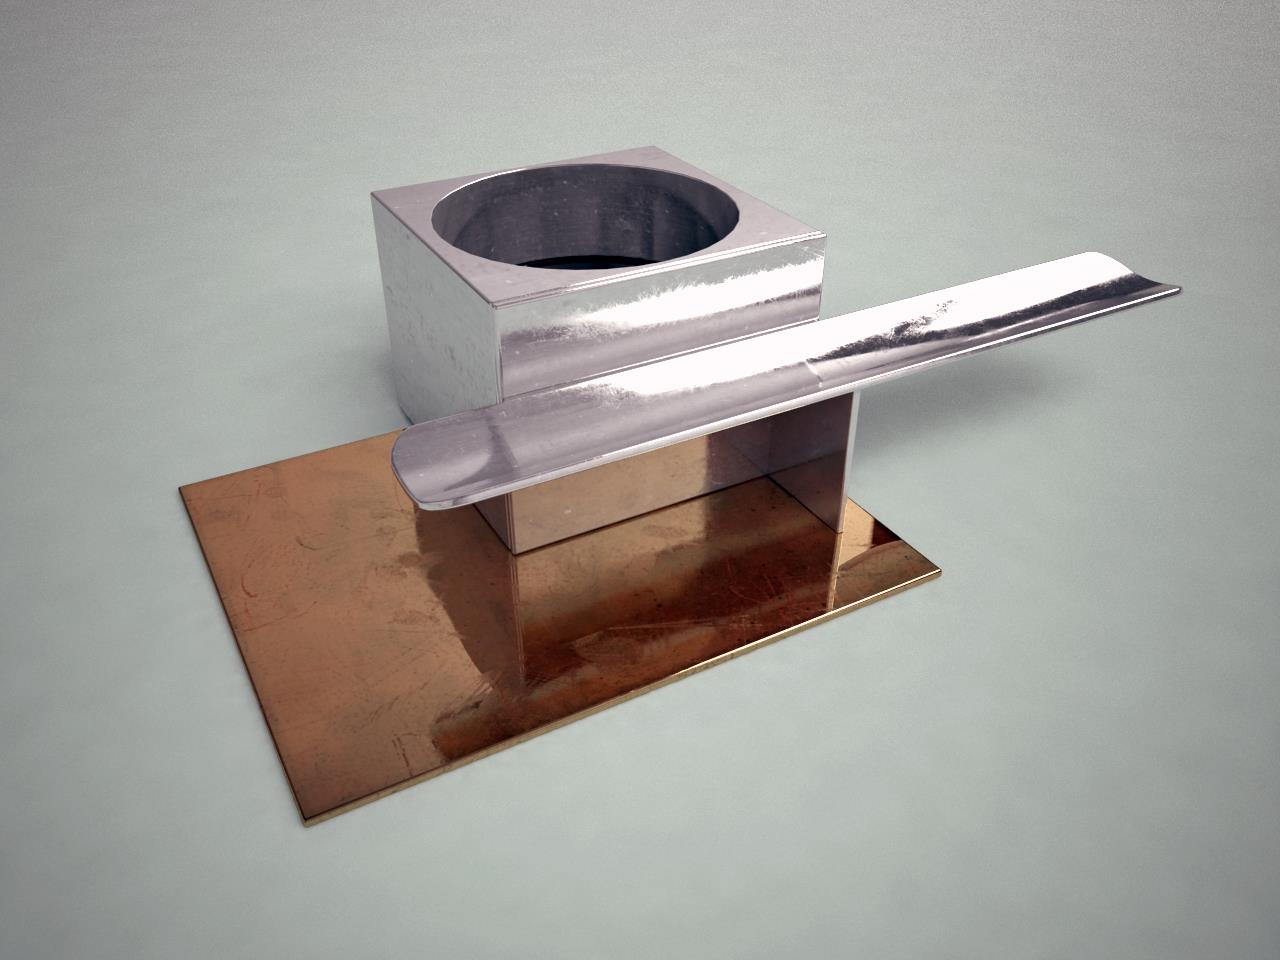
Image 3
I added the same specular map to the Reflection Glossiness slot.
This is where I usually stop. Adding the map to the highlight glossiness doesn't seams to affect the look of the material.Stefan, thank you very much for this instruction!
That's a great suggestion adding the specular map in the perpendicular slot of the Fresnel texture. Really helps the realism.Andy
-
i get that .5 means 50 percent. and what does 1.55 in Fresnel mean?

-
@john2 said:
what does 1.55 in Fresnel mean?
The Fresnel value is for the IOR (Index of refraction) - it's the cosine of something or other... see if you can decipher the wikipedia article
-
@andybot said:
@john2 said:
what does 1.55 in Fresnel mean?
The Fresnel value is for the IOR (Index of refraction) - it's the cosine of something or other... see if you can decipher the wikipedia article
yup i know about index of refraction since a long time [thanks to all my class 9 physics lectures
 ] you really gave me a deja vu
i'm talking about Reflection.
Im aware that IOrefraction is
sine of angle of incidence in air
divided by
sine of angle of refraction in the material
-
@john2 said:
i'm talking about Reflection.
similar principal applies - the ior sets the strength of the reflection based on the angle of incidence.
-
@andybot said:
@john2 said:
i'm talking about Reflection.
similar principal applies - the ior sets the strength of the reflection based on the angle of incidence.
uhhuh...can't figure this. the angle of light changes when it travels from one medium to another, that's why the bending occurs. but according to the law of reflection. angle of incidence is equal to angle of reflection.
-
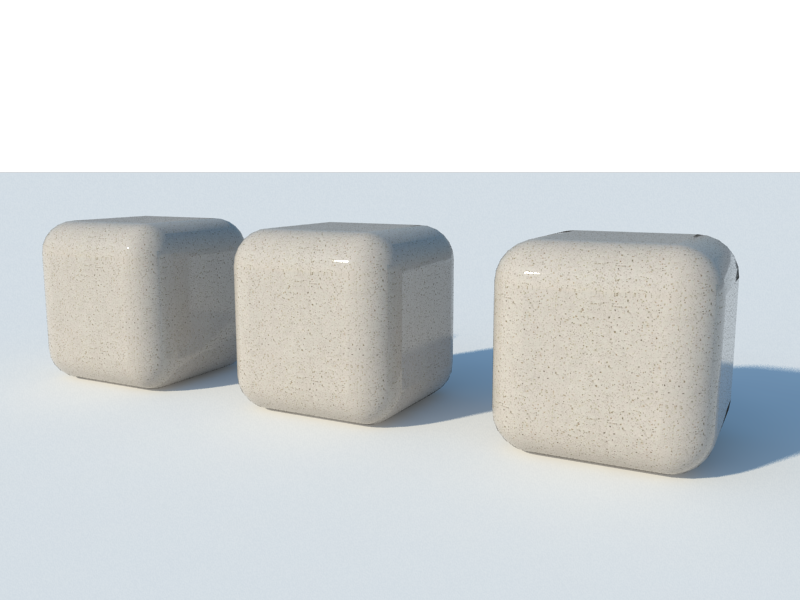
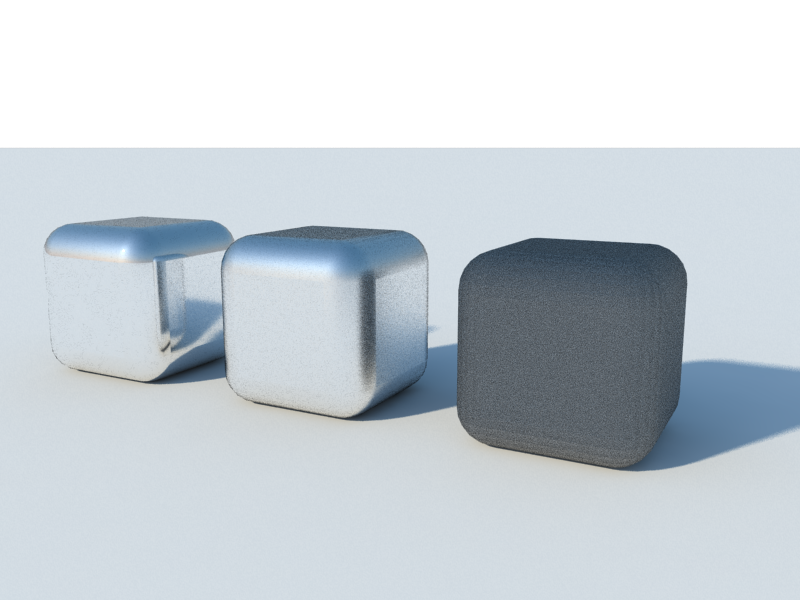
Thanks Stefan for your tips on map slots, been very useful! I managed to cook this up following your advice and Bertrand Benoit's 'materialism' post.
To clarify on the percentage contribution of the glossiness, I've found that once you plug a map into the glossiness slot this overrides whatever figure you use. In the example below is the same material with spec map and glossiness set to 1.0, 0.8 and 0.2 from L to R, it's not a great example scene but you can't see any diminished reflection as a result of the map being 'darkened'. If you drop the texture multiplier however, it blurs the whole thing rather than reducing the contribution of the map alone (shiny cube example), which means you have to go into photo editing software to finetune the map. This is a bit frustrating, if anyone knows a workaround within vray settings please share!
-
did you make sure the specular map is in the perpendicular slot of your fresnel reflection options? If it is in that location, then glossiness will be affected.
Hello! It looks like you're interested in this conversation, but you don't have an account yet.
Getting fed up of having to scroll through the same posts each visit? When you register for an account, you'll always come back to exactly where you were before, and choose to be notified of new replies (either via email, or push notification). You'll also be able to save bookmarks and upvote posts to show your appreciation to other community members.
With your input, this post could be even better 💗
Register Login


Advertisement