Stained glass
-
Any tricks out there for taking a stained glass image texture and get the light to project through it on to a wall?
-
Check this challenge out, not sure if any vray entries (never looked) if yes why not pm that person and ask for help.
http://forums.sketchucation.com/viewtopic.php?f=81&t=19778&hilit=stained+glass
-
I am shocked to see that Vray cannot do this (using a material) I am going to have to model the window and glass. Dang!
-
@valerostudio - I posted a working stained glass render in that thread. It does work as long as you put the color map in the refraction layer.
http://forums.sketchucation.com/viewtopic.php?f=81&t=19778&start=45#p345712
-
I modeled a window with a bunch of tiny pieces, all the glass parts are 3D with a 1/2" thickness and the faces are oriented correctly, but when I render it using a colored glass material (color is set under the fog), it doesn't render with any color. I tried to crank up the color multiplier as high as 10.0 and that didnt work either. I replaced the window with a solid pane glass using the same material and that rendered correctly. So the question is, does the overall size of the piece of glass effect it's ability to be colored? Now I know that thickness would affect it, but I didn't think the area size of the piece would.

-
Try setting the refraction "color" option instead of fog. I believe fog does have to do with volume, which may be why the small pieces don't cast color.
-
That worked! Now, is this a 'cheat'? I've learned in the past that you want to use fog for colored glass. I have never used the color setting in this fashion to achieve colored glass.
@andybot said:
Try setting the refraction "color" option instead of fog. I believe fog does have to do with volume, which may be why the small pieces don't cast color.
-
Not sure I understand it all myself. I would guess that different properties are affected. The "color" option affects light coming through, and fog affects the appearance.
-
The Fog Color slot is intended to color refracting surfaces at a gradient from the thickest areas receiving a darkest fog color and thinner areas receiving a lighter fog color. It works best within curved glass surfaces such as bottles, wine glasses etc. Since a flat plane window has no varying thickness the fog will not color the glass. In that case the refraction color is the only option that will tint the glass properly.
You can test it by trying the same material out on curved surface.
-
Thanks - that's helpful to know. I actually saw the gradient effect when I tried to use fog on car glass, now it makes sense why it's supposed to be like that. (so fog color is a "cheat" already
 )
) -
Well I believe the Fog slot was meant to represent the phenomena of seeing thick glass on edge, the iron in the glass absorbs the infra-red and ultra-violet making it look green. http://uk.answers.yahoo.com/question/index?qid=20080308120406AAfKk3m so its not really a cheat per se.
-
This is all great information. Thanks guys. I will post the render when I wrap up a good draft.
-
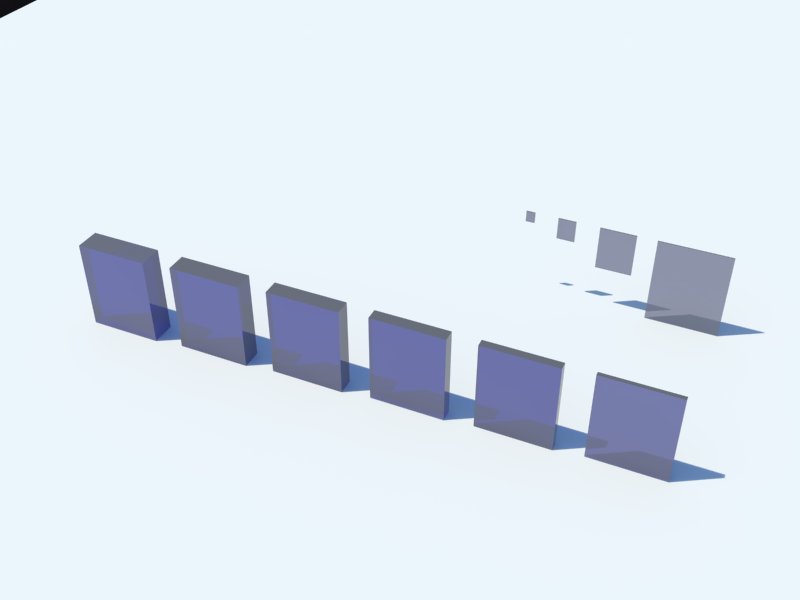
So I did not want to give up on the fog issue yet because this is how Fernando has always said you color glass. I made a series of glass boxes using a blue fog color. The front row starts at 1' thick on the left and works its way down to 2" thick. The panes in the back are 1/2" thick and half in size as they move left.

-
Here is the test render. This uses color set in the refraction because fog would not work at all.

-
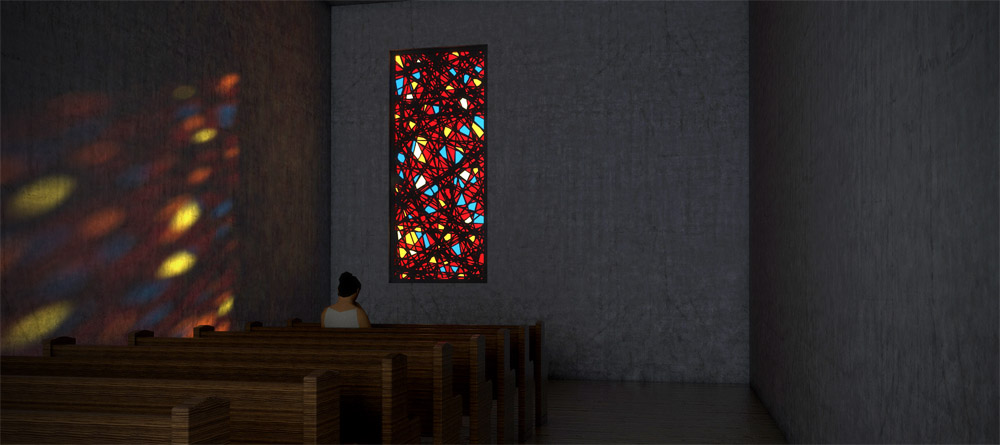
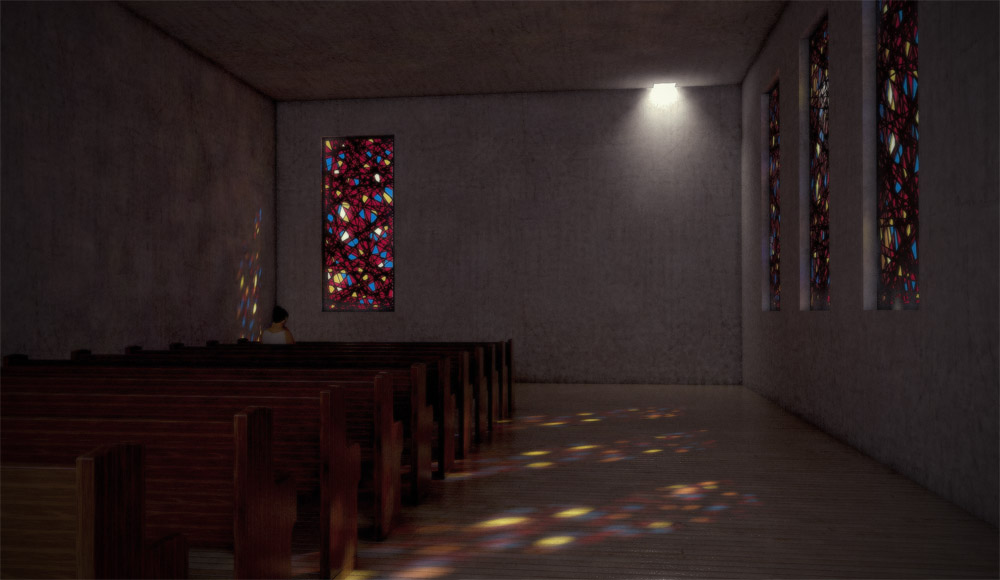
Wrapped up the rendering

-
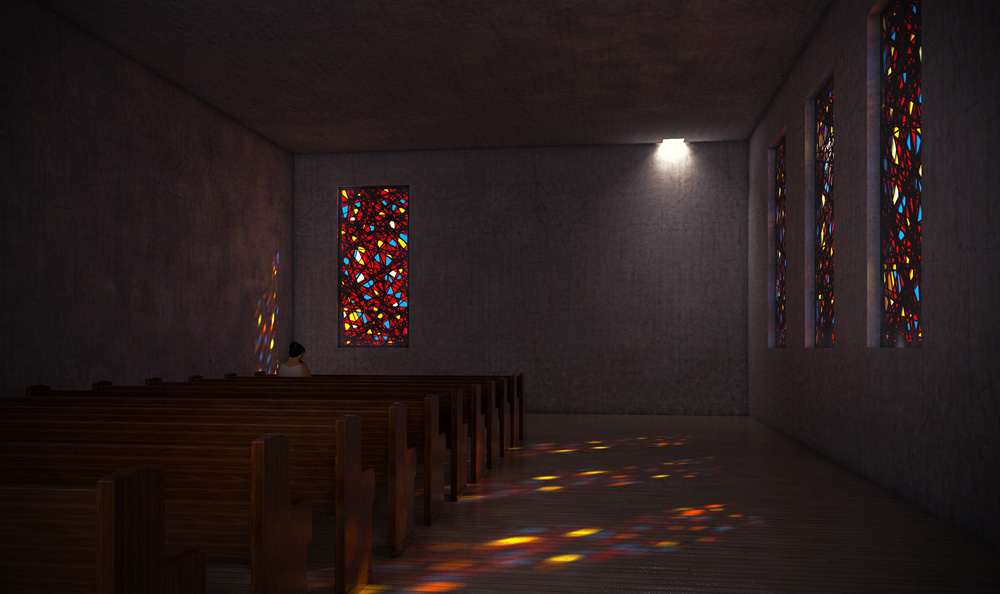
More tonal adjustments in Photoshop. This is the final image.

Advertisement


