Shape bender question: bend along the inside of the curve
-
I'm not sure why you started another thread, but that's beside the point.
Are you doing this to understand shape bender or do you just want this shape?
The shape you want can be made simply by creating a curved object of the correct thickness then extruding your profile through it, intesecting and removing the excess.
This would give you straight sides but they can always be corrected.
You have not explained in your threads what it is that you want to achieve.
It's difficult for people to give you the correct advice if they don't know what you really want to produce.
-
@box said:
I'm not sure why you started another thread, but that's beside the point.
Are you doing this to understand shape bender or do you just want this shape?
The shape you want can be made simply by creating a curved object of the correct thickness then extruding your profile through it, intesecting and removing the excess.
This would give you straight sides but they can always be corrected.
You have not explained in your threads what it is that you want to achieve.
It's difficult for people to give you the correct advice if they don't know what you really want to produce.
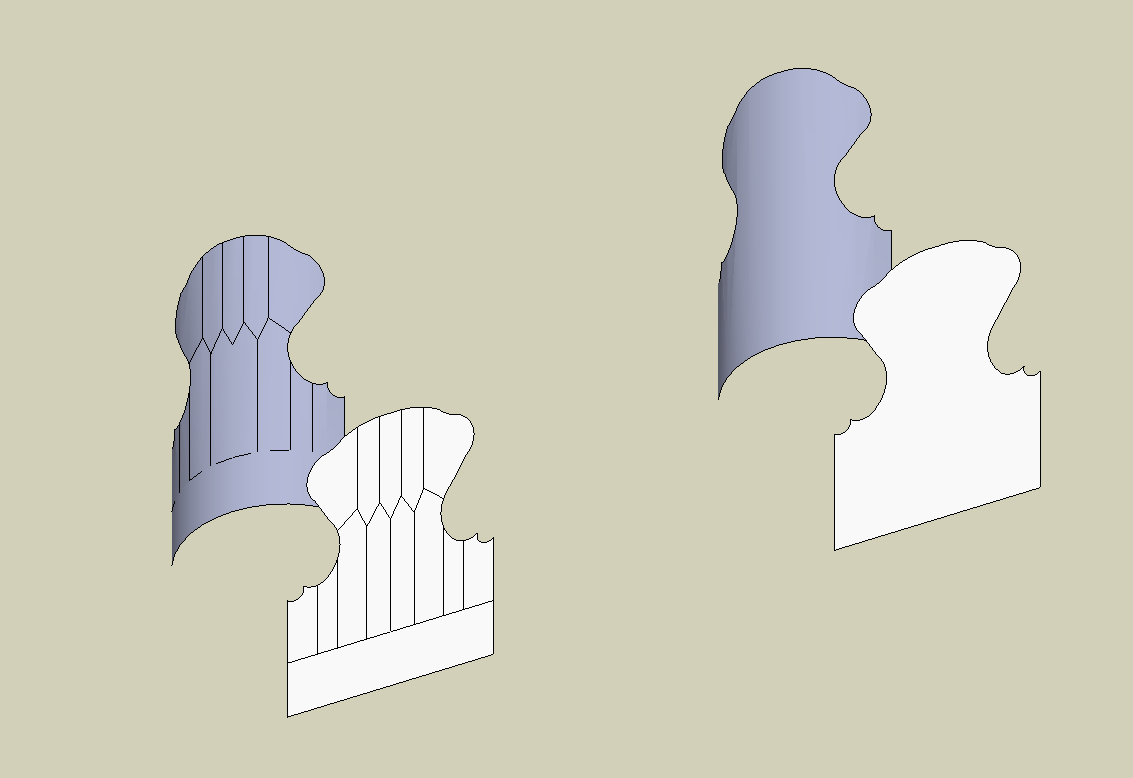
I'm sorry. I don't know how to explain this clearly. I guess I just have to let the images tell the story.
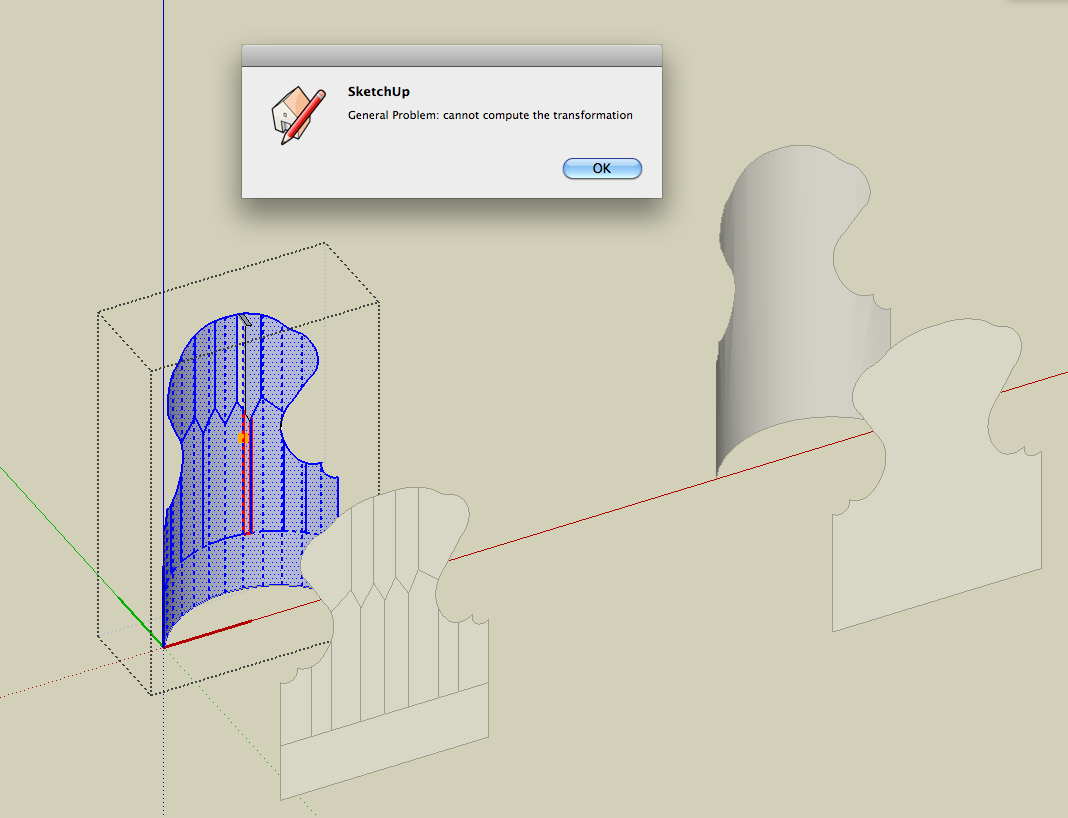
On the left of the 1st image you can see that some lines are missing after curving. That's why I need to create the thickness before curving the object.the 2nd image shows you that joint push pull can not generate the shape.


-
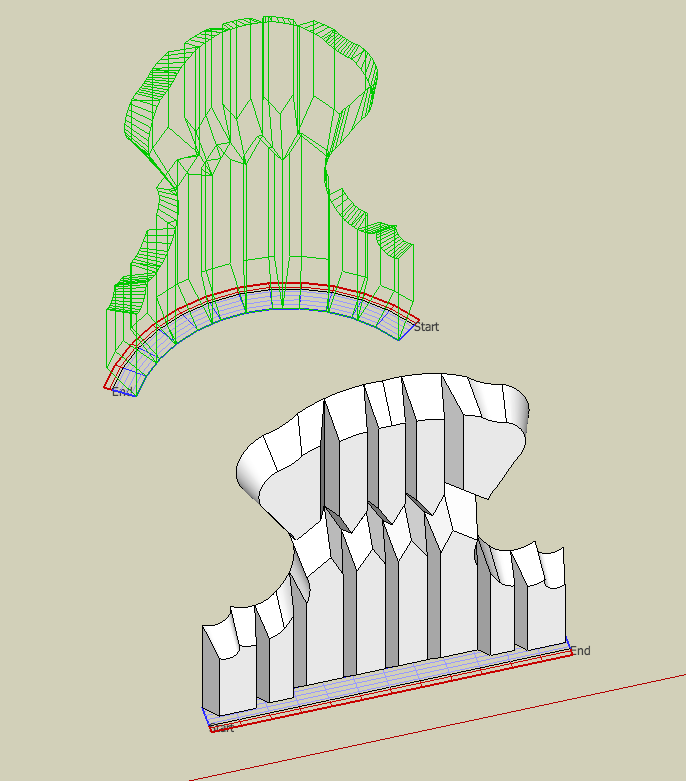
bent to a different direction:


-
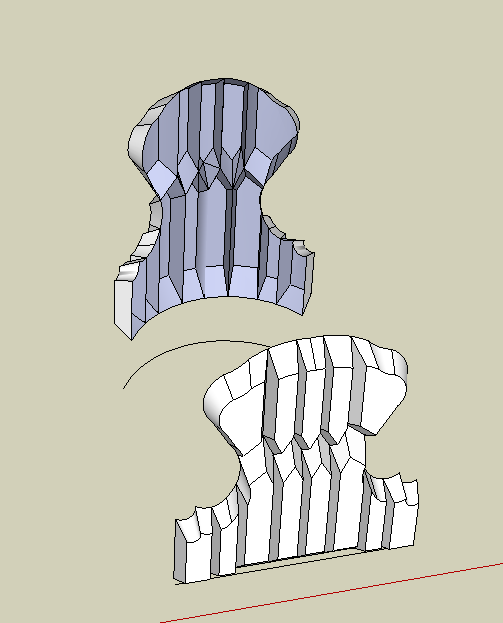
I'm sorry, but now you are showing a third image.
I think you have several issues that need to be addressed but it's hard to understand what they are.
And from what I've seen, none of them relate to Organic Modelling.
Edit: Apart from that, you need to look at the placement of your axis and the adjustment via the arrow keys.
-
Are the missing faces very small? Perhaps its a small-face issue?
ShapeBender is finicky, but it will usually work if you understand how it works - if you want to upload your model, I'll take a look.
-
[flash=800,600:mb7cdwsb]http://www.youtube.com//v/jqc2FhUcEVA[/flash:mb7cdwsb]
-
@jet said:
someone told me about the up and down arrow before, but the thing is on my Mac the up and down arrow does not change anything.
That's why its not working for you then...maybe someone can help you get the arrow problem sorted on your Mac, but until then here is a workaround...flip the arc along the red axis before running shape bender - then you don't need to use the arrow keys
-
@d12dozr said:
That's why its not working for you then...maybe someone can help you get the arrow problem sorted on your Mac, but until then here is a workaround...flip the arc along the red axis before running shape bender - then you don't need to use the arrow keys
yes, I was trying to do this, and this is the only way I can make it work. And Thank you.
-
Oh, Adam, you are so sweet. Thank you very much for making a tutorial for this.
someone told me about the up and down arrow before, but the thing is on my Mac the up and down arrow does not change anything.
-
Hi Jet,
You're example worked fine for me. Perhaps try keeping your camera in perspective mode instead of parallel projection. It's easier to see where your control lines are positioned.
Some other things to consider with Shape Bender -
-
Make sure the control line is not touching the geometry to be bent.
-
The position of the control line to the geometry is relative to the position of the bent shape to the curve. (if your control line is 5mm from the geometry to be bent, the final bent geometry will be 5mm from the curve.)
-
The segments in the curve will be relative to how many slices the plugin uses to bend the geometry. More segments in the curve will result in a smoother bent geometry, but will process slower.
-
The plugin recognizes the direction which the control line is drawn. Using the down arrow will reverse the direction of the control line and flip the start end points and the resulting alignment.
5 The up arrow will toggle which side of the curve the bent shape adheres to.
-
Be mindful when bending shapes with curves or extra verticies in them that the plugin will have to add triangles to your bent mesh to stitch those faces together. The results can often mess up the shading. Always clean your mesh well (ThomThom's Cleanup script) before processing and make sure your segment count of each curve is reasonable.
-
The bent shape is also relative to the axis. More predictable results occur when you keep things on the zero Z plane. Not raised into the air.
-
Advertisement


