How do I change opacity of model while Photomatching?
-
Hi, I created a model in SU8, then imported an image using File>Import and clicked the radio button for "Use as New Match Photo". I aligned everything just right but for some reason, it seems as though the image is transparent and my model is behind it. I'm trying to make the model to be in front of the Matched Photo. I have Materials shading turned on to texture and have unchecked Xray. I've tried several tutorials and tried to do a search for this with no luck. I just want the model to block out the Photo. Any help would be appreciated. Sorry if I overlooked a previous post on this!
Thanks,
Verne -
Go to Window>Styles and click on the Edit tab. then click on the blue cube under the Mix tab. You'll find the Opacity sliders there.
-
Bingo, Thanks Dave!
-
Hey, This Photomatch is mysterious. Got another one for you. I can ad a material to my model and it looks right. I then click on the photomatch tab and the material goes away and turns everything white. I checked the material shading and it's still all white. What could I be doing wrong.
Thanks,
Verne -
You'll notice if you orbit a bit, the material comes back. The intent with PhotoMatch if you are using the PhotoMatch scene is that you would project the photo onto the faces in the model using the photo as a material.
-
Sorry, I still don't get it. Can I not add textures in the photomatch scene to the model. The model is all white when I click on that scene, which it was before I did the photomatch. I've got everything just right except for coloring or texturizing the model. As you say, when I orbit a little, the model looks like I want it to look with all of the texture but when I click on the photomatch scene, it's all white again.
Also, once I get in the photomatch scene, I want to zoom in a bit to get rid of the frame around the photo I brought in. I update the scene to try and keep the zoomed in photo but when I click out of the scene and go back, it didn't update it. I've turned everything on update on. How do you save the scene or update it to keep the settings in photomatch?
Thanks for your help and patience with me.
Verne
-
Try this: Go to Styles>Edit and click on the blue cube to edit Modeling. Untick the box for Foreground Photo. Let me know what happens.
-
Dang you're a genius! I swear I think I tried everything but that.
That worked, now to the second question:Also, once I get in the photomatch scene, I want to zoom in a bit to get rid of the frame around the photo I brought in. I update the scene to try and keep the zoomed in photo but when I click out of the scene and go back, it didn't update it. I've turned everything on update on. How do you save the scene or update it to keep the settings in photomatch?
-
Thanks. Will you tell my wife? She's not convinced.

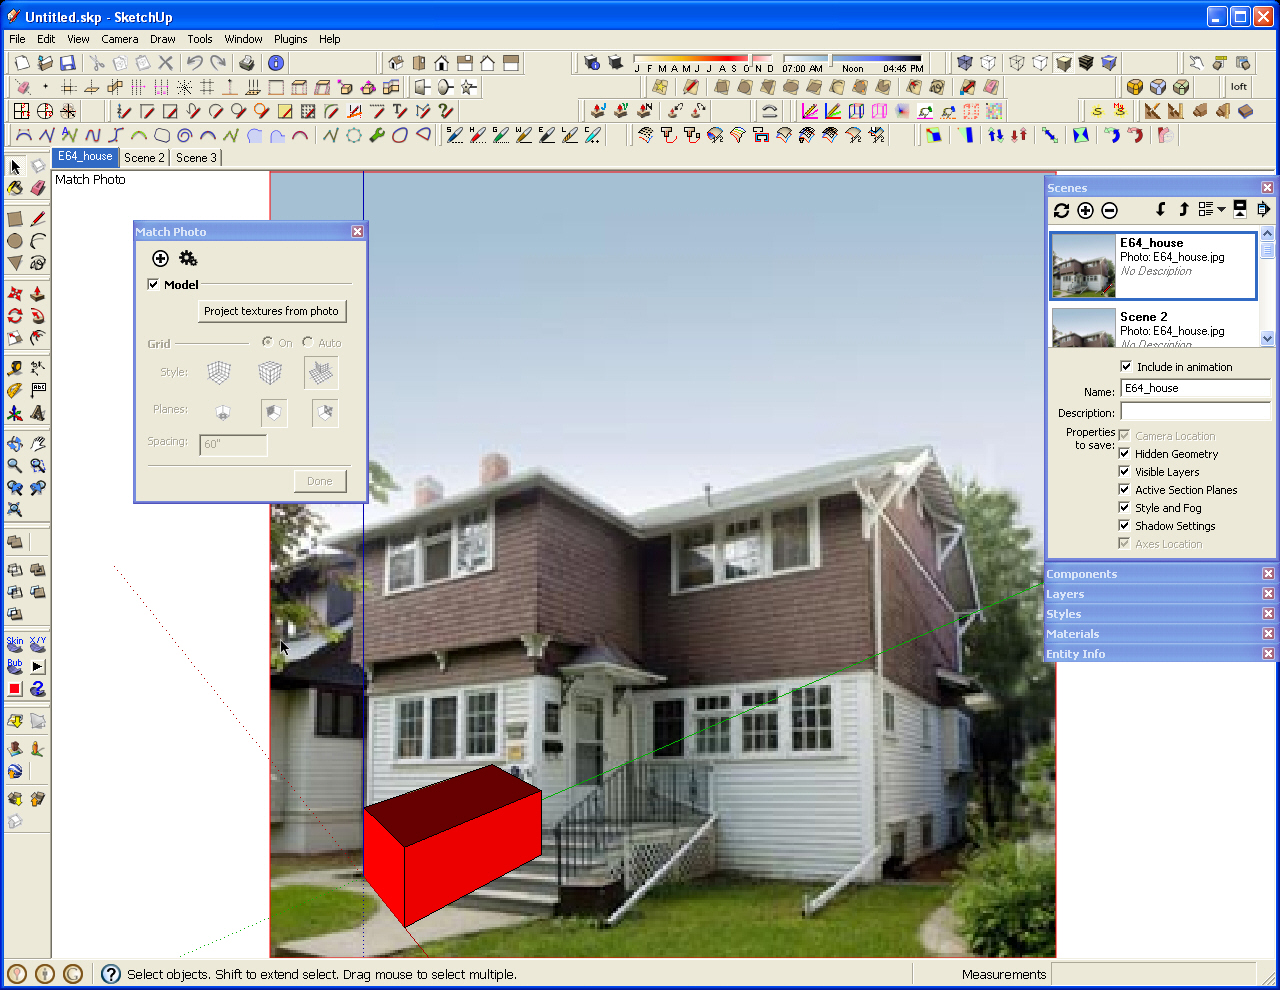
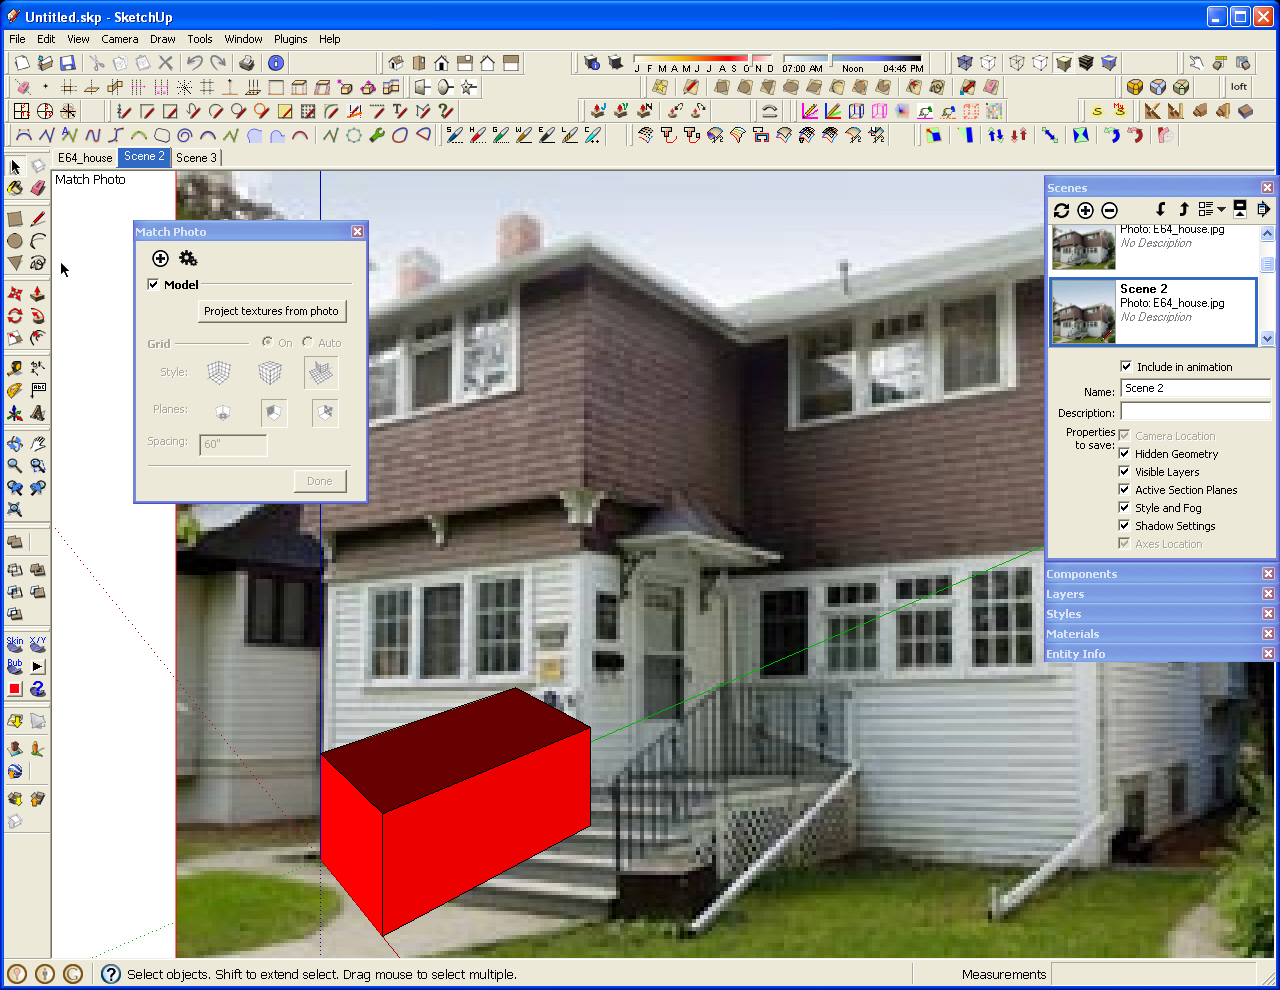
Zoom in as desired and create a new scene. That should take care of it. I didn't bother with setting up the axes for PhotoMatch but you can see I've made two additional scenes at different zoom levels and the box shows the red color I painted it.
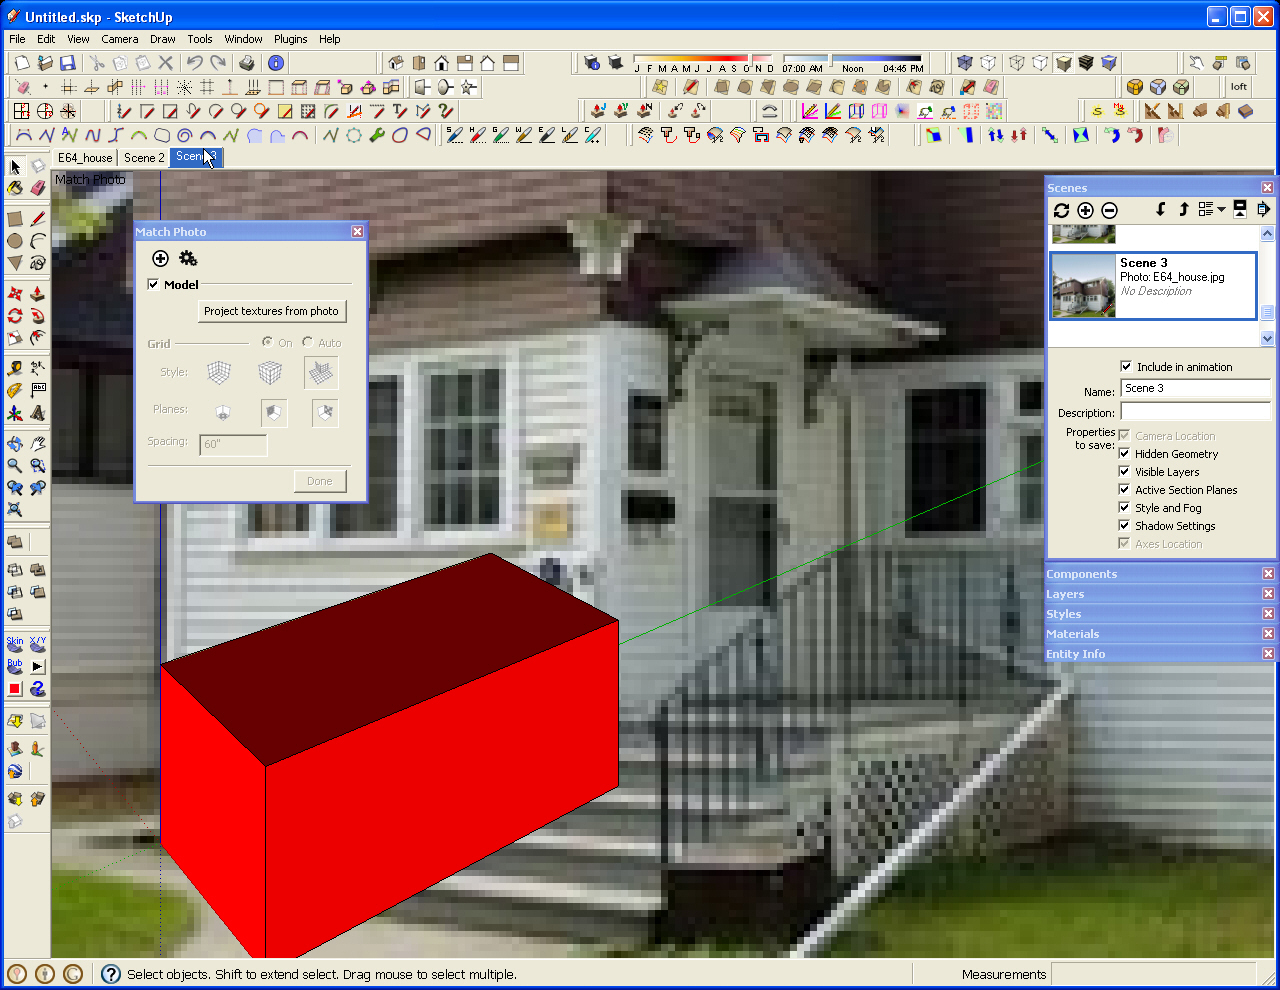
-
Worked Great Dave. Thanks for your help! Now I can go fishing!!
-
Glad to help. Catch one for me while you're at it.

-
Old topic but I hope somebody can help me. I ticked off foreground in styles, and it shows fine in skp. But when I render in vray, my model looks transparent (or it has foreground on, result is the same).
Only thing I din in V.ray is put my background photo in background slot, placement type:place, UWV-Environment-screen. Bacground renders fine but why is foreground on? -
@gnome_mo said:
Old topic but I hope somebody can help me. I ticked off foreground in styles, and it shows fine in skp. But when I render in vray, my model looks transparent (or it has foreground on, result is the same).
Only thing I din in V.ray is put my background photo in background slot, placement type:place, UWV-Environment-screen. Bacground renders fine but why is foreground on?I was also wondering about that and then found out the solution myself while searching this forum. It is about Vray settings, not the SketchUp Styles. You need to go to Environment under the Vray Settings and turn the GI on. It worked for me. Hope it works for all of you out there too. Stay safe!
Advertisement


